


首先申请微信公众号(测试使用)
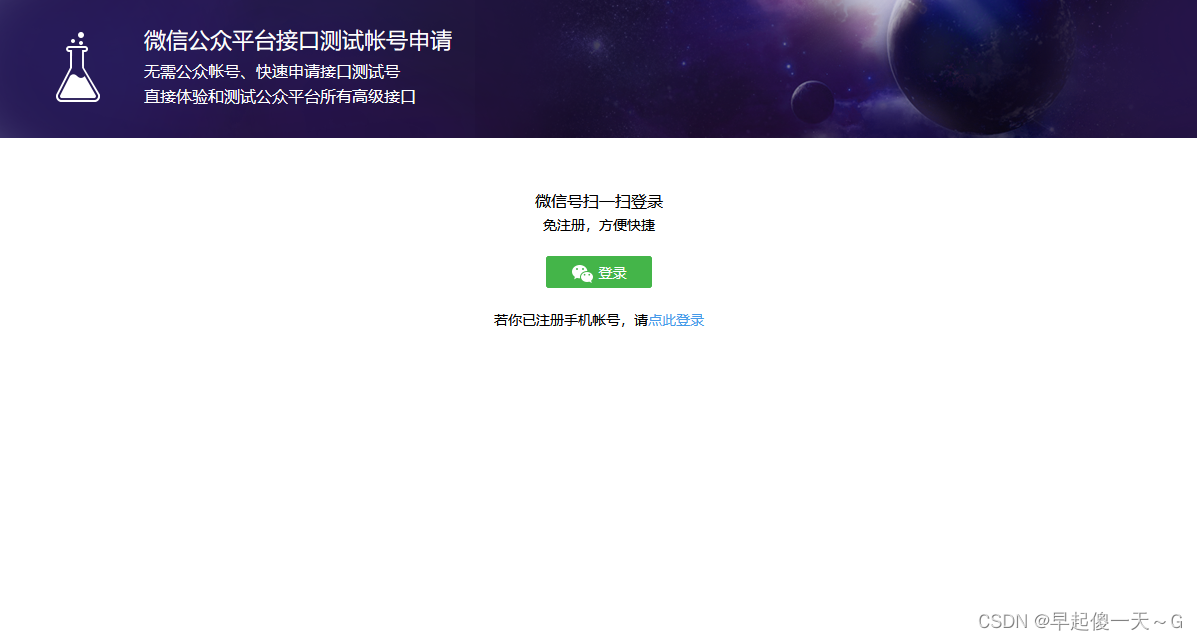
网址: https://mp.weixin.qq.com/debug/cgi-bin/sandbox?t=sandbox/login
扫码关注公众号

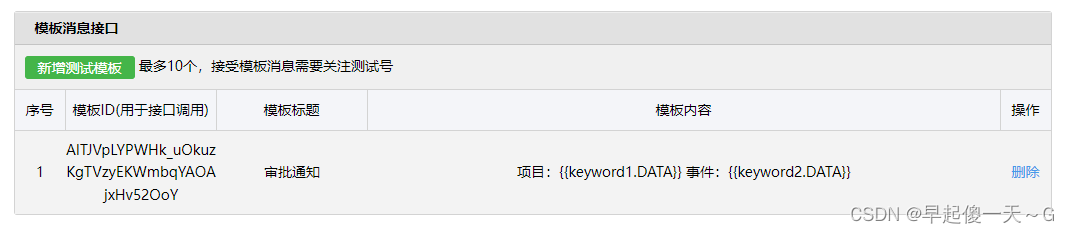
设置消息模板
下边内容非常非常非常重要!!!
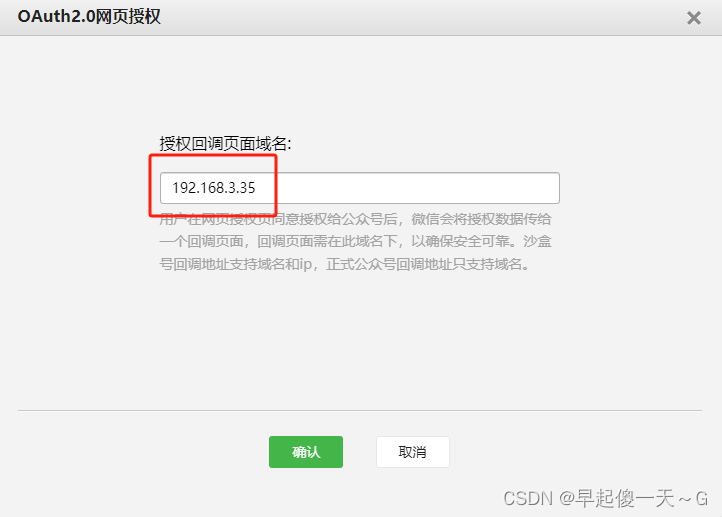
首先设置域名:不要带http,只有域名!不要带端口、不要带页面路径,只写域名(我是在本地测试,所以用了本地ip,端口改成了80,就可以不加端口了)

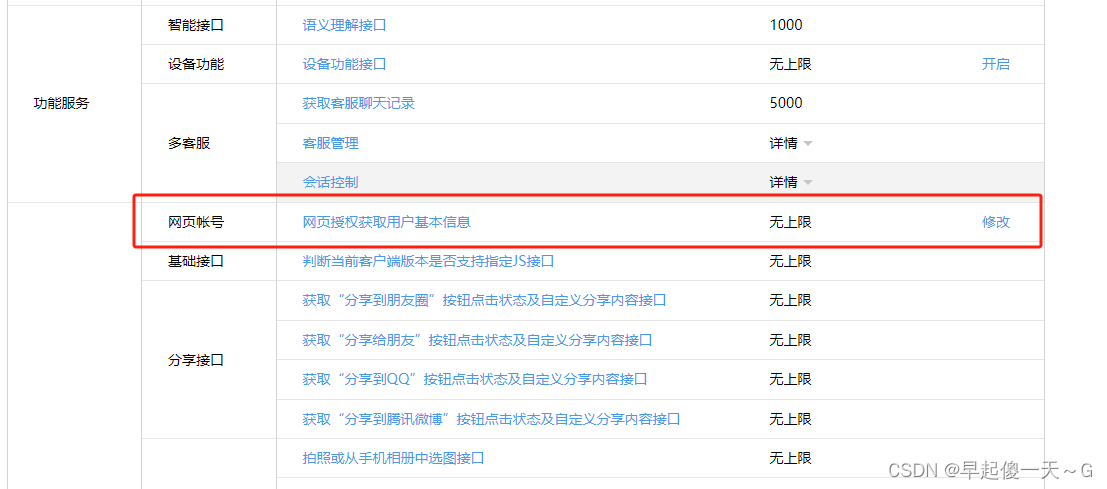
配置授权网页,跟上边的一样就行。
微信浏览器请求地址:
https://open.weixin.qq.com/connect/oauth2/authorize?appid={appid}&redirect_uri={redirect_uri}&response_type=code&scope=snsapi_base&state=STATE#wechat_redirect
redirect_uri是微信请求浏览器后,根据本微信生成一个code,然后将code重定向到该页面(redirect_uri的页面)
好!!!准备工作完成
vue2.0页面生成二维码
<el-button
    @click="createQRCode(scope.row)"
    >生成二维码
  </el-button>
<!-- 微信扫码绑定公众号 -->
    <el-dialog
      title="微信扫码绑定公众号"
      :visible.sync="isShowCard"
      width="290px"
      center
      :before-close="jieBangClose"
    >
      <!-- 存放二维码的地方 -->
      <div style="justify-content: center;" id="qrCode" ref="qrCodeDiv"></div>
    </el-dialog>
import QRCode from "qrcodejs2";//引入生成二维码插件
jieBangClose(){
      this.isShowCard = false;
      this.getList();
    },
createQRCode(row) {
      this.isShowCard = true;
      let url =  "https://open.weixin.qq.com/connect/oauth2/authorize?appid={appid}&redirect_uri="
        + encodeURIComponent("http://192.168.3.35/bindwx"
          + "?msg1=" + "msg1"
          + "&msg2=" + "msg2"
        )
        + "&response_type=code&scope=snsapi_base&state=STATE#wechat_redirect";
      this.$nextTick(() => {
        this.$refs.qrCodeDiv.innerHTML = ""; //二维码清除
        new QRCode(this.$refs.qrCodeDiv, {
          text: url, //二维码链接,参数是否添加看需求
          width: 200, //二维码宽度
          height: 200, //二维码高度
          colorDark: "#333333", //二维码颜色
          colorLight: "#ffffff", //二维码背景色
          correctLevel: QRCode.CorrectLevel.L, //容错率,L/M/H
        });
      });
    },
想要的参数可以拼接在encodeURIComponent方法的url上,页面也可以在域名后边拼接,注意,这里的域名和上边域名一致,像访问哪个页面,只在这一拼接,上边配置只写域名
画一个微信扫码之后跳转的页面
<template>
  <div style="padding-top: 20px">
    <h3 class="title_success" v-if="success">{{ msg }}</h3>
    <h3 class="title_failed" v-else>{{ msg }}</h3>
  </div>
</template>

<script>
import { addContact } from '@/api/contact'
export default {
  name: 'contact',
  data() {
    return {
      form: {},
      success: true,
      msg: '',
    }
  },
  watch: {},
  created() {
    this.success = true
    this.getQueryString();
  },
  methods: {
    getQueryString() {
      var qs = location.search.substr(1), // 获取url中"?"符后的字串
        args = {}, // 保存参数数据的对象
        items = qs.length ? qs.split("&") : [], // 取得每一个参数项,
        item = null,
        len = items.length;
      for(var i = 0; i < len; i++) {
        item = items[i].split("=");
        var name = decodeURIComponent(item[0]),
          value = decodeURIComponent(item[1]);
        if(name) {
          args[name] = value;
        }
      }
      let code = args["code"]
      if(code){
        this.form.userId = args["userId"]
        this.form.code = args["code"]
        this.msg = '用户' + this.form.userId + '微信公众号绑定中...'
        this.handleBind();
      }else{
        this.success = false
        this.msg = '微信公众号绑定失败...'
      }
    },
    /** 用户绑定微信公众号操作 */
    handleBind() {
      addSysUserContact(this.form).then((response) => {
        if(response.code === 200){
          this.msg = '用户' + this.form.userId + response.msg
        }else{
          this.success = false
          this.msg = '用户' + this.form.userId + response.msg
        }
      })
    },
  }
}
</script>

<style lang="scss">
.title_success {
  margin: 0px auto 30px auto;
  text-align: center;
  color: rgb(12 78 88 / 82%);
  letter-spacing: 0.1em;
  font-weight: 600;
}
.title_failed {
  margin: 0px auto 30px auto;
  text-align: center;
  color: rgba(241 20 49/ 82%);
  letter-spacing: 0.1em;
  font-weight: 600;
}
</style>
因为本页面是微信扫码回调的页面,所以没有token,操作数据库需要开放一个不需要token的api接口
@RestController
public class ApiController {
    @Autowired
    ISysContactService service;
    @PostMapping("/addContact")
    public Result addContact(@RequestBody SysContact contact){
        return service.addContact(contact);
    }
}
配置拦截器开放的接口addContact
/**
 * spring security配置
 *
 * @author tsingeye
 */
@EnableGlobalMethodSecurity(prePostEnabled = true, securedEnabled = true)
public class SecurityConfig extends WebSecurityConfigurerAdapter {
	protected void configure(HttpSecurity httpSecurity) throws Exception {
		httpSecurity
                // CSRF禁用,因为不使用session
                .csrf().disable()
                // 认证失败处理类
                .exceptionHandling().authenticationEntryPoint(unauthorizedHandler).and()
                // 基于token,所以不需要session
                .sessionManagement().sessionCreationPolicy(SessionCreationPolicy.STATELESS).and()
                // 过滤请求
                .authorizeRequests()
                // 对于登录login 注册register 验证码captchaImage 允许匿名访问
                .antMatchers("/login", "/register", "/captchaImage"
                        ,"/addContact"
                ).anonymous()
                .antMatchers(
                        HttpMethod.GET,
                        "/",
                        "/*.html",
                        "/**/*.html",
                        "/**/*.css",
                        "/**/*.js",
                        "/profile/**"
                ).permitAll()
                .antMatchers("/doc.html").anonymous()
                .antMatchers("/swagger-resources/**").anonymous()
                .antMatchers("/webjars/**").anonymous()
                .antMatchers("/*/api-docs").anonymous()
                .antMatchers("/druid/**").anonymous()
                .antMatchers("/system/**").permitAll()
                // 除上面外的所有请求全部需要鉴权认证
                .anyRequest().authenticated()
                .and()
                .headers().frameOptions().disable();
        httpSecurity.logout().logoutUrl("/logout").logoutSuccessHandler(logoutSuccessHandler);
	}
}
service处理逻辑先验证code
    @Autowired
    private IWxService wxService;
	@Override
    public Result addContact(SysContact contact)
    {
        // 获取微信openId(具体逻辑看我上一篇文章)
        String openId = wxService.getTokenByCode(contact.getCode());
        // 验证完code之后就可以进行接下来的存库操作了
    }


 488
488


 被折叠的 条评论
为什么被折叠?
被折叠的 条评论
为什么被折叠?
 到【灌水乐园】发言


