


PullToRefreshlibrary 下拉刷新库
一、简介
PullToRefreshlibrary 为我们封装好了各种自定义View,可以直接在布局文件中引用,并且都带有下拉刷新和上拉加载的功能,给我们带来了很多方便,不像SwipeRefresh以及Ultra-PullToRefresh那样需要自己编写上拉加载的方法。
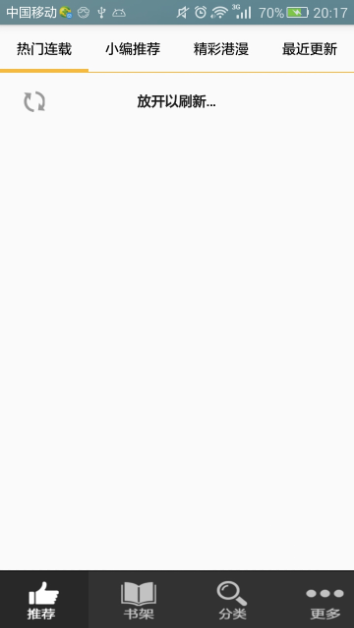
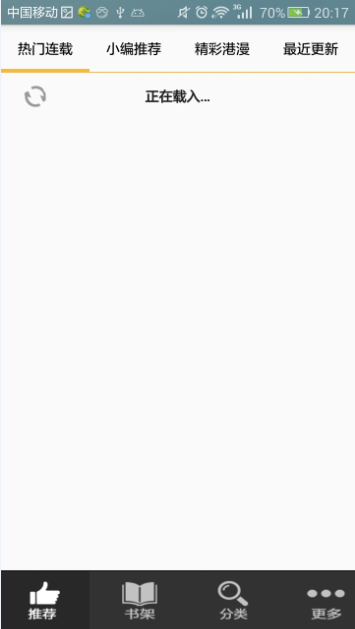
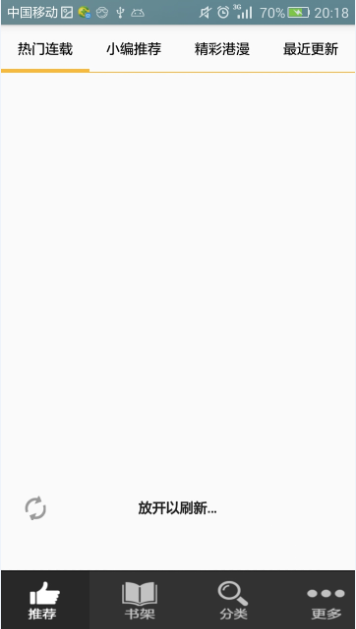
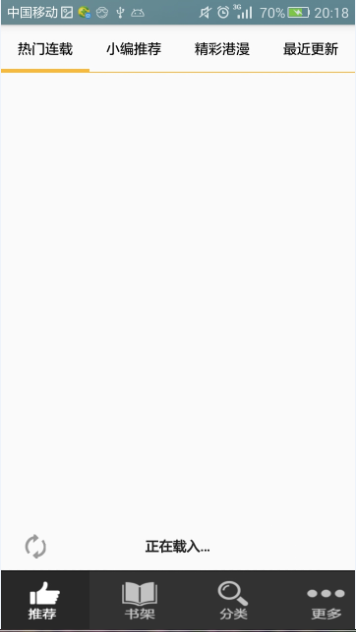
二、效果图
1.下拉刷新
2.上拉加载
三、使用步骤
1.导入第三方模块:PullToRefreshlibrary
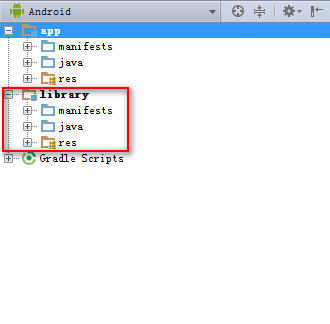
通过可视化界面关联到我们的项目中
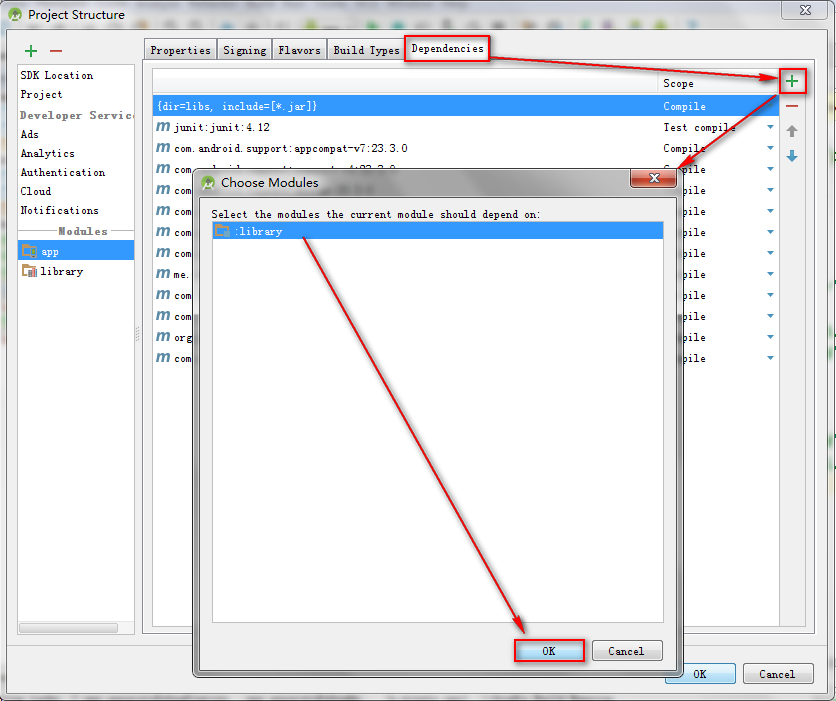
点击“同步”
2.布局文件
例1:
<com.handmark.pulltorefresh.library.PullToRefreshScrollView
    xmlns:android="http://schemas.android.com/apk/res/android"
    xmlns:ptr= "http://schemas.android.com/apk/res-auto"
    android:id="@+id/pullToRefreshScrollView_hot"
    android:layout_width="match_parent"
    android:layout_height="match_parent"
    ptr:ptrMode= "both"
    >

    <LinearLayout
        android:layout_width="match_parent"
        android:layout_height="match_parent"
        android:orientation="vertical"
        android:padding="10dp"
        >

    //根据需要在这里编写控件

    </LinearLayout>
</com.handmark.pulltorefresh.library.PullToRefreshScrollView>
注:必须给PullToRefreshScrollView设置属性ptr:ptrMode= “both”才能支持上拉加载。
例2:
<LinearLayout xmlns:android="http://schemas.android.com/apk/res/android"
    xmlns:fresco="http://schemas.android.com/apk/res-auto"
    android:layout_width="match_parent"
    android:layout_height="match_parent"
    android:padding="10dp"
    android:orientation="vertical">

    <com.handmark.pulltorefresh.library.PullToRefreshGridView
        xmlns:android="http://schemas.android.com/apk/res/android"
        xmlns:ptr="http://schemas.android.com/apk/res-auto"
        android:id="@+id/pullToRefreshGridView_editorRecommend"
        android:layout_width="match_parent"
        android:layout_height="match_parent"
        android:numColumns="3"
        android:horizontalSpacing="5dp"
        android:verticalSpacing="10dp"
        ptr:ptrMode="both">

    </com.handmark.pulltorefresh.library.PullToRefreshGridView>
</LinearLayout>
注:将PullToRefreshGridView包裹在LinearLayout中。
例3:
<LinearLayout xmlns:android="http://schemas.android.com/apk/res/android"
    xmlns:fresco="http://schemas.android.com/apk/res-auto"
    android:layout_width="match_parent"
    android:layout_height="match_parent"
    android:padding="10dp"
    android:orientation="vertical">

    <com.handmark.pulltorefresh.library.PullToRefreshListView
        xmlns:android="http://schemas.android.com/apk/res/android"
        xmlns:ptr="http://schemas.android.com/apk/res-auto"
        android:id="@+id/pullToRefreshListView_update"
        android:layout_width="match_parent"
        android:layout_height="match_parent"
        android:horizontalSpacing="5dp"
        android:verticalSpacing="10dp"
        ptr:ptrMode="both">

    </com.handmark.pulltorefresh.library.PullToRefreshListView>
</LinearLayout>
注:将PullToRefreshListView包裹在LinearLayout中。
3.Java代码:设置下拉刷新和上拉加载的监听器
PullToRefreshListView、PullToRefreshGridView、PullToRefreshScrollView的设置监听器的方法都一样。我们以PullToRefreshScrollView为例:
pullToRefreshScrollView.setOnRefreshListener(new PullToRefreshBase.OnRefreshListener2<ScrollView>() {
                    @Override
                    public void onPullDownToRefresh(PullToRefreshBase<ScrollView> refreshView) {
                        //下拉刷新
                    }

                    @Override
                    public void onPullUpToRefresh(PullToRefreshBase<ScrollView> refreshView) {
                        //上拉加载更多
                    }
                });
注:选择设置监听器时,系统会提示有两个监听器,此时我们选择带“2”的监听器。


 3088
3088

 被折叠的 条评论
为什么被折叠?
被折叠的 条评论
为什么被折叠?
 到【灌水乐园】发言


