


Gitlab构建分布式版本控制系统
版本控制概念
记录开发文件的时间机器,为了更好的开发,挽回代码错误带来的损失
GitLab部署
本实验GitLb服务器版本基于 gitlab-ce-9.1.0
实验流程参考官方文档:https://about.gitlab.com/install/#centos-7 部分略有改动
环境准备
两台CentOS7虚拟机 内存均为4G
192.168.100.10/24
CentOS Linux release 7.5.1804 (Core)  #版本为7.5.1804
安装并配置依赖环境
GitLab所依赖的环境
#因为涉及软件较多我安装了epel扩展源
[root@localhost ~]# yum install https://dl.fedoraproject.org/pub/epel/epel-release-latest-7.noarch.rpm
...
repolist: 26,344
[root@localhost ~]# yum -y install curl policycoreutils openssh-server open-clients  #安装和配置必要的依赖关系
[root@localhost ~]# systemctl enable sshd --now                                      #开机自启动ssh程序并立即启动
[root@localhost ~]# yum -y install postfix                                           #安装邮箱程序
#关于安装邮箱程序的解释:Git在记录用户信息时,使用的是邮箱地址
[root@localhost ~]# systemctl enable  postfix --now
注:使用postfix邮箱服务器时,主机名必须使用 localhost 本地主机名,否则会发生报错
构建Git服务器YUM仓库
wget https://mirrors.tuna.tsinghua.edu.cn/gitlab-ce/yum/el7/gitlab-ce-9.1.0-ce.0.el7.x86_64.rpm

[root@localhost ~]# yum -y install gitlab-ce-9.1.0-ce.0.el7.x86_64.rpm

配置GitLab
[root@localhost ~]# gitlab-ctl reconfigure                        #reconfigure:重新配置
#配置过程GitLab程序会自己部署环境,供用户访问,并加载前端页面,及后台数据库
浏览主机名和登录名
GitLab占用80端口,访问时直接访问IP就可
http://192.168.100.10/
第一次访问会让你确认root账户登录密码
 登录
登录

欢迎界面

为GitLab创建项目

因为实验的关系设置为所有人可访问

推送SSH秘钥
根据秘钥提示创建免密

生成秘钥
[root@localhost ~]# ssh-keygen
上传秘钥
用户 > 设置 > SSH Keys
[root@localhost ~]# cat .ssh/id_rsa.pub


使用GitLab
图形操作
上传文件到GitLab
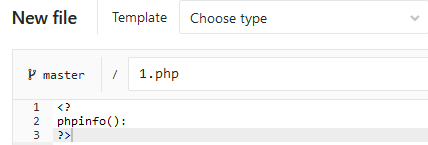
左上角projects > + > New file

编辑新文档

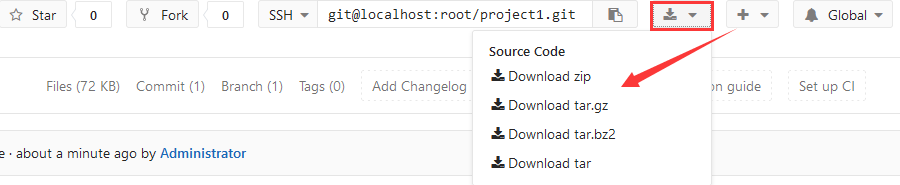
下载文件
命令行操作
复制HTTP地址及SSH地址

http://root@localhost/root/project1.git
git@localhost:root/project1.git
克隆服务器的文件
[root@localhost ~]# git config --global user.name "root"             #声明登录账号
[root@localhost ~]# git config --global user.email "root@localhost"  #声明邮箱地址
[root@localhost ~]# git clone git@localhost:root/project1.git        #克隆文件以SSH git为来宾账号
上传文件
[root@localhost project1]# pwd                                                   #与项目同名文件夹
/root/project1
[root@localhost project1]# echo 11111 > 333.sh
[root@localhost project1]# git init                                              #初始化
[root@localhost project1]# git remote add origin git@localhost:root/project1.git #远程添加服务器
[root@localhost project1]# git add .                                             #追加当前目录
[root@localhost project1]# git commit -m 'Pakho 2021-6-8'                        #提交上传说明
[root@localhost project1]# git push -u origin master                             #向服务器上传


 1887
1887


 被折叠的 条评论
为什么被折叠?
被折叠的 条评论
为什么被折叠?
 到【灌水乐园】发言


