


在浏览器中运行vite的vue3项目
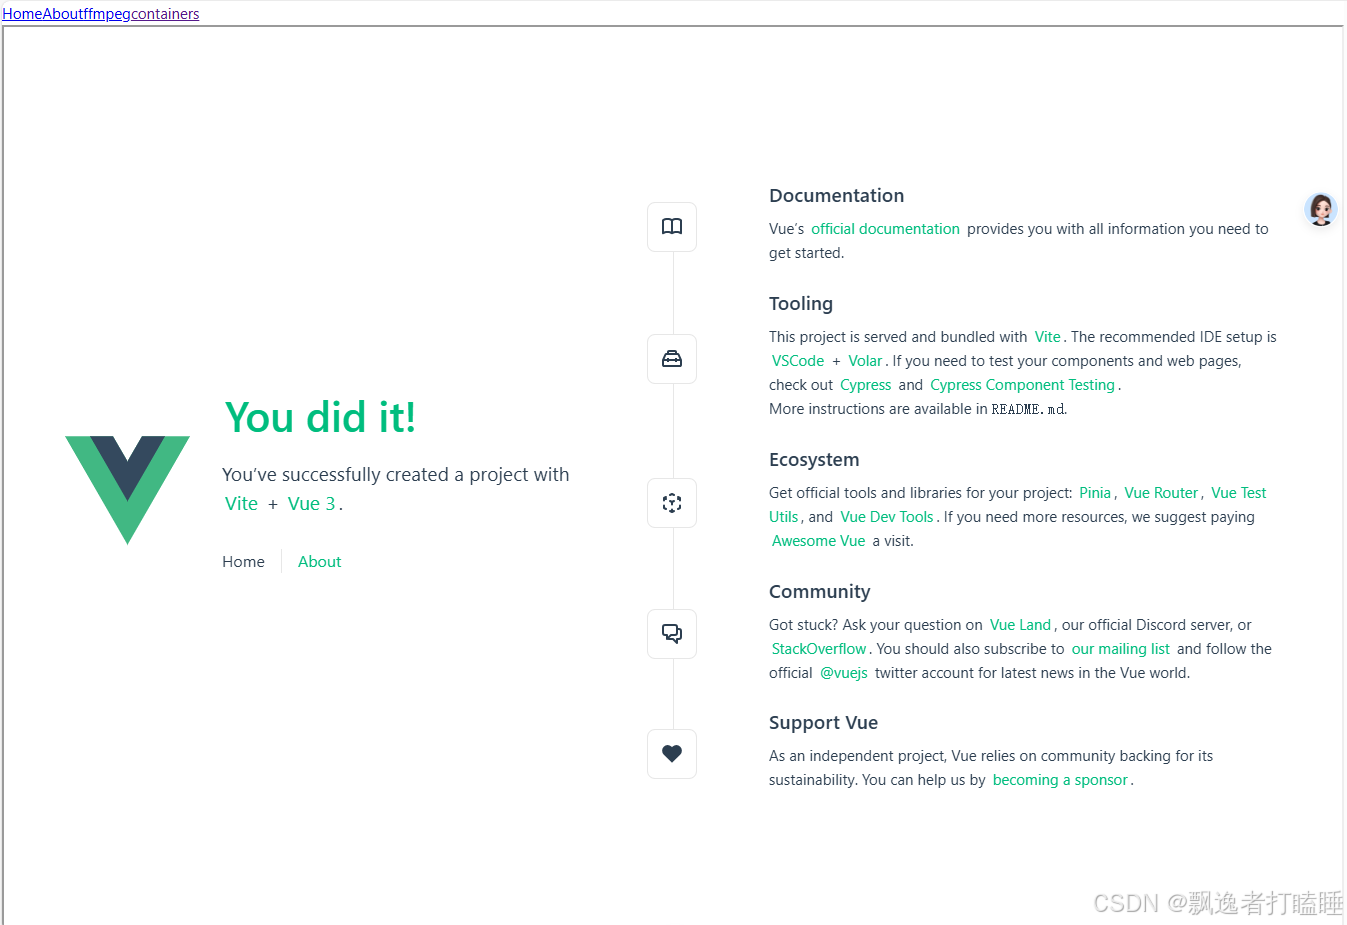
最终效果
主要流程
加载WebContainer=》加载代码压缩包=>解压代码压缩包=》生成文件树=》挂载文件树=》pnpm安装依赖=》启动项目
代码
<script setup>
import { onMounted, ref } from 'vue'
import { WebContainer } from "@webcontainer/api";
import { mountZip } from '@/views/Containers/utls.js'
const webUrl = ref("");
const codeZip = '/code/vue-project.zip'
async function initContainer() {
  console.log("挂载")
  // Call only once
  const webcontainerInstance = await WebContainer.boot();
  const nodeV = await webcontainerInstance.spawn("node", ["-v"]);
  nodeV.output.pipeTo(
    new WritableStream({
      write(data) {
        console.log("node -v ==>", data);
      },
    })
  );
  const fileTree =  await mountZip(codeZip)
  console.log('挂载文件',fileTree)
  // 1. 挂载文件
  await webcontainerInstance.mount(fileTree);
  console.log("ls");
  const ls = await webcontainerInstance.spawn("ls", ["-al"]);
  ls.output.pipeTo(
    new WritableStream({
      write(data) {
        console.log(data);
      },
    })
  );
  // 2. 下载依赖
  console.log("pnpm install");
  const install = await webcontainerInstance.spawn("pnpm", ["install"]);
  install.output.pipeTo(
    new WritableStream({
      write(data) {
        console.log(data);
      },
    })
  );
  // 3. 判断exit 状态
  let code = await install.exit;
  if (code !== 0) {
    console.error("error to install.");
  }

  // 4. 启动服务
  console.log("npm run dev");
  const process = await webcontainerInstance.spawn("npm", ["run","dev"]);
  process.output.pipeTo(
    new WritableStream({
      write(data) {
        console.log(data);
      },
    })
  );
  // 5. 监听服务启动
  webcontainerInstance.on("server-ready", (port, url) => {
    console.log("server-ready", url);
    webUrl.value = url;
  });
}


onMounted(() => {
  mountZip(codeZip)
  initContainer()
})
</script>

<template>
<div>
  <iframe :src="webUrl" style="height: 100vh;width: 100%"/>
</div>
</template>

<style scoped>

</style>
工具函数
import JSZip from 'jszip'
export async function  mountZip(zipUrl){
  console.log("读取zip文件",zipUrl)
  const fileTree = {}
  try {
    // 使用 fetch 获取 ZIP 数据
    const response = await fetch(zipUrl);
    const buffer = await response.arrayBuffer();

    // 使用 JSZip 处理获取到的数据
    const zip = new JSZip();
    const zipContents = await zip.loadAsync(buffer);

    // 处理解压后的内容
    for (const [relativePath, file] of Object.entries(zipContents.files)) {
      // console.log('relativePath',relativePath)
      if(file.dir){
        let dirList = relativePath.split('/')
        // console.log('dirList',dirList)
        if(dirList.length > 2){
          let tmp = fileTree
          for (let i = 0; i < dirList.length - 1; i++) {
            // console.log('tmp(dirList[i]',tmp[dirList[i]])
            if(tmp[dirList[i]]){
              tmp = tmp[dirList[i]].directory
            }else{
              tmp[dirList[i]] = {
                directory: {},
              }
            }
          }
        }else{
          fileTree[dirList[0]] = {
            directory: {},
          }
        }
      }else{
        let dirList = relativePath.split('/')
        // console.log('dirList',dirList)
        if(dirList.length > 1) {
          let tmp = fileTree
          for (let i = 0; i < dirList.length - 1; i++) {
            // console.log('tmp(dirList[i]', tmp[dirList[i]])
            if (tmp[dirList[i]]) {
              tmp = tmp[dirList[i]].directory
            } else {
              tmp[dirList[i]] = {
                directory: {},
              }
            }
          }
          // console.log('tmp',tmp)
          tmp[dirList[dirList.length - 1]] = {
            file: {
              contents: await file.async('string')
            },
          }
        }else{
          // console.log('根目录文件',dirList)
          fileTree[dirList[dirList.length - 1]] = {
            file: {
              contents: await file.async('string')
            },
          }
        }
      }
    }
  } catch (error) {
    console.error('获取 ZIP 数据时出错:', error);
  }
  console.log('fileTree',fileTree)
  return fileTree
}


 1430
1430

 被折叠的 条评论
为什么被折叠?
被折叠的 条评论
为什么被折叠?
 到【灌水乐园】发言


