


Python可以玩的方向有很多,比如爬虫、预测分析、GUI、自动化、图像处理、可视化等等,可能只需要十几行代码就能实现酷炫的功能。
因为Python是动态脚本语言,所以代码逻辑比Java要简要很多,实现同样的功能少写很多代码。而且Python生态有众多的第三方工具库,把功能都封装在包里,只需要你调用接口,就能使用复杂的功能。
下面举几个简单好玩的脚本例子,初学者可以照着代码写写,能快速掌握python语法。
1、使用PIL、Matplotlib、Numpy对模糊老照片进行修复

# encoding=utf-8 import numpy as np import matplotlib.pyplot as plt from PIL import Image import os.path # 读取图片 img_path = "E:\\test.jpg" img = Image.open(img_path) # 图像转化为numpy数组 img = np.asarray(img) flat = img.flatten() # 创建函数 def get_histogram(image, bins): # array with size of bins, set to zeros histogram = np.zeros(bins) # loop through pixels and sum up counts of pixels for pixel in image: histogram[pixel] += 1 # return our final result return histogram # execute our histogram function hist = get_histogram(flat, 256) # execute the fn cs = np.cumsum(hist) # numerator & denomenator nj = (cs - cs.min()) * 255 N = cs.max() - cs.min() # re-normalize the cumsum cs = nj / N # cast it back to uint8 since we can't use floating point values in images cs = cs.astype('uint8') # get the value from cumulative sum for every index in flat, and set that as img_new img_new = cs[flat] # put array back into original shape since we flattened it img_new = np.reshape(img_new, img.shape) # set up side-by-side image display fig = plt.figure() fig.set_figheight(15) fig.set_figwidth(15) # display the real image fig.add_subplot(1, 2, 1) plt.imshow(img, cmap='gray') plt.title("Image 'Before' Contrast Adjustment") # display the new image fig.add_subplot(1, 2, 2) plt.imshow(img_new, cmap='gray') plt.title("Image 'After' Contrast Adjustment") filename = os.path.basename(img_path) # plt.savefig("E:\\" + filename) plt.show()
2、将文件批量压缩,使用zipfile库
import os import zipfile from random import randrange def zip_dir(path, zip_handler): for root, dirs, files in os.walk(path): for file in files: zip_handler.write(os.path.join(root, file)) if __name__ == '__main__': to_zip = input(""" Enter the name of the folder you want to zip (N.B.: The folder name should not contain blank spaces) > """) to_zip = to_zip.strip() + "/" zip_file_name = f'zip{randrange(0,10000)}.zip' zip_file = zipfile.ZipFile(zip_file_name, 'w', zipfile.ZIP_DEFLATED) zip_dir(to_zip, zip_file) zip_file.close() print(f'File Saved as {zip_file_name}')
3、使用tkinter制作计算器GUI
tkinter是python自带的GUI库,适合初学者练手创建小软件

import tkinter as tk root = tk.Tk() # Main box window root.title("Standard Calculator") # Title shown at the title bar root.resizable(0, 0) # disabling the resizeing of the window # Creating an entry field: e = tk.Entry(root, width=35, bg='#f0ffff', fg='black', borderwidth=5, justify='right', font='Calibri 15') e.grid(row=0, column=0, columnspan=3, padx=12, pady=12) def buttonClick(num): # function for clicking temp = e.get( ) # temporary varibale to store the current input in the screen e.delete(0, tk.END) # clearing the screen from index 0 to END e.insert(0, temp + num) # inserting the incoming number input def buttonClear(): # function for clearing e.delete(0, tk.END) # 代码过长,部分略
4、PDF转换为Word文件
使用pdf2docx库,可以将PDF文件转为Word格式

from pdf2docx import Converter import os import sys # Take PDF's path as input pdf = input("Enter the path to your file: ") assert os.path.exists(pdf), "File not found at, "+str(pdf) f = open(pdf,'r+') #Ask for custom name for the word doc doc_name_choice = input("Do you want to give a custom name to your file ?(Y/N)") if(doc_name_choice == 'Y' or doc_name_choice == 'y'): # User input doc_name = input("Enter the custom name : ")+".docx" else: # Use the same name as pdf # Get the file name from the path provided by the user pdf_name = os.path.basename(pdf) # Get the name without the extension .pdf doc_name = os.path.splitext(pdf_name)[0] + ".docx" # Convert PDF to Word cv = Converter(pdf) #Path to the directory path = os.path.dirname(pdf) cv.convert(os.path.join(path, "", doc_name) , start=0, end=None) print("Word doc created!") cv.close()
5、Python自动发送邮件
使用smtplib和email库可以实现脚本发送邮件

import smtplib import email # 负责构造文本 from email.mime.text import MIMEText # 负责构造图片 from email.mime.image import MIMEImage # 负责将多个对象集合起来 from email.mime.multipart import MIMEMultipart from email.header import Header # SMTP服务器,这里使用163邮箱 mail_host = "smtp.163.com" # 发件人邮箱 mail_sender = "******@163.com" # 邮箱授权码,注意这里不是邮箱密码,如何获取邮箱授权码,请看本文最后教程 mail_license = "********" # 收件人邮箱,可以为多个收件人 mail_receivers = ["******@qq.com","******@outlook.com"] mm = MIMEMultipart('related') # 邮件主题 subject_content = """Python邮件测试""" # 设置发送者,注意严格遵守格式,里面邮箱为发件人邮箱 mm["From"] = "sender_name<******@163.com>" # 设置接受者,注意严格遵守格式,里面邮箱为接受者邮箱 mm["To"] = "receiver_1_name<******@qq.com>,receiver_2_name<******@outlook.com>" # 设置邮件主题 mm["Subject"] = Header(subject_content,'utf-8') # 邮件正文内容 body_content = """你好,这是一个测试邮件!""" # 构造文本,参数1:正文内容,参数2:文本格式,参数3:编码方式 message_text = MIMEText(body_content,"plain","utf-8") # 向MIMEMultipart对象中添加文本对象 mm.attach(message_text) # 二进制读取图片 image_data = open('a.jpg','rb') # 设置读取获取的二进制数据 message_image = MIMEImage(image_data.read()) # 关闭刚才打开的文件 image_data.close() # 添加图片文件到邮件信息当中去 mm.attach(message_image) # 构造附件 atta = MIMEText(open('sample.xlsx', 'rb').read(), 'base64', 'utf-8') # 设置附件信息 atta["Content-Disposition"] = 'attachment; filename="sample.xlsx"' # 添加附件到邮件信息当中去 mm.attach(atta) # 创建SMTP对象 stp = smtplib.SMTP() # 设置发件人邮箱的域名和端口,端口地址为25 stp.connect(mail_host, 25) # set_debuglevel(1)可以打印出和SMTP服务器交互的所有信息 stp.set_debuglevel(1) # 登录邮箱,传递参数1:邮箱地址,参数2:邮箱授权码 stp.login(mail_sender,mail_license) # 发送邮件,传递参数1:发件人邮箱地址,参数2:收件人邮箱地址,参数3:把邮件内容格式改为str stp.sendmail(mail_sender, mail_receivers, mm.as_string()) print("邮件发送成功") # 关闭SMTP对象 stp.quit()
小结
Python还有很多好玩的小脚本,你可以根据自己的场景来编写,也可以使用现成的第三方库。

加入知识星球**【我们谈论数据科学】**
**500+**小伙伴一起学习!
* * *
* * *
[](https://mp.weixin.qq.com/s/3H1HK9_TOU5cHv9lzLA7xA)

**点击下方安全链接前往获取**
**[CSDN大礼包:《Python入门&进阶学习资源包》免费分享](https://mp.weixin.qq.com/s/b5jwyLC8FsKhg6O8ynyPUA)**
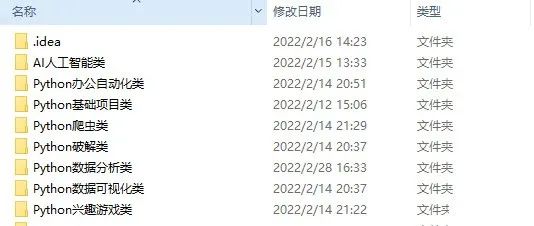
### 👉**Python实战案例**👈
光学理论是没用的,要学会跟着一起敲,要动手实操,才能将自己的所学运用到实际当中去,这时候可以搞点实战案例来学习。
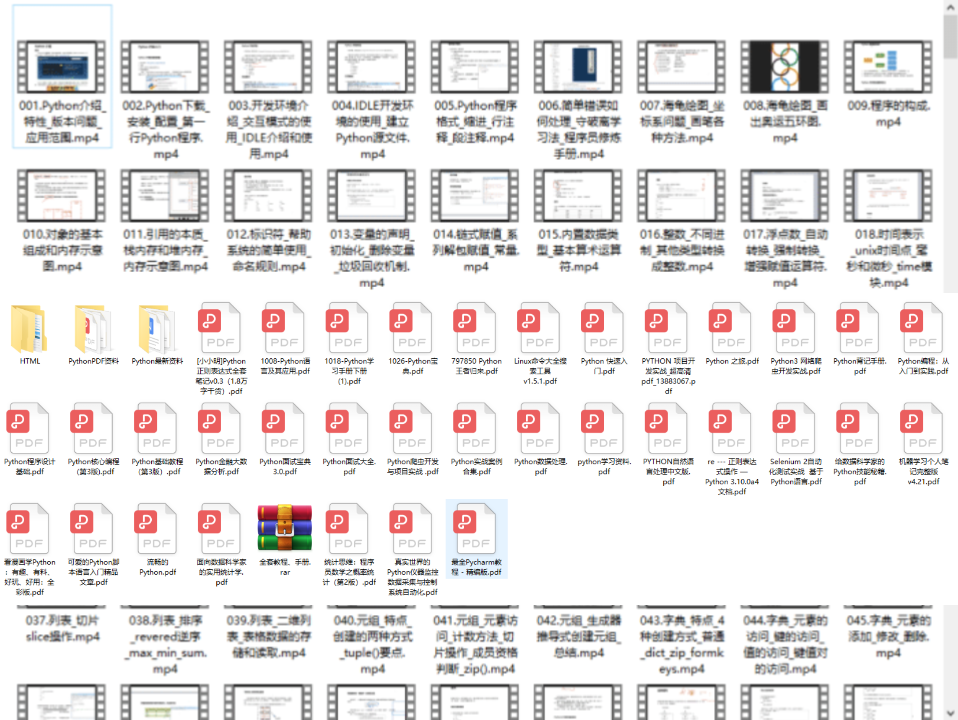
### **👉Python书籍和视频合集**👈
观看零基础学习视频,看视频学习是最快捷也是最有效果的方式,跟着视频中老师的思路,从基础到深入,还是很容易入门的。
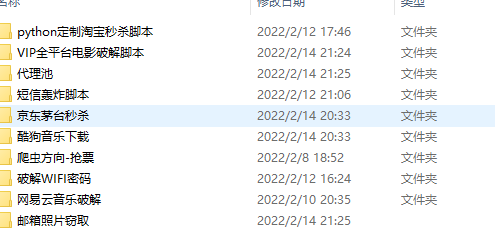
### 👉**Python副业创收路线**👈

**这些资料都是非常不错的**,朋友们如果有需要《Python学习路线&学习资料》,**点击下方安全链接前往获取**
**[CSDN大礼包:《Python入门&进阶学习资源包》免费分享](https://mp.weixin.qq.com/s/b5jwyLC8FsKhg6O8ynyPUA)**
本文转自网络,如有侵权,请联系删除。


 412
412

 被折叠的 条评论
为什么被折叠?
被折叠的 条评论
为什么被折叠?
 到【灌水乐园】发言


