


1. Install Liferay Developer Studio
2. Download maven
3. set maven in your environment
4. configure maven plugins with IDE
1) Help->Eclipse Marketplace->Search, then input “maven”
2) It shows some maven plugins
3) I choose Maven Integration for Eclipse WTP(Incubation), after installed, it looks like this.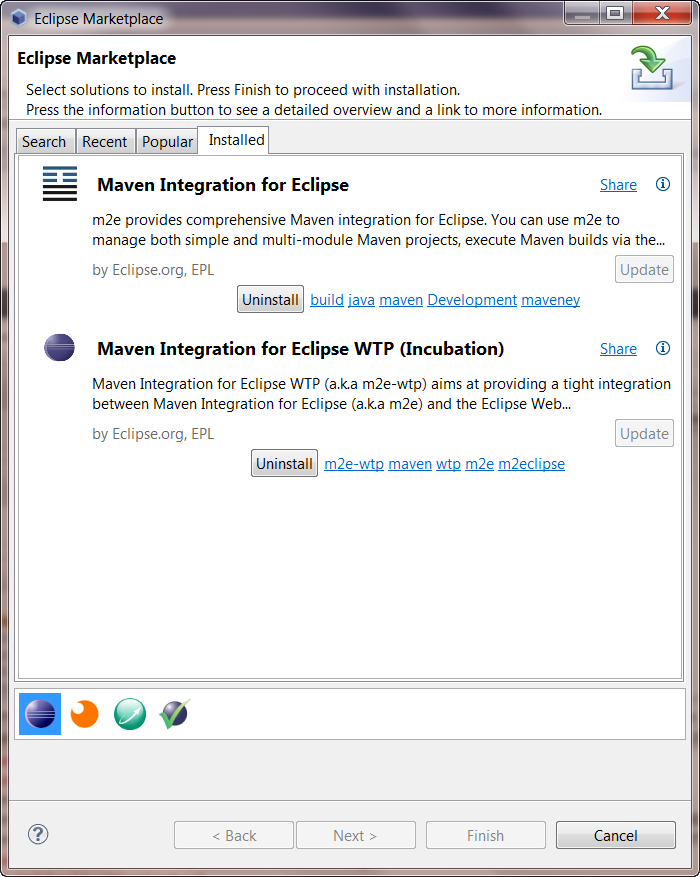
5. create Maven project with liferay
1)New->Other-> Maven-> Maven Project
2) The next step is to select the location of our file, I just use default
3) set filter and select “liferay-portlet-archetype”
4) fill “Group Id” and others. Like the photo shows
5) When it’s done, you’ll find there’s a big error on the project. Don’t worry, we’ll figure it out later.
6) Copy “tld” folder from you previous ant project, like this
7) modify web.xml like this
8) modify pom.xml only inside the project’s folder
8.1) change ${liferay.version} to your real liferay version
8.2) modify <autoDeployDir>${liferay.auto.deploy.dir}</autoDeployDir>
to your real liferay deploy dir
9) build project
9.1) Right click the project, then select “Maven Build...”, then it will show the wizard like this
9.2) input “liferay:deploy”in the “Goals”, then click “Apply”, click “Close”, don’t click “Run”
9.3) Then select “Maven Install”, when you see “Build Success”, it’s OK now.
9.4) Then select “Maven Build”. It’s different from the first one.
10) Now every time you make a change and want to test it, you select Maven install from Run As to build the war file and then select Maven build to deploy it to the server.


 被折叠的 条评论
为什么被折叠?
被折叠的 条评论
为什么被折叠?
 到【灌水乐园】发言


