vue pc端微信扫码登录
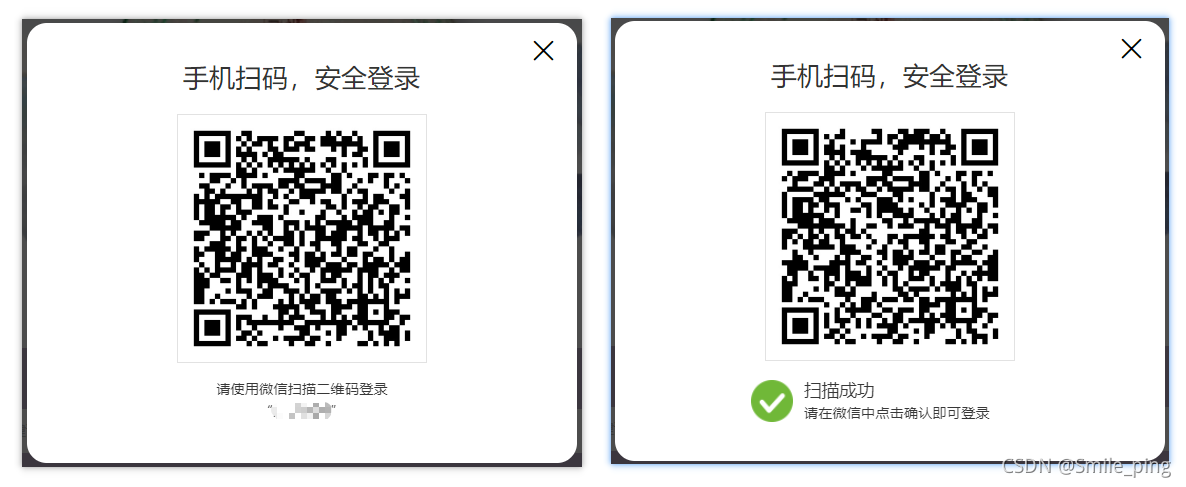
效果图
方式一:npm
安装并引入插件
wxlogin
npm install vue-wxlogin -S
import wxlogin from 'vue-wxlogin';
components: {
wxlogin
}
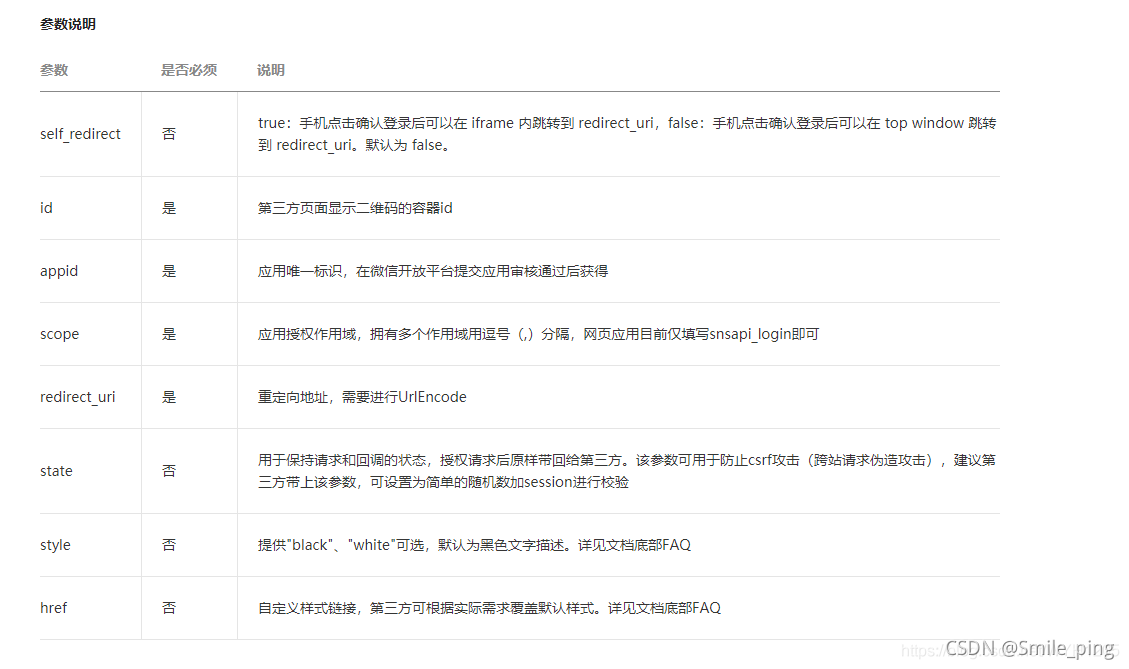
参数说明
使用
<wxlogin
	class="login"
    appid="wxappid"
    :scope="'snsapi_login'"
    :theme="'black'"
    :redirect_uri='encodeURIComponent(`https://www.test.com/project/#${fullPath}`)'
    :href="'data:text/css;base64,LmltcG93ZXJCb3ggLnRpdGxlIHsKICBkaXNwbGF5OiBub25lOwp9Ci5pbXBvd2VyQm94IC5xcmNvZGUgewogIHdpZHRoOiAyMjVweDsKICBoZWlnaHQ6IDIyNXB4Owp9'"
	:state="`${Math.random()}`"
 >
</wxlogin>
自定义样式
- 把自定义的样式,转换为base64格式
- 使用
text/css模式
// 根据需求自定义二维码样式
.impowerBox .title {
  	display: none;
}
.impowerBox .status.status_browser {
  	display: none;
}
.impowerBox .qrcode {
  	border: none;
  	width: 225px;
  	height: 225px;
}
.impowerBox .status{
  	display: none
}
方式二:通过js
引用js文件
<script src="https://res.wx.qq.com/connect/zh_CN/htmledition/js/wxLogin.js"></script>
vue
<div id="container">
	<div id="wxLogin"></div>
</div>
使用
<script>
export default {
data() {
return {
QRCodeStyle: `data:text/css;base64,QGNoYXJzZXQgIlVURi04IjsNCi5pbXBvd2VyQm94IC50aXRsZSB7ZGlzcGxheTogbm9uZTt9DQouaW1wb3dlckJveCAuaW5mbyB7ZGlzcGxheTogbm9uZTt9DQouc3RhdHVzX2ljb24ge2Rpc3BsYXk6IG5vbmV9DQouaW1wb3dlckJveCAuc3RhdHVzIHt0ZXh0LWFsaWduOiBjZW50ZXI7fSANCg==`
}
},
mounted() {
getWxLogin();
},
methods: {
getWxLogin() {
let url = 'https://www.xxxxx/#/shop';
var obj = new WxLogin({
id: "wxLogin",
appid: "wxappid",
scope: "snsapi_login",
redirect_uri: encodeURIComponent(url),
state: Math.ceil(Math.random() * 1000),
style: 'black',
href: this.QRCodeStyle
});
}
}
}
</script>
注意
- redirect_uri: 回调地址,进行编码【encodeURIComponent】
- redirect_uri: 确定登录后会重定向url上携带
code、state参数 - 首先,在开放平台申请账号,认证,创建网站应用
https://www.test.com/project/#/login?code=xxx&state=xxx


 1301
1301

 被折叠的 条评论
为什么被折叠?
被折叠的 条评论
为什么被折叠?
 到【灌水乐园】发言


