牙叔教程 简单易懂
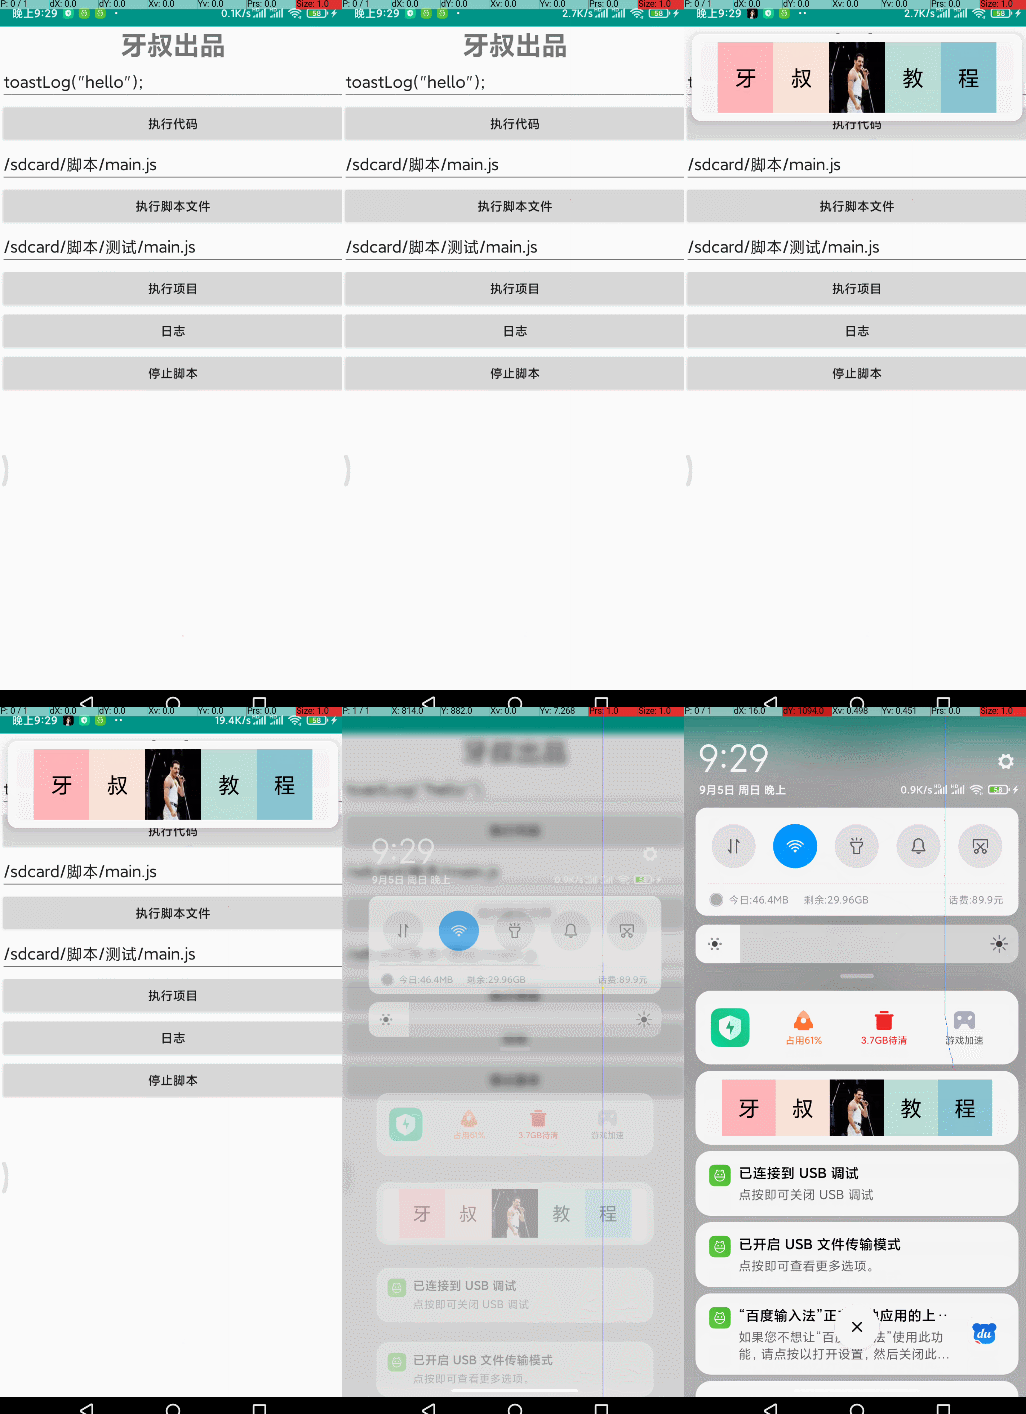
效果展示

环境
Autojs版本: 9.0.5
Android版本: 10.0.0
MIUI版本: 12.5.1
MT管理器版本: 2.9.9
Android Studio 4.1.2
思路
要自定义通知栏界面, 那就需要实例化RemoteViews,
RemoteViews构造函数如下:
public RemoteViews(String packageName, int layoutId) {
  throw new RuntimeException("Stub!");
}
第一个参数是包名, 第二个是layout的id,
包名好说, 一个字符串而已,
重点是layoutId如何获取, 这就是MT管理器的作用了
获取RemoteViews步骤
- 用Android Studio设计好layout, 通知栏的界面一般都很简单, 你没见过特别复杂的通知栏吧
- 将调试好的app打包成apk
- 用autojs打包一个用于调试的apk
- 用mt管理器把安卓app里面的layout.xml文件添加到autojs打包的app中
- 添加layout中引用的资源到autojs打包的app中
- 直接引用资源即可com.yashu.yashu.R$layout.layout_float_window
自定义的通知栏界面
<?xml version="1.0" encoding="UTF-8"?>
<LinearLayout xmlns:android="http://schemas.android.com/apk/res/android">
    <TextView />
    <TextView />
    <ImageView android:background="@drawable/yashu" />
    <TextView />
    <TextView  />
</LinearLayout>
该界面只用了一个资源, 就是yashu.png, 只要添加到drawable中即可
代码讲解
1. 导入类
importClass(android.app.NotificationManager);
importClass(android.app.Notification);
importClass(android.graphics.BitmapFactory);
importClass(android.content.Context);
importClass(android.app.NotificationChannel);
importClass(android.net.Uri);
importClass(android.widget.RemoteViews);
importClass(java.io.FileInputStream);
importClass(android.graphics.drawable.Icon);
2. 获取icon
function getIcon(icon_path, largeBitmap) {
  largeBitmap = BitmapFactory.decodeStream(new FileInputStream(icon_path));
  return {
    icon: Icon.createWithBitmap(largeBitmap),
    largeBitmap: largeBitmap,
  };
}
3. build
let id = "channel_1";
let description = "143";
let importance = NotificationManager.IMPORTANCE_LOW;
let channel = new NotificationChannel(id, description, importance);
manager.createNotificationChannel(channel);
let remoteViews = new RemoteViews(context.packageName, com.yashu.yashu.R$layout.layout_float_window); //通知栏布局
let notification = new Notification.Builder(context, id)
  .setCategory(Notification.CATEGORY_MESSAGE)
  .setSmallIcon(getIcon(icon_path).icon)
  .setCustomContentView(remoteViews)
  .setAutoCancel(true)
  .build();
4. 设置横幅通知
notification.defaults = Notification.DEFAULT_SOUND;
notification.headsUpContentView = remoteViews;
5. 显示通知
manager.notify(1, notification);
名人名言
思路是最重要的, 其他的百度, bing, stackoverflow, 安卓文档, autojs文档, 最后才是群里问问
— 牙叔教程
声明
部分内容来自网络
本教程仅用于学习, 禁止用于其他用途
bilibili
微信公众号 牙叔教程

QQ群
747748653


 2844
2844


 被折叠的 条评论
为什么被折叠?


