


首先去配置路由

它这个页面 本身已经写好了一些路由,我们新加的接着后面写就行,就按照基本格式,或者根据需求

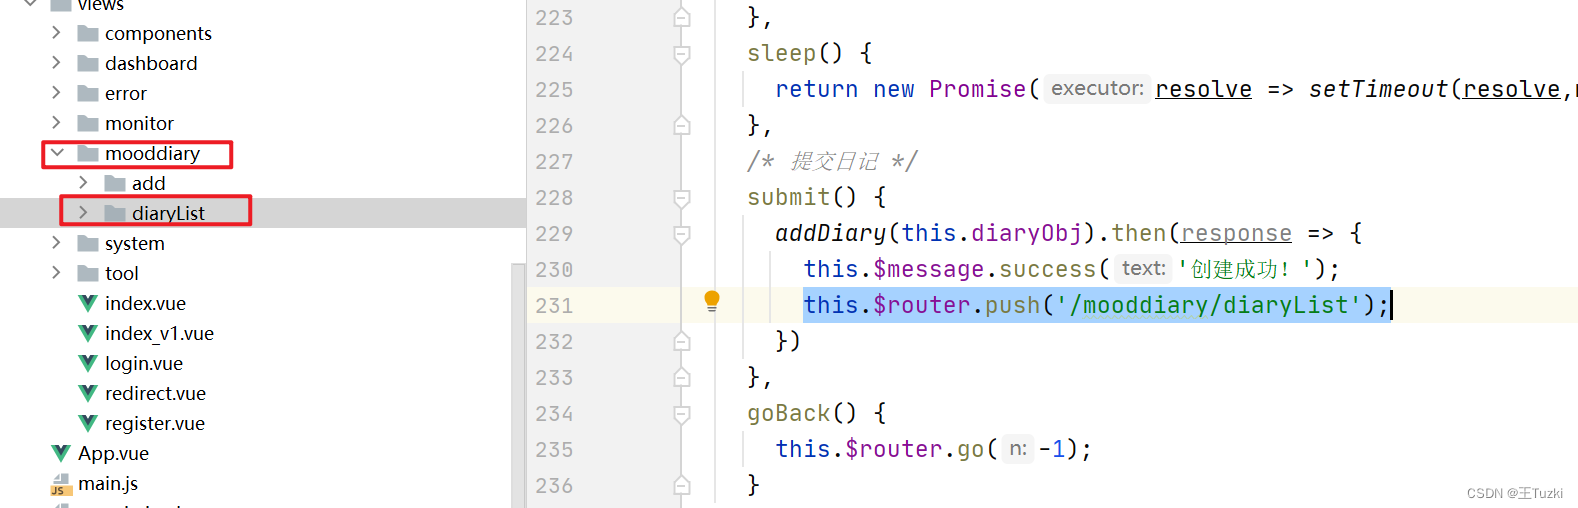
之后在跳转的方法里 调用:
不携带参数的
this.$router.push('/planArrange/add');
携带参数的
this.$router.push({path: 'disUpdate', query: {disObj: response.data}})
携带参数的,在接收页面这样接收:this.$route.query.参数名
this.disObj=this.$route.query.disObj
2024年6月8日更新
如果是在新建菜单的时候就把路由和代码文件夹对应上了,则不需要再另外配置路由,可以直接跳转


 4670
4670


 被折叠的 条评论
为什么被折叠?
被折叠的 条评论
为什么被折叠?
 到【灌水乐园】发言


