


 本文介绍了如何在Windows上安装PodmanDesktop,设置国内镜像源,配置Vearch镜像,创建虚拟机内的配置文件,并执行表的创建操作。
1:windows 安装podman desktop
登录podman官网下载podman deskptop安装程序,进行安装。
安装完成后,在podman desktop上面完成 podman 的setup设置
2:podman machine init
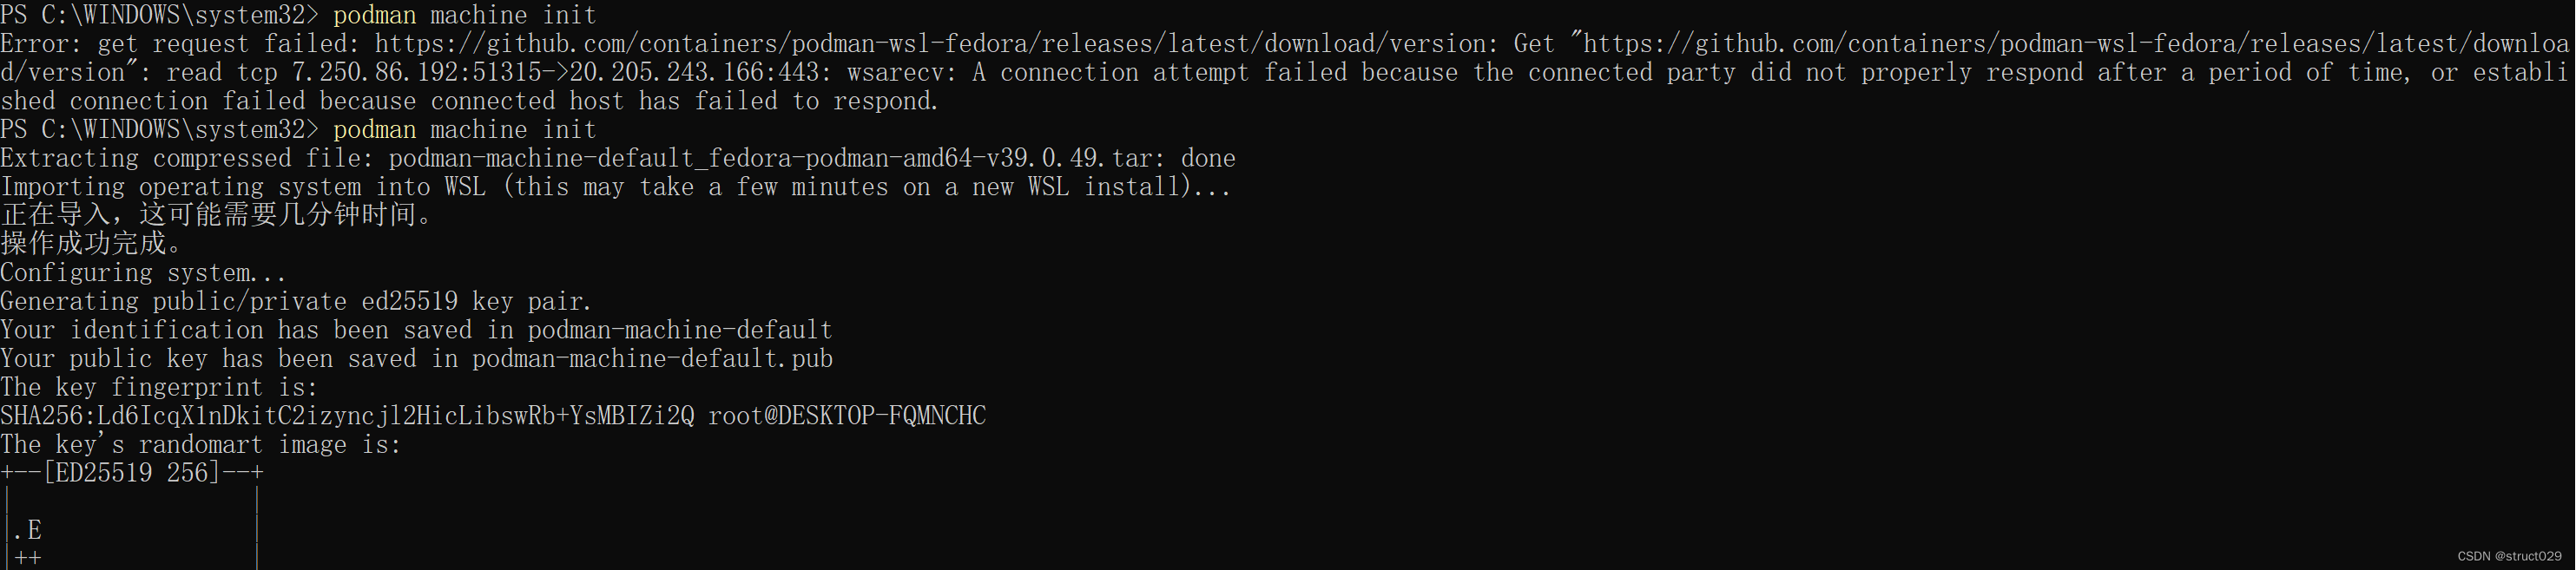
初始化完成之后,使用wsl命令查看

3:设置国内镜像
使用 podman machine ssh 登录到虚拟机
sudo vi /etc/containers/registries.conf
unqualified-search-registries = ["j5hlnxkk.mirror.aliyuncs.com","docker.mirrors.ustc.edu.cn","hub-mirror.c.163.com","registry.fedoraproject.org", "registry.access.redhat.com", "docker.io", "quay.io"]
[[docker.io]]
location = "docker.mirrors.ustc.edu.cn/"
[[docker.io]]
location = "j5hlnxkk.mirror.aliyuncs.com"
[[docker.io]]
location = "registry.cn-hangzhou.aliyuncs.com"
insecure = true
short-name-mode="enforcing"
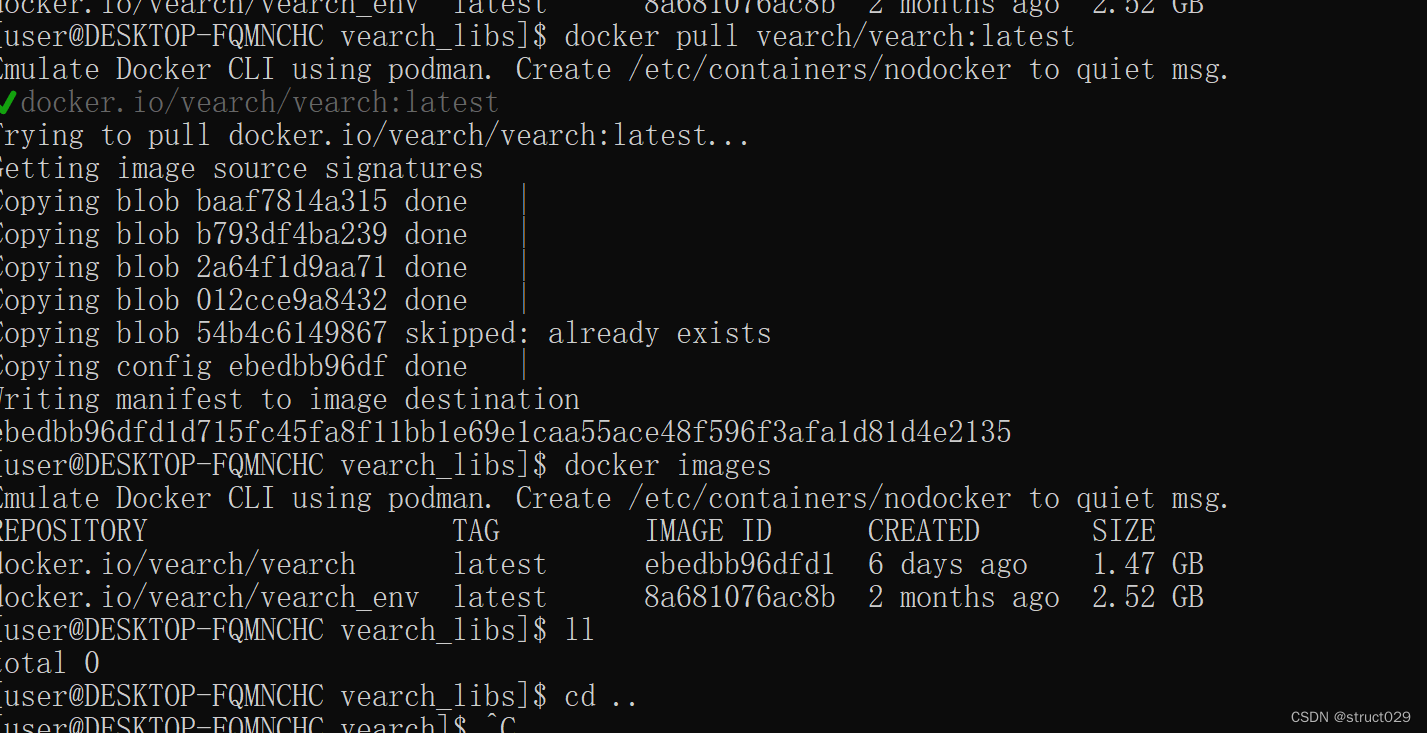
4: 下载vearch镜像
docker pull vearch/vearch:latest
5:在虚拟机内新建veach的配置文件
sudo mkdir -p /home/vearch/
cd /home/vearch/
vi config.toml
文件内容为注意端口要和启动容器时端口映射的一致:
[global]

    # the name will validate join cluster by same name
    name = "vearch"
    # you data save to disk path ,If you are in a production environment, You'd better set absolute paths
    data = ["/home/vearch/Data/baud/datas/"]
    # log path , If you are in a production environment, You'd better set absolute paths
    log = "/home/vearch/Data/baud/logs/"
    # default log type for any model
    level = "debug"
    # master <-> ps <-> router will use this key to send or receive data
    signkey = "vearch"
    skip_auth = true

# if you are master you'd better set all config for router and ps and router and ps use default config it so cool
[[masters]]
    # name machine name for cluster
    name = "master1"
    # ip or domain
    address = "127.0.0.1"
    # api port for http server
    api_port = 8818
    # port for etcd server
    etcd_port = 2378
    # listen_peer_urls List of comma separated URLs to listen on for peer traffic.
    # advertise_peer_urls List of this member's peer URLs to advertise to the rest of the cluster. The URLs needed to be a comma-separated list.
    etcd_peer_port = 2390
    # List of this member's client URLs to advertise to the public.
    # The URLs needed to be a comma-separated list.
    # advertise_client_urls AND listen_client_urls
    etcd_client_port = 2370
    skip_auth = true

[router]
    # port for server
    port = 9002
    # skip auth for client visit data
    skip_auth = true

[ps]
    # port for server
    rpc_port = 8081
    # raft config begin
    raft_heartbeat_port = 8898
    raft_replicate_port = 8899
    heartbeat-interval = 200 #ms
    raft_retain_logs = 10000
    raft_replica_concurrency = 1
    raft_snap_concurrency = 1
6:启动vearch镜像
注意不要使用sudo, 虚拟机端口:容器内端口映射。


7:使用命令创建表验证:
curl -XPUT -H "content-type:application/json" -d '{"name": "test"}' http://127.0.0.1:8821/db/_create


 768
768

 被折叠的 条评论
为什么被折叠?
被折叠的 条评论
为什么被折叠?
 到【灌水乐园】发言


