使用yolo进行行人检测(附模型和代码)

使用yolo进行行人检测(附模型和代码)

yolo

YOLO(You Only Look Once)是一种用于对象检测的深度学习算法。它的关键思想是在单个神经网络中直接预测图像中的对象边界框和类别,从而实现快速和准确的对象检测。
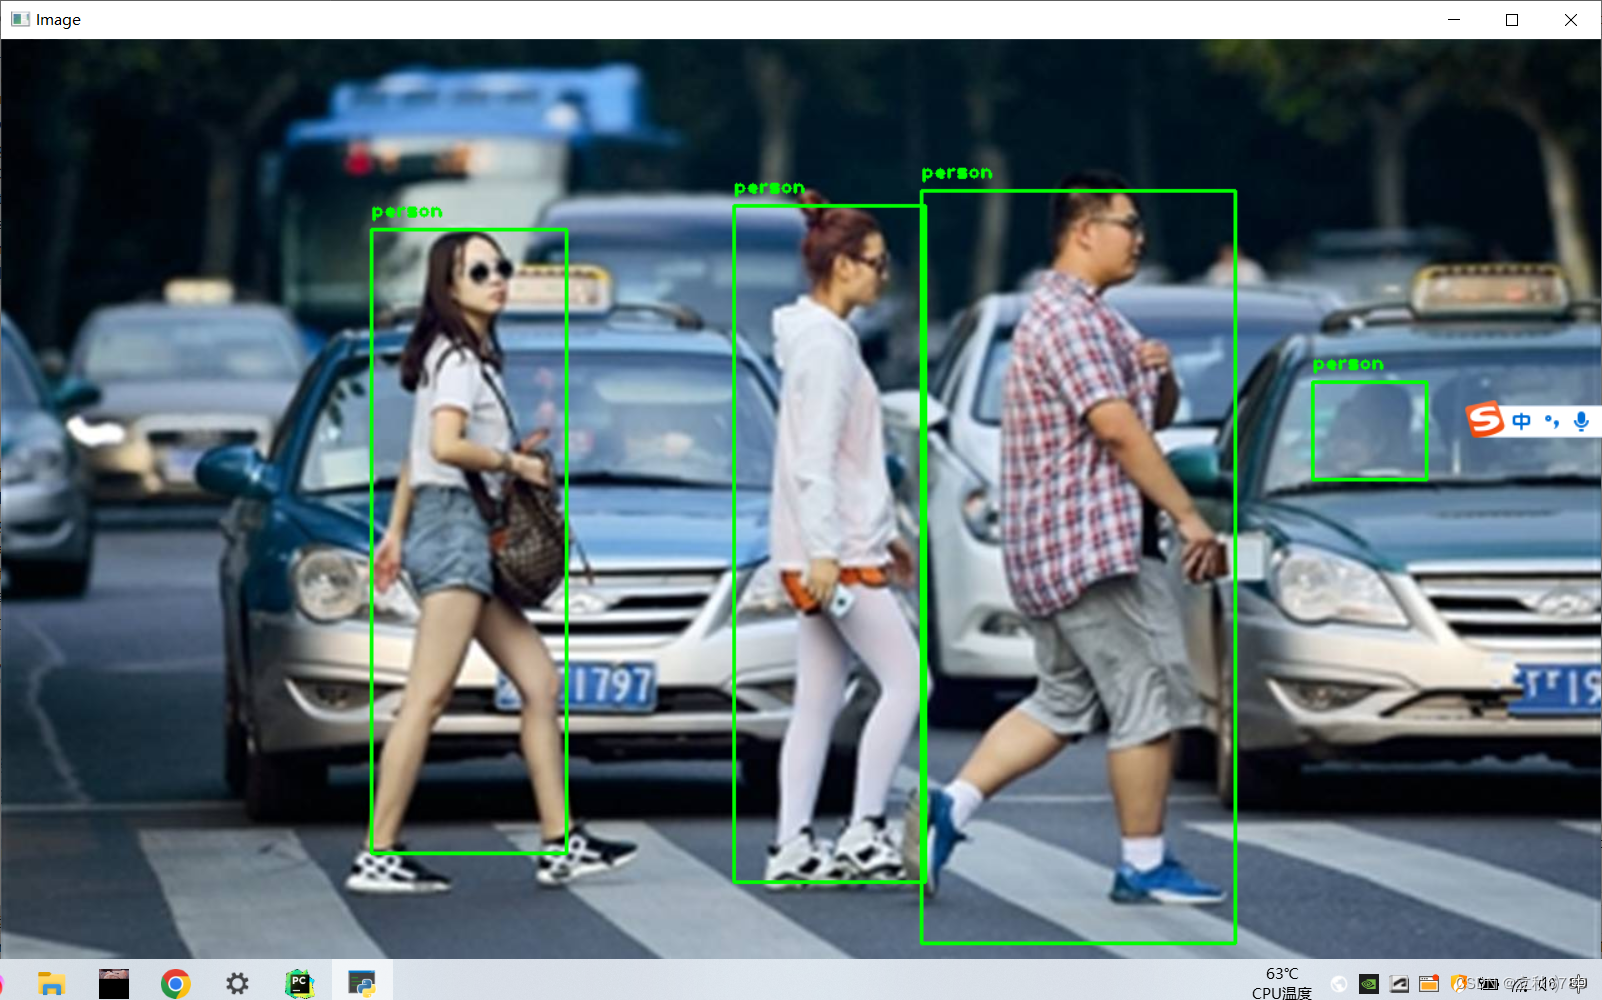
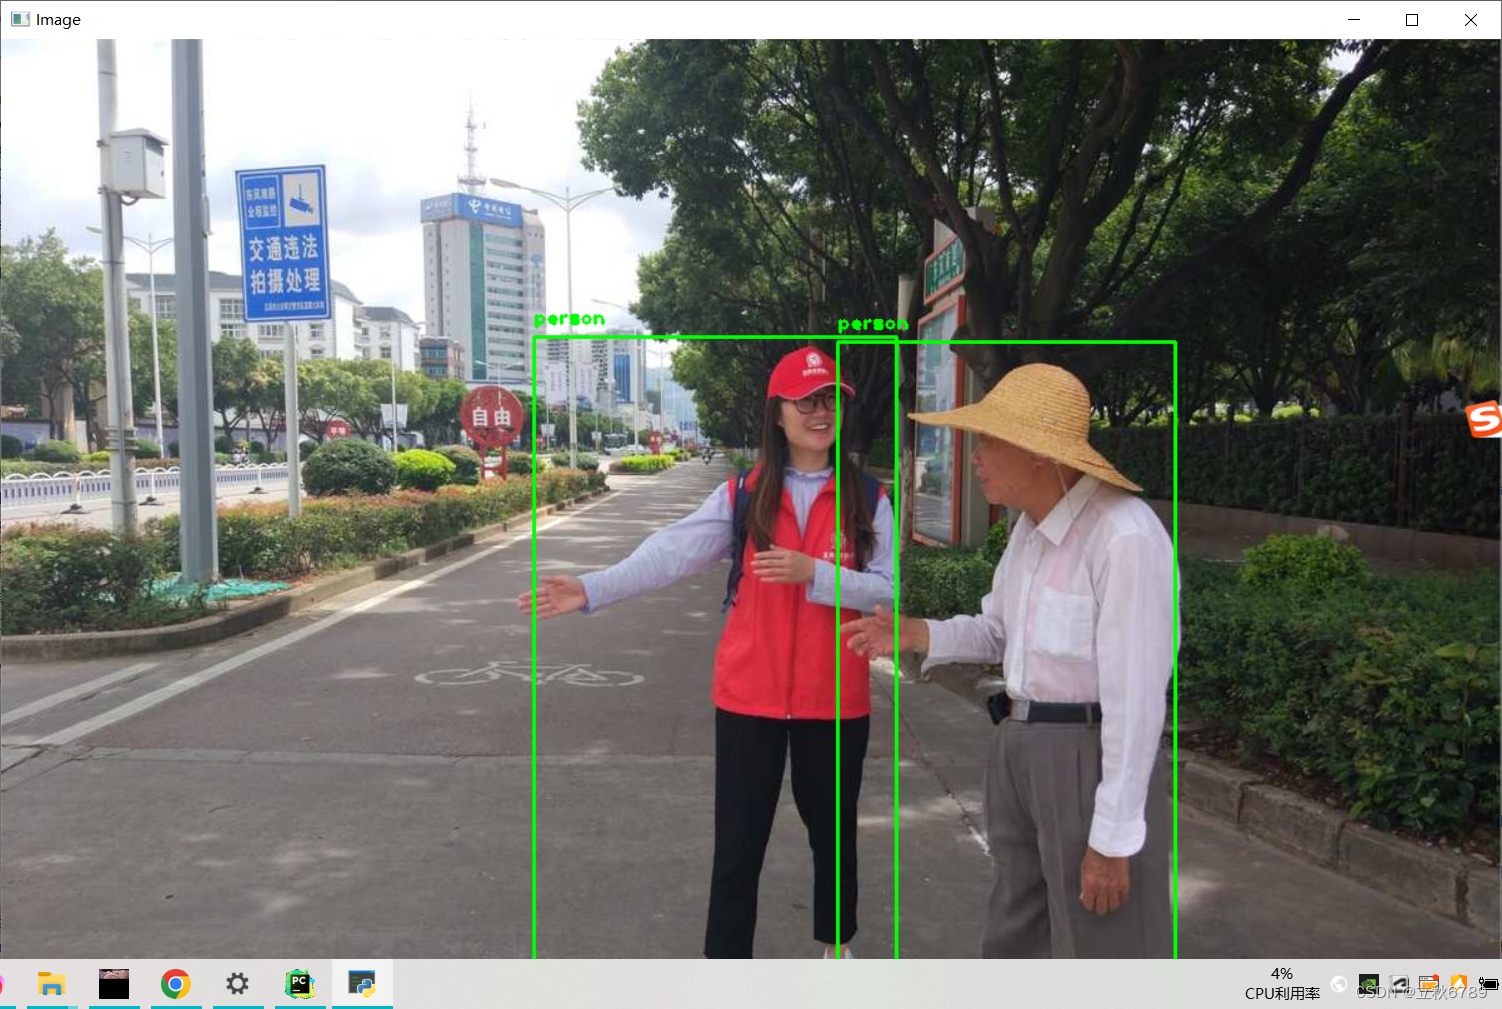
效果

在这里插入图片描述

在这里插入图片描述

代码

import cv2
import numpy as np

# 加载 YOLO
net = cv2.dnn.readNet("yolov3.weights", "yolov3.cfg")
with open("coco.names", "r") as f:
    classes = [line.strip() for line in f.readlines()]

layer_names = net.getLayerNames()
output_layers = [layer_names[i - 1] for i in net.getUnconnectedOutLayers()]

# 读取输入图像
image 
好的,下面是一个基于 YOLOv3 的行人检测代码示例,需要安装 `opencv-python` `numpy` 库。 ``` python import cv2 import numpy as np # 加载 YOLOv3 模型 net = cv2.dnn.readNet("yolov3.weights", "yolov3.cfg") classes = [] with open("coco.names", "r") as f: classes = [line.strip() for line in f.readlines()] layer_names = net.getLayerNames() output_layers = [layer_names[i[0] - 1] for i in net.getUnconnectedOutLayers()] # 加载图片,进行预处理 img = cv2.imread("test.jpg") height, width, channels = img.shape blob = cv2.dnn.blobFromImage(img, 0.00392, (416, 416), swapRB=True, crop=False) # 模型推理 net.setInput(blob) outs = net.forward(output_layers) # 解析模型输出,进行行人检测 class_ids = [] confidences = [] boxes = [] for out in outs: for detection in out: scores = detection[5:] class_id = np.argmax(scores) confidence = scores[class_id] if class_id == 0 and confidence > 0.5: # 只检测行人,置信度阈值为 0.5 center_x = int(detection[0] * width) center_y = int(detection[1] * height) w = int(detection[2] * width) h = int(detection[3] * height) x = int(center_x - w / 2) y = int(center_y - h / 2) boxes.append([x, y, w, h]) confidences.append(float(confidence)) class_ids.append(class_id) # 非极大值抑制,去重重叠的检测结果 indexes = cv2.dnn.NMSBoxes(boxes, confidences, 0.5, 0.4) font = cv2.FONT_HERSHEY_SIMPLEX for i in range(len(boxes)): if i in indexes: x, y, w, h = boxes[i] label = str(classes[class_ids[i]]) confidence = confidences[i] color = (0, 255, 0) cv2.rectangle(img, (x, y), (x + w, y + h), color, 2) cv2.putText(img, label + " " + str(round(confidence, 2)), (x, y + 30), font, 1, color, 2) # 显示结果 cv2.imshow("Image", img) cv2.waitKey(0) cv2.destroyAllWindows() ``` 需要注意的是,这个示例代码使用预训练模型进行行人检测,因此需要下载预训练模型权重文件 `yolov3.weights` 模型配置文件 `yolov3.cfg`,并将它们放在同一目录下。此外,还需要下载类别名称文件 `coco.names`。 如果您需要训练自己的 YOLOv3 行人检测模型,需要准备自己的数据集,并按照 YOLOv3 的输入格式进行处理。具体的实现方式细节可以参考 YOLOv3 的相关论文代码实现。
评论
添加红包

请填写红包祝福语或标题

红包个数最小为10个

红包金额最低5元

当前余额3.43前往充值 >
需支付:10.00
成就一亿技术人!
领取后你会自动成为博主和红包主的粉丝 规则
hope_wisdom
发出的红包

打赏作者

立秋6789

你的鼓励将是我创作的最大动力

¥1 ¥2 ¥4 ¥6 ¥10 ¥20
扫码支付:¥1
获取中
扫码支付

您的余额不足,请更换扫码支付或充值

打赏作者

实付
使用余额支付
点击重新获取
扫码支付
钱包余额 0

抵扣说明:

1.余额是钱包充值的虚拟货币,按照1:1的比例进行支付金额的抵扣。
2.余额无法直接购买下载,可以购买VIP、付费专栏及课程。

余额充值