


引言
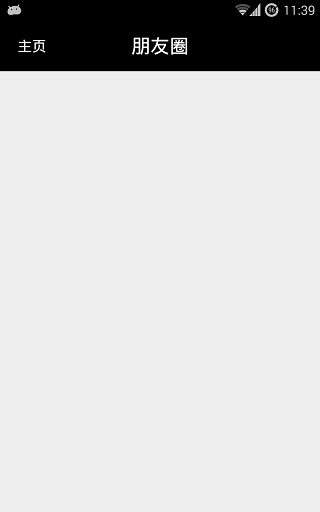
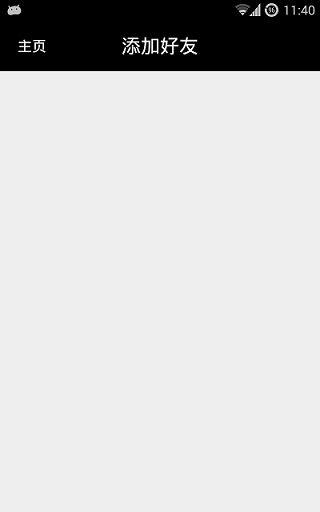
在软件开发过程中,大家可能都发现了这个问题,就是软件的标题栏样式几乎都是一样的,只是文字不同而已,就像下面的两张图片一样。为了减少重复代码,提高效率,同时也方便大家使用,咱们可以把标题栏通过组合的方式定义成一个控件。
实现步骤
步骤一:在values-attrs中定义控件要用到的属性,如下面的代码所示。这里我们定义了标题栏文字(textText),字体大小(textSize),字体颜色(textColor),左边按钮文字(leftBtnText),字体大小(leftBtnTextSize),字体颜色(leftTextColor),背景颜色(leftBgColor)。
<?xml version="1.0" encoding="utf-8"?>
<resources>
    <declare-styleable name="Topbar">
        <attr name="textText" format="string|reference" />
        <attr name="textSize" format="dimension|reference" />
        <attr name="textColor" format="color|reference" />
        <attr name="leftBtnText" format="string|reference"/>
        <attr name="leftBtnTextSize" format="dimension|reference"/>
        <attr name="leftTextColor" format="color|reference"/>
        <attr name="leftBgColor" format="color|reference"/>
    </declare-styleable>
</resources>
步骤二:定义类Topbar继承自RelativeLayout,具体代码如下。代码中定义了一个TextView显示标题文字,一个Button显示左侧按钮,定义了一个OnClickListenner来监听Button的点击,其他字段对应attrs中声明的属性。
public class Topbar extends RelativeLayout {
    private String title;
    private int textColor;
    private float textSize;
    private TextView txtTitle;
    private String leftText;
    private int leftTextColor;
    private int leftBgColor;
    private float leftTextSize;
    private Button btnLeft;
    private OnClickListener leftClickListener;


    public Topbar(Context context, AttributeSet attrs) {
        super(context, attrs);

        TypedArray ta = context.obtainStyledAttributes(attrs, R.styleable.Topbar);
        title = ta.getString(R.styleable.Topbar_textText);
        textColor = ta.getColor(R.styleable.Topbar_textColor, 0);
        textSize = ta.getDimension(R.styleable.Topbar_textSize, 20f);

        leftText=ta.getString(R.styleable.Topbar_leftBtnText);
        leftTextColor =ta.getColor(R.styleable.Topbar_leftTextColor, 0);
        leftBgColor =ta.getColor(R.styleable.Topbar_leftBgColor, 0);
        leftTextSize=ta.getDimension(R.styleable.Topbar_leftBtnTextSize, 12f);

        ta.recycle();

        txtTitle = new TextView(context);
        txtTitle.setTextColor(textColor);
        txtTitle.setTextSize(textSize);
        txtTitle.setText(title);

        btnLeft=new Button(context);
        btnLeft.setText(leftText);
        btnLeft.setTextSize(leftTextSize);
        btnLeft.setTextColor(leftTextColor);
        btnLeft.setBackgroundColor(leftBgColor);

        LayoutParams layoutParams = new LayoutParams(ViewGroup.LayoutParams.WRAP_CONTENT, ViewGroup.LayoutParams.WRAP_CONTENT);
        layoutParams.addRule(RelativeLayout.CENTER_IN_PARENT);
        addView(txtTitle, layoutParams);

        LayoutParams layoutParamsBtn = new LayoutParams(ViewGroup.LayoutParams.WRAP_CONTENT, ViewGroup.LayoutParams.WRAP_CONTENT);
        layoutParamsBtn.addRule(RelativeLayout.ALIGN_PARENT_LEFT);
        addView(btnLeft, layoutParamsBtn);

        /**
         * 监听Topbar左上角返回按钮点击
         */
        btnLeft.setOnClickListener(new OnClickListener() {
            @Override
            public void onClick(View v) {
                leftClickListener.onClick(v);
            }
        });
    }

    public void setLeftClickListener(OnClickListener leftClickListener) {
        this.leftClickListener = leftClickListener;
    }

}步骤三:使用,布局文件代码如下。注意声明自己的名字空间,xmlns:tailyou=”http://schemas.android.com/apk/res-auto”
<RelativeLayout xmlns:android="http://schemas.android.com/apk/res/android"
    xmlns:tailyou="http://schemas.android.com/apk/res-auto"
    xmlns:tools="http://schemas.android.com/tools"
    android:layout_width="match_parent"
    android:layout_height="match_parent"
    tools:context=".MainActivity">

    <com.tailyou.customview.Topbar
        android:id="@+id/topbar"
        android:layout_width="match_parent"
        android:layout_height="wrap_content"
        android:background="@android:color/black"
        android:padding="8dp"
        tailyou:leftBgColor="@android:color/transparent"
        tailyou:leftBtnText="主页"
        tailyou:leftBtnTextSize="9dp"
        tailyou:leftTextColor="@android:color/white"
        tailyou:textColor="@android:color/white"
        tailyou:textSize="12dp"
        tailyou:textText="添加好友" />


</RelativeLayout>
在Activity中的使用,代码如下:
 Topbar topbar=(Topbar)findViewById(R.id.topbar);
 topbar.setLeftClickListener(new View.OnClickListener() {
            @Override
            public void onClick(View v) {
                Toast.makeText(MainActivity.this,"点击左上角返回按钮",Toast.LENGTH_LONG).show();
            }
        });


 352
352

 被折叠的 条评论
为什么被折叠?
被折叠的 条评论
为什么被折叠?
 到【灌水乐园】发言


