


注意:测试代码非上线环境,只供自我学习记录使用,如有商用出现任何问题,本人不承担任何责任。
简单说明:其实shardingsphere对于分库分表做了很好的实现,只是针对业务需要做特殊处理时需要开发人员对分库分表实现类进行自定义,所以可能这里是一些难点。本人前面已经有一篇文章根据账户表主键id取模,用户表创建时间的两种方式实现了分库分表。链接如下CSDN,本文主要针对使用用户编号的形式(根据用户id中的年月实现分库分表,以便后期根据用户id实现订单分库分表)
一,针对分裤分表的实现主要引用了shardingsphere + mybatis plus,具体pom文件配置关键信息如下:
<!--shardingsphere start-->
<!-- for spring boot -->
<dependency>
<groupId>io.shardingsphere</groupId>
<artifactId>sharding-jdbc-spring-boot-starter</artifactId>
<version>3.1.0</version>
</dependency>
<!-- for spring namespace -->
<dependency>
<groupId>io.shardingsphere</groupId>
<artifactId>sharding-jdbc-spring-namespace</artifactId>
<version>3.1.0</version>
</dependency>
<!--shardingsphere end-->
<!--Mybatis-Plus-->
<dependency>
<groupId>com.baomidou</groupId>
<artifactId>mybatis-plus-boot-starter</artifactId>
<version>3.1.1</version>
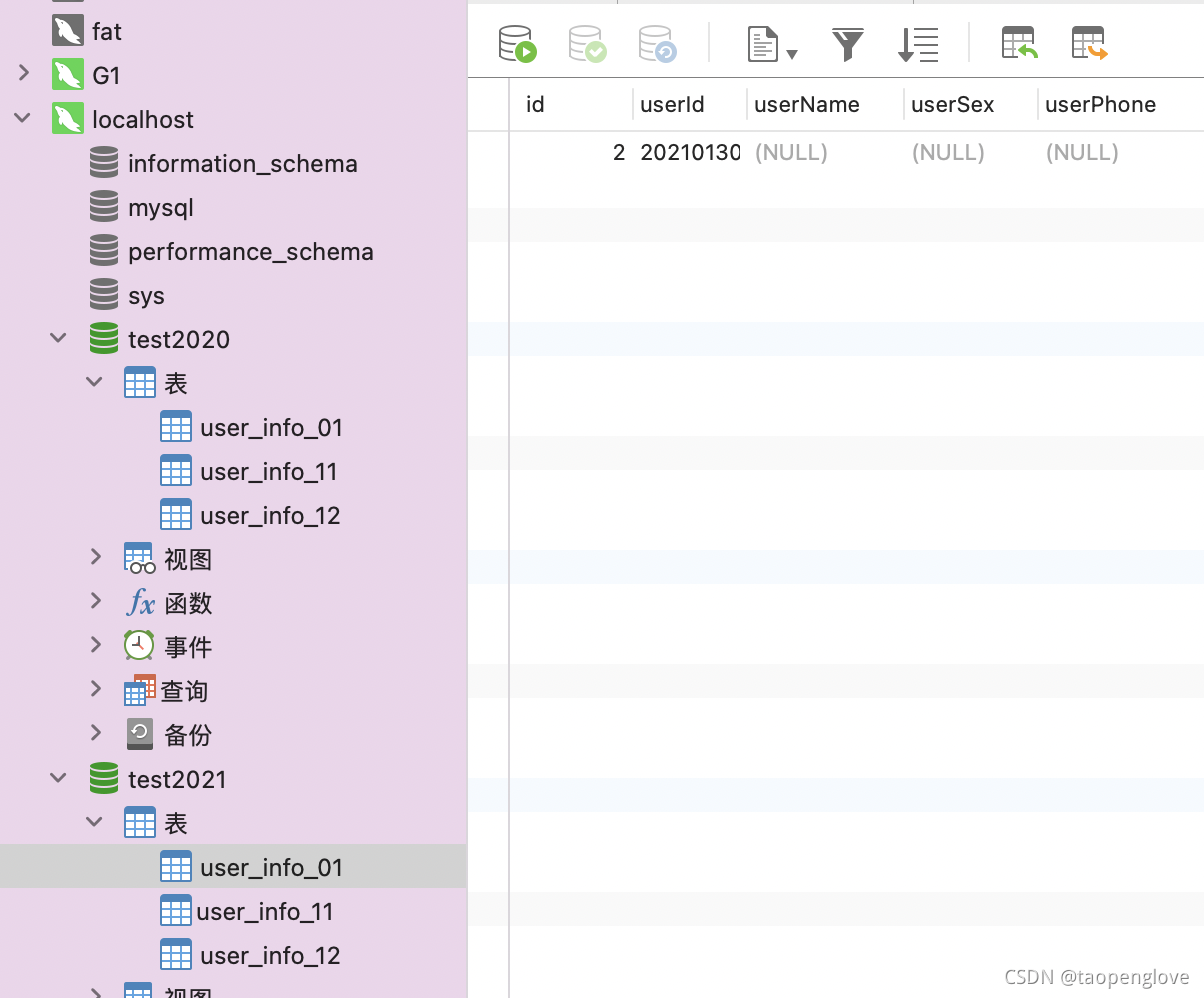
</dependency>二,针对用户信息,创建数据库,用户表。因为很懒所以只创建了三个表,理应从01-09,10-12的。
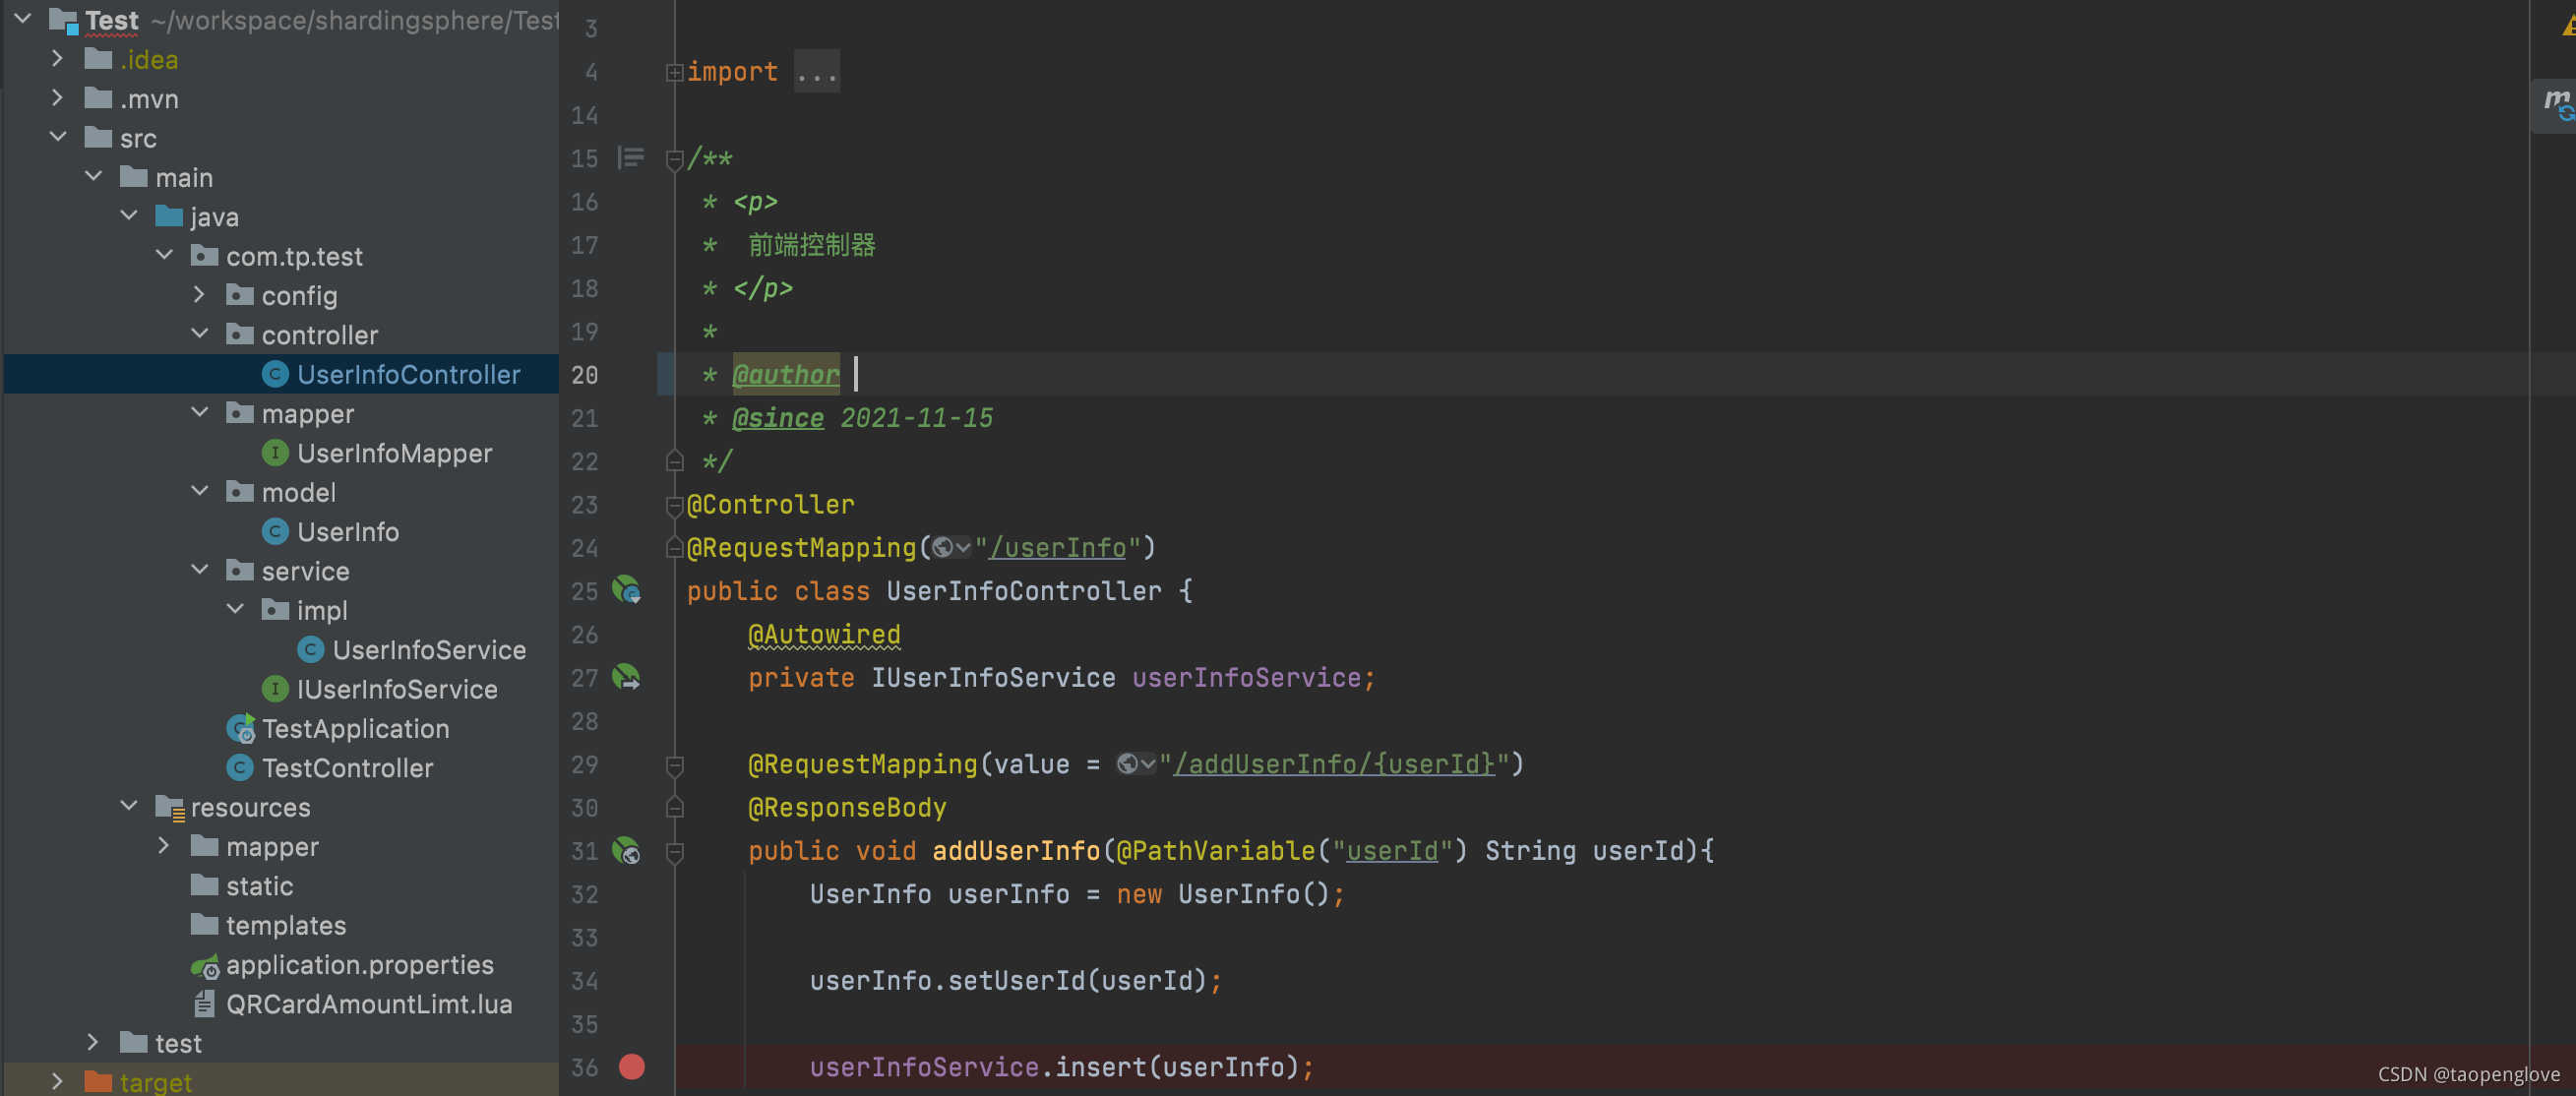
三,根据用户表生成用户类,实体,mapper,service,controller,强烈建议使用user_info表自动化生成代码,不然你就会跟我一样体会到修改UserInfo01*.java的各种乐趣了。
四,剩下的就是大菜了。首先是mybatis plus配置
mybatis-plus.mapper-locations=classpath:mapper/*.xml
mybatis-plus.type-aliases-package=com.tp.test
mybatis-plus.configuration.map-underscore-to-camel-case=true
mybatis-plus.configuration.log-impl=org.apache.ibatis.logging.stdout.StdOutImpl
五, shardingsphere分库分表配置
//配置分库分表数据库名
sharding.jdbc.datasource.names=test2020,test2021

//配置数据对应的数据源链接池等数据库信息
sharding.jdbc.datasource.test2020.type=com.alibaba.druid.pool.DruidDataSource
sharding.jdbc.datasource.test2020.driver-class-name=com.mysql.cj.jdbc.Driver
sharding.jdbc.datasource.test2020.url=jdbc:mysql://localhost:3306/test2020?useUnicode=true&characterEncoding=utf8&zeroDateTimeBehavior=convertToNull&useSSL=false&allowMultiQueries=true
sharding.jdbc.datasource.test2020.username=root
sharding.jdbc.datasource.test2020.password=

//配置数据对应的数据源链接池等数据库信息
sharding.jdbc.datasource.test2021.type=com.alibaba.druid.pool.DruidDataSource
sharding.jdbc.datasource.test2021.driver-class-name=com.mysql.cj.jdbc.Driver
sharding.jdbc.datasource.test2021.url=jdbc:mysql://localhost:3306/test2021?useUnicode=true&characterEncoding=utf8&zeroDateTimeBehavior=convertToNull&useSSL=false&allowMultiQueries=true
sharding.jdbc.datasource.test2021.username=root
sharding.jdbc.datasource.test2021.password=


//配置user_info表分两个库,test01,test02,表从01-09,10-12
sharding.jdbc.config.sharding.tables.user_info.actual-data-nodes=test$->{2020..2021}.user_info_0$->{1..9},test$->{2020..2021}.user_info_1$->{0..2}
//分库字段是userId
sharding.jdbc.config.sharding.tables.user_info.database-strategy.standard.sharding-column=userId
//分库原则使用自定义类
sharding.jdbc.config.sharding.tables.user_info.database-strategy.standard.precise-algorithm-class-name=com.tp.test.config.DBShardingAlgorithm

//分表字段
sharding.jdbc.config.sharding.tables.user_info.table-strategy.standard.sharding-column=userId
//分表原则使用自定义类
sharding.jdbc.config.sharding.tables.user_info.table-strategy.standard.precise-algorithm-class-name=com.tp.test.config.TableShardingAlgorithm

//默认库 感觉可以不配置了
sharding.jdbc.config.sharding.default-database-strategy.standard.precise-algorithm-class-name=com.tp.test.config.DBShardingAlgorithm
//默认库分库字段
sharding.jdbc.config.sharding.default-database-strategy.standard.sharding-column=userId
六,自定义分库原则类,
@Slf4j
public class DBShardingAlgorithm implements PreciseShardingAlgorithm<String> {


    @Override
    public String doSharding(Collection<String> collection, PreciseShardingValue<String> preciseShardingValue) {
        log.info("DBShardingAlgorithm PreciseShardingAlgorithm<String>");

        collection.stream().forEach((item) -> {
            log.info("actual node dbs:{}",item);
        });

        log.info("logic db mame : {}  rout column : {}",preciseShardingValue.getLogicTableName(),preciseShardingValue.getColumnName());

        log.info("logic column value : {}",preciseShardingValue.getValue());


        String userId = preciseShardingValue.getValue();

        String dbIndex = StringUtils.substring(userId,0,4);

        for (String item : collection){
            if(StringUtils.equalsIgnoreCase(item,"test"+dbIndex)){
                return item;
            }
        }
        throw new IllegalArgumentException();
    }
七,分表自定义类
@Slf4j
public class TableShardingAlgorithm implements PreciseShardingAlgorithm<String> {
    @Override
    public String doSharding(Collection<String> collection, PreciseShardingValue<String> preciseShardingValue) {
        log.info("TableShardingAlgorithm PreciseShardingAlgorithm<String>");

        collection.stream().forEach((item)->{
            log.info("actual node tables:{}",item);
        });


        log.info("logic table mame : {}  rout column : {}",preciseShardingValue.getLogicTableName(),preciseShardingValue.getColumnName());

        log.info("logic table value : {}",preciseShardingValue.getValue());

        String userId = preciseShardingValue.getValue();

        String tableIndex = StringUtils.substring(userId,4,6);

        for (String item:collection){
            if(StringUtils.equals(item,"user_info_"+tableIndex)){
                return item;
            }
        }
        throw new IllegalArgumentException();
    }
到这基本完成了所有的配置,但是如果现在开始测试,还是会遇见实体类不能创建的问题,因为还需要如下配置,该配置表示,spring允许同名bean;
spring.main.allow-bean-definition-overriding=true下面贴上测试结果:
1,用户编号20200130应该插入库test2020,表user_info_01

2,用户编号

到此全部结束,代码放在shardingsphere: 关于shardingsphere的各种测试用法 如有需要请自取


 1531
1531

 被折叠的 条评论
为什么被折叠?
被折叠的 条评论
为什么被折叠?
 到【灌水乐园】发言


