


1:固件编译
(1)在此处下载SDK到ubuntu20.04的虚拟机上
GitHub - sophgo/sophpi-huashan
(2)安装必要的工具
sudo apt-get update
sudo apt-get install -y build-essential
sudo apt-get install -y ninja-build
sudo apt-get install -y automake
sudo apt-get install -y autoconf
sudo apt-get install -y libtool
sudo apt-get install -y wget
sudo apt-get install -y curl
sudo apt-get install -y git
sudo apt-get install -y gcc
sudo apt-get install -y libssl-dev
sudo apt-get install -y bc
sudo apt-get install -y slib
sudo apt-get install -y squashfs-tools
sudo apt-get install -y android-sdk-libsparse-utils
sudo apt-get install -y android-sdk-ext4-utils
sudo apt-get install -y jq
sudo apt-get install -y cmake
sudo apt-get install -y python3-distutils
sudo apt-get install -y tclsh
sudo apt-get install -y scons
sudo apt-get install -y parallel
sudo apt-get install -y ssh-client
sudo apt-get install -y tree
sudo apt-get install -y python3-dev
sudo apt-get install -y python3-pip
sudo apt-get install -y device-tree-compiler
sudo apt-get install -y libssl-dev
sudo apt-get install -y ssh
sudo apt-get install -y cpio
sudo apt-get install -y squashfs-tools
sudo apt-get install -y fakeroot
sudo apt-get install -y libncurses5
sudo apt-get install -y flex
sudo apt-get install -y bison
检查cmake 版本
cmake --version
如果小于版本号3.16 则需要更新cmake,以3.16.5 为例
wget https://cmake.org/files/v3.16/cmake-3.16.5.tar.gz
tar zxvf cmake-3.16.5.tar.gz
cd cmake-3.16.5/
./configure
make
sudo make install
(3)进行固件编译
注意,这边硬十提供的教程有误,因该为 cd cvi_media_sdk 而不是 cd mmf-sdk
cd cvi_media_sdk/
source build/cvisetup.sh # 配置编译环境
defconfig cv1812h_wevb_0007a_emmc
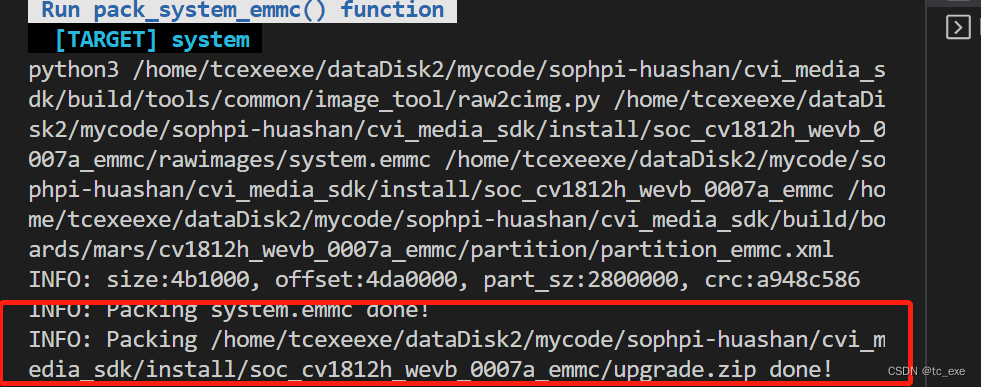
build_all # 编译SDK当出现如下字样,则说明编译成功
2:固件下载
华山派的板子采用tf卡进行固件更新,其uboot已经预留了对应功能。
首先需要将tf卡格式化成FAT32格式,注意,这边有一个坑,在win11上,需要在分区小于4GB的情况下,在格式化的时候才会弹出FAT32这个选项,如果大于4GB,则只有exFAT和NTFS两个选项。而通过TF卡更新,TF卡必须为FAT32格式。因此,建议将TF卡进行重新分区,只保留一个小于4GB的分区。

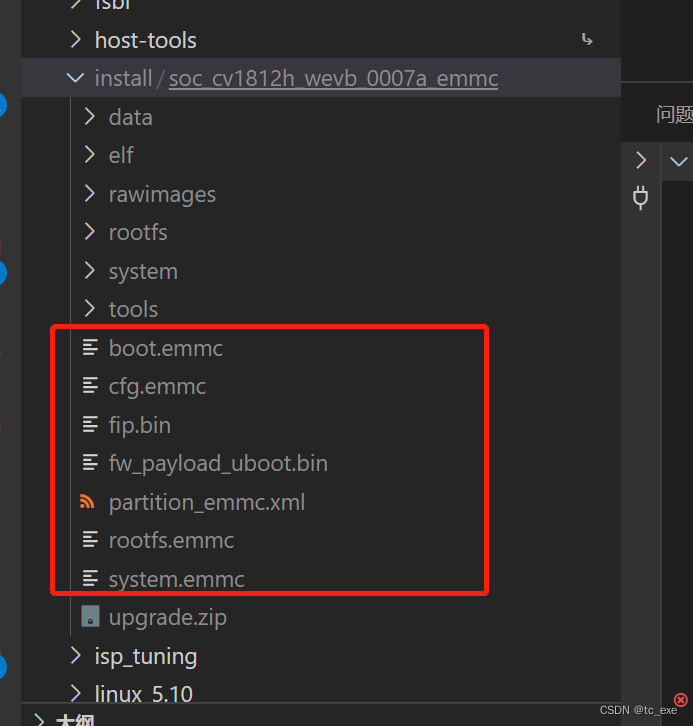
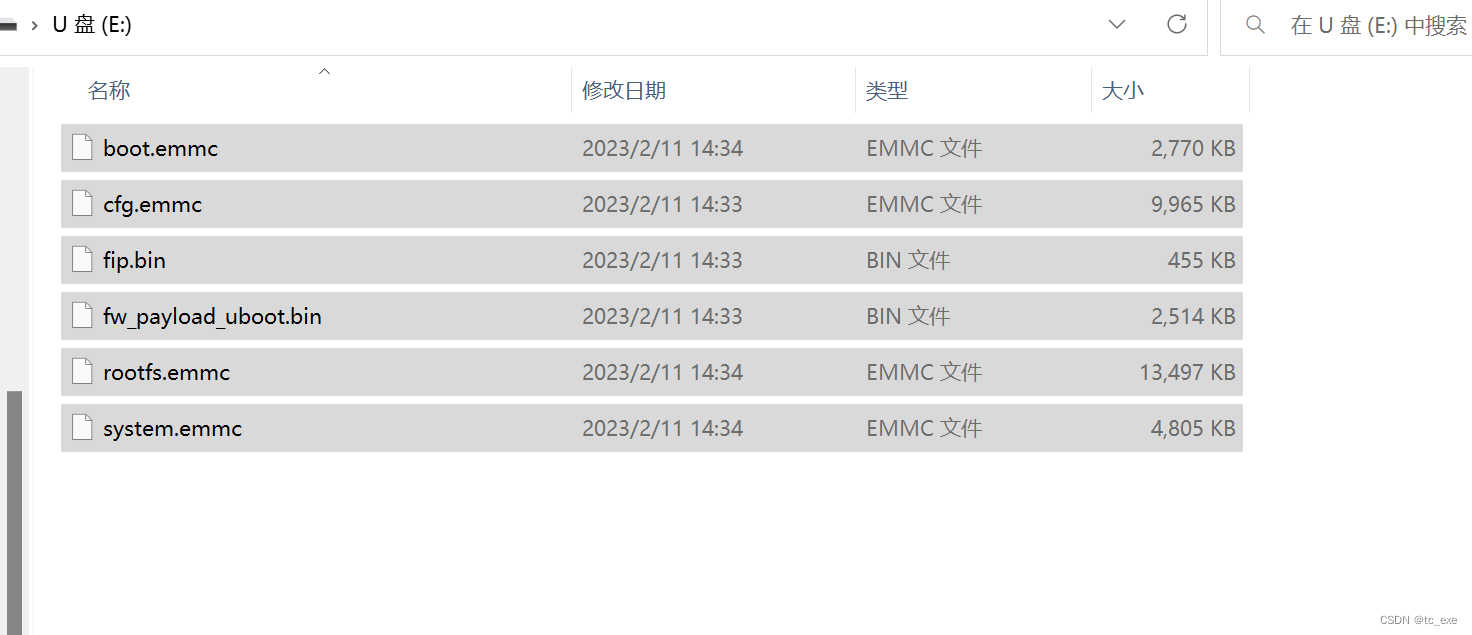
随后,将上一步编译生成的这几个文件保存到tf卡中,把开发板的串口接到到电脑上,波特率115200,tf卡插上开发板,上电,可以使用putty的串口模式,监视串口输出。
出现如下界面,则表示固件更新成功。
此时,拔出tf卡,输入re进行重启。重启后出现如下界面,则表示已经进入linux系统。


 1027
1027


 被折叠的 条评论
为什么被折叠?
被折叠的 条评论
为什么被折叠?
 到【灌水乐园】发言


