


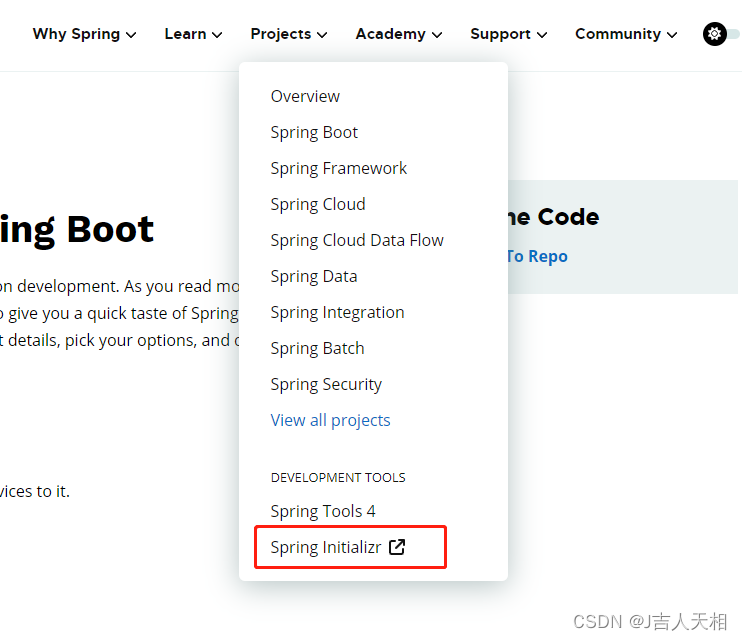
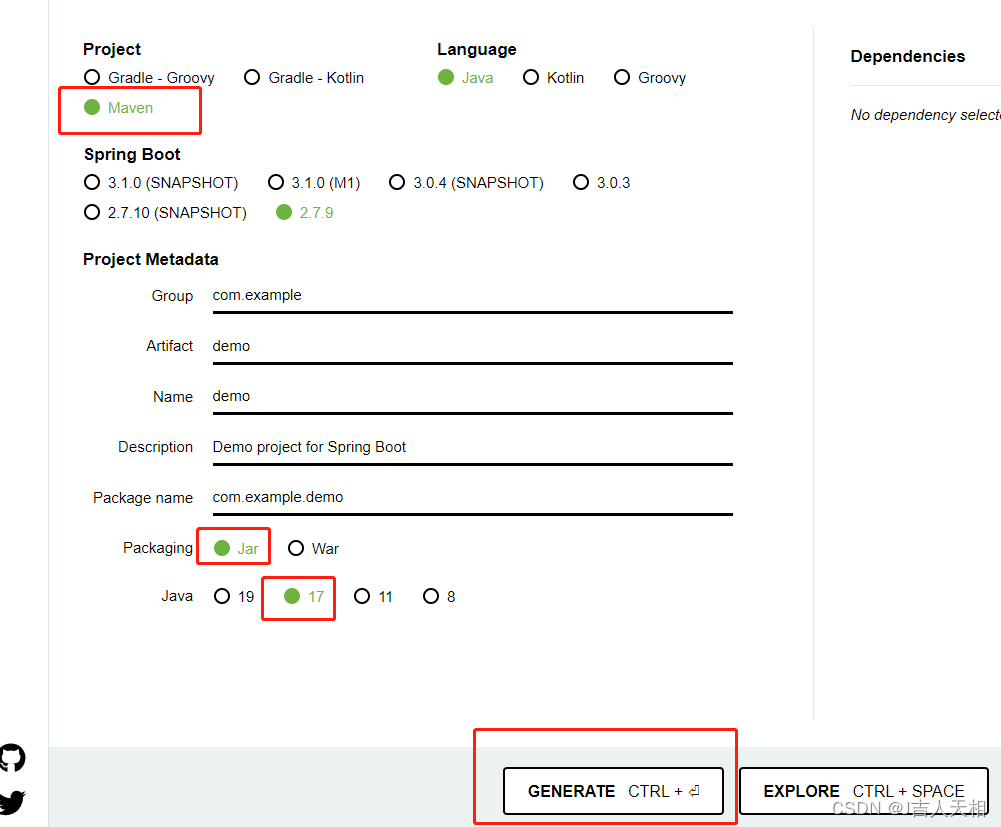
1.用springboot官方网站提供的工具创建springboot maven项目如下
Getting Started | Building an Application with Spring Boot
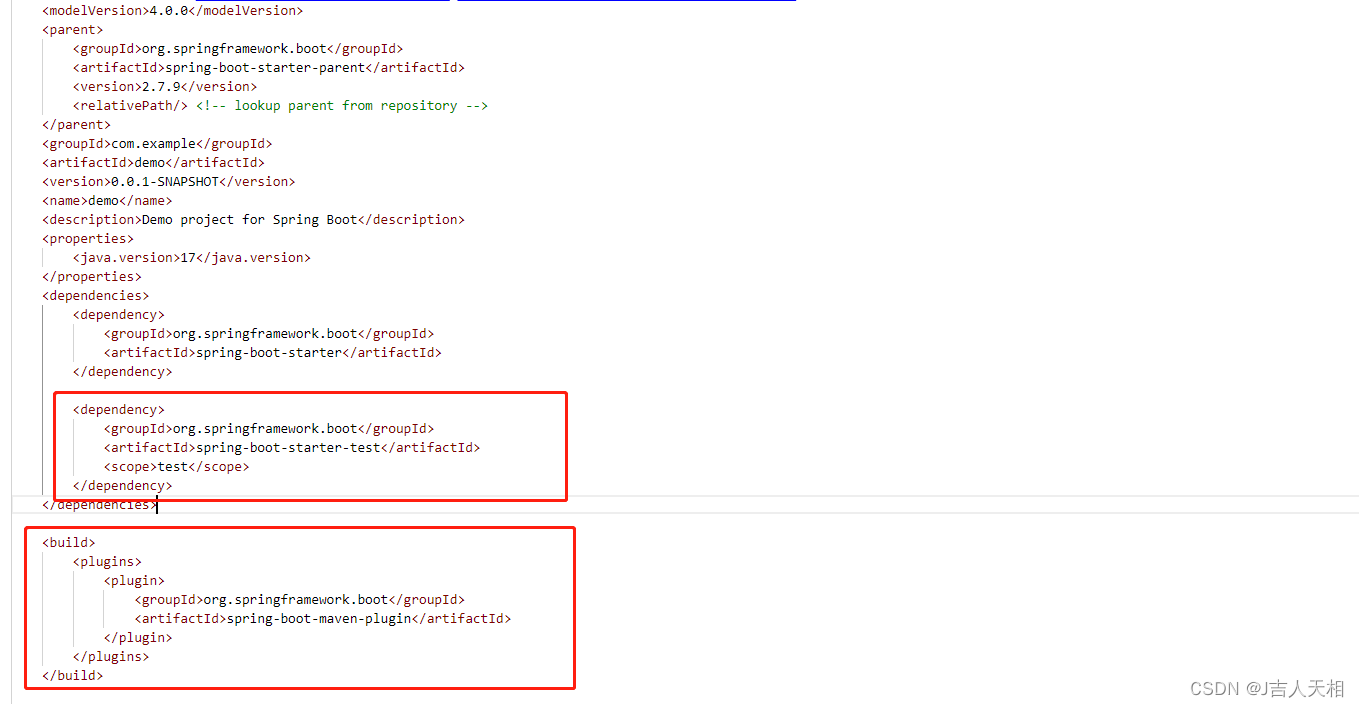
删除项目中无用的依赖,下边红框中的内容删掉。
 下载maven(如果有就跳过此步骤)
https://maven.apache.org/download.cgi
配置maven国内镜像(这个一定要做,可以参考下边这篇文章)
(83条消息) 国内最快的Maven仓库(全)_国内mvn仓库_普通网友的博客-CSDN博客
同时配置好maven仓库所在位置即可。
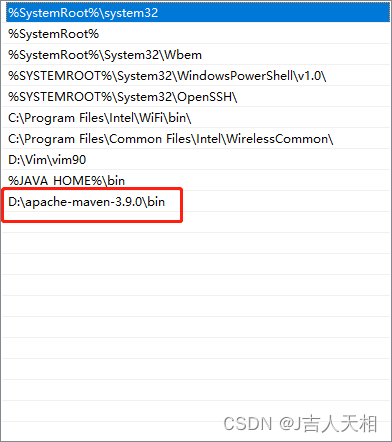
接着配置maven的环境变量,我本机的变量配置如下:
进入到springboot项目执行
mvn install我们一般使用springboot全家桶+mybatis注解开发项目常用的依赖如下:
 <dependencies>
        <dependency>
            <groupId>org.mybatis.spring.boot</groupId>
            <artifactId>mybatis-spring-boot-starter</artifactId>
        </dependency>
        <dependency>
            <groupId>org.springframework.boot</groupId>
            <artifactId>spring-boot-starter-data-redis</artifactId>
        </dependency>
        <dependency>
            <groupId>org.springframework.boot</groupId>
            <artifactId>spring-boot-starter-data-jpa</artifactId>
        </dependency>
        <dependency>
            <groupId>org.springframework.boot</groupId>
            <artifactId>spring-boot-starter-web</artifactId>
        </dependency>
        <dependency>
            <groupId>org.springframework.boot</groupId>
            <artifactId>spring-boot-starter-security</artifactId>
        </dependency>
        <dependency>
            <groupId>org.springframework.boot</groupId>
            <artifactId>spring-boot-starter-thymeleaf</artifactId>
        </dependency>
        <dependency>
            <groupId>mysql</groupId>
            <artifactId>mysql-connector-java</artifactId>
            <version>8.0.15</version>
        </dependency>
    </dependencies>
常用的配置文件如下:
# server
server.port = 8080
# datasource
spring.datasource.driver-class-name=com.mysql.cj.jdbc.Driver
spring.datasource.url=jdbc:mysql://ip:3306/db?allowMultiQueries=true&useUnicode=true&characterEncoding=UTF-8&autoReconnect=true
spring.datasource.username=username
spring.datasource.password=password
spring.datasource.hikari.minimum-idle=10
spring.datasource.hikari.maximum-pool-size=300
spring.datasource.hikari.connection-timeout=10000
spring.datasource.hikari.idle-timeout=600000
spring.datasource.hikari.connection-test-query = select 1

# thymeleaf
spring.thymeleaf.cache=false

# redis
spring.redis.host=ip
spring.redis.prot=6379
spring.redis.password=password
spring.redis.database=0
此时我们的springboot最简单项目已经做好了,注意数据源不配置无法正常启动,另外大多数后台项目还需要用到认证和授权,我们需要配置一下springSecurity。列出个简单配置类,真正的实战项目要读者自己去完善。
@Configuration
public class SecurityConfig extends WebSecurityConfigurerAdapter {
    @Autowired
    MyUserDetailsManager myUserDetailsManager;
    @Autowired
    MyFHandler myFHandler;
    @Autowired
    MySHandler mySHandler;
    @Autowired
    MyFHandler myHandler;
    /**
     * 登录配置
     */
    @Override
    protected void configure(HttpSecurity http) throws Exception {
        http.formLogin().loginPage("/g/web/login")
                .loginProcessingUrl("/g/srv/doLogin")
                .successHandler(mySHandler)
                .failureHandler(myFHandler)
                .and().authorizeRequests()
                .mvcMatchers("/g/**").permitAll()
                .mvcMatchers("/**").authenticated()
                .and().csrf().disable().headers().frameOptions().sameOrigin();
    }
    /*
     * 认证配置
    */
    @Autowired
    public void configure(AuthenticationManagerBuilder authenticationManagerBuilder) throws Exception{
        authenticationManagerBuilder.userDetailsService(myUserDetailsManager);
    }
    /*
     * 密码加密,createUser 和 authticate的时候用到
    */
    @Bean
    public PasswordEncoder passwordEncoder() {
        return new BCryptPasswordEncoder();
    }
}


 3314
3314


 被折叠的 条评论
为什么被折叠?
被折叠的 条评论
为什么被折叠?
 到【灌水乐园】发言


