


文章目录
kornia
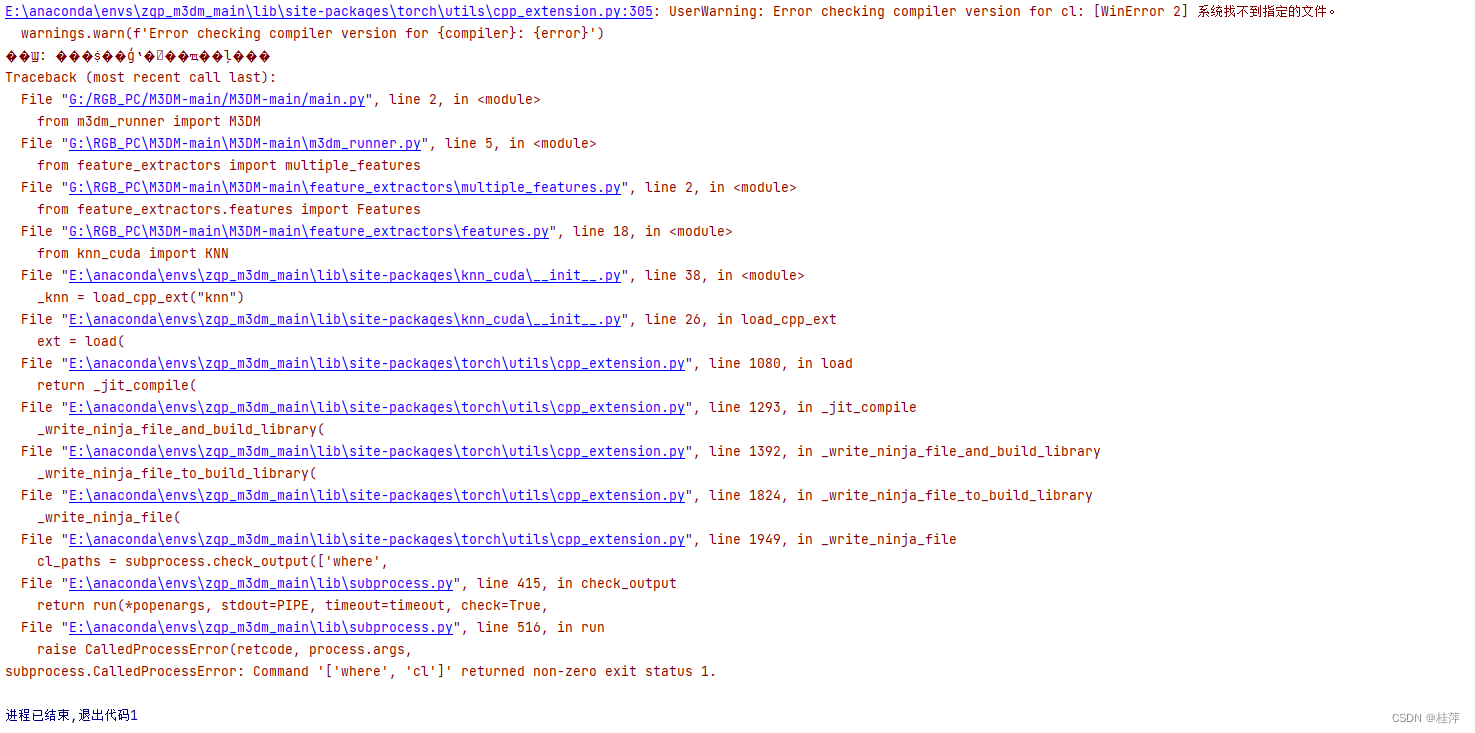
ninja
参考:
[1]【超详细】windows10系统下深度学习环境搭建CUDA11.3+cuDNN,以及tensorflow,Keras,pyTorch对应版本
[3]【Win】彻底解决subprocess.CalledProcessError 待尝试
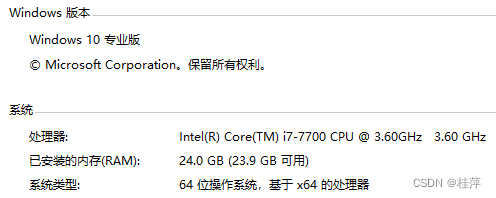
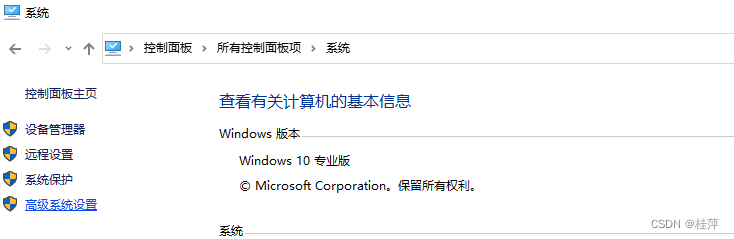
系统
尝试是否不安装Ubuntu也可以,现状为此电脑-属性所示。
Python 3.8
where python
E:\anaconda\python.exe
C:\Users\Richardo.M.Song\AppData\Local\Programs\Python\Python36\python.exe
C:\Users\Richardo.M.Song\AppData\Local\Microsoft\WindowsApps\python.exe(打开商店)
python --version
Python 3.6.8
(base) python --version
Python 3.7.6
C:\Users\Richardo.M.Song\AppData\Local\Programs\Python\Python36\python.exe
Python 3.6.8 (tags/v3.6.8:3c6b436a57, Dec 24 2018, 00:16:47) [MSC v.1916 64 bit (AMD64)] on win32
E:\anaconda\python.exe
Python 3.7.6 (default, Jan 8 2020, 20:23:39) [MSC v.1916 64 bit (AMD64)] :: Anaconda, Inc. on win32
(base)conda create -n zgp_m3dm_main python=3.8
ERROR:
- 错误及没有作用的操作
Collecting package metadata (current_repodata.json): failed
CondaHTTPError: HTTP 000 CONNECTION FAILED for url
<https://mirrors.ustc.edu.cn/anaconda/
cloud/menpo/win-64/current_repodata.json> Elapsed: - An HTTP error
occurred when trying to retrieve this URL. HTTP errors are often
intermittent, and a simple retry will get you on your way.
‘https://mirrors.ustc.edu.cn/anaconda/cloud/menpo/win-64’
再次尝试同样;网址打不开。
conda config --add channels https://mirrors.tuna.tsinghua.edu.cn/anaconda/pkgs/pro/ conda config
–add channels https://mirrors.tuna.tsinghua.edu.cn/anaconda/pkgs/free/ Warning:
‘https://mirrors.tuna.tsinghua.edu.cn/anaconda/pkgs/free/’ already in
‘channels’ list, moving to the top
conda config --add channels https://mirrors.tuna.tsinghua.edu.cn/anaconda/pkgs/main/ Warning:
‘https://mirrors.tuna.tsinghua.edu.cn/anaconda/pkgs/main/’ already in
‘channels’ list, moving to the top
conda config --add channels https://mirrors.tuna.tsinghua.edu.cn/anaconda/cloud/conda-forge/
Warning:
‘https://mirrors.tuna.tsinghua.edu.cn/anaconda/cloud/conda-forge/’
already in 'c
conda config --add channels https://mirrors.tuna.tsinghua.edu.cn/anaconda/cloud/pytorch/
Warning:
‘https://mirrors.tuna.tsinghua.edu.cn/anaconda/cloud/pytorch/’
already in ‘chann els’ list, moving to the top
尽管有这些源,仍然没有解决。 - 成功解决的操作
conda config --set show_channel_urls yes创建
C:\Users\Richardo.M.Song\.condarc
用写字板打开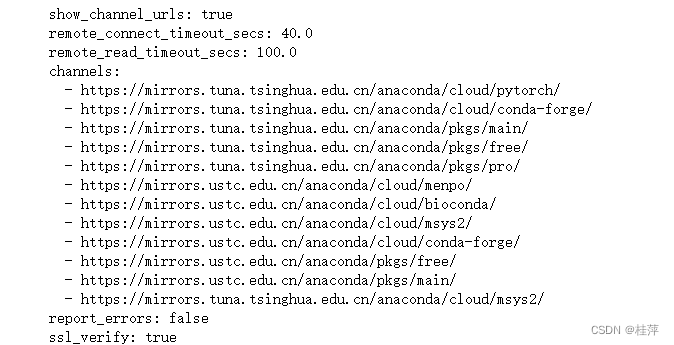 删除所有ustc镜像
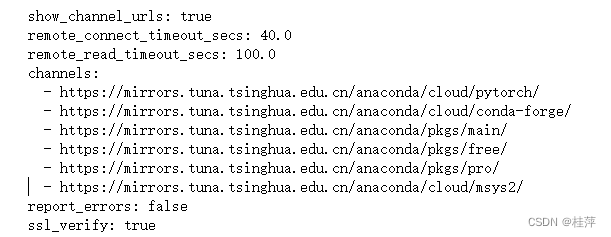 再次conda create -n zgp_m3dm_main python=3.8
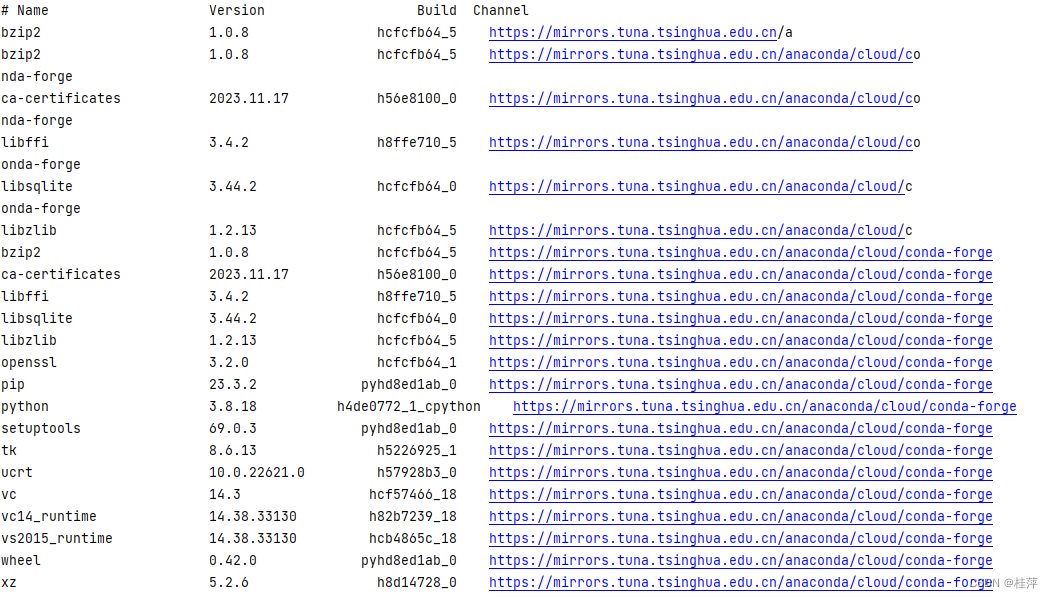
Collecting package metadata (current_repodata.json): done
Solving environment: done
WARNING: A newer version of conda exists. <==
current version: 4.11.0
latest version: 23.11.0
Please update conda by running
$ conda update -n base conda
WARNING conda.gateways.disk.delete:unlink_or_rename_to_trash(144): Could not remove or re
name E:\anaconda\pkgs\scikit-image-0.13.0-np113py36_0.tar.bz2. Please remove this file m
anually (you may need to reboot to free file handles
Package Plan ##
environment location: E:\anaconda\envs\zgp_m3dm_main
added / updated specs:- python=3.8
The following packages will be downloaded:
package | build
---------------------------|-----------------
bzip2-1.0.8 | hcfcfb64_5 122 KB https://mirrors.tuna.ts
inghua.edu.cn/anaconda/cloud/conda-forge
ca-certificates-2023.11.17 | h56e8100_0 151 KB https://mirrors.tuna.ts
inghua.edu.cn/anaconda/cloud/conda-forge
libsqlite-3.44.2 | hcfcfb64_0 833 KB https://mirrors.tuna.ts
inghua.edu.cn/anaconda/cloud/conda-forge
libzlib-1.2.13 | hcfcfb64_5 54 KB https://mirrors.tuna.ts
inghua.edu.cn/anaconda/cloud/conda-forge
openssl-3.2.0 | hcfcfb64_1 7.9 MB https://mirrors.tuna.ts
inghua.edu.cn/anaconda/cloud/conda-forge
pip-23.3.2 | pyhd8ed1ab_0 1.3 MB https://mirrors.tuna.ts
inghua.edu.cn/anaconda/cloud/conda-forge
python-3.8.18 |h4de0772_1_cpython 17.1 MB https://mirrors.tuna.t
singhua.edu.cn/anaconda/cloud/conda-forge
setuptools-69.0.3 | pyhd8ed1ab_0 460 KB https://mirrors.tuna.ts
inghua.edu.cn/anaconda/cloud/conda-forge
tk-8.6.13 | h5226925_1 3.3 MB https://mirrors.tuna.ts
inghua.edu.cn/anaconda/cloud/conda-forge
ucrt-10.0.22621.0 | h57928b3_0 1.2 MB https://mirrors.tuna.ts
inghua.edu.cn/anaconda/cloud/conda-forge
vc-14.3 | hcf57466_18 17 KB https://mirrors.tuna.ts
inghua.edu.cn/anaconda/cloud/conda-forge
vc14_runtime-14.38.33130 | h82b7239_18 732 KB https://mirrors.tuna.ts
00_0
libffi anaconda/cloud/conda-forge/win-64::libffi-3.4.2-h8ffe710_5
libsqlite anaconda/cloud/conda-forge/win-64::libsqlite-3.44.2-hcfcfb64_0
libzlib anaconda/cloud/conda-forge/win-64::libzlib-1.2.13-hcfcfb64_5
openssl anaconda/cloud/conda-forge/win-64::openssl-3.2.0-hcfcfb64_1
pip anaconda/cloud/conda-forge/noarch::pip-23.3.2-pyhd8ed1ab_0
python anaconda/cloud/conda-forge/win-64::python-3.8.18-h4de0772_1_cpython
done
To activate this environment, use
$ conda activate zgp_m3dm_main
To deactivate an active environment, use
$ conda deactivate
- python=3.8
现有的环境为
(base)conda env list (conda info --env和conda info -e也可以得到相同输出)
base * E:\anaconda
medseg E:\anaconda\envs\medseg
unet-torch E:\anaconda\envs\unet-torch
zgp_m3dm_main E:\anaconda\envs\zgp_m3dm_main
conda activate zgp_m3dm_main
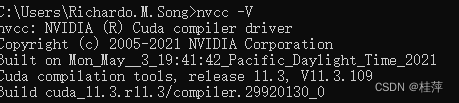
CUDA 11.3
-
一些尝试
桌面右键-Nvidia控制面板-帮助-
点击组件可见最高cuda版本,此时为11.6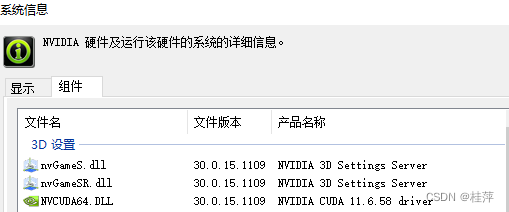
从官网历史版本https://pytorch.org/get-started/previous-versions/中尝试直接安装cudatoolkit=11.3和pytorch1.9.0,但这样不是GPU版本,
conda install pytorch1.9.0 torchvision0.10.0 torchaudio0.9.0
cudatoolkit=11.3 -c pytorch -c
conda-forge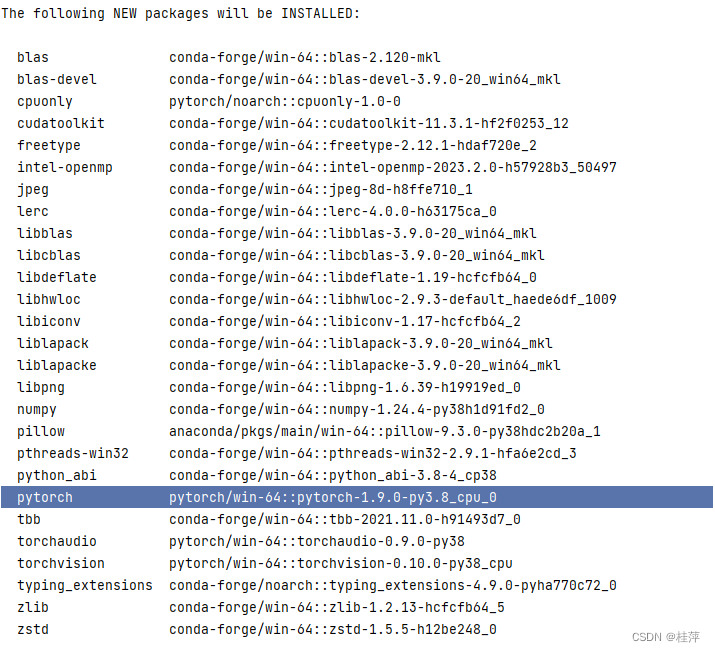
-
改为分别安装,
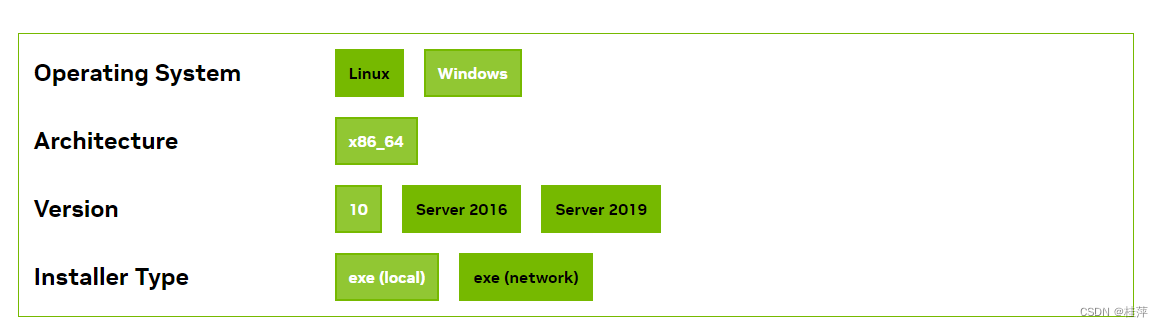
官网:https://developer.nvidia.com/cuda-toolkit-archive选择11.3版本

使用迅雷下载花费了半小时左右。不清楚安装是否会自动卸载,先手动把旧版本卸载,
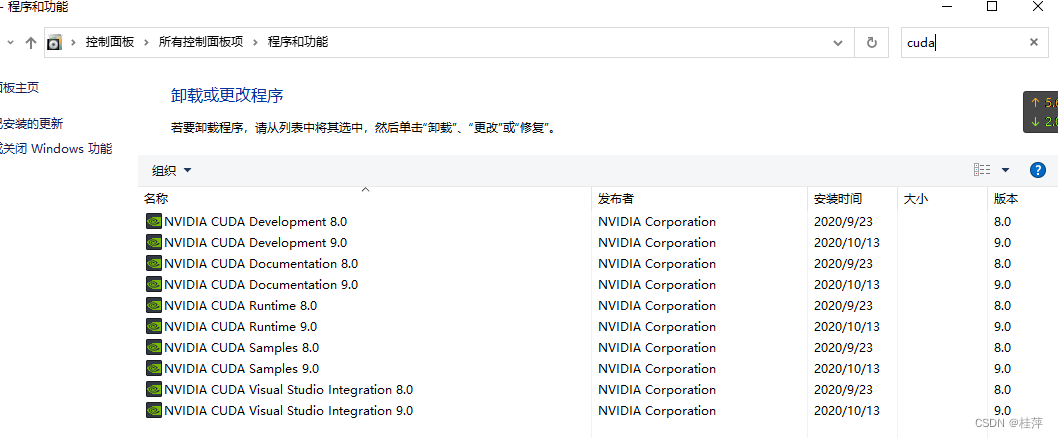 把9.0全部卸载,
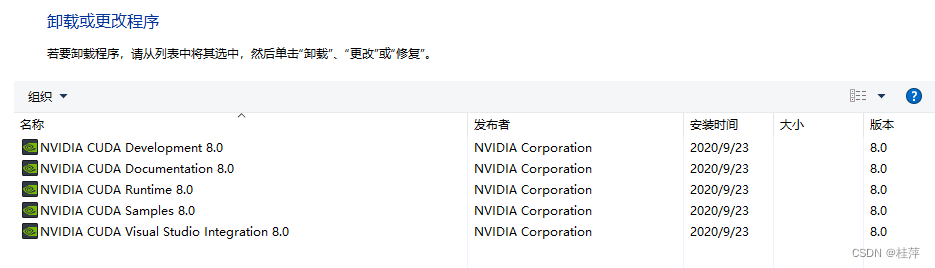
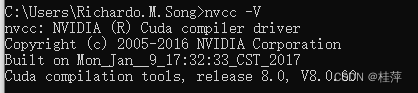
发现8.0版本仍然可用。看来可以不同版本一起存在。
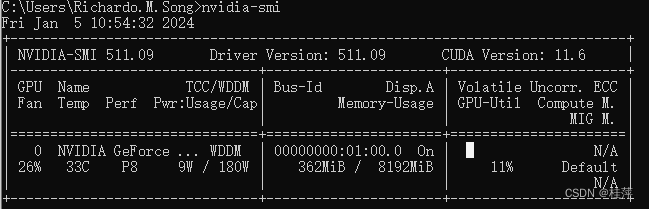
nvidia-smi
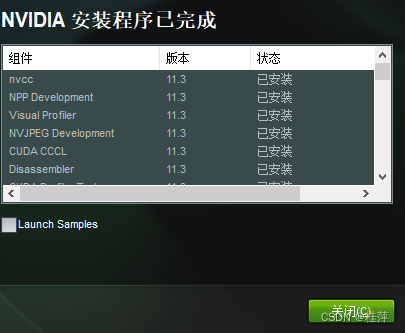
- 成功安装的方法
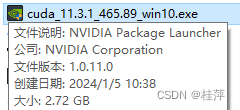
运行,
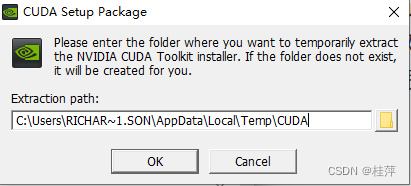
点击OK
等待一会,自动跳到
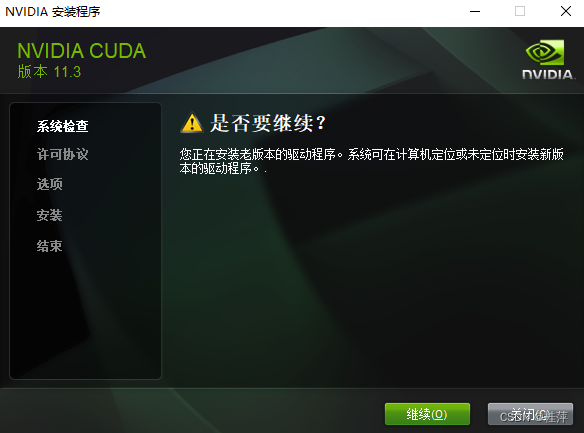
点击继续
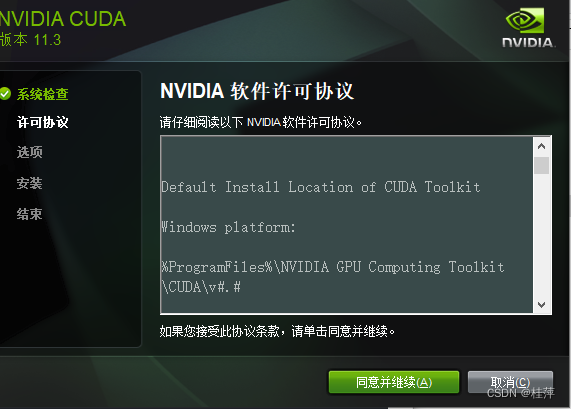
点击同意并继续
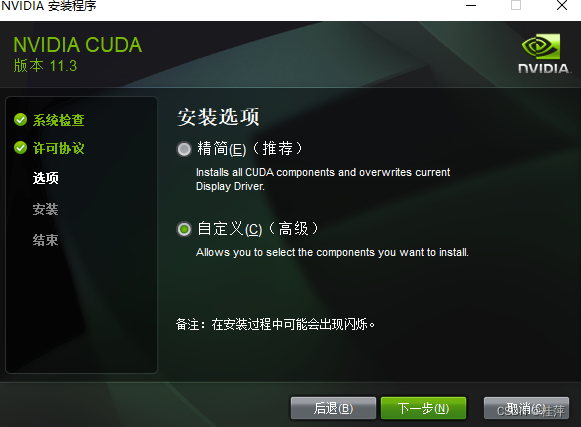
**点击自定义并下一步
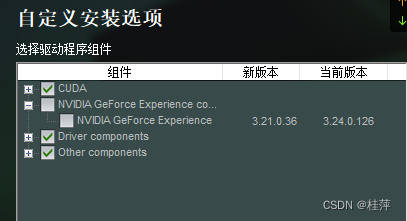
**
发现新版本比当前版本还低?不勾选。
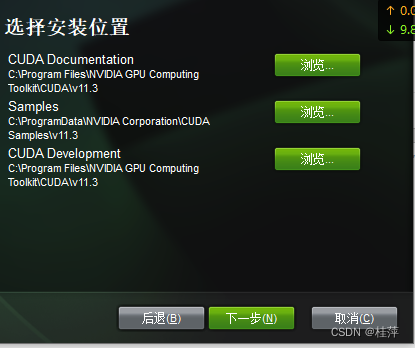 点击下一步
点击下一步
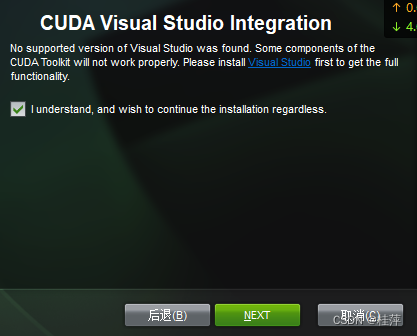
等待几分钟,
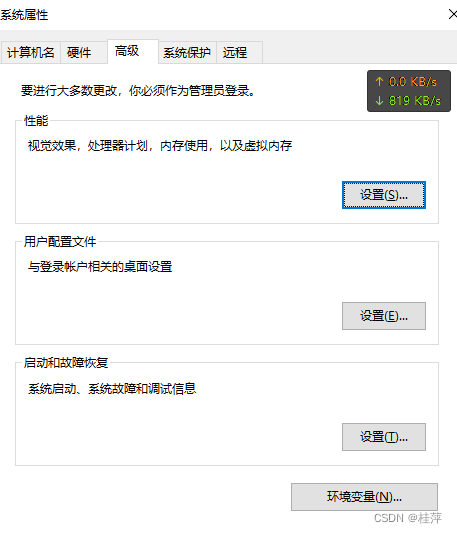
点击高级系统设置
点击环境变量
没有问题。
 没有问题。
没有问题。
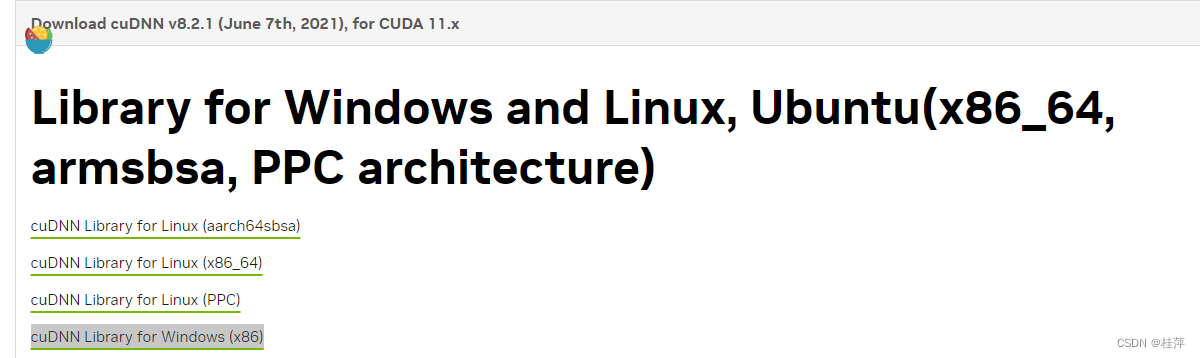
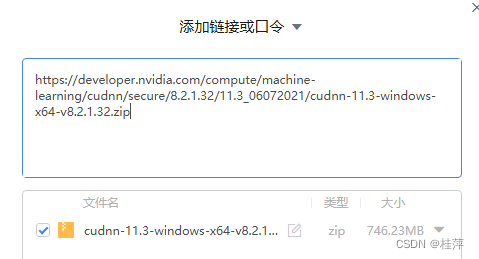
https://developer.nvidia.com/rdp/cudnn-archive继续安装对应的cudnn8.2.1:鼠标右键-复制链接-在迅雷中下载来跳过注册
解压缩
再剪切到
C:\Program Files\NVIDIA GPU Computing Toolkit\CUDA\v11.3
打开

bin,include,lib复制到
C:\Program Files\NVIDIA GPU Computing Toolkit\CUDA\v11.3
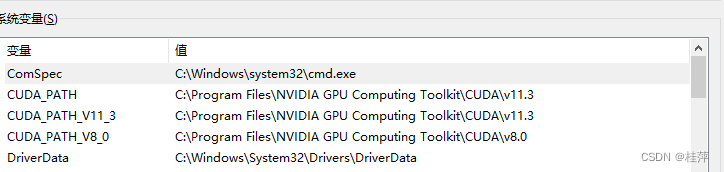
再高级系统设置-环境变量-系统变量
编辑环境变量
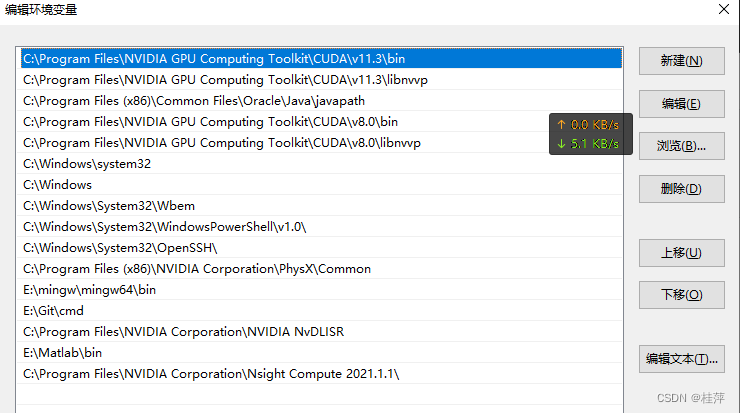
发现没有lib,include,添加(又上移)

确定确定确定
cd C:\Program Files\NVIDIA GPU Computing Toolkit\CUDA\v11.3\extras\demo_suite
deviceQuery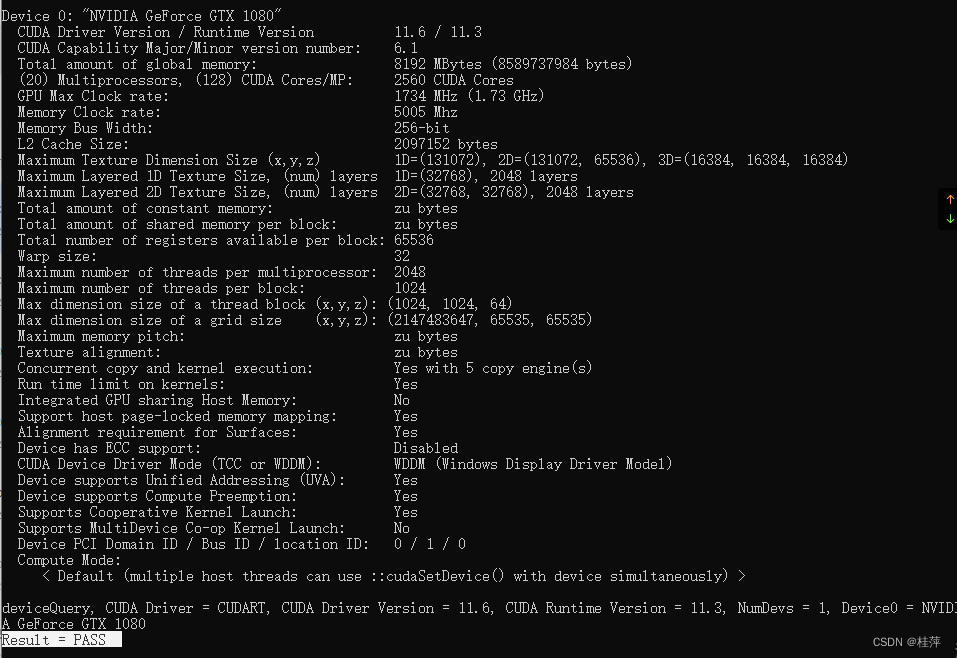
bandwidthTest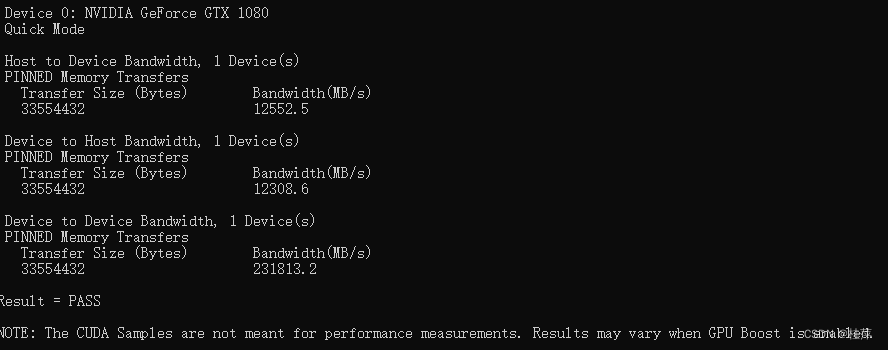
Pass成功
Pytorch 1.9.0
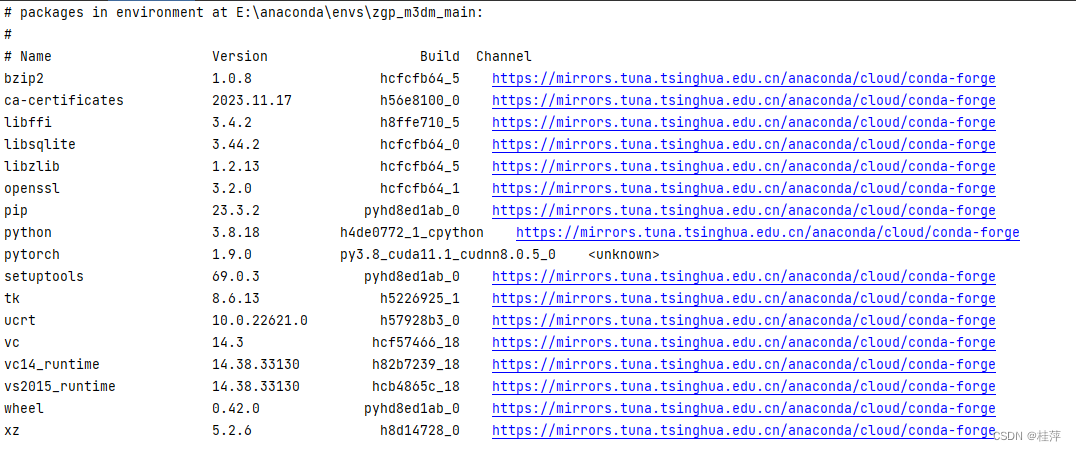
(zgp_m3dm_main)conda list
由于在官网上复制的命令conda install pytorch1.9.0 torchvision0.10.0 torchaudio==0.9.0 cudatoolkit=11.3 -c pytorch -c conda-forge只能装cpu版本,改为离线安装,下载pytorch-1.9.0-py3.8_cuda11.1_cudnn8.0.5_0.tar.bz2,
(zgp_m3dm_main) conda install --offline G:\2080卡的20240104\pytorch-1.9.0-py3.8_cuda11.1_cudnn8.0.5_0.tar.bz2
WARNING conda.gateways.disk.delete:unlink_or_rename_to_trash(144): Could not remove or rename E:\anaconda\pkgs\scikit-image-0.13.0-np113py36_0.tar.bz2. Please remo
ve this file manually (you may need to reboot to free file handles)
Downloading and Extracting Packages
########################################################################################################################################################### | 100%
Preparing transaction: done
Verifying transaction: done
Executing transaction: done
conda install torchvision0.10.0 torchaudio0.9.0 cudatoolkit=11.3 -c pytorch -c conda-forge 不可以
python3 -m pip install torch1.9.0+cu111 torchvision0.10.0+cu111 torchaudio0.9.0 -f https://download.pytorch.org/whl/torch_stable.html 无反应
**(zgp_m3dm_main) pip install torch1.9.0+cu111 torchvision0.10.0+cu111 torchaudio0.9.0 -f https://download.pytorch.org/whl/torch_stable.html** 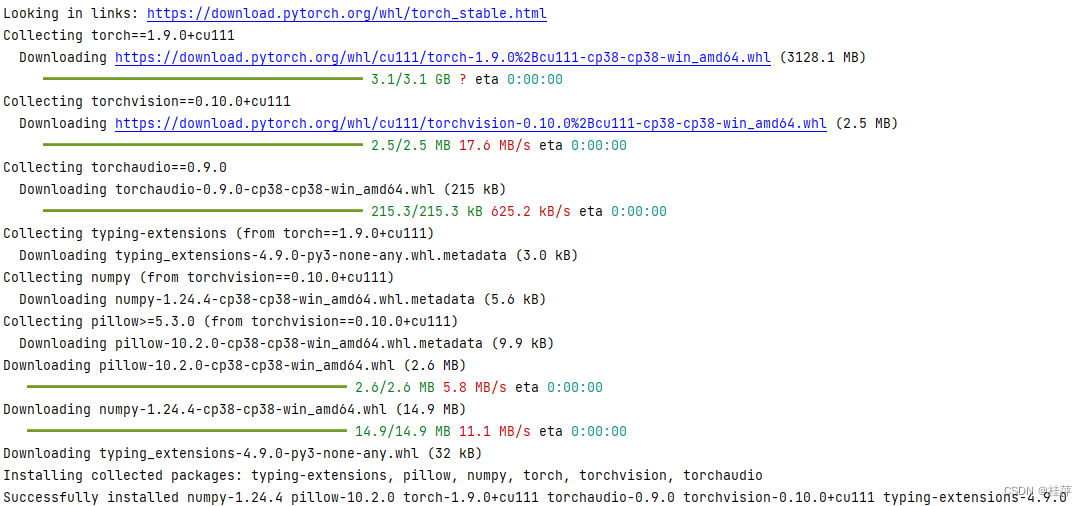
conda list

根据运行的项目安装其他需要的包(requirements.txt中)
(zgp_m3dm_main) G:\RGB_Point cloud>pip install -r G:\RGB_Point cloud\M3DM-main\M3DM-main\requirements.txt
ERROR: Invalid requirement: ‘cloud\M3DM-main\M3DM-main\requirements.txt’
Hint: It looks like a path. File ‘cloud\M3DM-main\M3DM-main\requirements.txt’ does not exist.
去掉空格
pip install -r G:\RGB_PC\M3DM-main\M3DM-main\requirements.txt
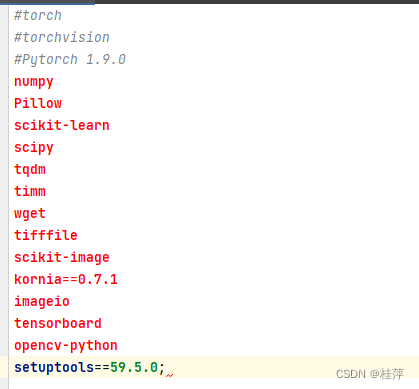
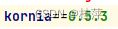
观察到安装kornia会把之前安装的pytorch卸载,所以需要降低版本为适合pytorch1.9的
发现

同样不可;
可以。
pip install -r G:\RGB_PC\M3DM-main\M3DM-main\requirements.txt
conda list
absl-py 2.0.0 pypi_0 pypi
bzip2 1.0.8 hcfcfb64_5 https://mirrors.tuna.tsinghua.edu.cn/anaconda/cloud/conda-forge
ca-certificates 2023.11.17 h56e8100_0 https://mirrors.tuna.tsinghua.edu.cn/anaconda/cloud/conda-forge
cachetools 5.3.2 pypi_0 pypi
certifi 2023.11.17 pypi_0 pypi
charset-normalizer 3.3.2 pypi_0 pypi
colorama 0.4.6 pypi_0 pypi
filelock 3.13.1 pypi_0 pypi
fsspec 2023.12.2 pypi_0 pypi
google-auth 2.26.1 pypi_0 pypi
google-auth-oauthlib 1.0.0 pypi_0 pypi
grpcio 1.60.0 pypi_0 pypi
huggingface-hub 0.20.1 pypi_0 pypi
idna 3.6 pypi_0 pypi
imageio 2.33.1 pypi_0 pypi
importlib-metadata 7.0.1 pypi_0 pypi
jinja2 3.1.2 pypi_0 pypi
joblib 1.3.2 pypi_0 pypi
kornia 0.5.3 pypi_0 pypi
lazy-loader 0.3 pypi_0 pypi
libffi 3.4.2 h8ffe710_5 https://mirrors.tuna.tsinghua.edu.cn/anaconda/cloud/conda-forge
libsqlite 3.44.2 hcfcfb64_0 https://mirrors.tuna.tsinghua.edu.cn/anaconda/cloud/conda-forge
libzlib 1.2.13 hcfcfb64_5 https://mirrors.tuna.tsinghua.edu.cn/anaconda/cloud/conda-forge
markdown 3.5.1 pypi_0 pypi
markupsafe 2.1.3 pypi_0 pypi
mpmath 1.3.0 pypi_0 pypi
networkx 3.1 pypi_0 pypi
numpy 1.24.4 pypi_0 pypi
oauthlib 3.2.2 pypi_0 pypi
scikit-image 0.21.0 pypi_0 pypi
scikit-learn 1.3.2 pypi_0 pypi
scipy 1.10.1 pypi_0 pypi
setuptools 59.5.0 pypi_0 pypi
sympy 1.12 pypi_0 pypi
tensorboard 2.14.0 pypi_0 pypi
tensorboard-data-server 0.7.2 pypi_0 pypi
threadpoolctl 3.2.0 pypi_0 pypi
tifffile 2023.7.10 pypi_0 pypi
timm 0.9.12 pypi_0 pypi
tk 8.6.13 h5226925_1 https://mirrors.tuna.tsinghua.edu.cn/anaconda/cloud/conda-forge
torch 1.9.0+cu111 pypi_0 pypi
torchaudio 0.9.0 pypi_0 pypi
torchvision 0.10.0+cu111 pypi_0 pypi
tqdm 4.66.1 pypi_0 pypi
typing-extensions 4.9.0 pypi_0 pypi
ucrt 10.0.22621.0 h57928b3_0 https://mirrors.tuna.tsinghua.edu.cn/anaconda/cloud/conda-forge
urllib3 2.1.0 pypi_0 pypi
vc 14.3 hcf57466_18 https://mirrors.tuna.tsinghua.edu.cn/anaconda/cloud/conda-forge
vc14_runtime 14.38.33130 h82b7239_18 https://mirrors.tuna.tsinghua.edu.cn/anaconda/cloud/conda-forge
vs2015_runtime 14.38.33130 hcb4865c_18 https://mirrors.tuna.tsinghua.edu.cn/anaconda/cloud/conda-forge
werkzeug 3.0.1 pypi_0 pypi
wget 3.2 pypi_0 pypi
wheel 0.42.0 pyhd8ed1ab_0 https://mirrors.tuna.tsinghua.edu.cn/anaconda/cloud/conda-forge
xz 5.2.6 h8d14728_0 https://mirrors.tuna.tsinghua.edu.cn/anaconda/cloud/conda-forge
zipp 3.17.0 pypi_0 pypi
**pip install G:\RGB_PC\KNN_CUDA-0.2-py3-none-any.whl**
Successfully installed KNN-CUDA-0.2
**(此处虽然提示成功,但是后续发现仍有问题,等解决成功会写在笔记二中)**
**pip install G:\RGB_PC\M3DM-main\M3DM-main\Pointnet2_PyTorch-master\Pointnet2_PyTorch-master\pointnet2_ops_lib**
Successfully installed pointnet2-ops-3.0.0
运行
conda环境,勾选现有环境,找到本虚拟环境下的python.exe
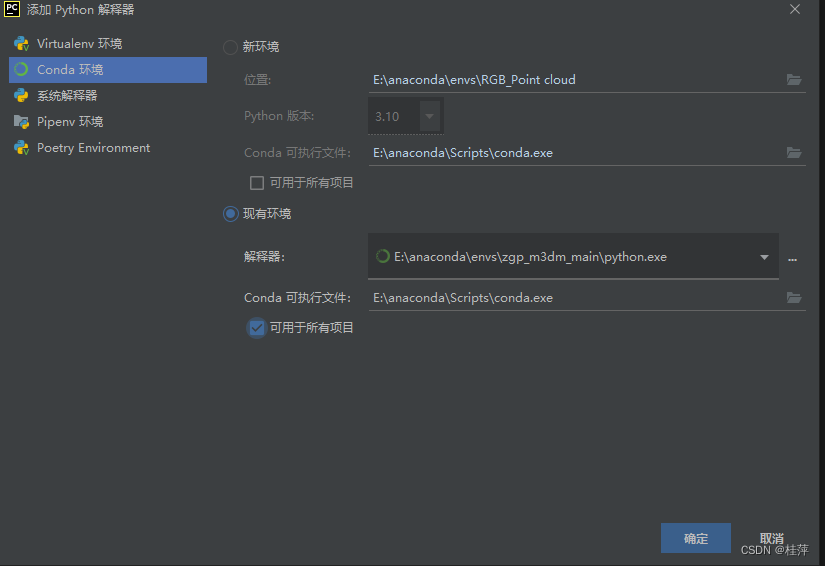
E:\anaconda\envs\zgp_m3dm_main\python.exe G:/RGB_PC/M3DM-main/M3DM-main/main.py
ModuleNotFoundError: No module named ‘matplotlib’(还缺少包)
pip install matplotlib解决
Ninja 安装
RuntimeError: Ninja is required to load C++ extensions
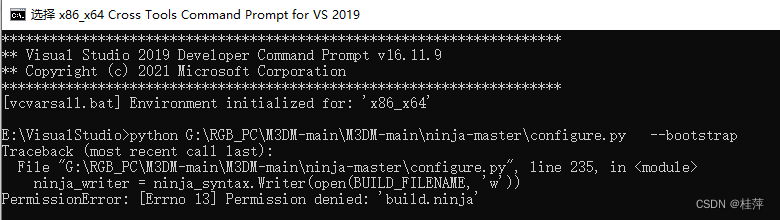
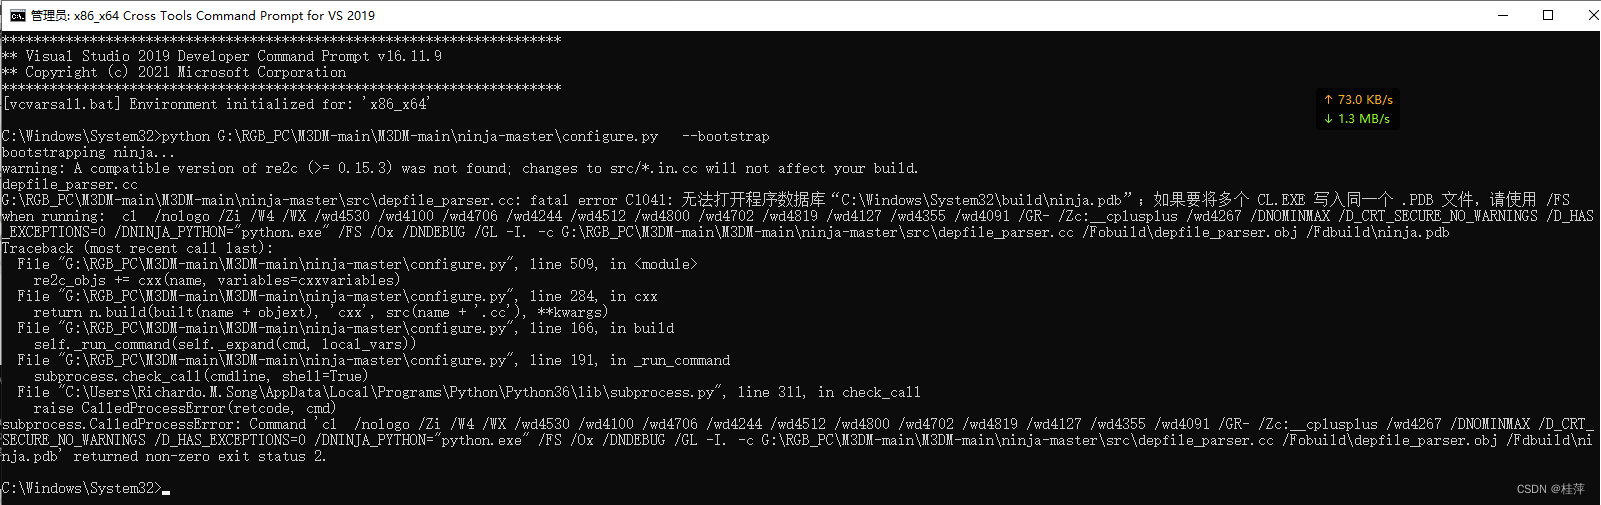
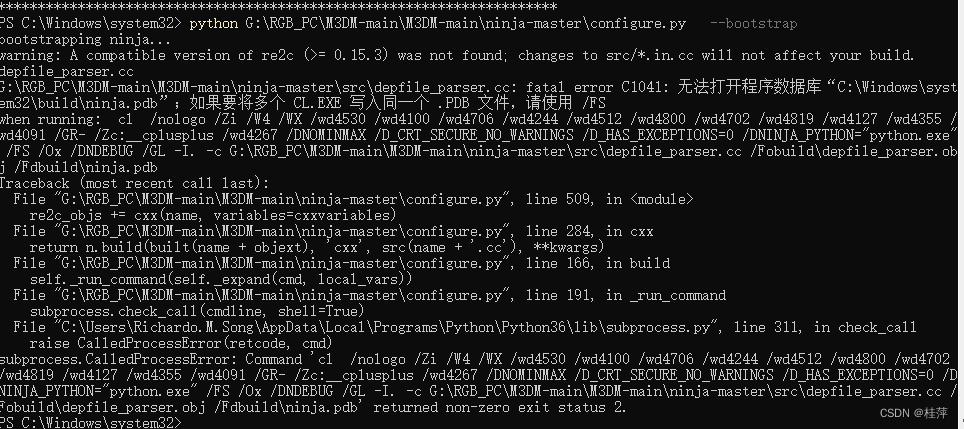
python G:\RGB_PC\M3DM-main\M3DM-main\ninja-master\configure.py --bootstrap
bootstrapping ninja…
Traceback (most recent call last):
File “G:\RGB_PC\M3DM-main\M3DM-main\ninja-master\configure.py”, line 316, in
raise Exception(‘cl.exe not found. Run again from the Developer Command Prompt for VS’)
Exception: cl.exe not found. Run again from the Developer Command Prompt for VS
直接复制ubuntu执行生成好的到E:\anaconda\envs\zgp_m3dm_main\bin
没有任何作用。
在命令行运行也不行

VS也不行


 ,
,
右键-以管理员身份运行会另一个错误
重启也不行.
bootstrapping ninja…
warning: A compatible version of re2c (>= 0.15.3) was not found; changes to src/*.in.cc will not affect your build.
depfile_parser.cc
G:\RGB_PC\M3DM-main\M3DM-main\ninja-master\src\depfile_parser.cc: fatal error C1041: 无法打开程序数据库“C:\Windows\System32\build\ninja.pdb”;如果 要将多个 CL.EXE 写入同一个 .PDB 文件,请使用 /FS
when running: cl /nologo /Zi /W4 /WX /wd4530 /wd4100 /wd4706 /wd4244 /wd4512 /wd4800 /wd4702 /wd4819 /wd4127 /wd4355 /wd4091 /GR- /Zc:__cplusplus /wd4267 /DNOMINMAX /D_CRT_SECURE_NO_WARNINGS /D_HAS_EXCEPTIONS=0 /DNINJA_PYTHON=“python.exe” /FS /Ox /DNDEBUG /GL -I. -c G:\RGB_PC\M3DM-main\M3DM-main\ninja-master\src\depfile_parser.cc /Fobuild\depfile_parser.obj /Fdbuild\ninja.pdb
Traceback (most recent call last):
File “G:\RGB_PC\M3DM-main\M3DM-main\ninja-master\configure.py”, line 509, in
re2c_objs += cxx(name, variables=cxxvariables)
File “G:\RGB_PC\M3DM-main\M3DM-main\ninja-master\configure.py”, line 284, in cxx
return n.build(built(name + objext), ‘cxx’, src(name + ‘.cc’), **kwargs)
File “G:\RGB_PC\M3DM-main\M3DM-main\ninja-master\configure.py”, line 166, in build
self._run_command(self._expand(cmd, local_vars))
File “G:\RGB_PC\M3DM-main\M3DM-main\ninja-master\configure.py”, line 191, in _run_command
subprocess.check_call(cmdline, shell=True)
File “C:\Users\Richardo.M.Song\AppData\Local\Programs\Python\Python36\lib\subprocess.py”, line 311, in check_call
raise CalledProcessError(retcode, cmd)
subprocess.CalledProcessError: Command ‘cl /nologo /Zi /W4 /WX /wd4530 /wd4100 /wd4706 /wd4244 /wd4512 /wd4800 /wd4702 /wd4819 /wd4127 /wd4355 /wd4091 /GR- /Zc:__cplusplus /wd4267 /DNOMINMAX /D_CRT_SECURE_NO_WARNINGS /D_HAS_EXCEPTIONS=0 /DNINJA_PYTHON=“python.exe” /FS /Ox /DNDEBUG /GL -I. -c G:\RGB_PC\M3DM-main\M3DM-main\ninja-master\src\depfile_parser.cc /Fobuild\depfile_parser.obj /Fdbuild\ninja.pdb’ returned non-zero exit status 2.
阅读发现不一定需要安装。
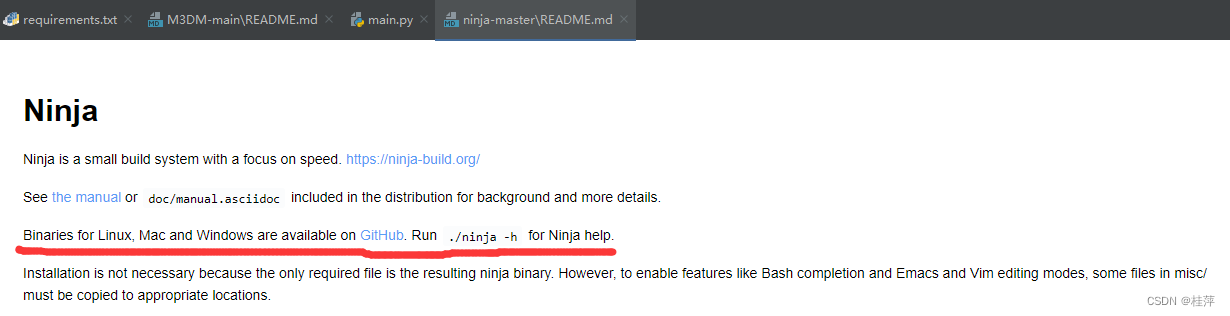
https://github.com/ninja-build/ninja/releases下载
将ninja-win.zip解压,高级系统设置点击环境变量,系统环境变量Path,增加新建G:\ninja-win

安装成功但是python仍然找不到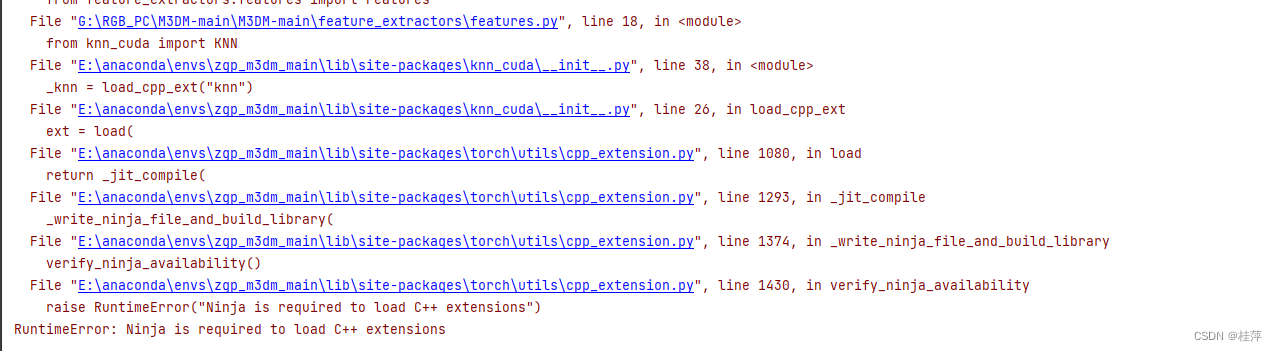
复制.exe到E:\anaconda\envs\zgp_m3dm_main\bin后可以了。
但是仍有关于cl的报错。(尝试运行其他代码已经可以。暂时搁置这个错误,解决成功后会写在笔记二中)


 8021
8021


 被折叠的 条评论
为什么被折叠?
被折叠的 条评论
为什么被折叠?
 到【灌水乐园】发言


