


一、目的
在linux系统上开发程序,一般都是使用vim+gcc+gdb进行的;但是为了开发效率我们也会使用Visual Studio Code进行开发,毕竟有界面的开发调试还是更加友好一些。
老牌程序员肯定都知道make构建工具,但是其晦涩的语法还是难住不少初级开发者的。那么有没有一种更加方便的构建方式呢?
答案是肯定的,我们可以使用CMake来进行构建,在Visual Studio Code上再配合CMake Tools工具真是如虎添翼。

二、实战
参考资料
 https://code.visualstudio.com/docs/cpp/CMake-linux#_select-a-kit
1、安装Visual Studio Code
sudo apt updatesudo apt install software-properties-common apt-transport-https wget
sudo add-apt-repository "deb [arch=amd64] https://packages.microsoft.com/repos/vscode stable main"
sudo apt install code
2、确认开发环境
gcc -v 
如果没有安装使用下面的命令安装
sudo apt-get install gcc
sudo apt-get install build-essential gdb cmake
确认cmake版本(尽量高于3.12.0)
cmake --version

3、创建工程目录并安装visual studio code插件(C++ extension for VS Code、CMake Tools extension for VS Code)
在terminal下输入后打开visual studio code
mkdir -p ~/workspace/work/test/cmakeQuickStart
cd ~/workspace/work/test/cmakeQuickStart
code . 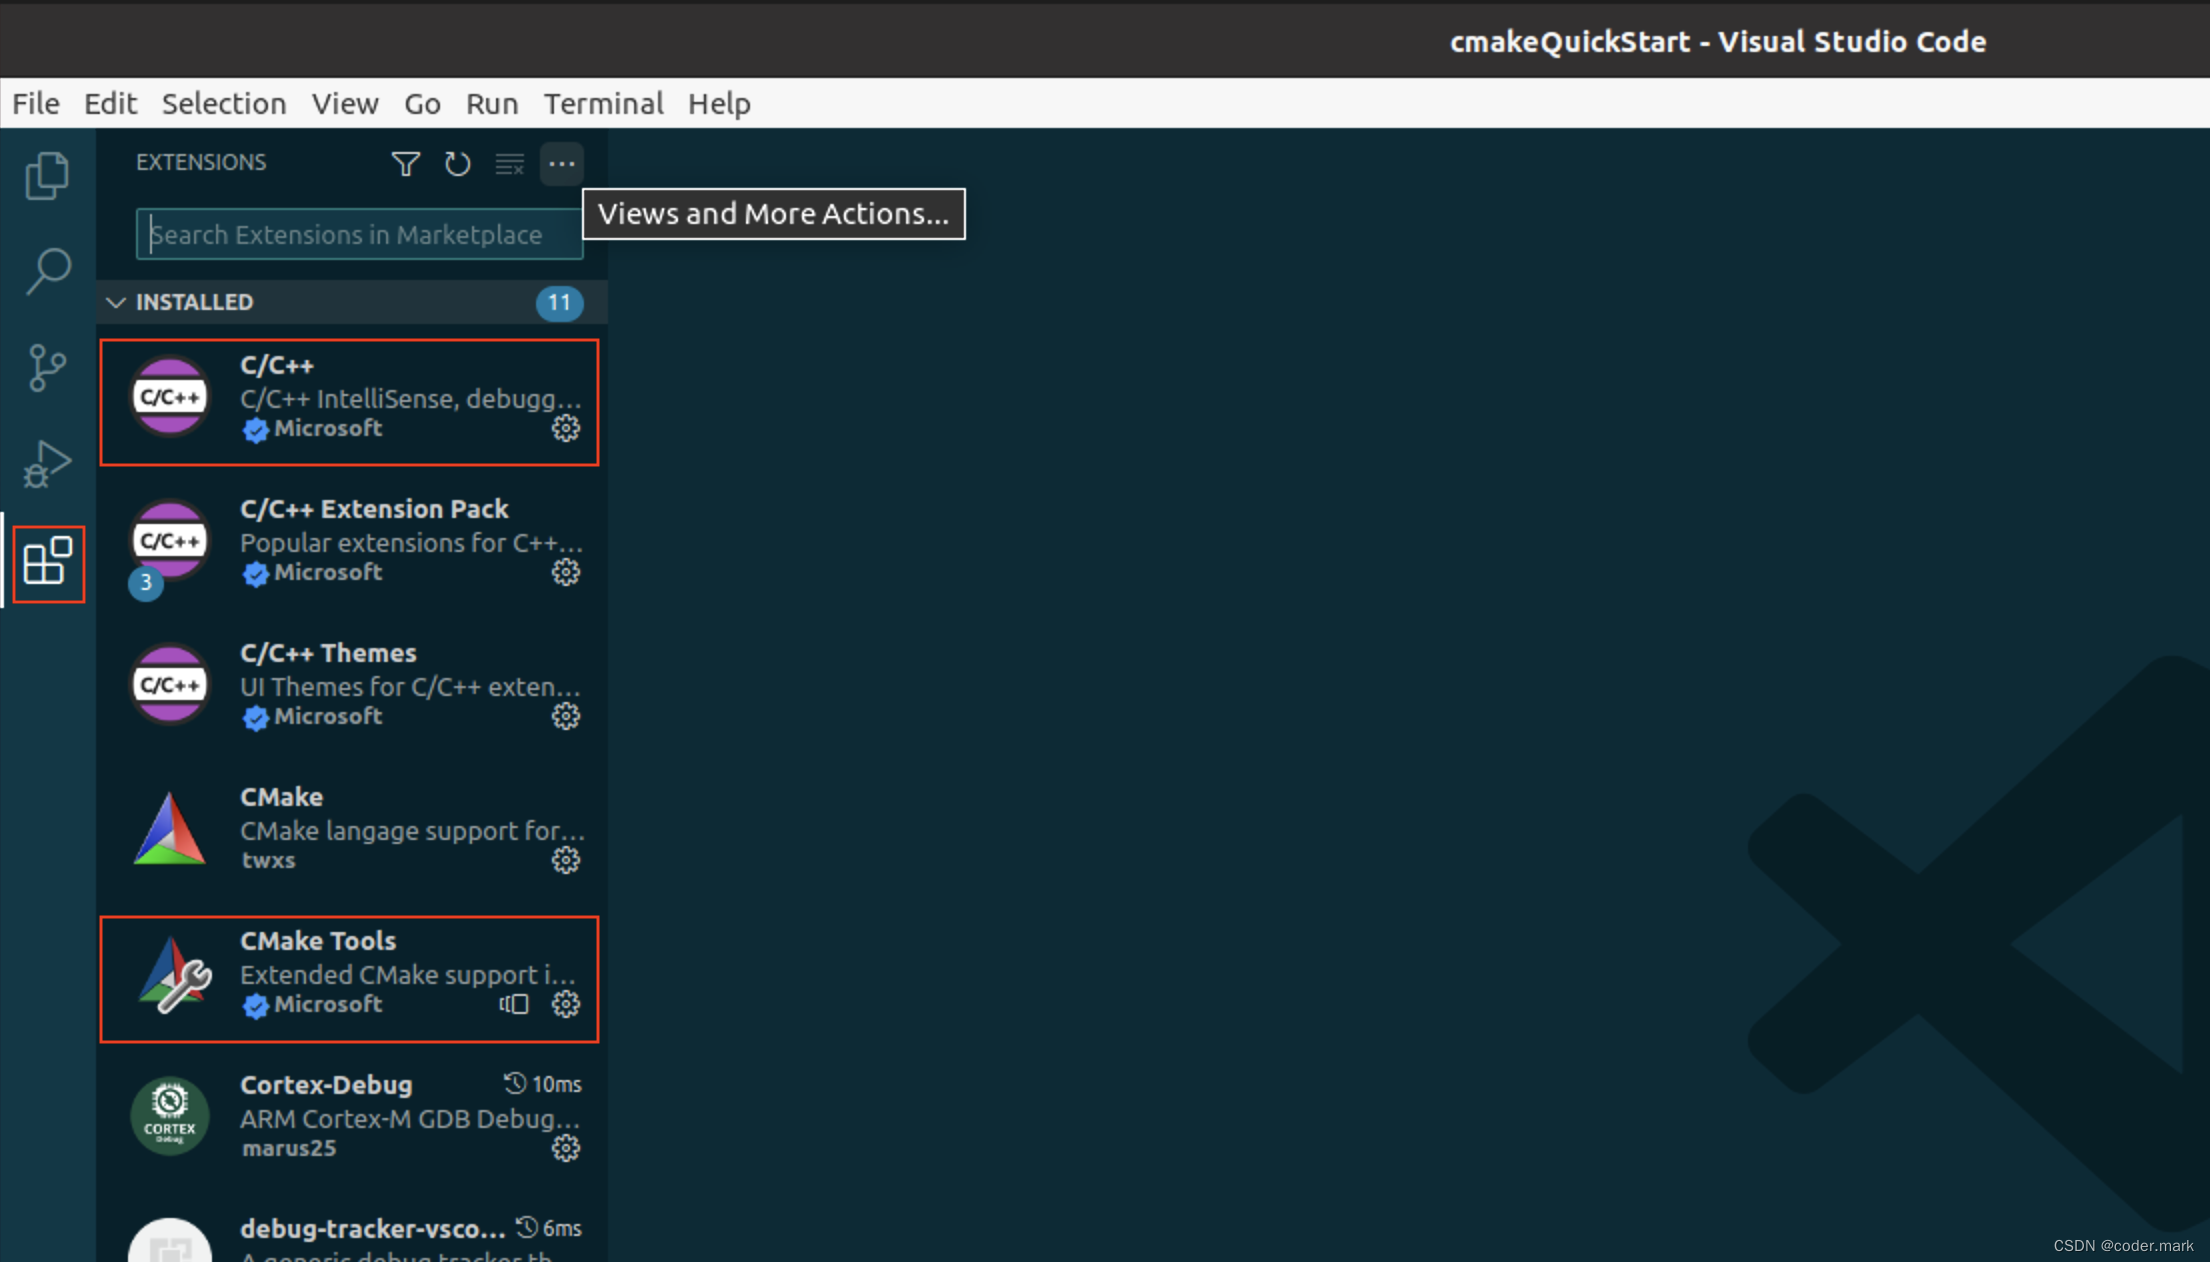
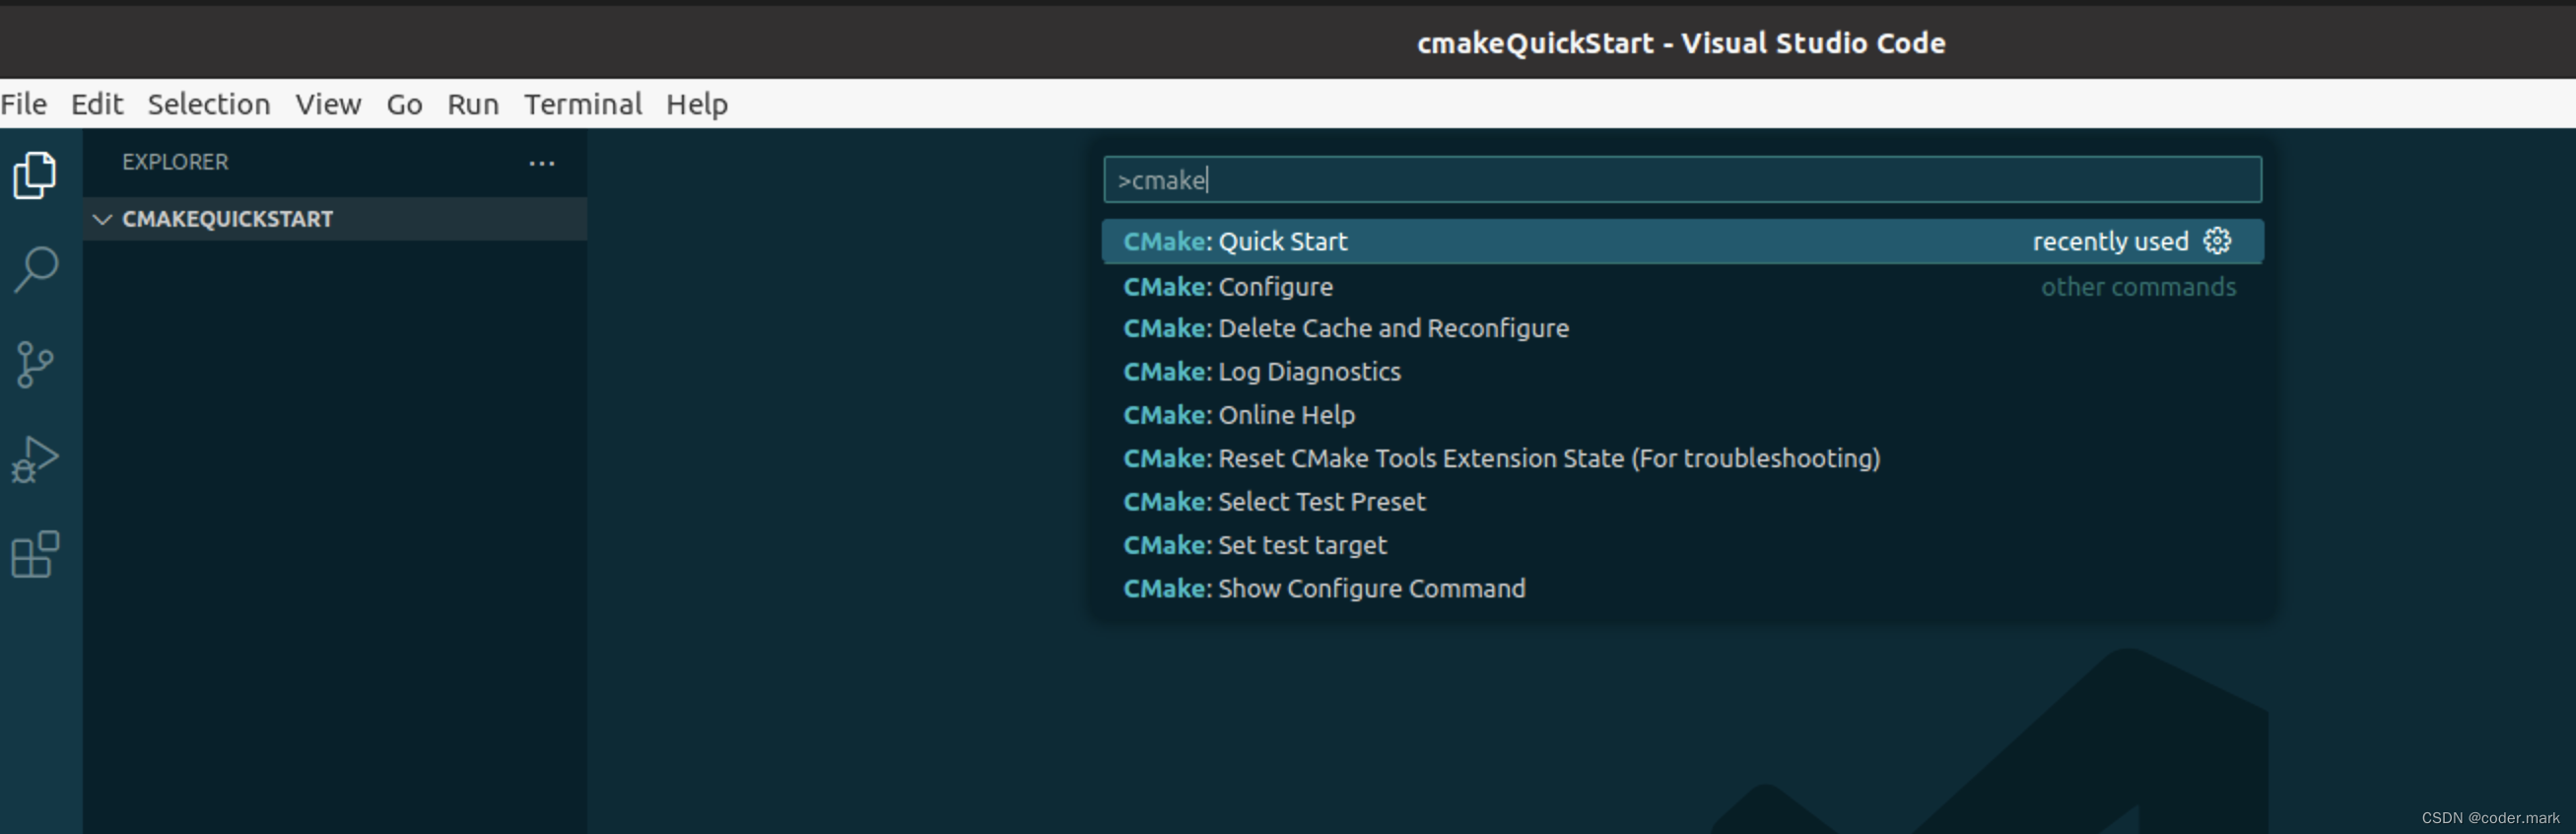
4、创建cmake hello world工程
通过组合按键(Ctrl+Shift+P)打开命令面板,然后输入cmake quick后回车
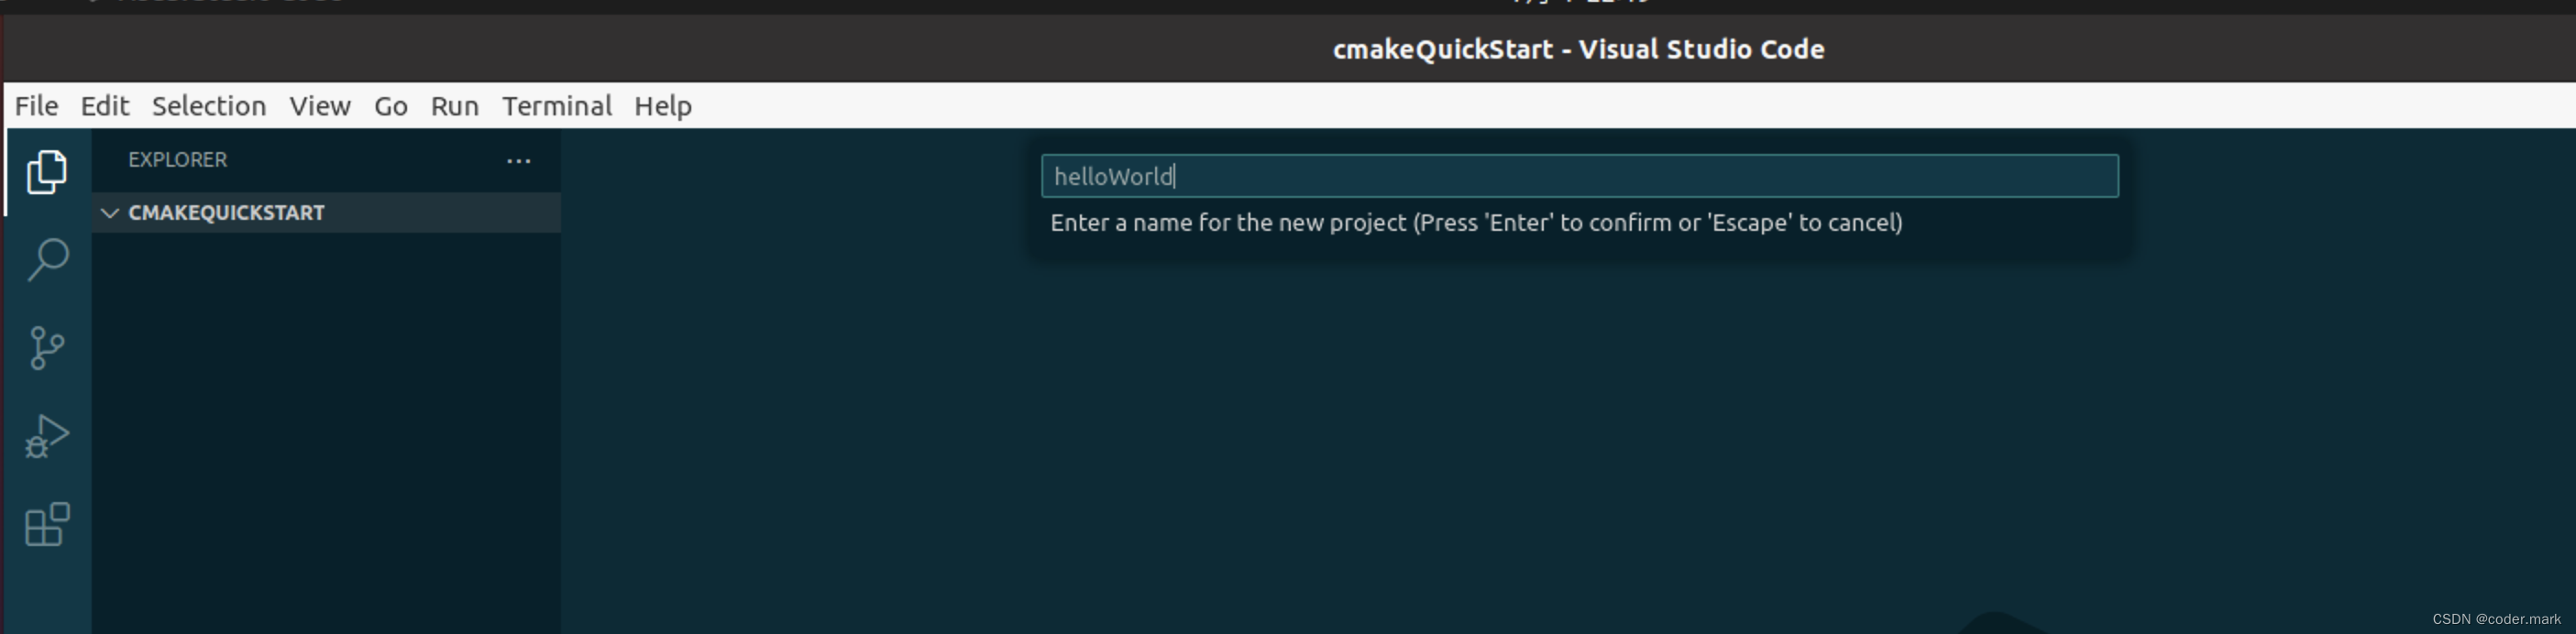
输入工程名称helloWorld后回车
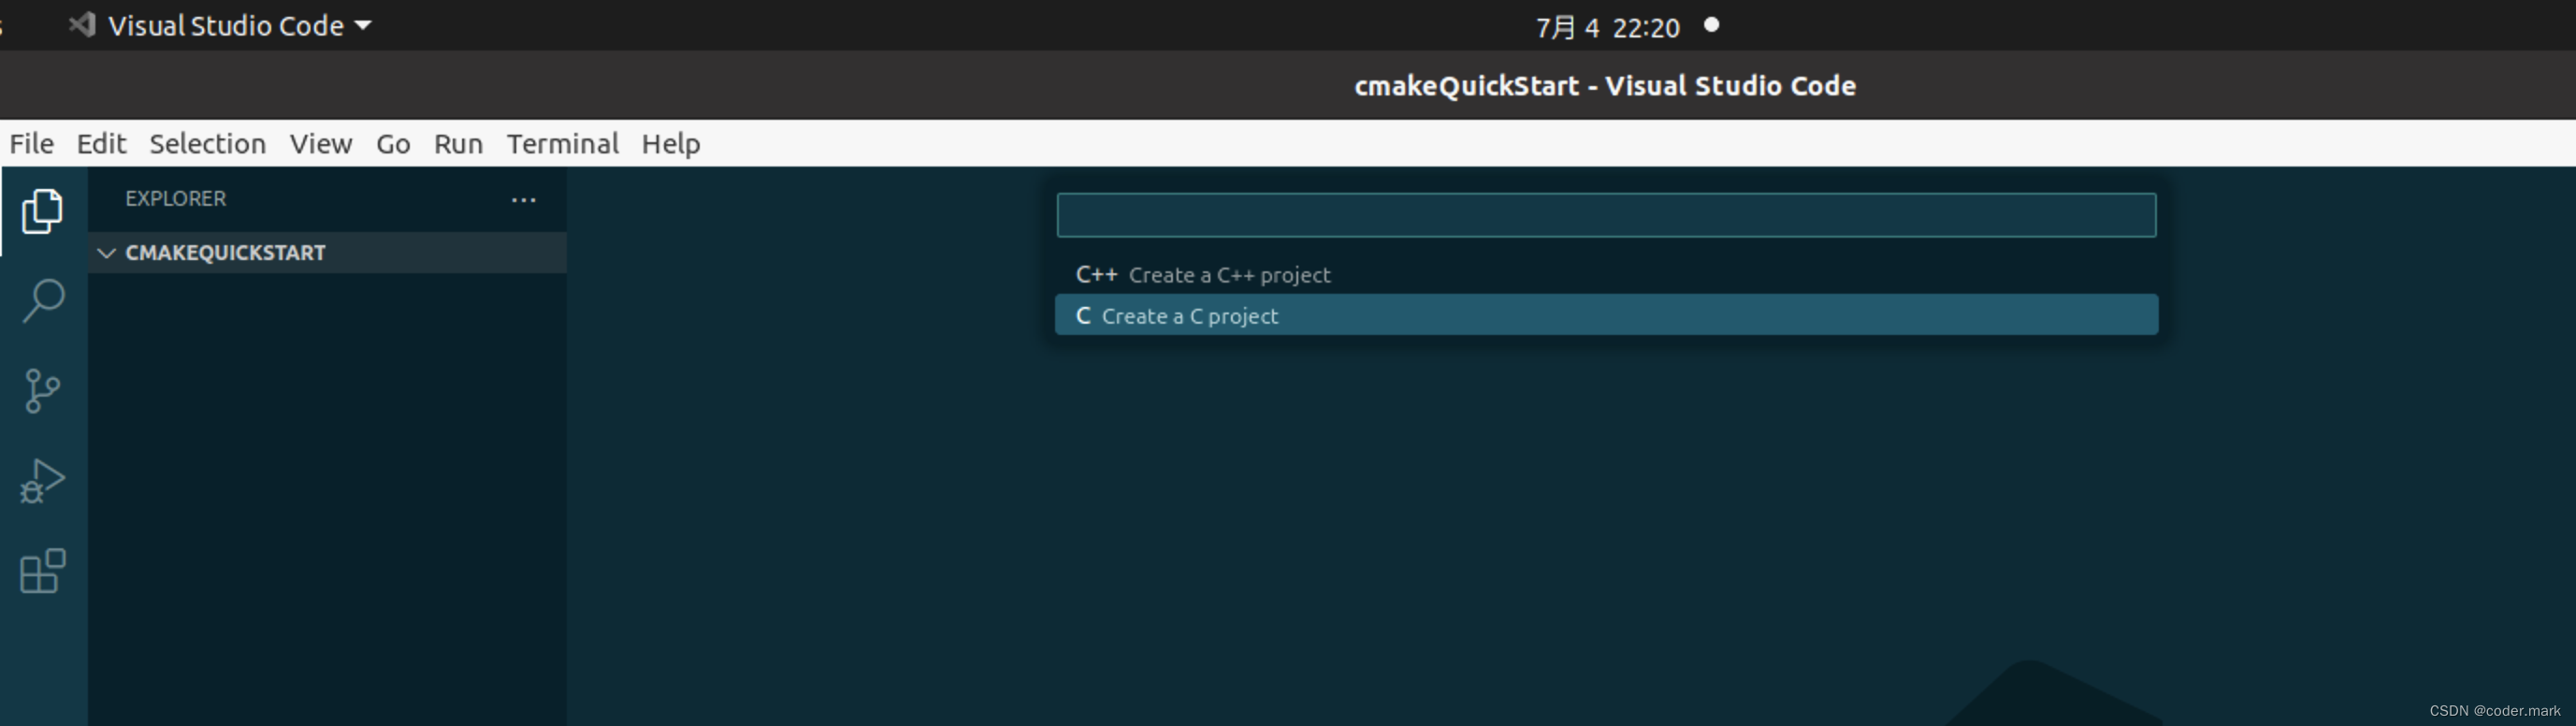
选择编程语言
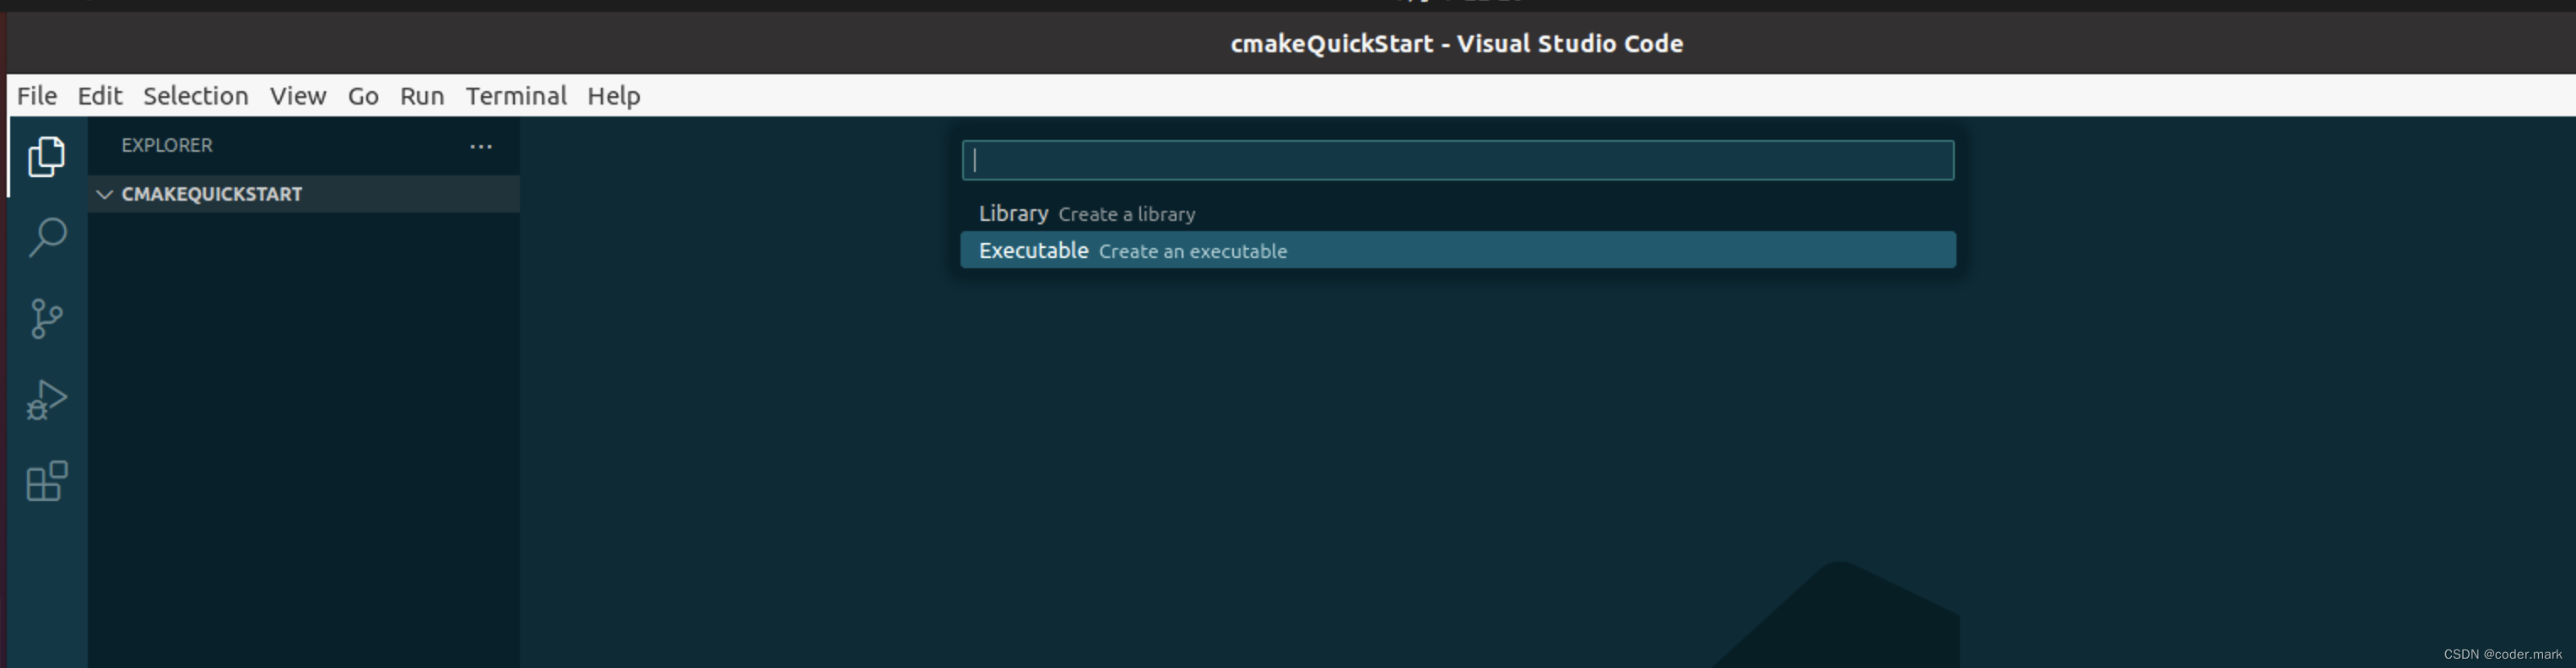
选择编程类型(库或者可执行程序)
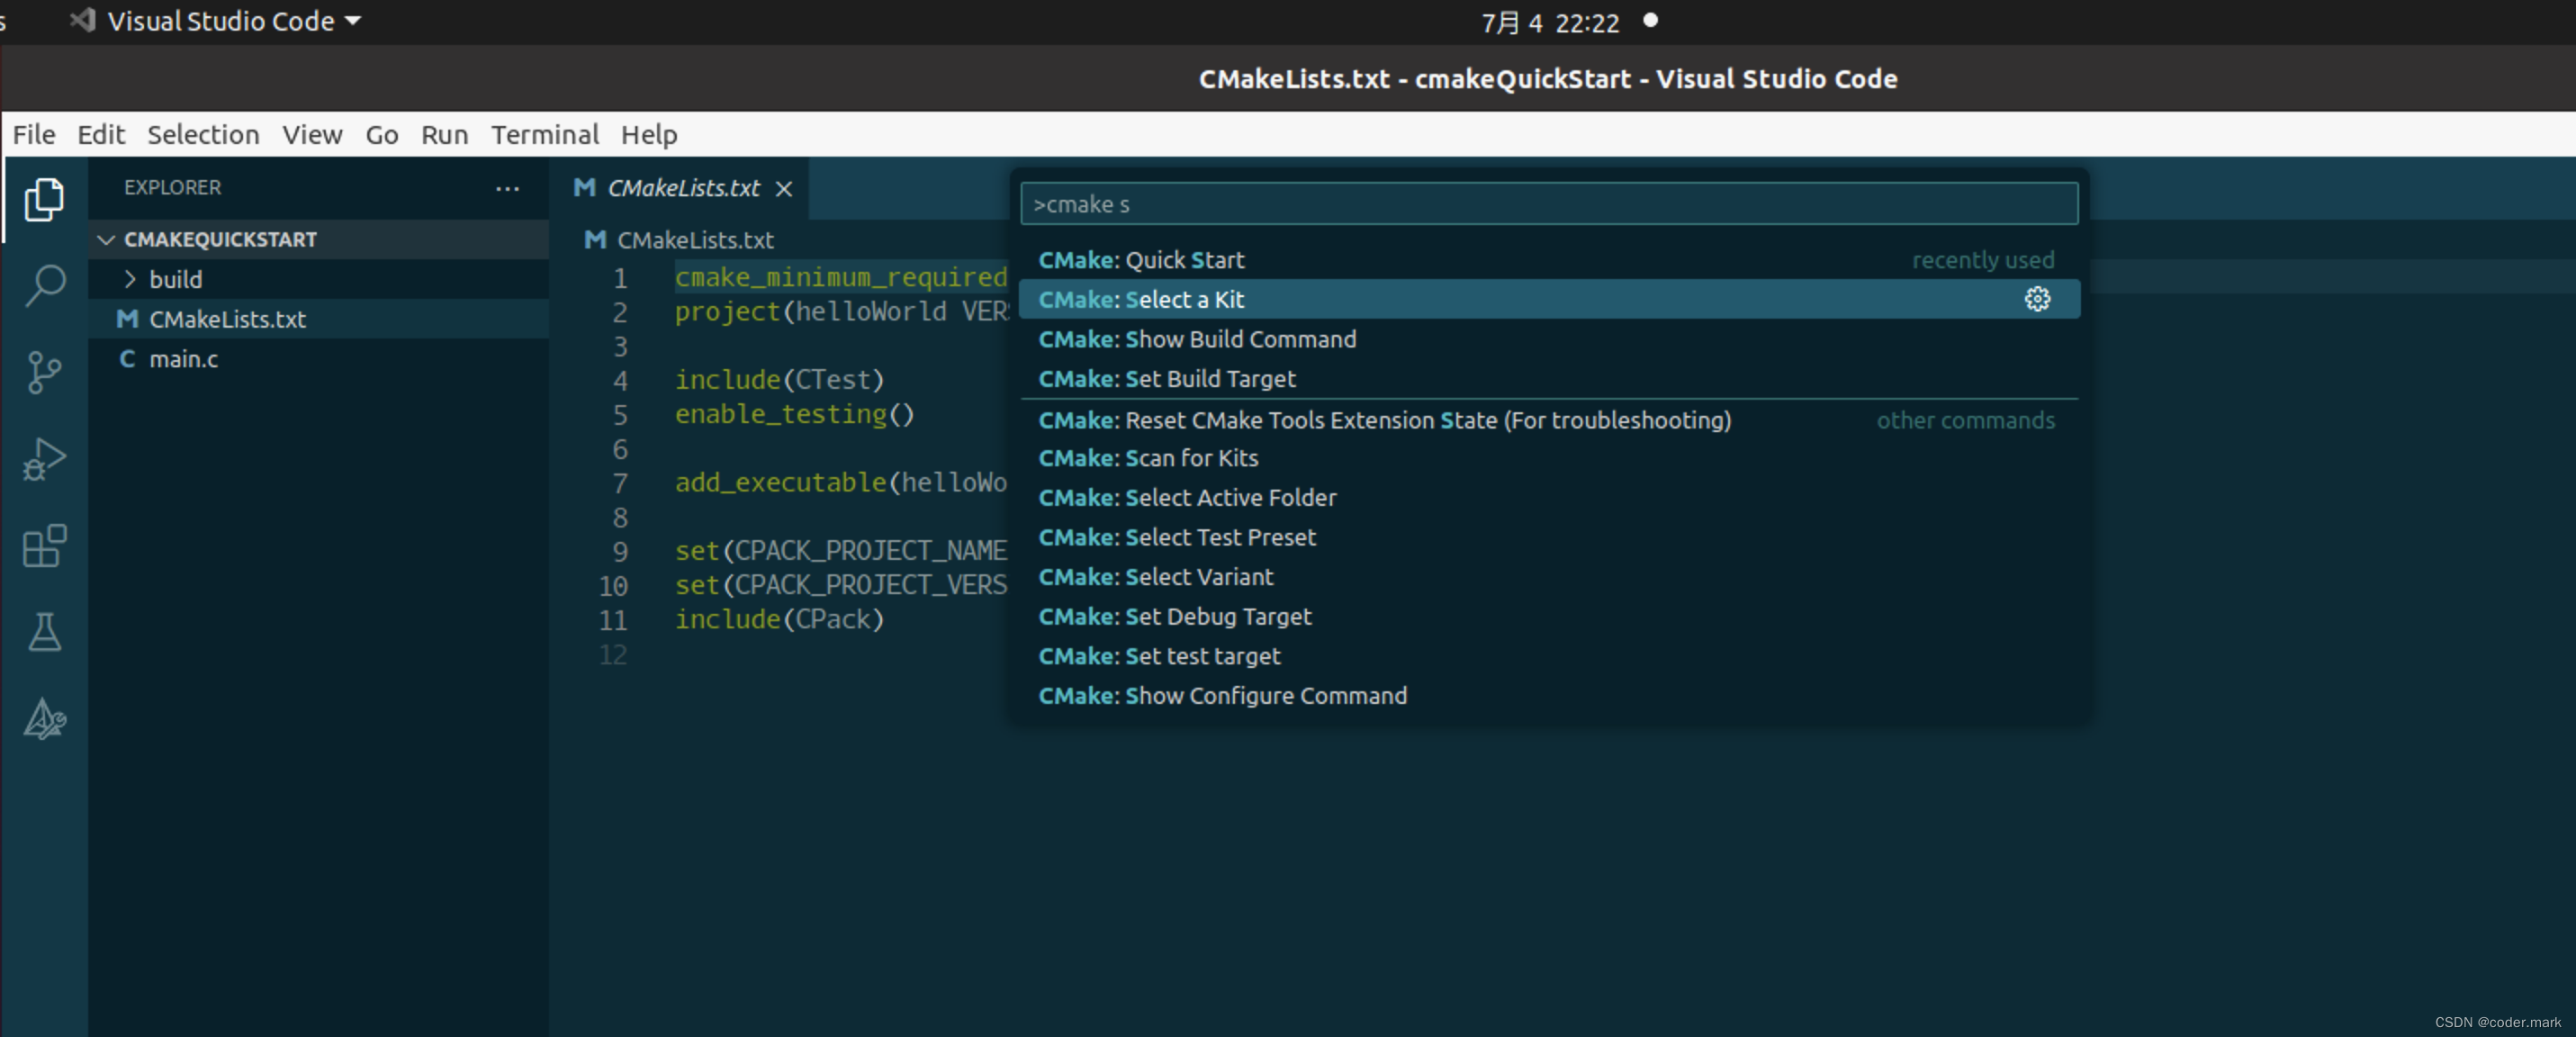
再次打开命令面板输入cmake select a kit
选择本地编译器 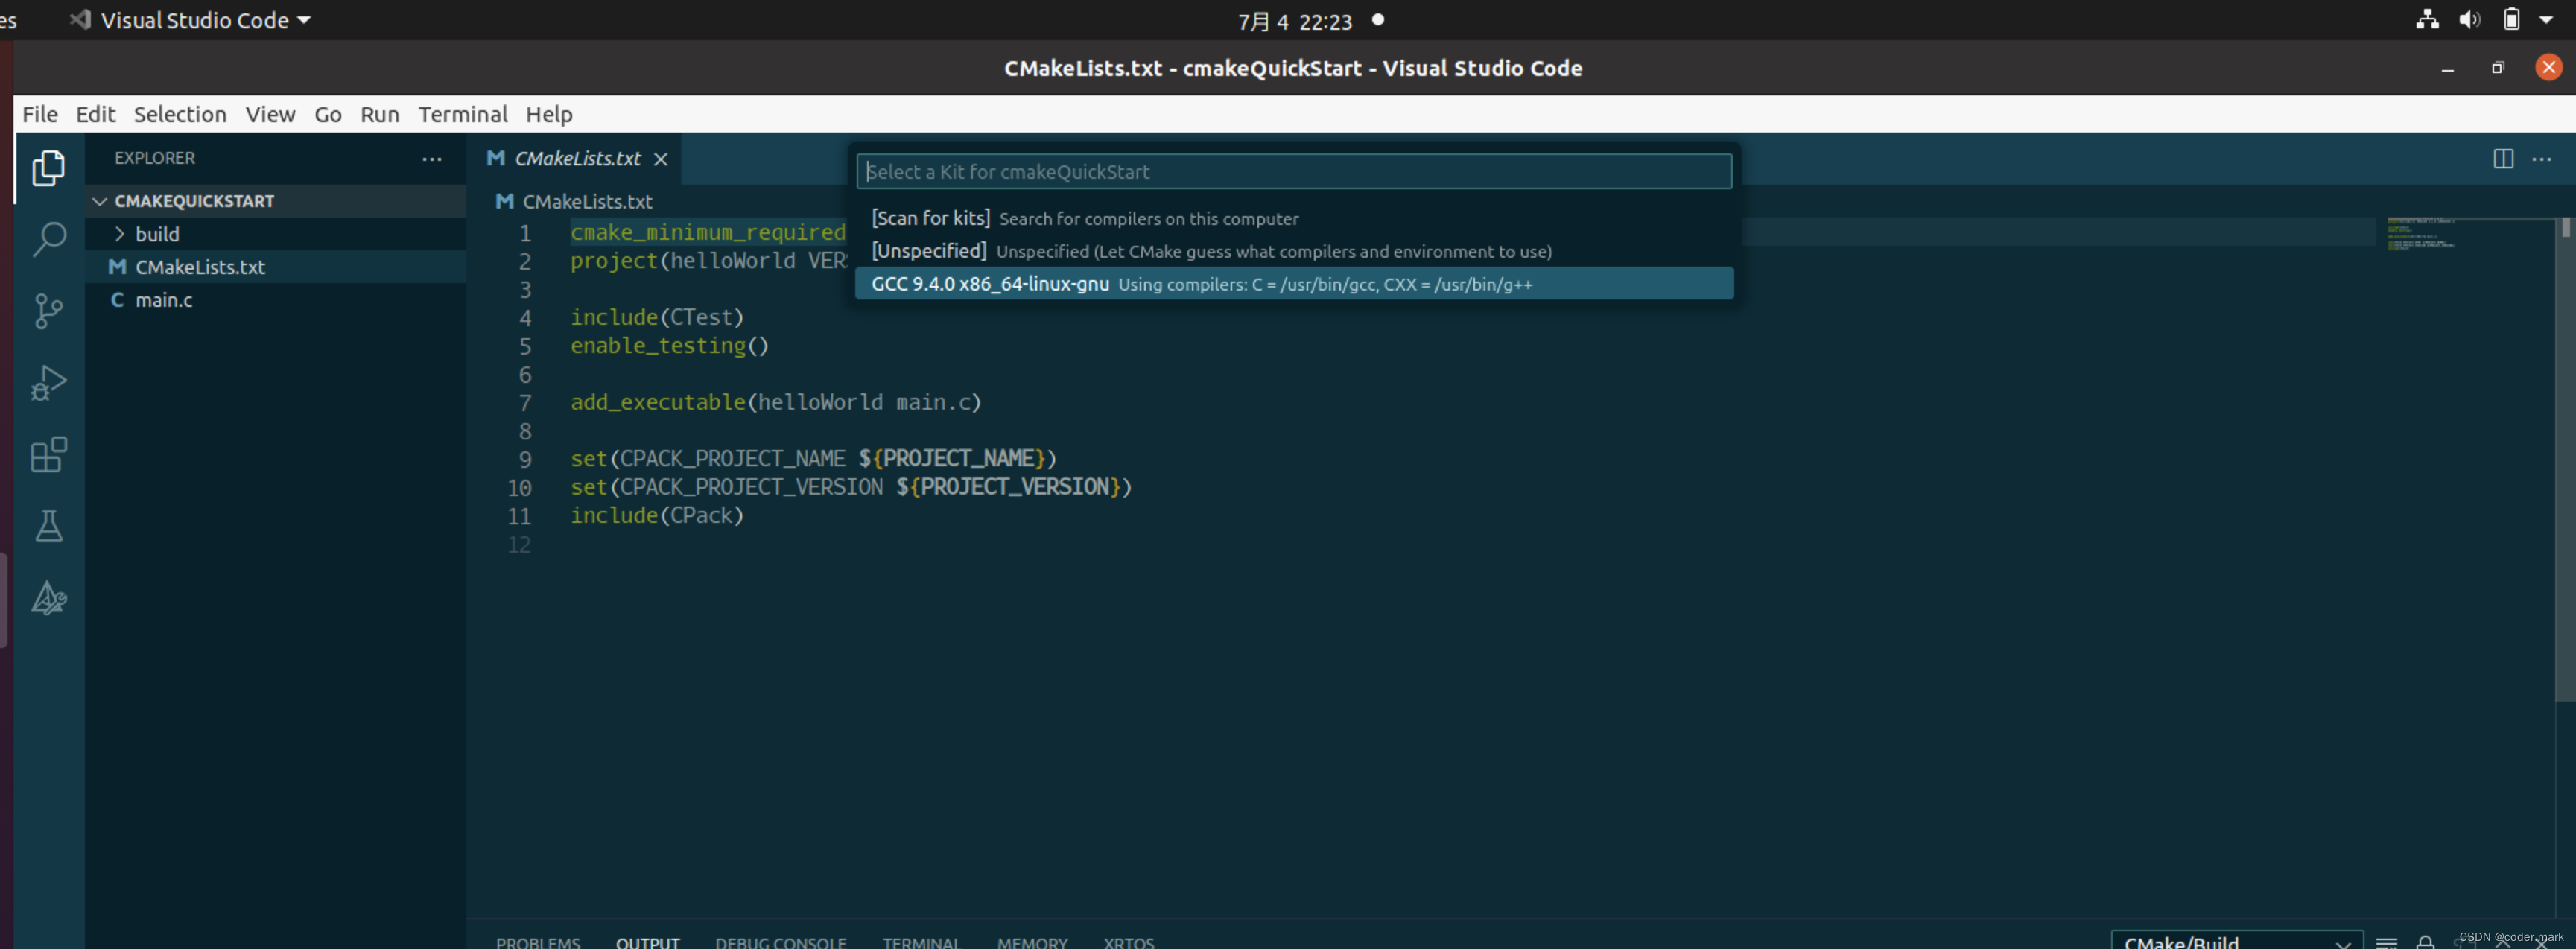
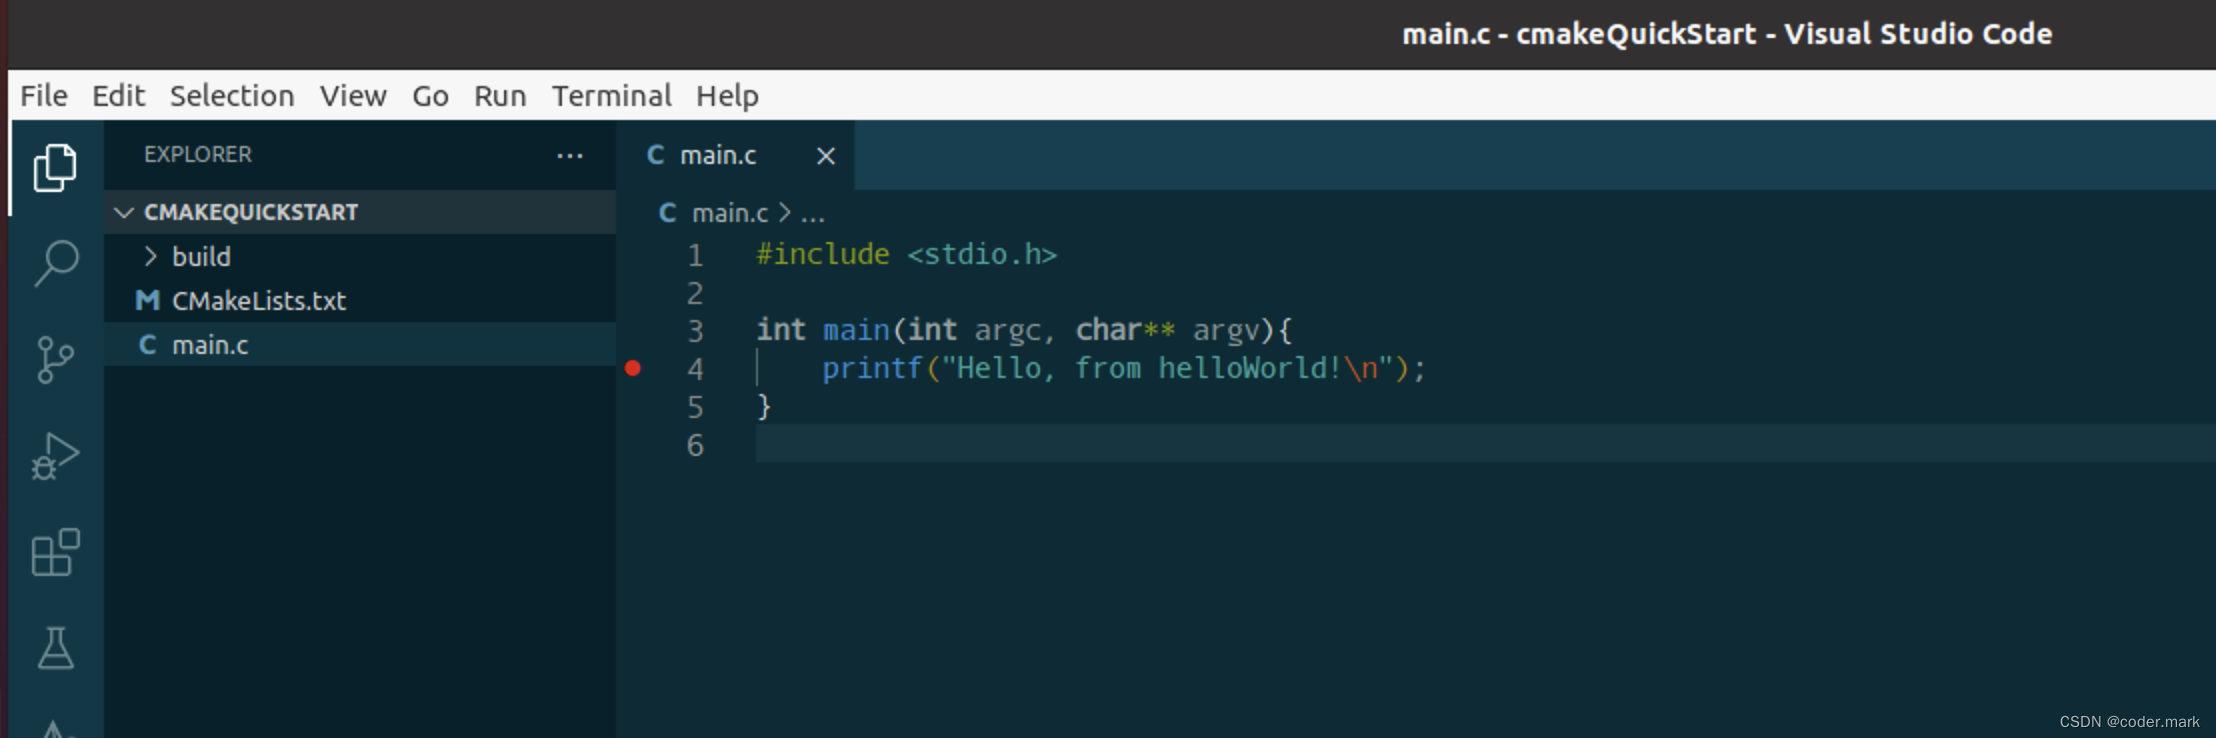
修改main.c文件
#include <stdio.h>

int main(int argc, char** argv){
    printf("Hello, from helloWorld!\n");
}
5、编译
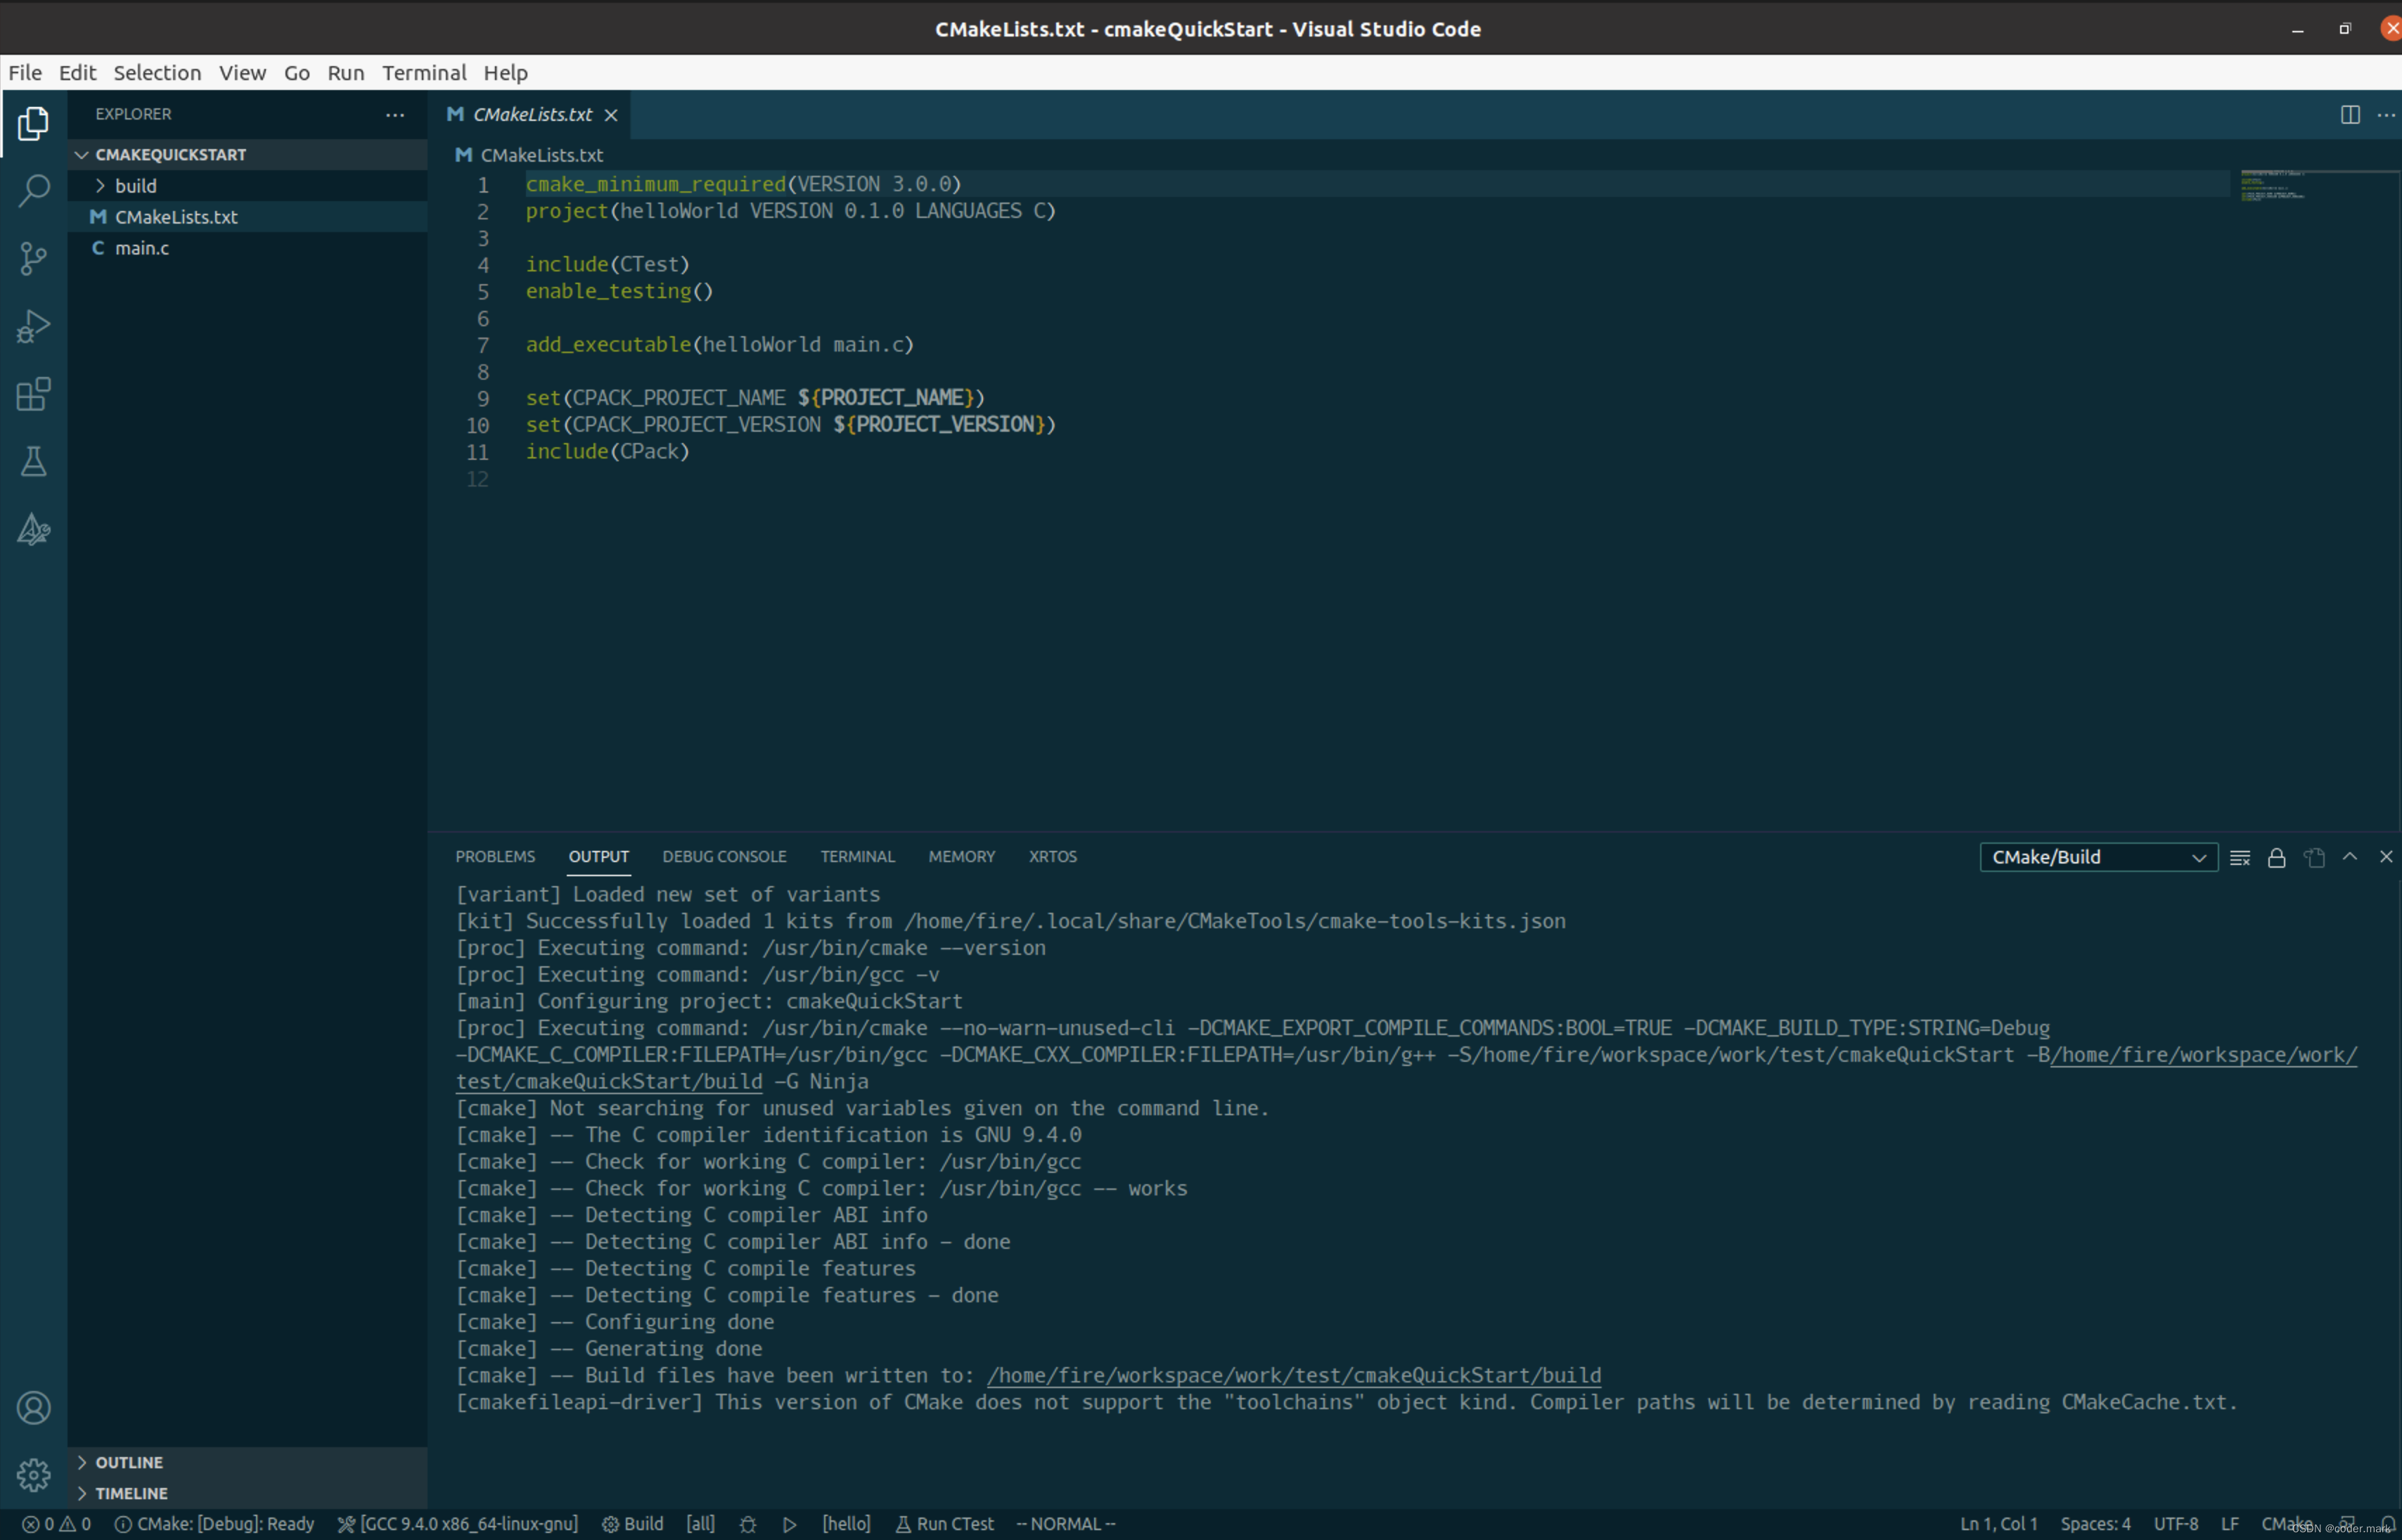
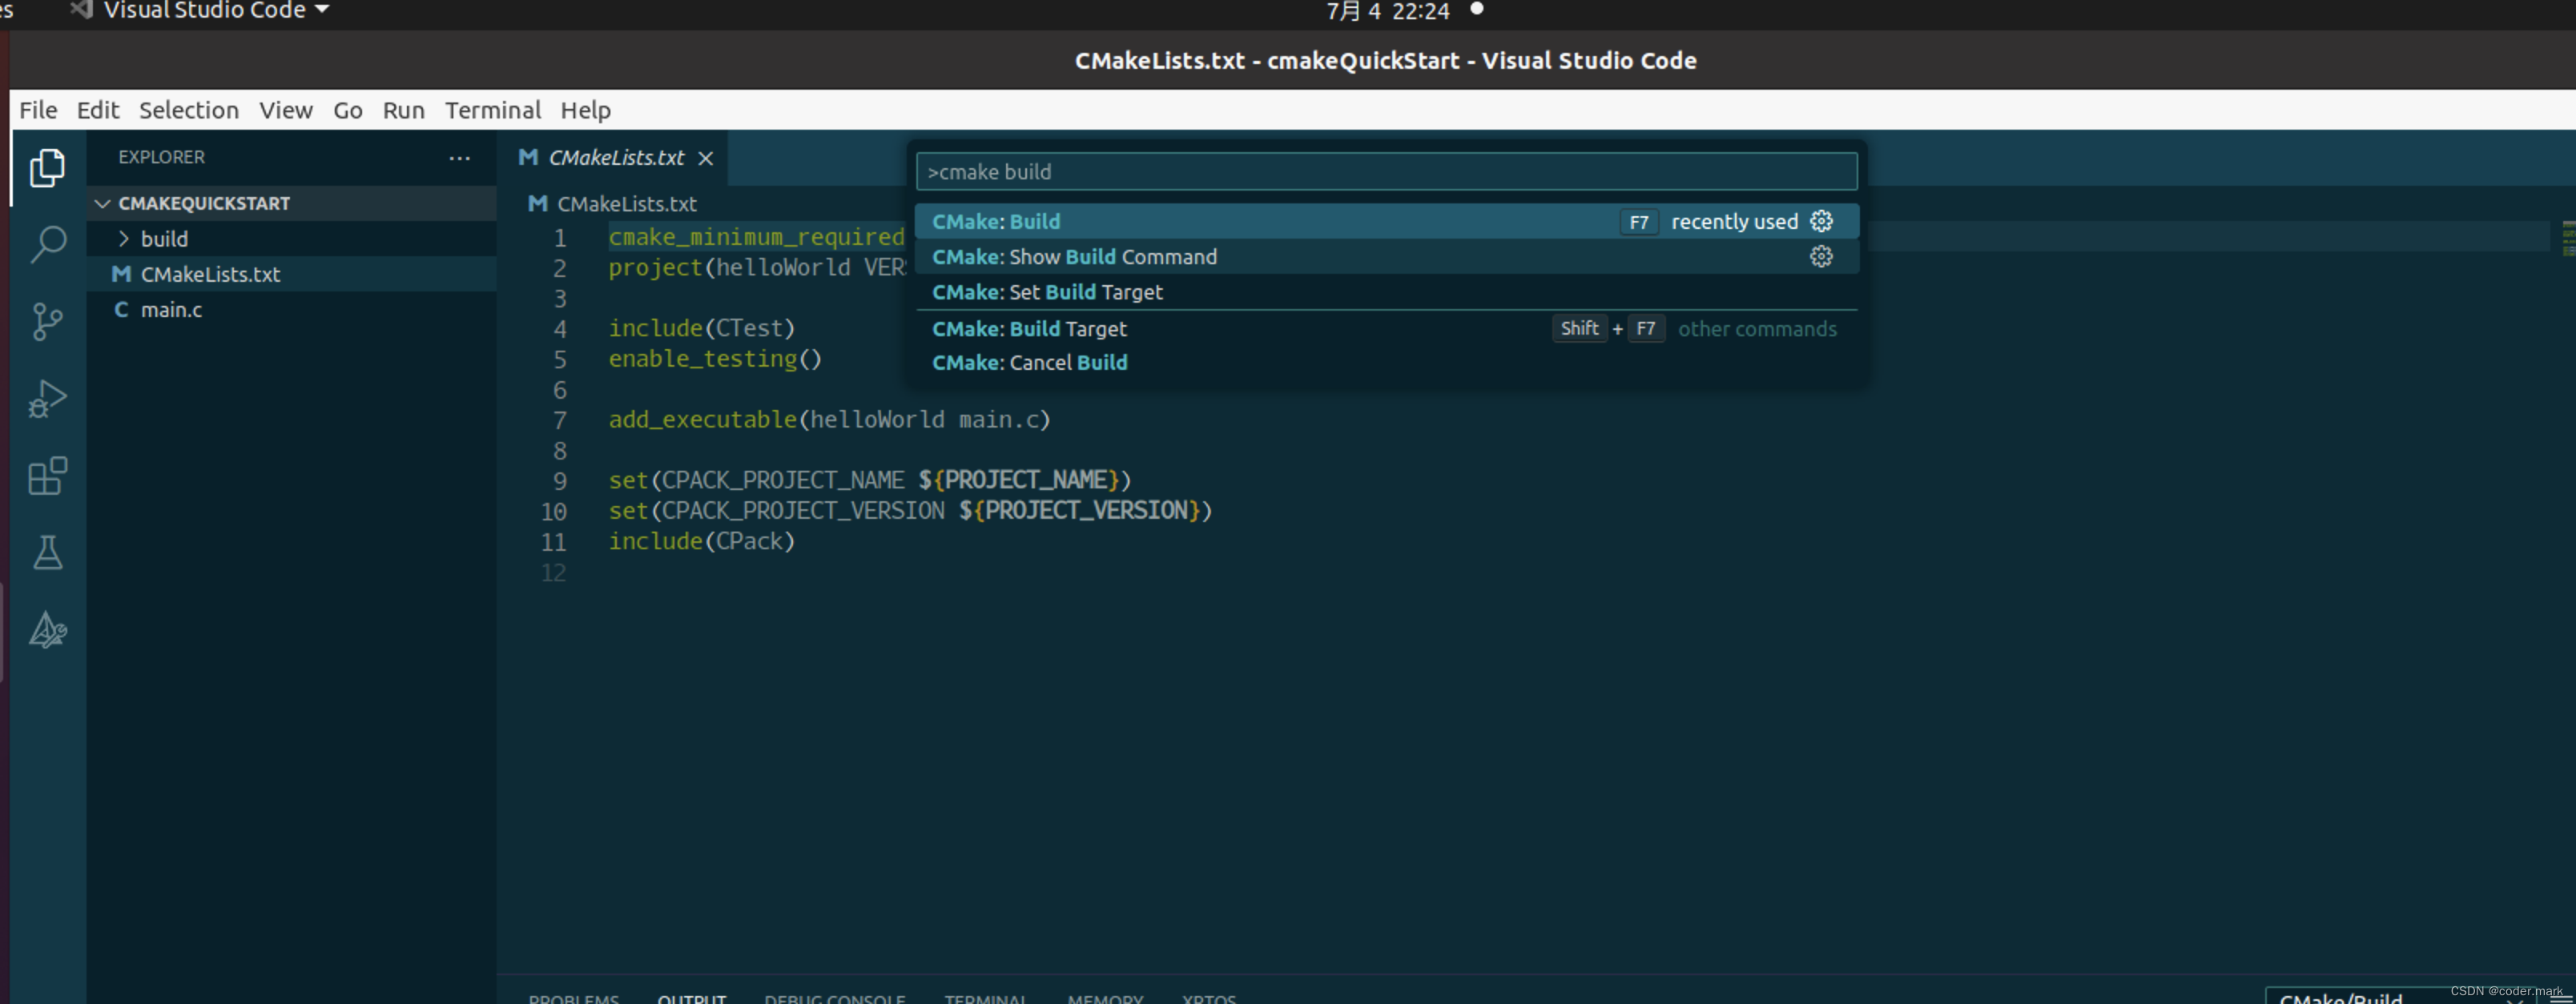
再次打开命令面板,输入cmake build
编译完成后输出如下

给程序添加断点(直接在代码行开头点击一下就会出现红点)
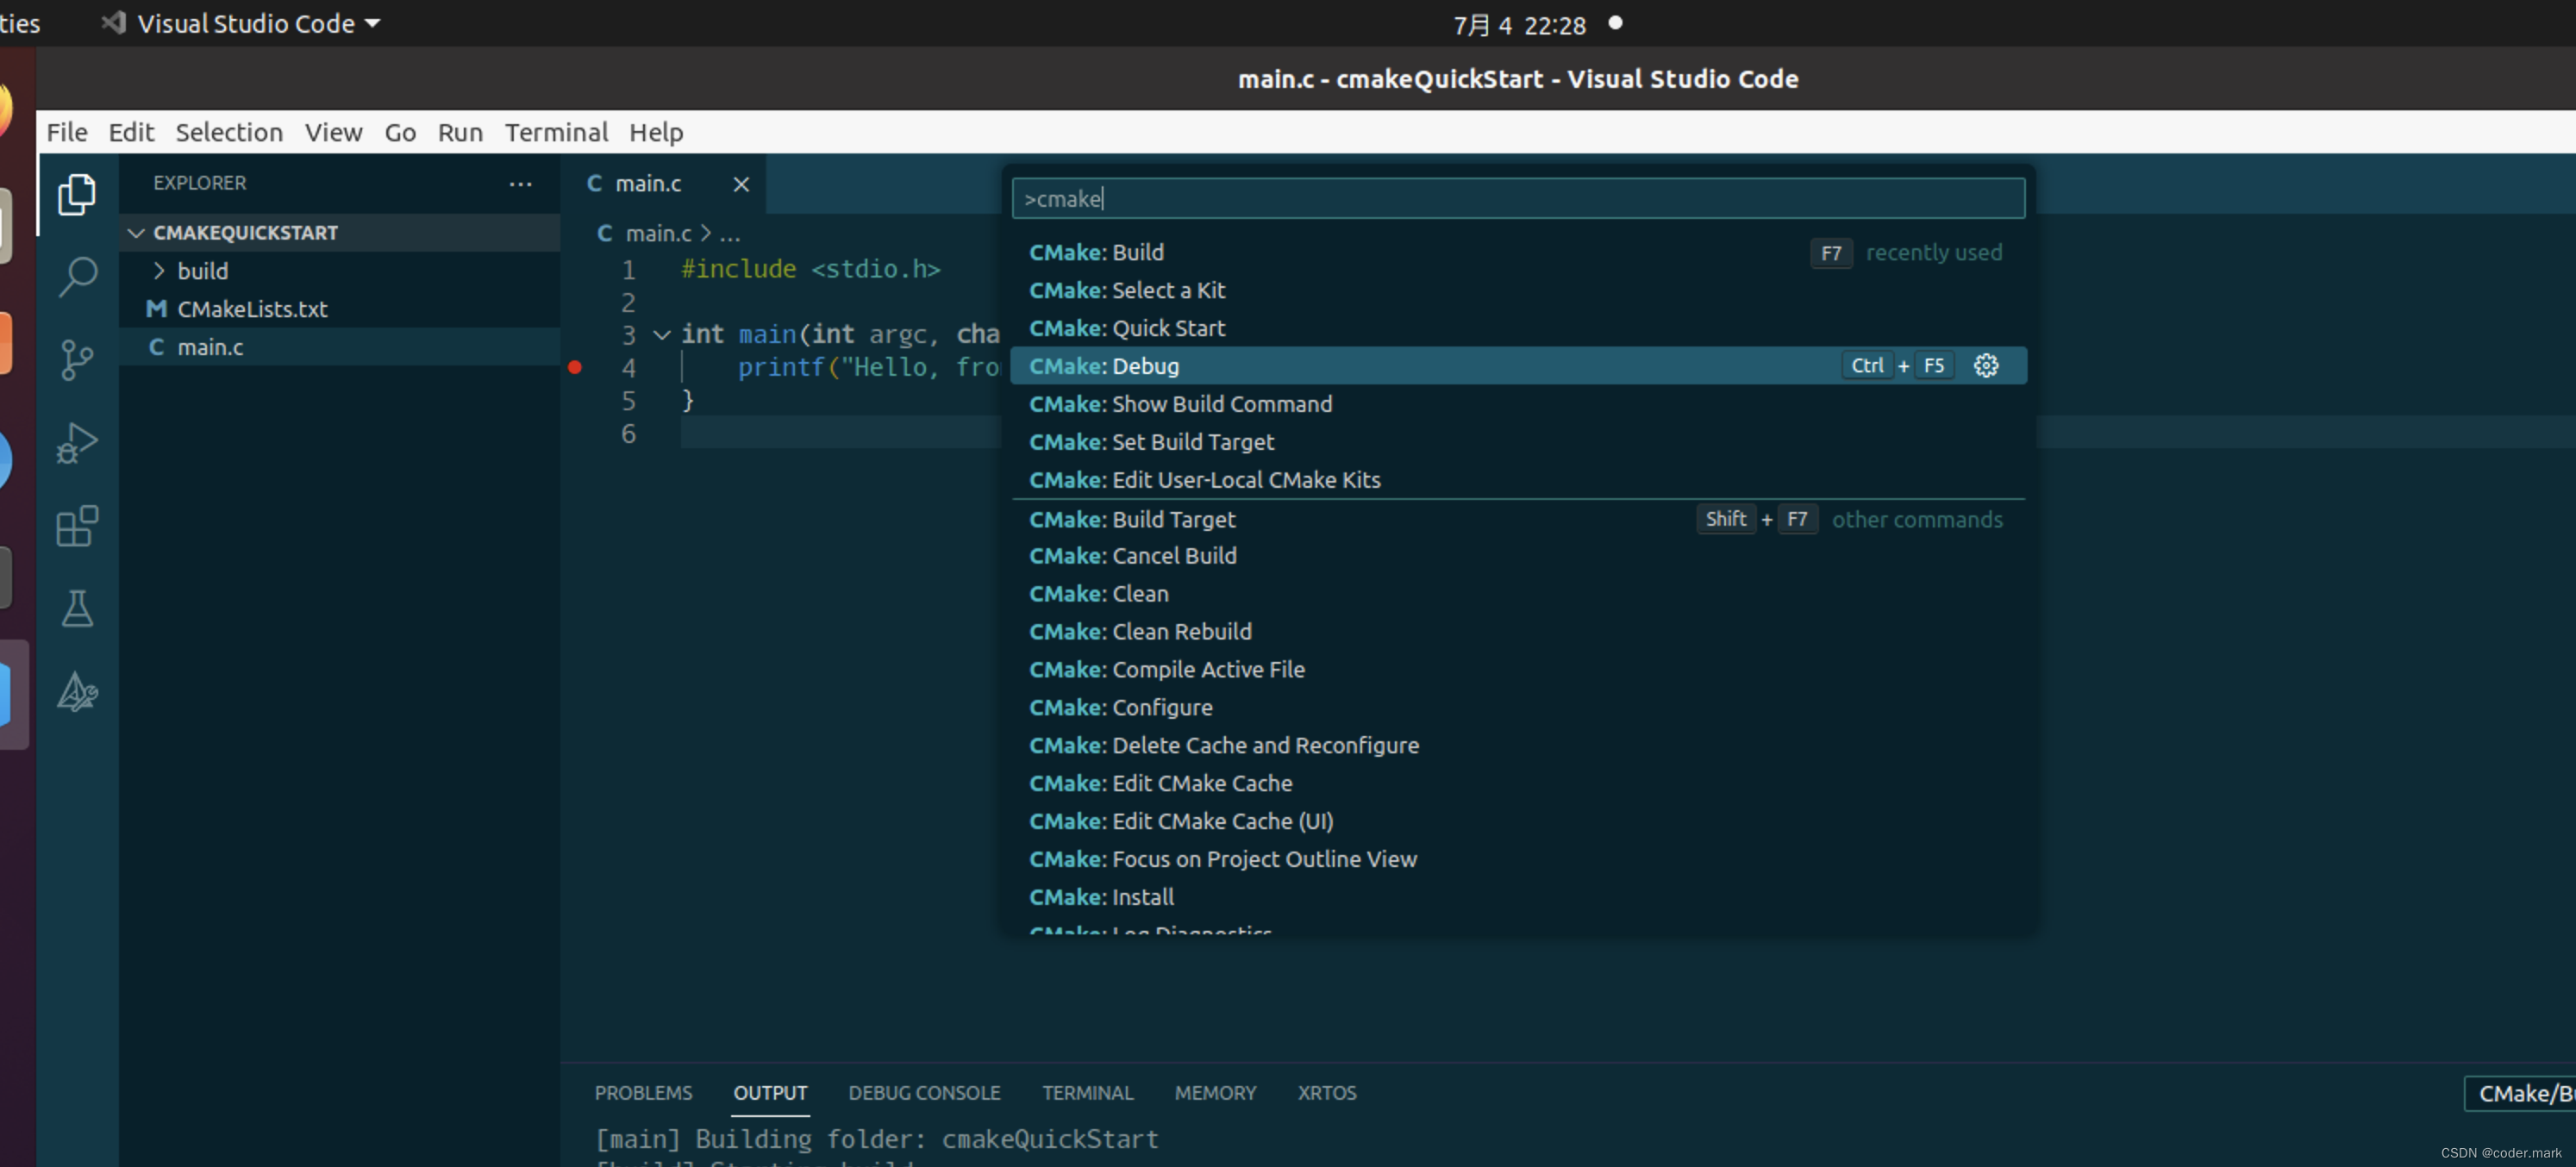
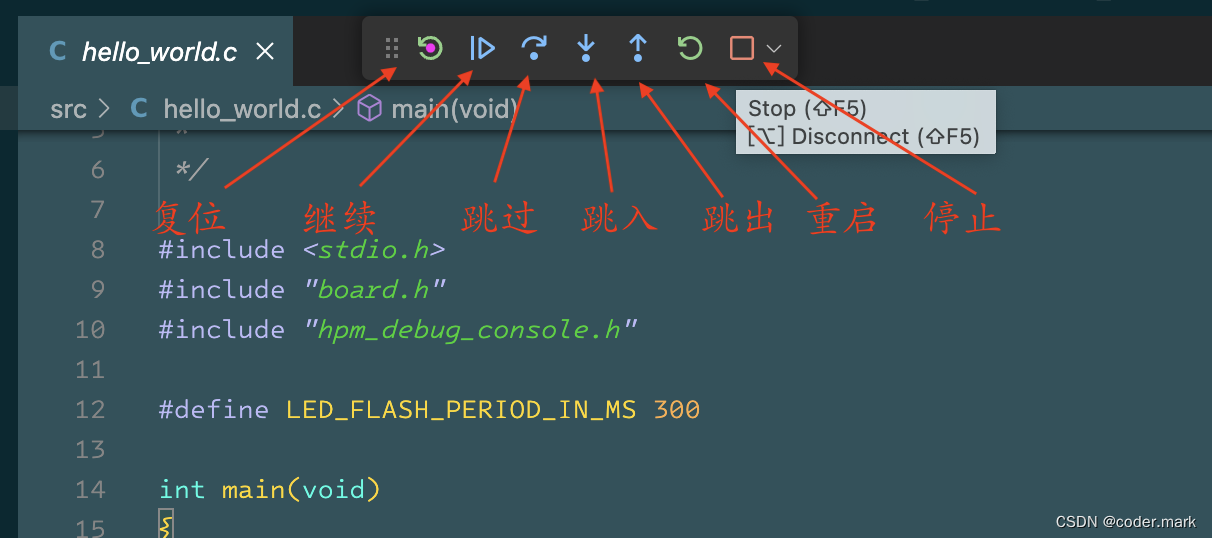
6、调试
再次打开命令面板,输入cmake debug
进入调试窗口
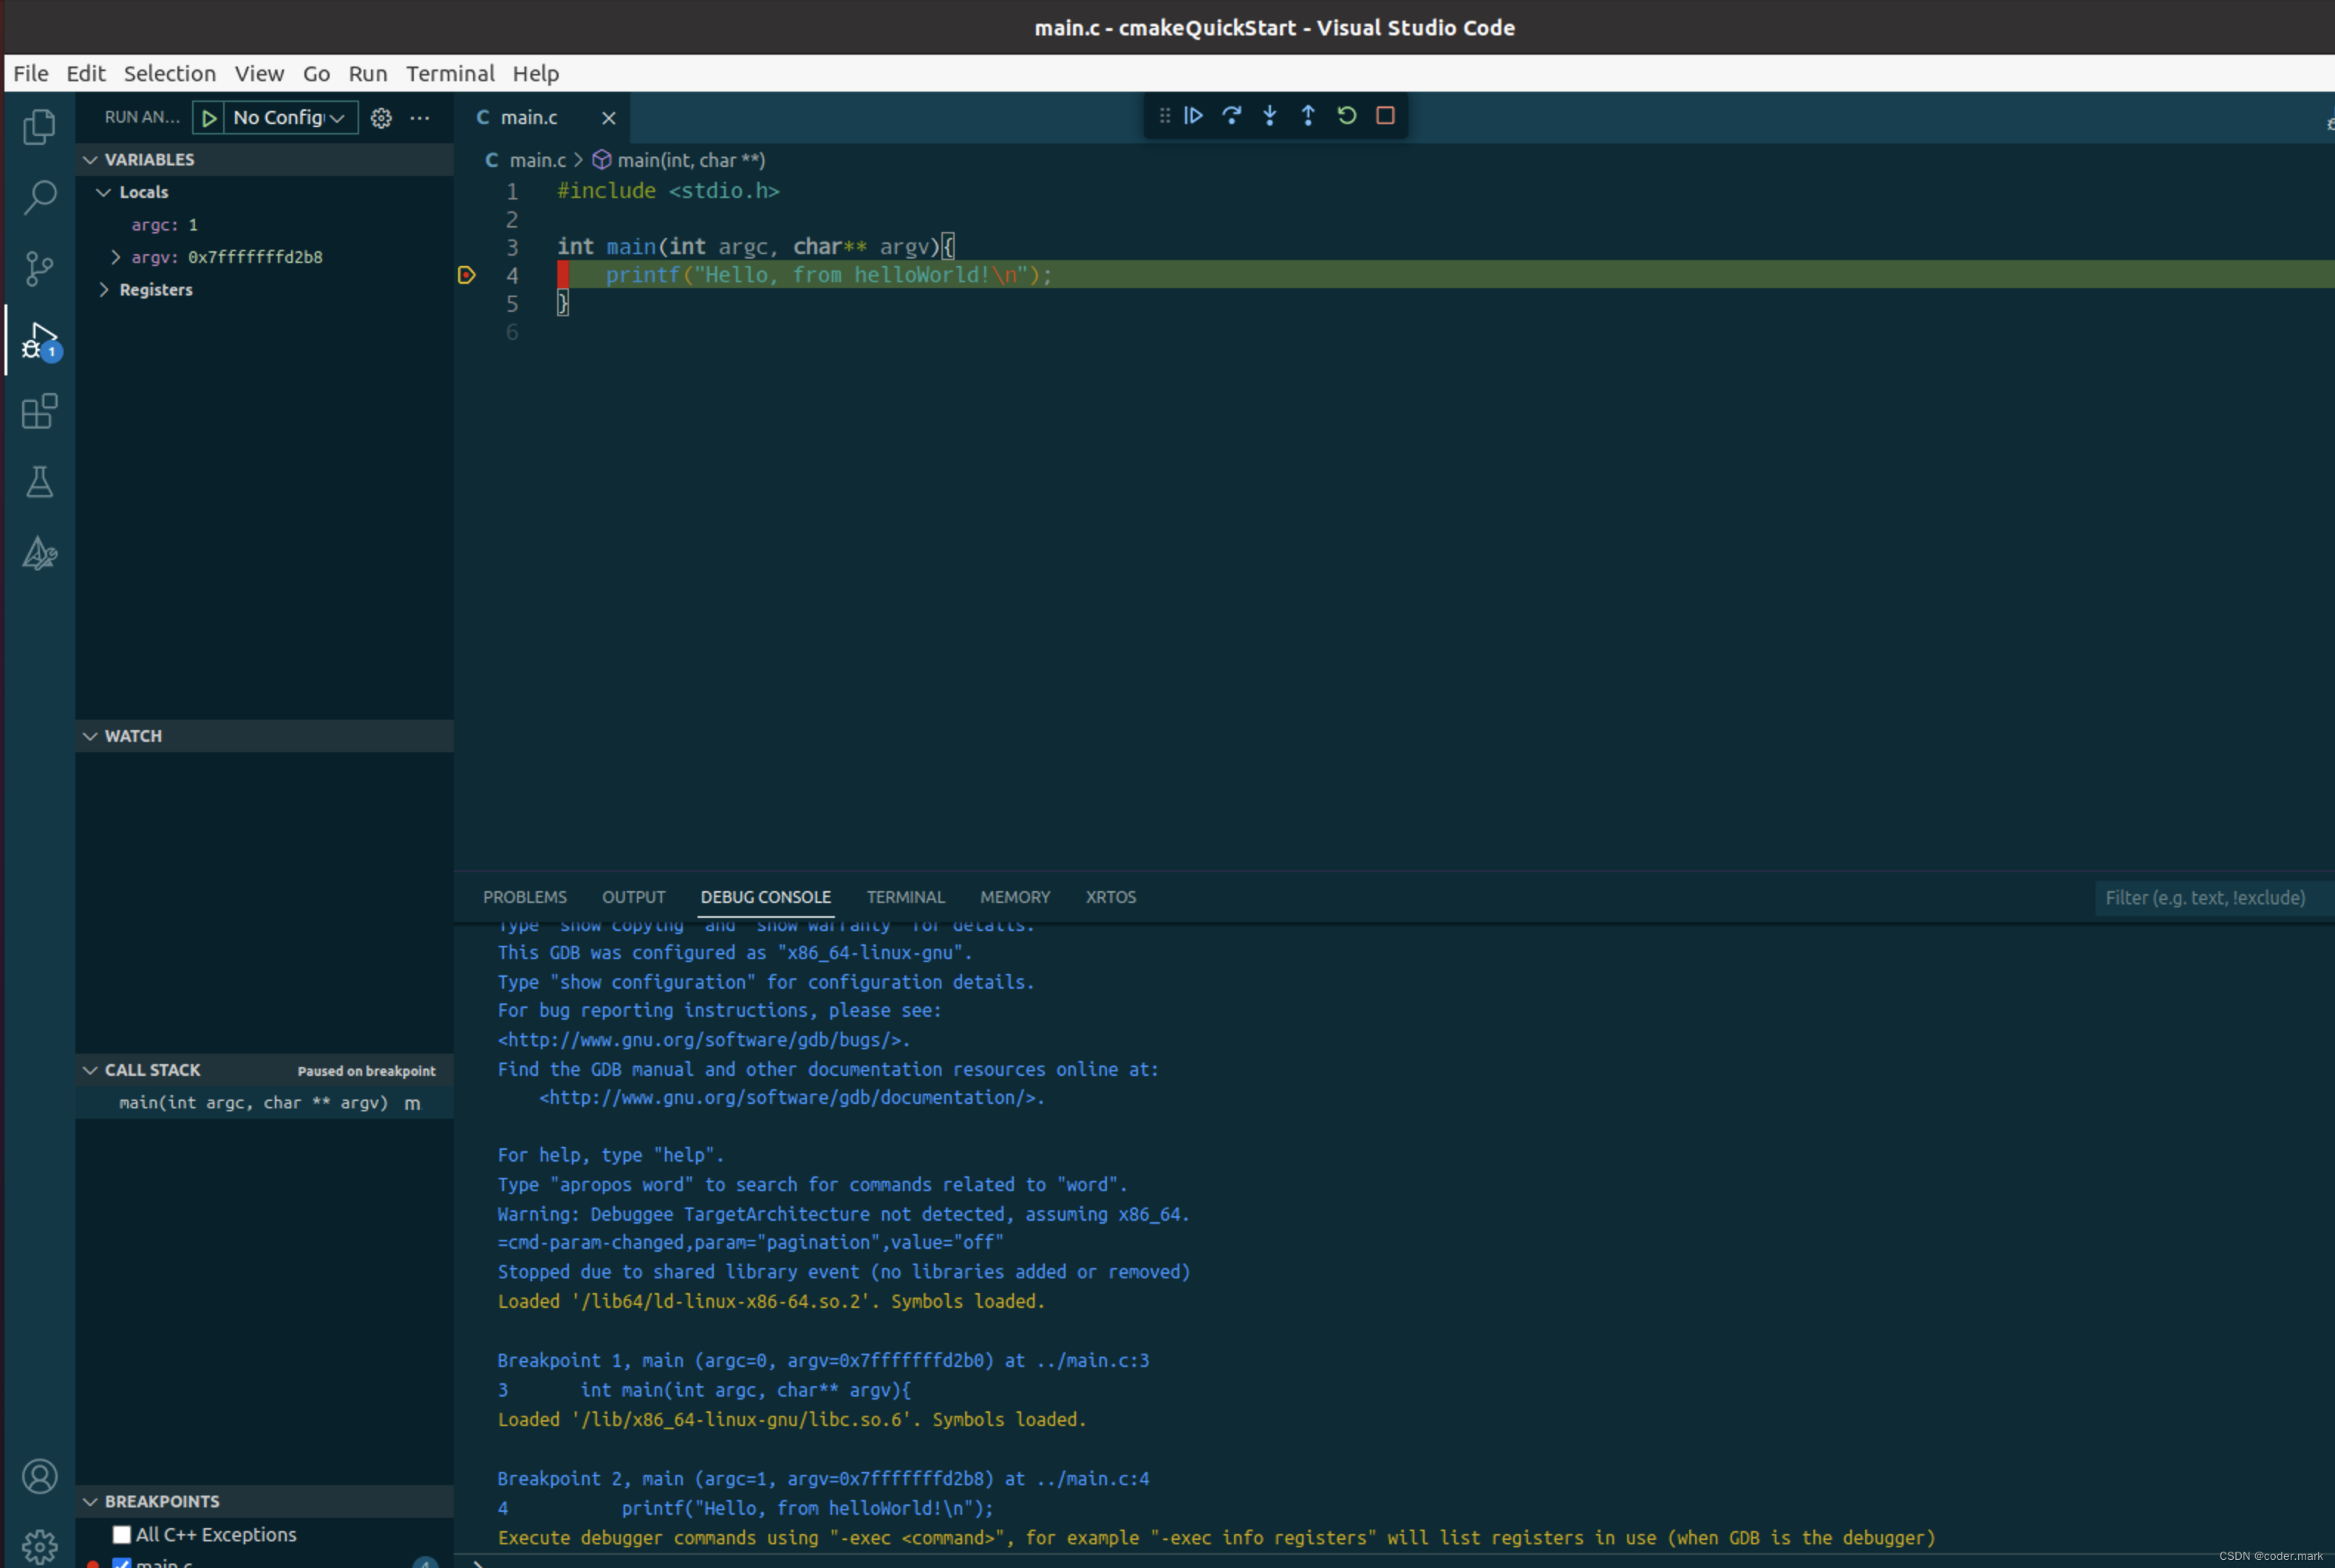
以上就是cmake tool的基本内容。


 773
773

 被折叠的 条评论
为什么被折叠?
被折叠的 条评论
为什么被折叠?
 到【灌水乐园】发言


