


一、Docker安装
这里使用docker-compose来安装,方便后续迁移,Elasticserach和kibina一起安装。
1、创建安装目录
- config
- data
- plugins
2、配置文件
配置文件有两个,一个是ES的配置文件,一个docker-compose的配置文件
2-1、es配置文件(放config目录下)
下面的配置文件需要把IP修改为自己的本级IP network.publish_host
# 集群名称
cluster.name: xdx-es
# 节点名称
node.name: es-node-1
# 绑定host,0.0.0.0代表当前节点的ip
network.host: 0.0.0.0
# 设置其它节点和该节点交互的ip地址,如果不设置它会自动判断,值必须是个真实的ip地址(本机ip),修改成自己ip
network.publish_host: 192.168.2.18
# 设置对外服务的http端口,默认为9200
http.port: 9200
# 设置节点间交互的tcp端口,默认是9300
# transport.tcp.port: 9300
# 是否支持跨域,默认为false
http.cors.enabled: true
# 当设置允许跨域,默认为*,表示支持所有域名,如果我们只是允许某些网站能访问,那么可以使用正则表达式。比如只允许本地地址。 /https?:\/\/localhost(:[0-9]+)?/
http.cors.allow-origin: "*"
# 表示这个节点是否可以充当主节点
# node.master: true
# 是否充当数据节点
# node.data: true
# 所有主从节点ip:port
# discovery.seed_hosts: ["192.168.2.18:9300"]  #本地只有一个节点,无法正常启动,先注释
# 这个参数决定了在选主过程中需要 有多少个节点通信  预防脑裂 N/2+1
# discovery.zen.minimum_master_nodes: 1
#初始化主节点
#cluster.initial_master_nodes: ["es-node-1"]
# 内存交换
bootstrap.memory_lock: true
# 关闭认证授权
xpack.security.enabled: false
2-2、docker-compose
version: '3.0'
services:
  elasticsearch:
    image: elasticsearch:8.3.2
    container_name: elasticsearch8.3.2
    hostname: elasticsearch8.3.2
    privileged: true
    tty: true
    restart: unless-stopped
    environment:
      - TZ=Asia/Shanghai
      - "ES_JAVA_OPTS=-Xms256m -Xmx256m"
      - discovery.type=single-node
    ports:
      - "9200:9200"
    networks:
      - es_network
    volumes:
      - ./data/:/usr/share/elasticsearch/data
      - ./plugins:/usr/share/elasticsearch/plugins
      - ./config/elasticsearch.yml:/usr/share/elasticsearch/config/elasticsearch.yml

  kibana:
    image: kibana:8.3.2
    container_name: kibana8.3.2
    hostname: kibana8.3.2
    restart: always
    privileged: true
    tty: true
    # volumes:
      # - ./etc/localtime:/etc/timezone
      # - ./etc/localtime:/etc/localtime
    environment:
      - TZ=Asia/Shanghai
      - I18N_LOCALE=zh-CN
      - XPACK_GRAPH_ENABLED=true
      - TIMELION_ENABLED=true
      - XPACK_MONITORING_COLLECTION_ENABLED="true"
    ports:
      - "5601:5601"
    links:
      - elasticsearch:elasticsearch
    depends_on:
      - elasticsearch
    networks:
      - es_network
networks:
  es_network:
    driver: bridge
完整目录如下:

2-3、启动ES
在ES安装目录下运行 docker-compose up -d
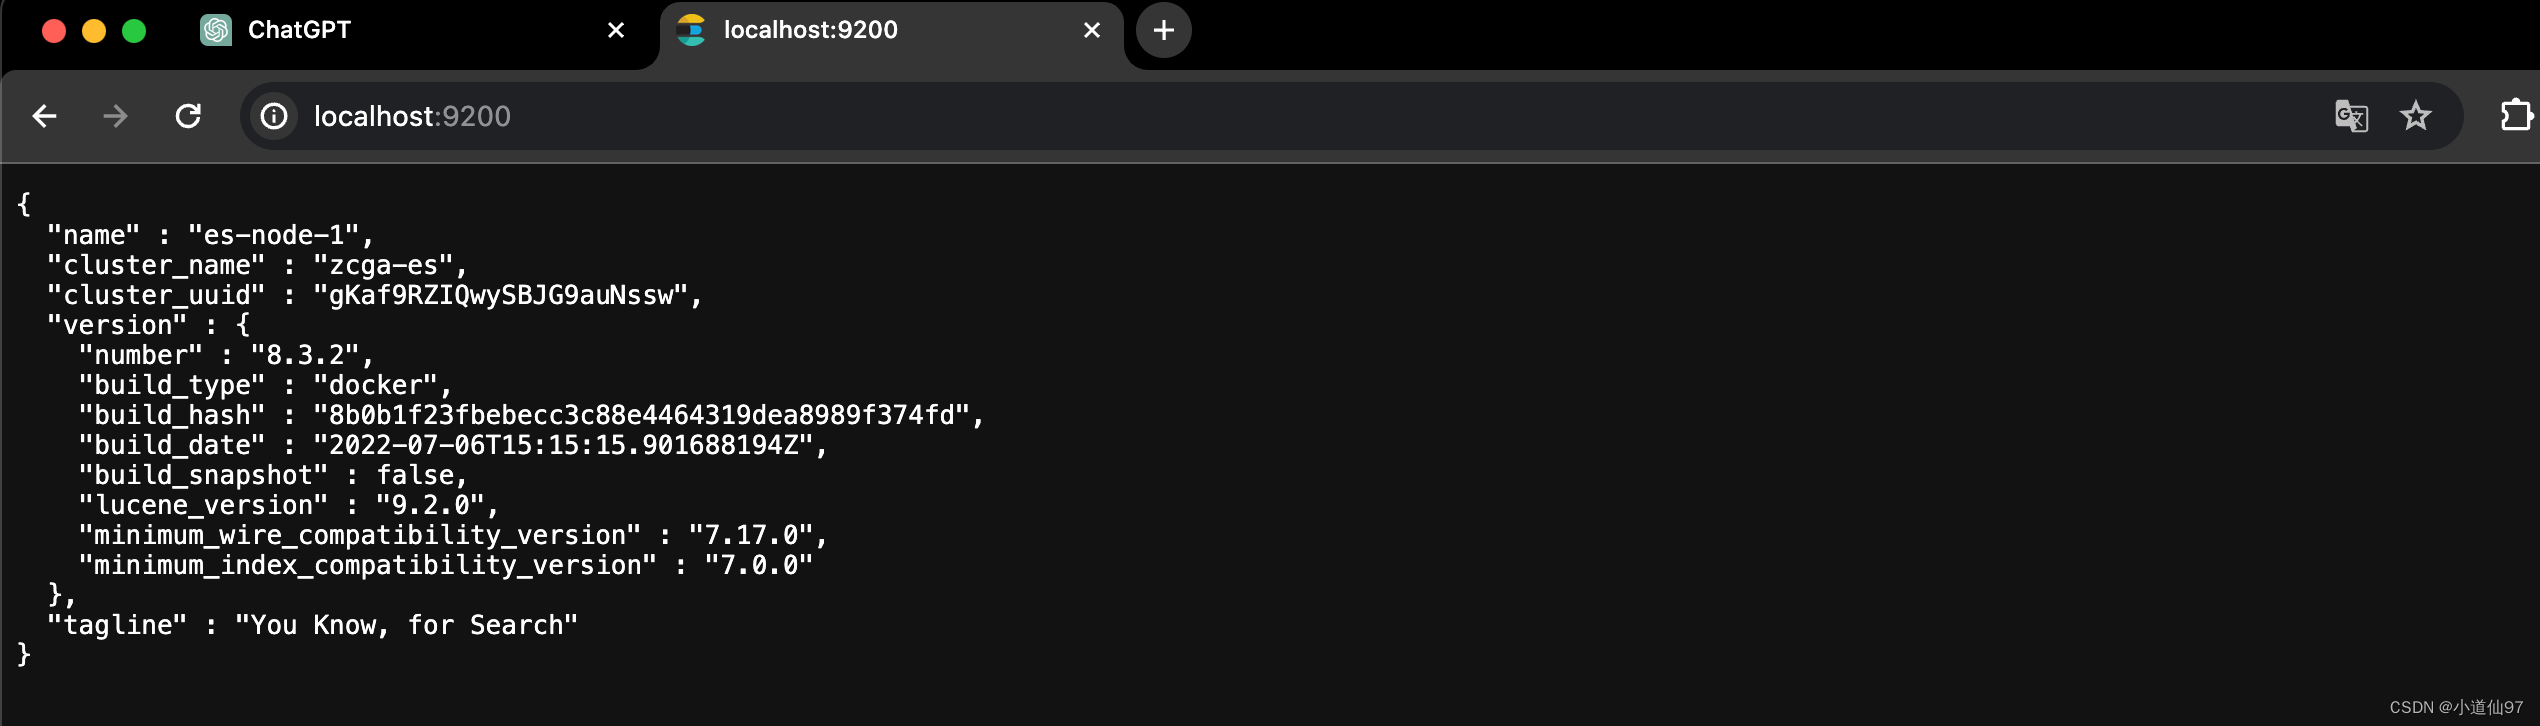
在浏览器输入 http://localhost:9200/ 看到如下JSON,ES安装完成
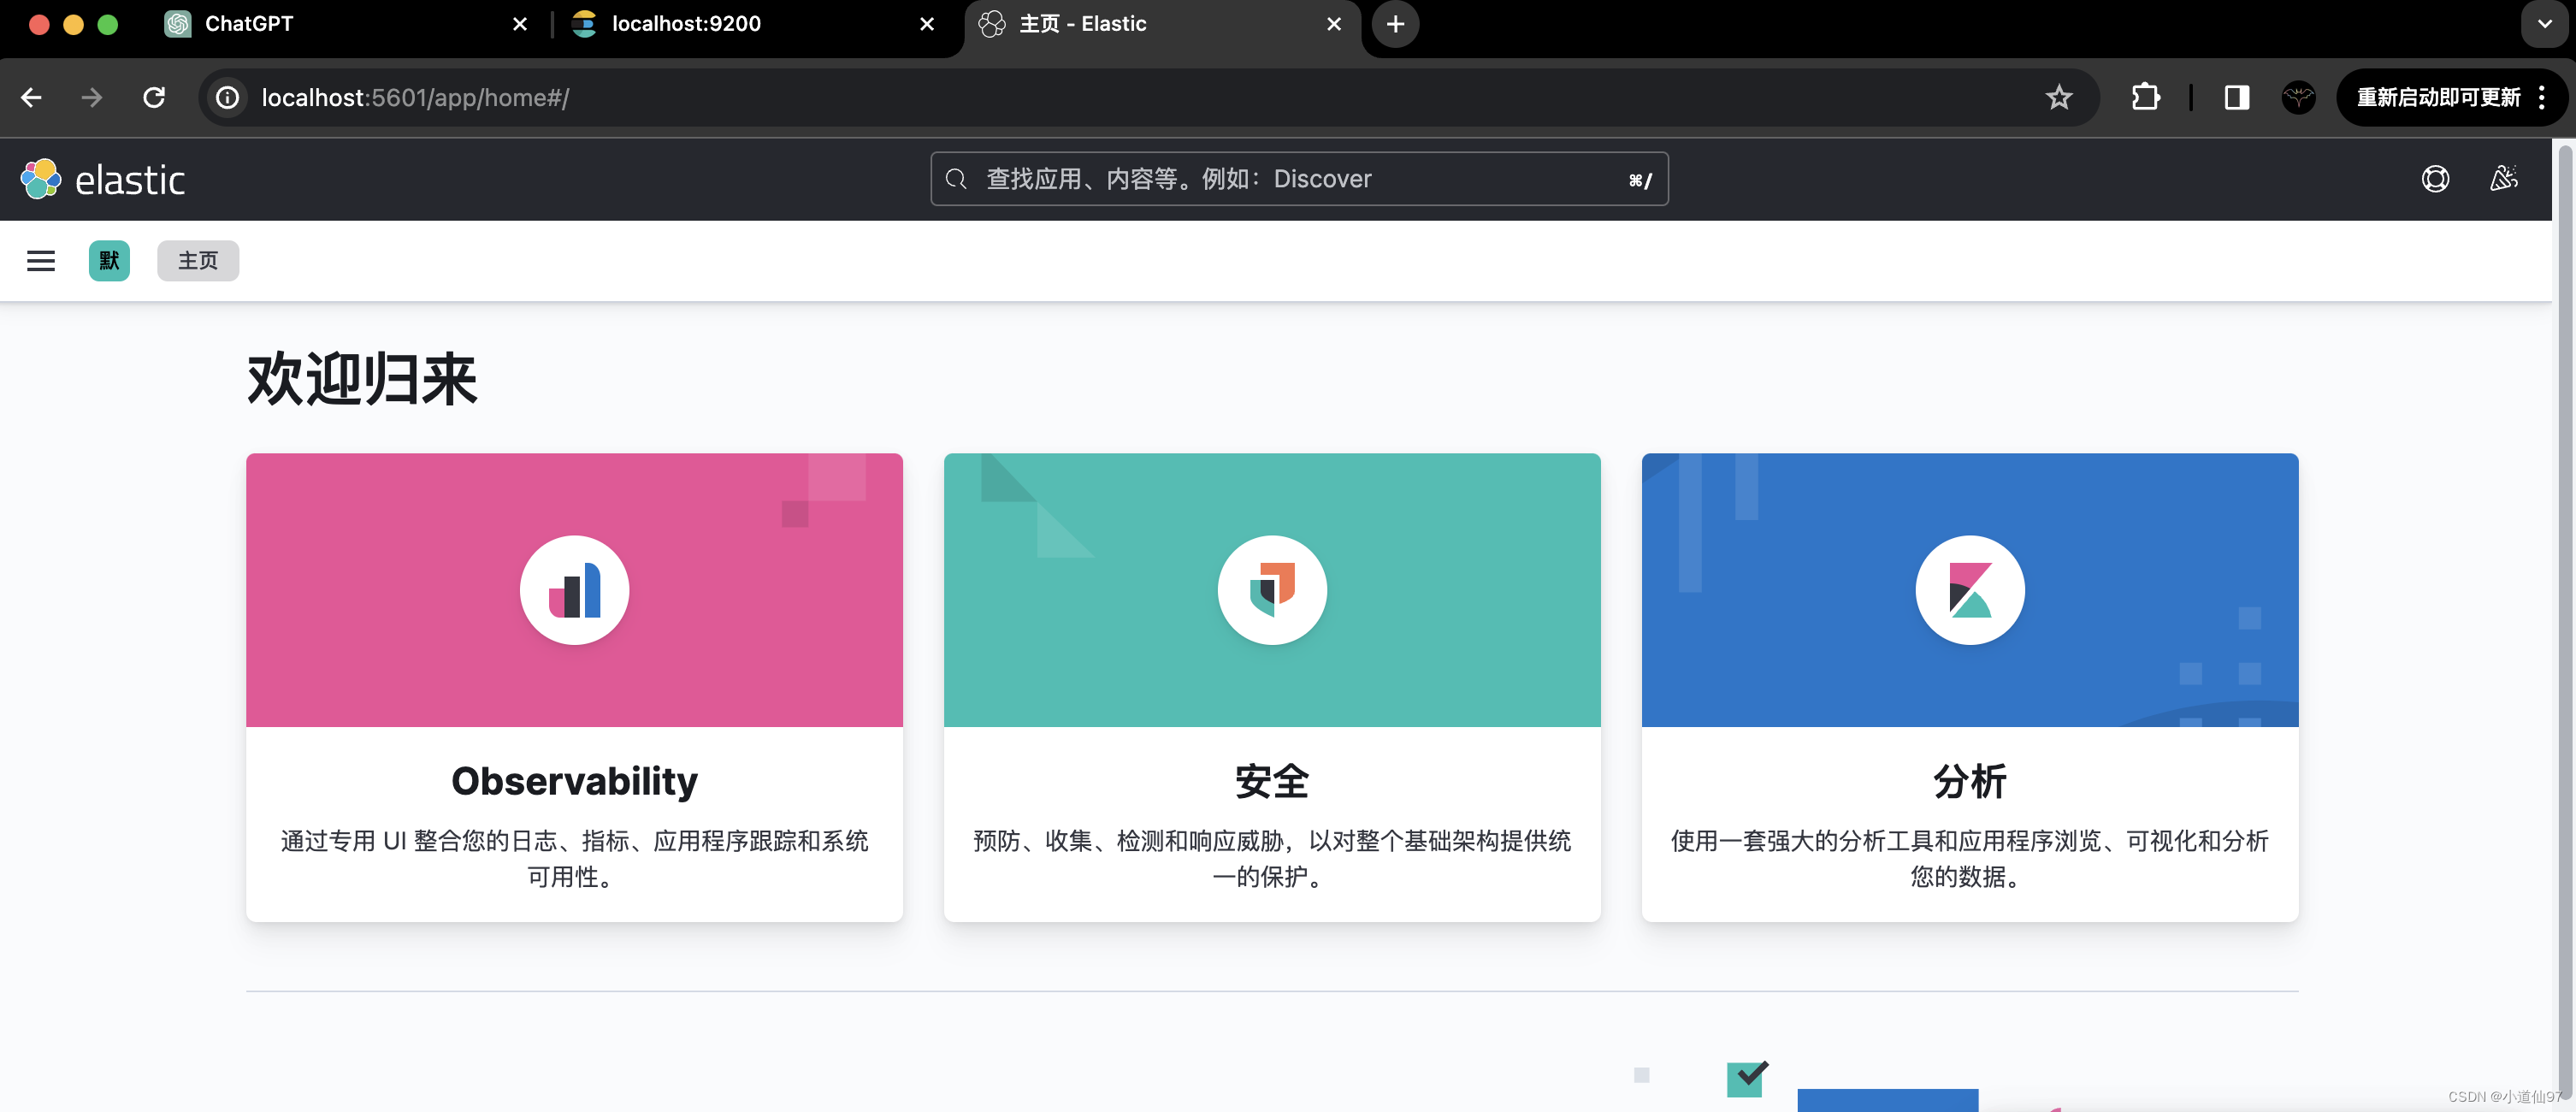
在浏览器输入 http://localhost:5601/ 看到如下界面,Kibina 安装完成
二、使用Kibana操作ES
其实可以简单把ES中的索引(index)理解成表,那对于表的操作,肯定就是创建表、增删字段,以及对表中数据的增删改查。
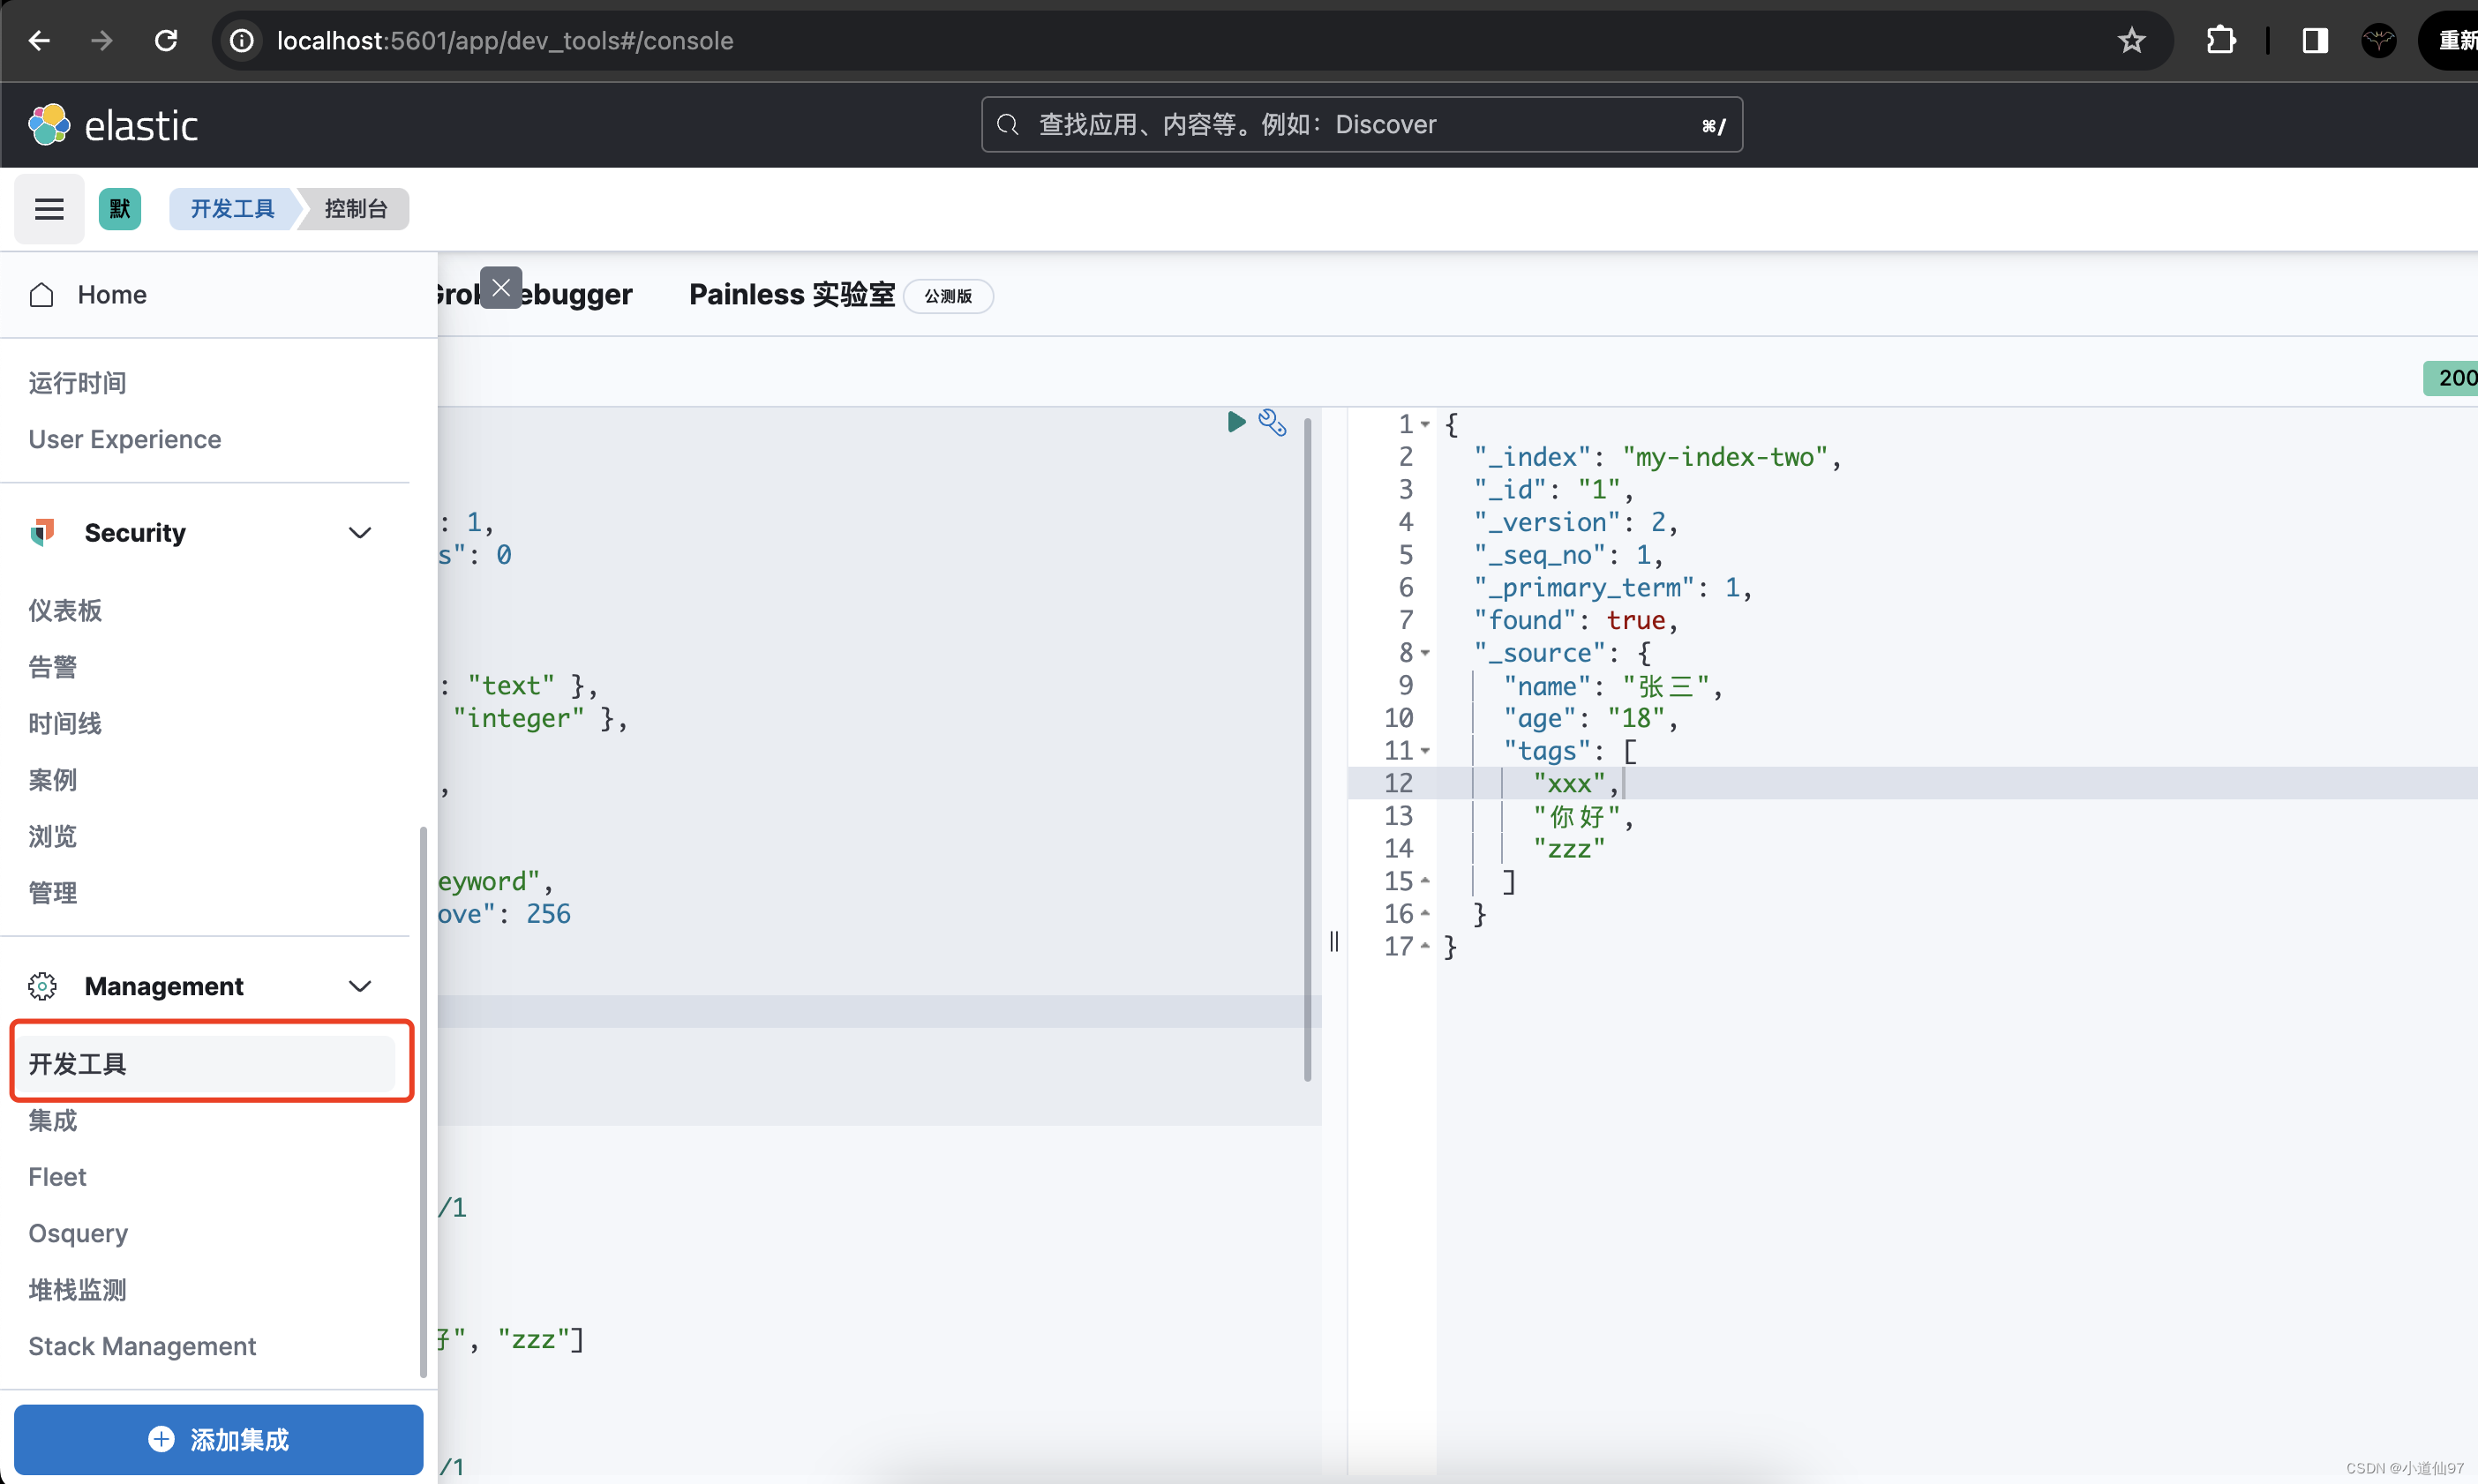
Kibana提供了操作ES的控制台,通过如下路径进入控制台
1、index 操作
1-1、创建一个索引
创建一个名为my-index-two 的索引,里面有三个字段
- 文本类型的 name
- 数字类型的 age
- 数组类型的 tags
PUT /my-index-two
{
  "settings": {
    "number_of_shards": 1,
    "number_of_replicas": 0
  },
  "mappings": {
    "properties": {
      "name": { "type": "text" },
      "age": { "type": "integer" },
      "tags":{
        "type": "text",
        "fields": {
          "keyword":{
            "type": "keyword",
            "ignore_above": 256
          }
        }
      }
    }
  }
}
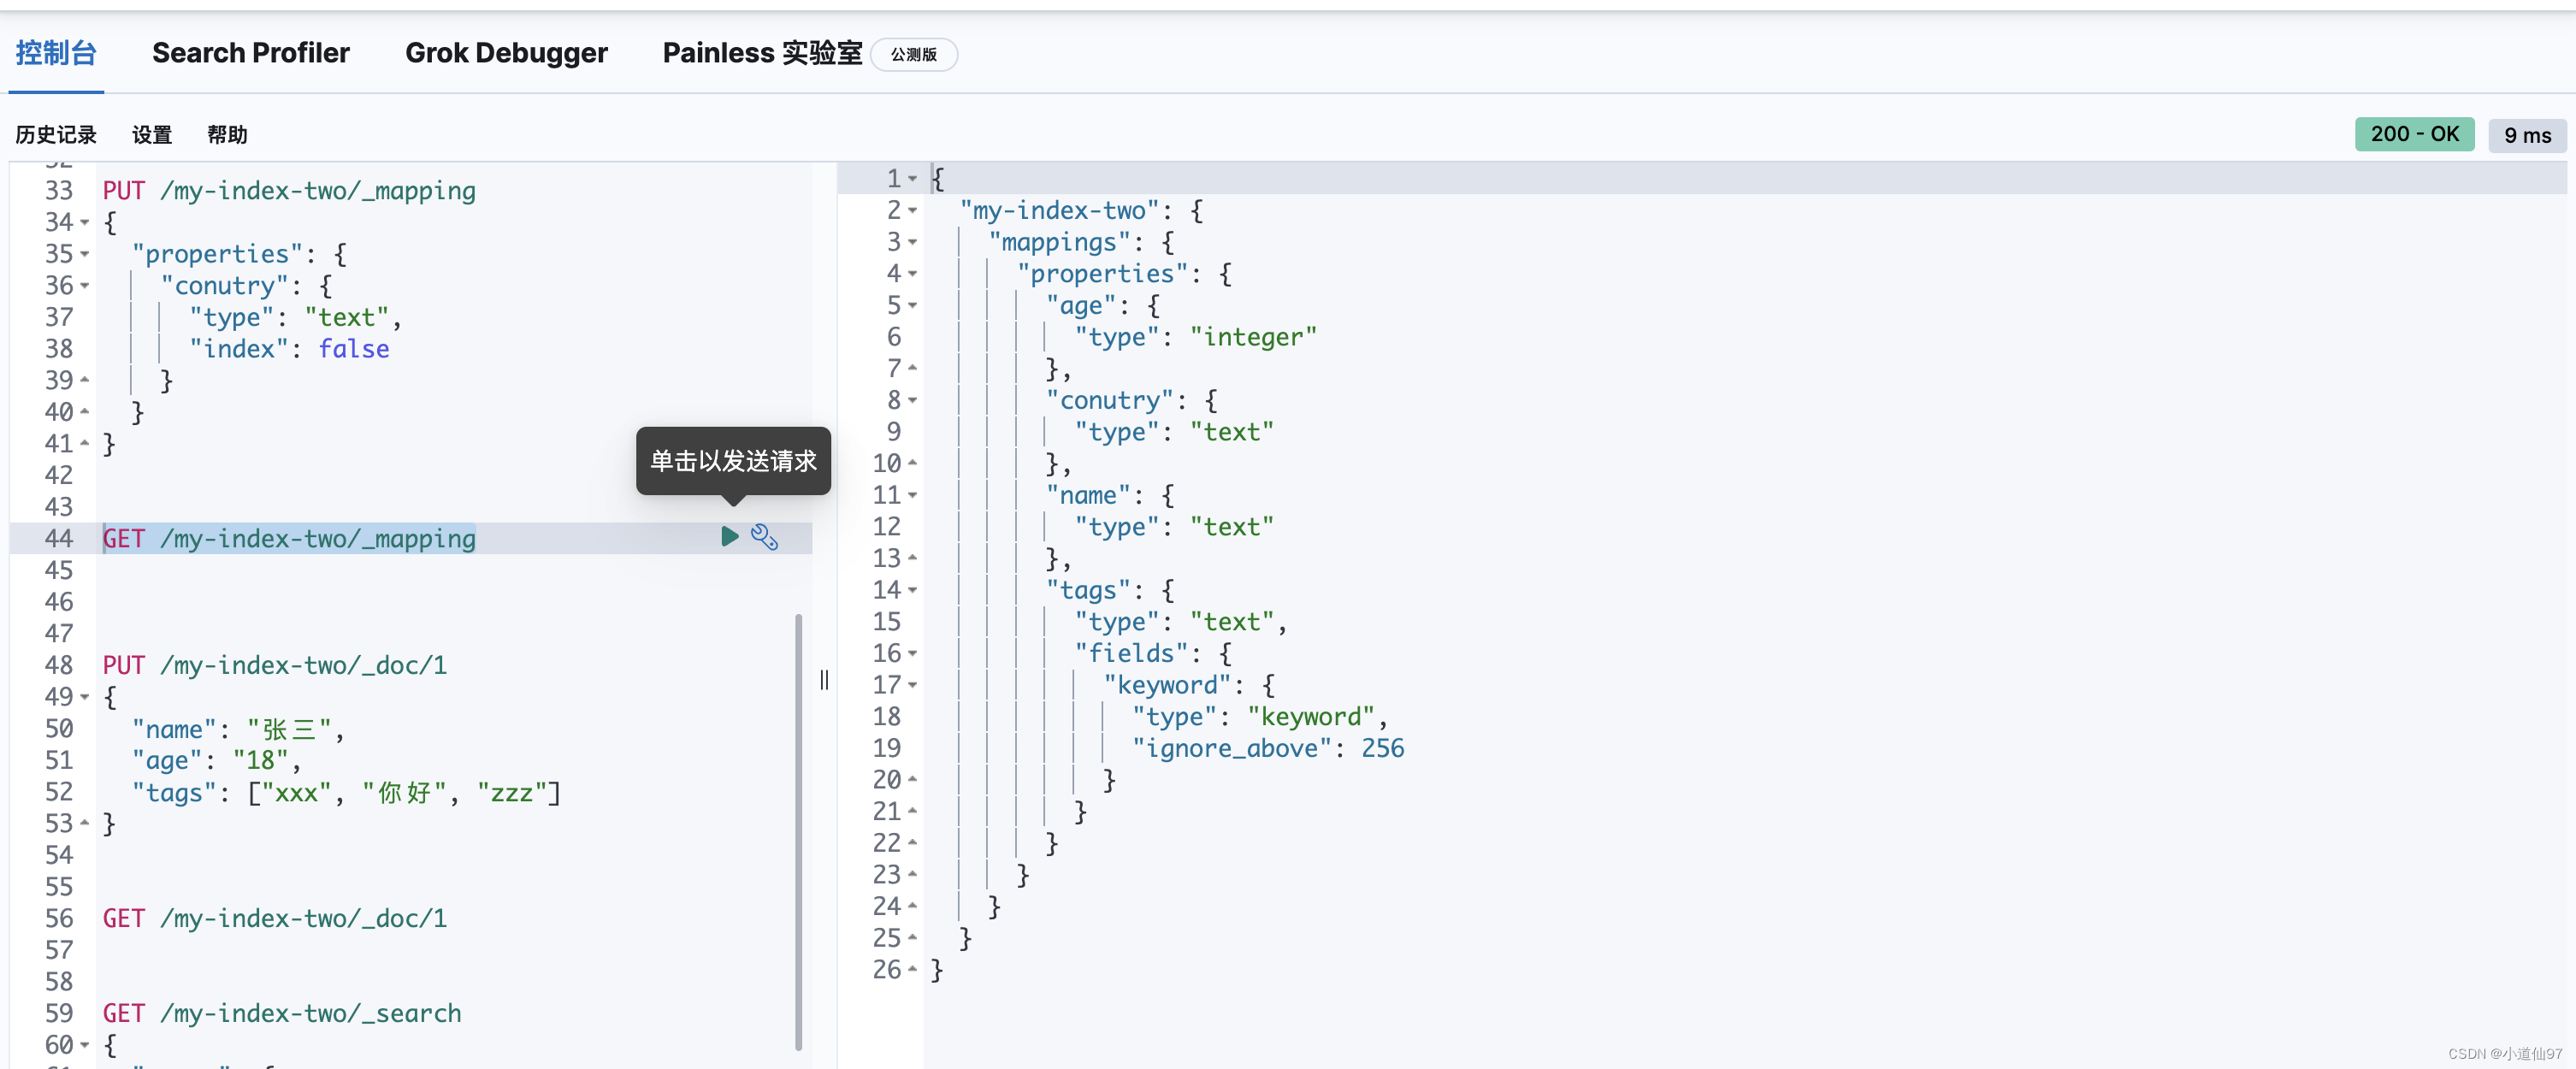
1-2、为索引新增一个字段
PUT /my-index-two/_mapping
{
  "properties": {
    "conutry": {
      "type": "text"
    }
  }
}
1-3、查看索引信息
# 查看索引信息
GET /_cat/indices/my-index-one?v&pretty

# 查看settings信息
GET /my-index-one/_settings

# 查看_mapping信息
GET /my-index-one/_mapping
2、数据操作
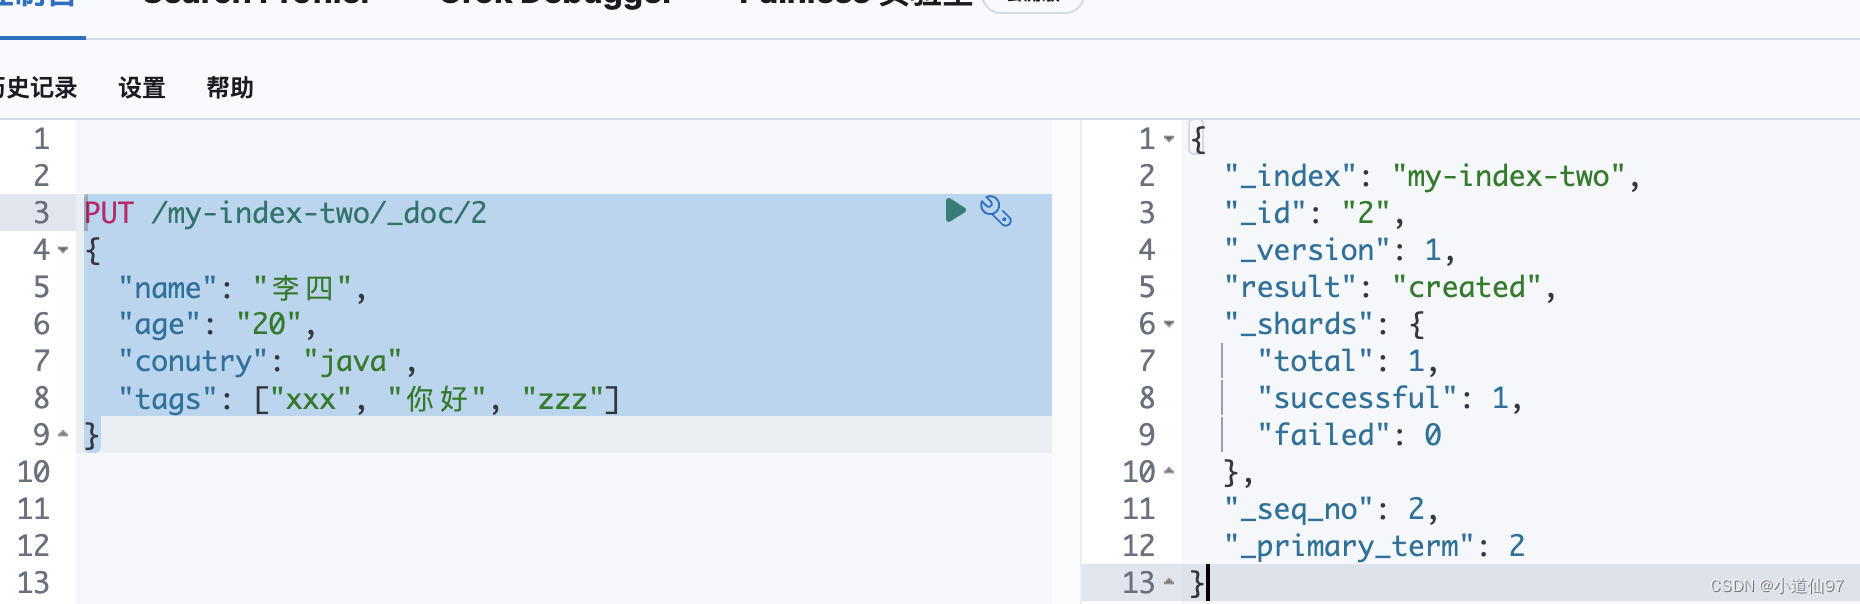
2-1、为索引文档新增一条数据
为 my-index-two 索引,添加一条 id = 2,的数据
# PUT /index_name/_doc/_id

PUT /my-index-two/_doc/2
{
  "name": "李四",
  "age": "20",
  "conutry": "java",
  "tags": ["xxx", "你好", "zzz"]
}
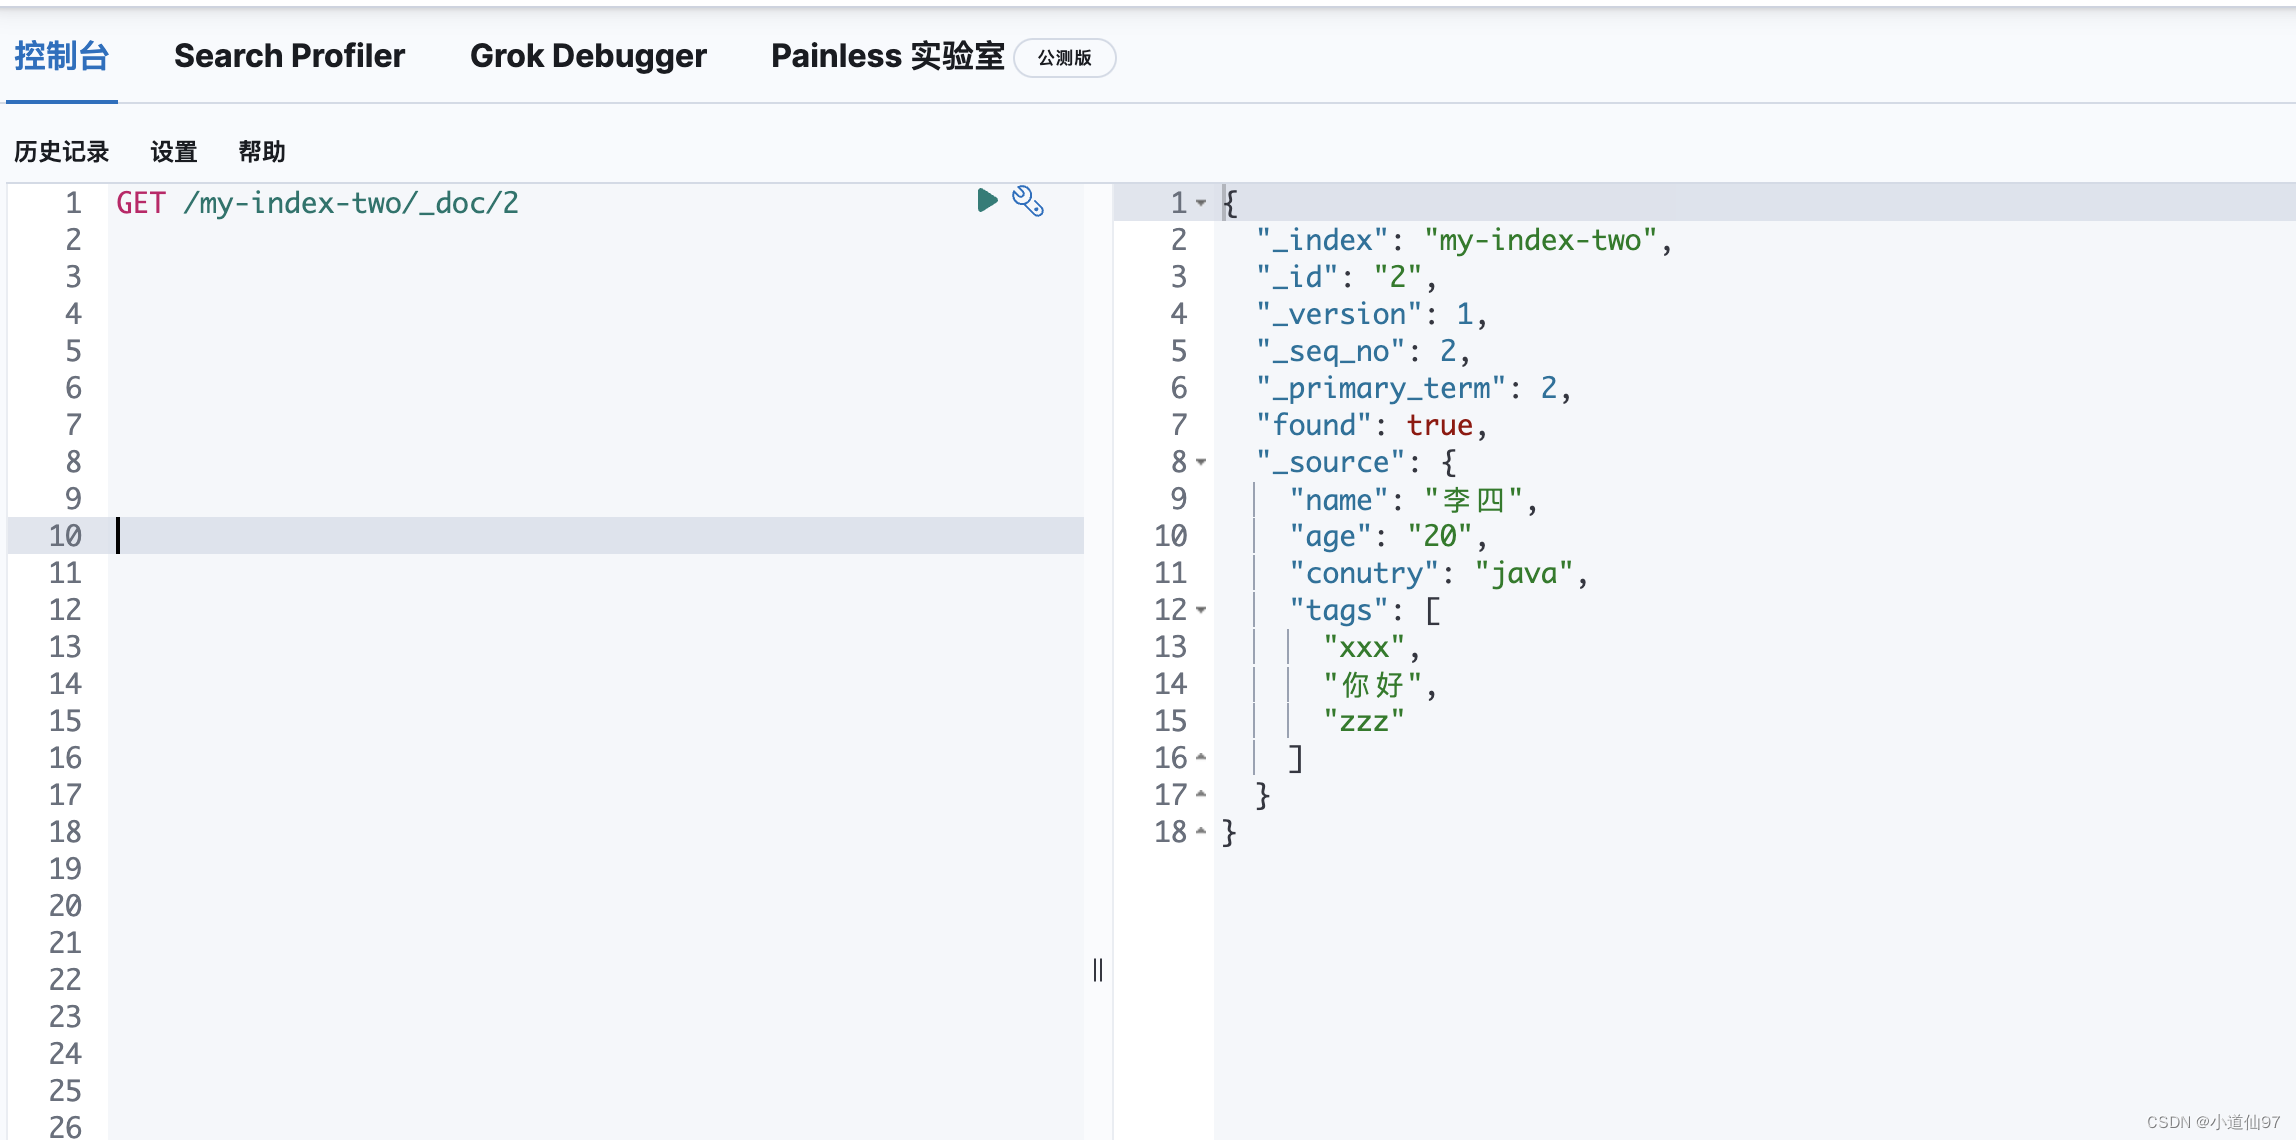
2-2、查询索引中的数据
查询 my-index-two 索引中,id = 2,的数据
GET /my-index-two/_doc/2
除了用id精准匹配,使用ES更多的是做高亮搜索,比如想要搜索 tags中带 你 的标签
GET /my-index-two/_search
{
  "query": {
    "match": {
      "tags": {
        "query": "你",
        "fuzziness": "AUTO"
      }
    }
  },
  "highlight": {
    "fields": {
      "tags": {}
    }
  }
}
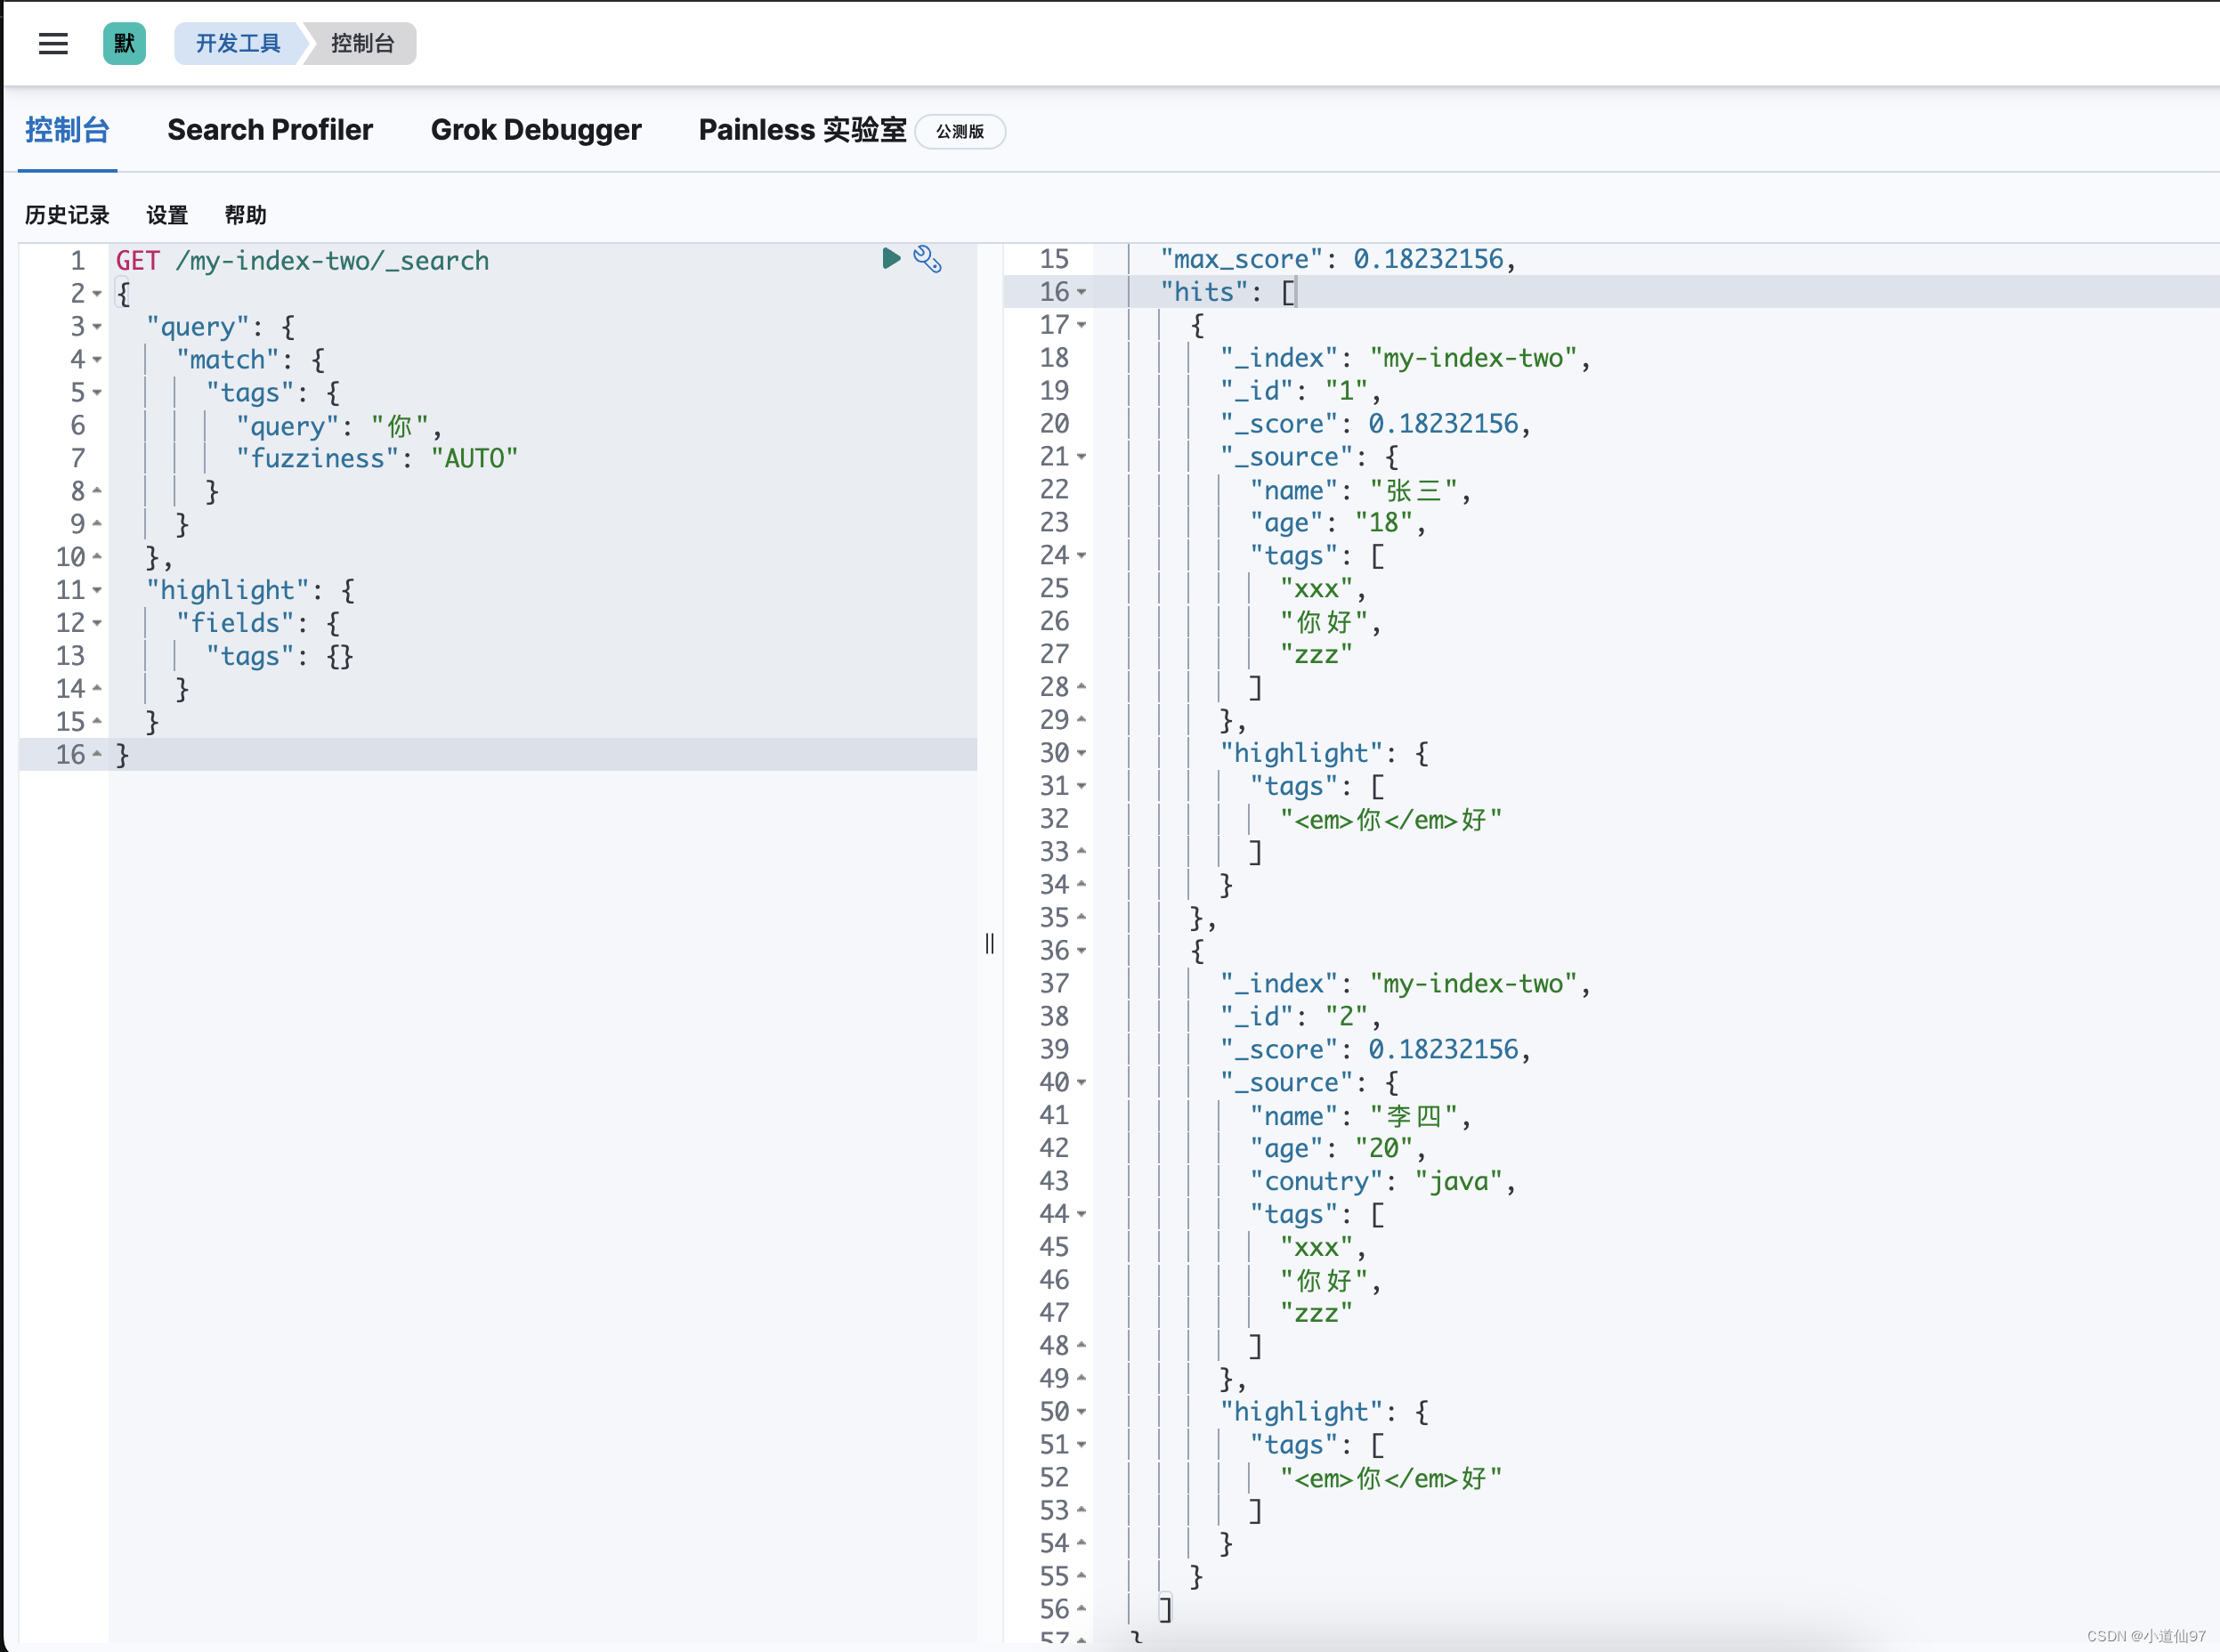
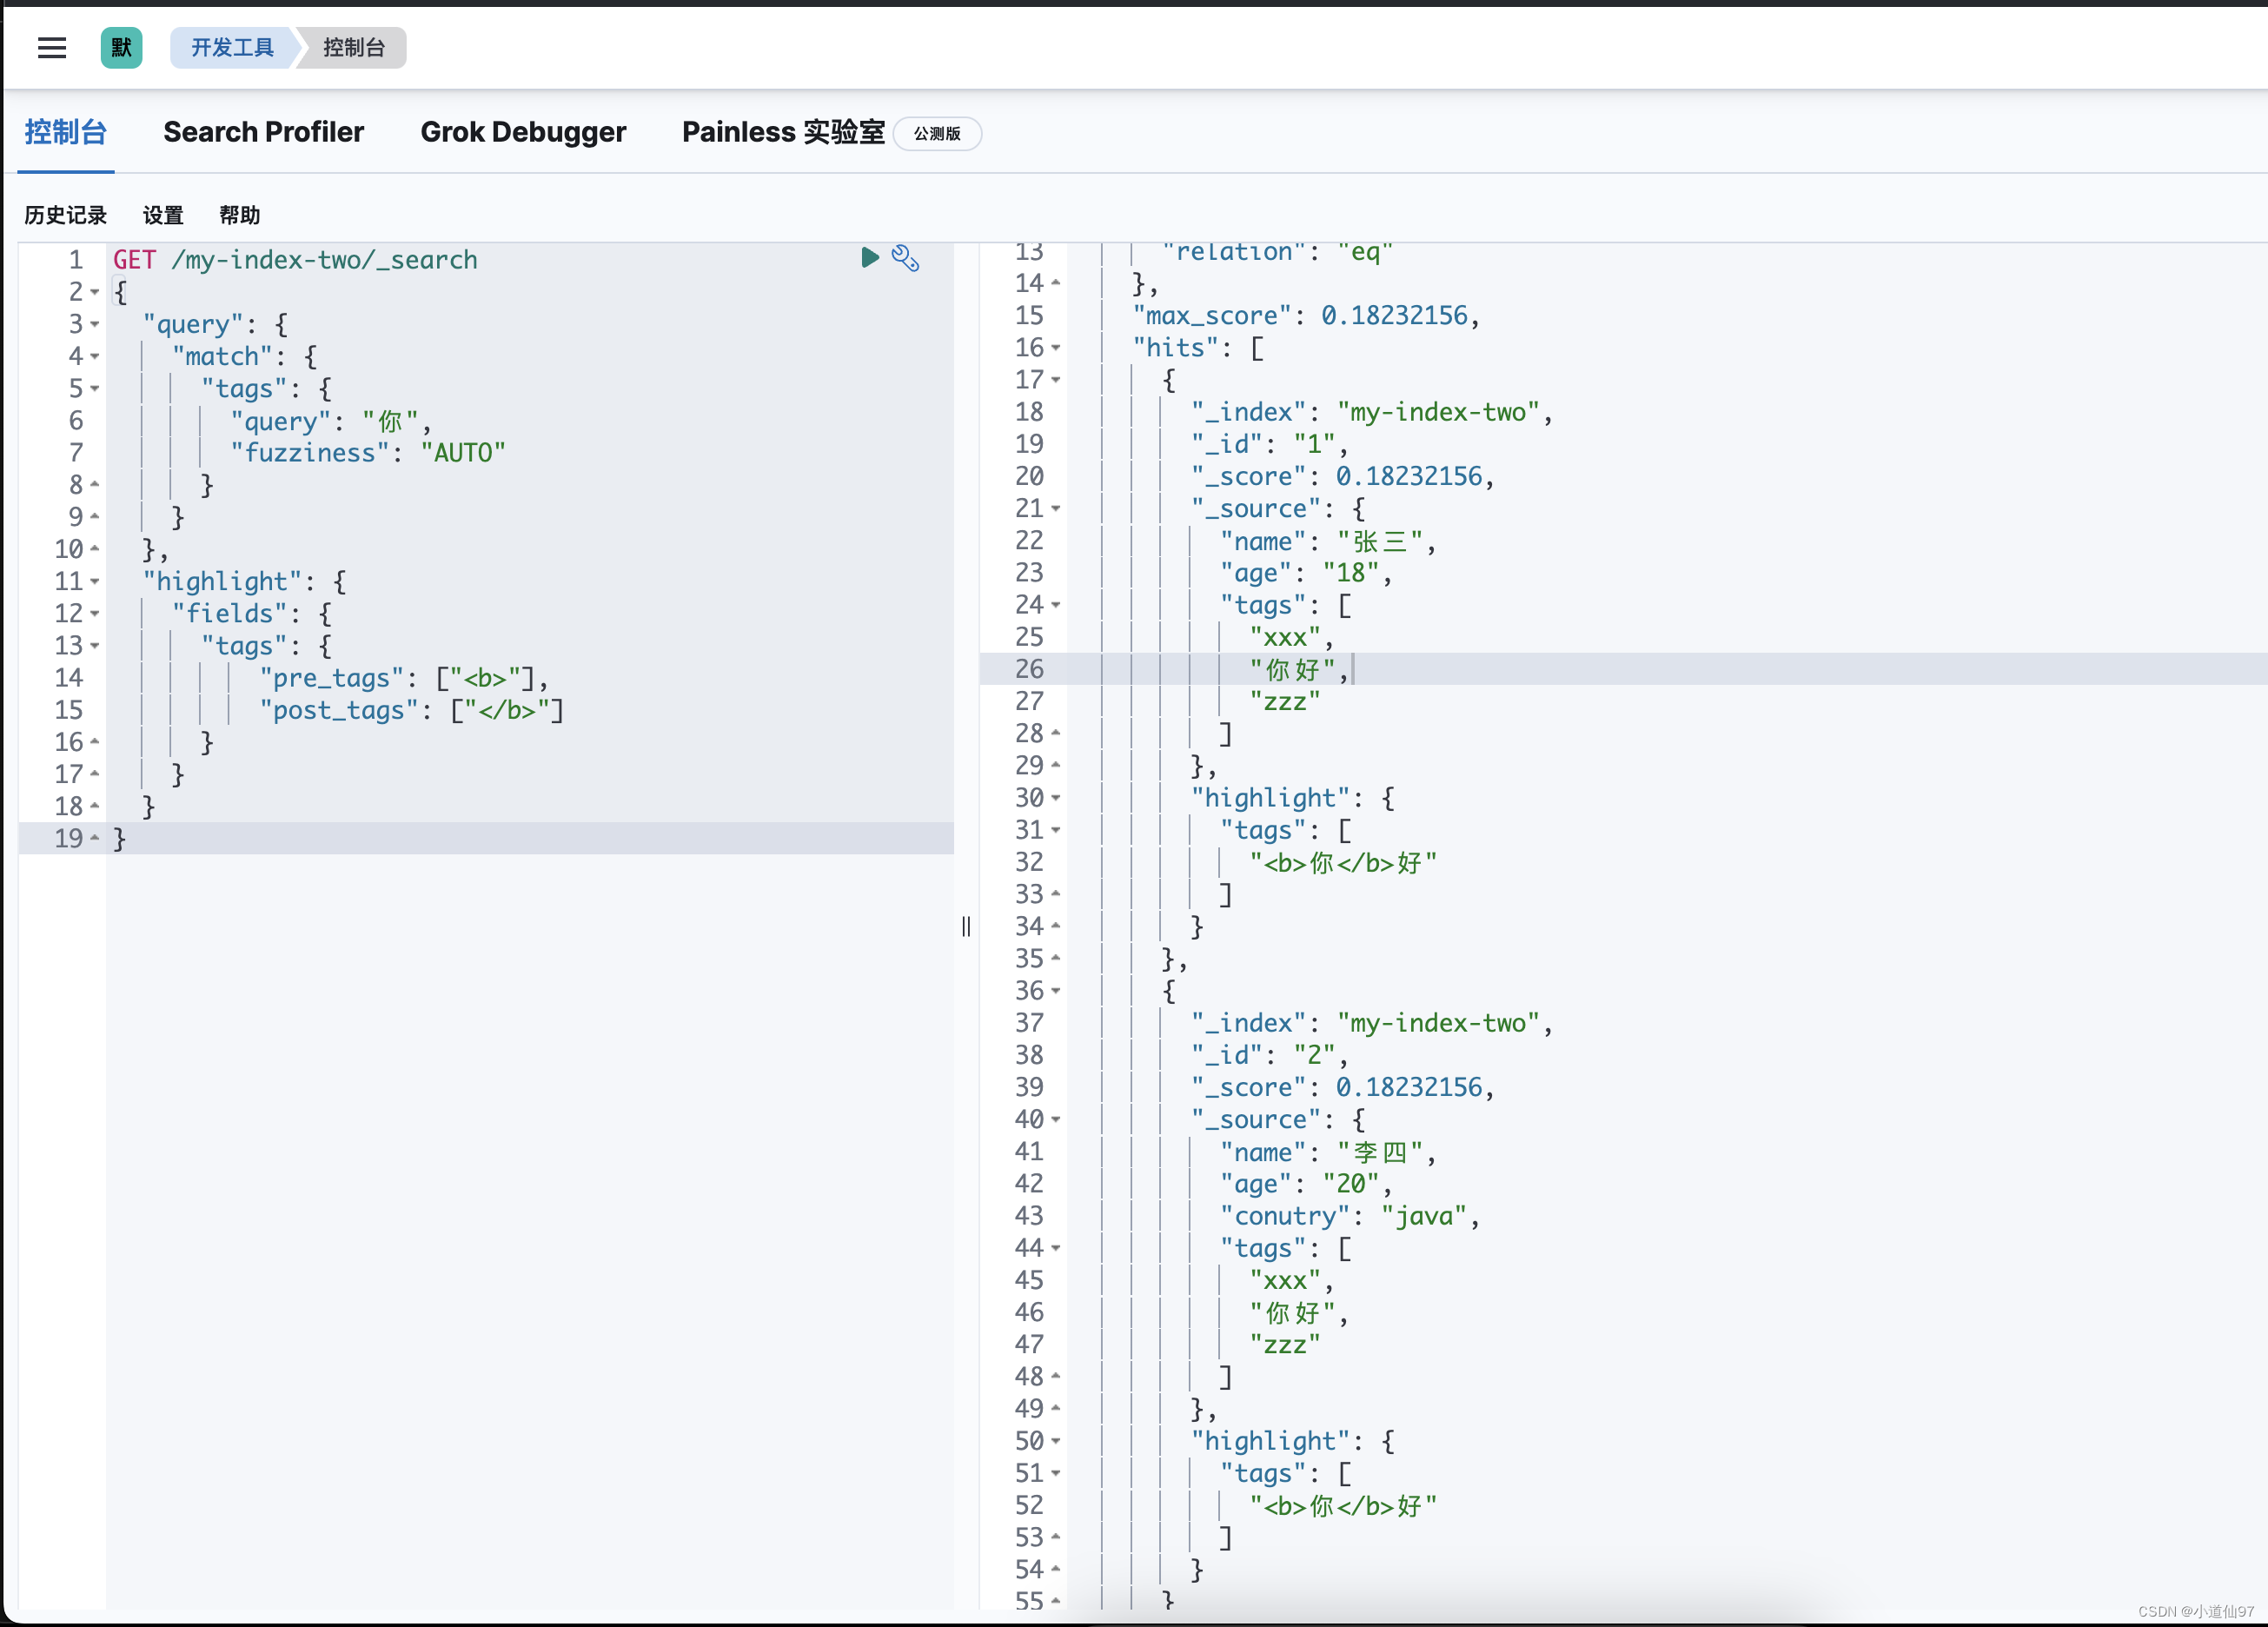
默认它的高亮是用 <em> </em> 标签,也可以改变它使用自定义标签
GET /my-index-two/_search
{
  "query": {
    "match": {
      "tags": {
        "query": "你",
        "fuzziness": "AUTO"
      }
    }
  },
  "highlight": {
    "fields": {
      "tags": {
          "pre_tags": ["<b>"],
          "post_tags": ["</b>"]
      }
    }
  }
}
2-3、删除索引中的数据
# 删除文档id为 1 的数据
DELETE /my-index-two/_doc/1
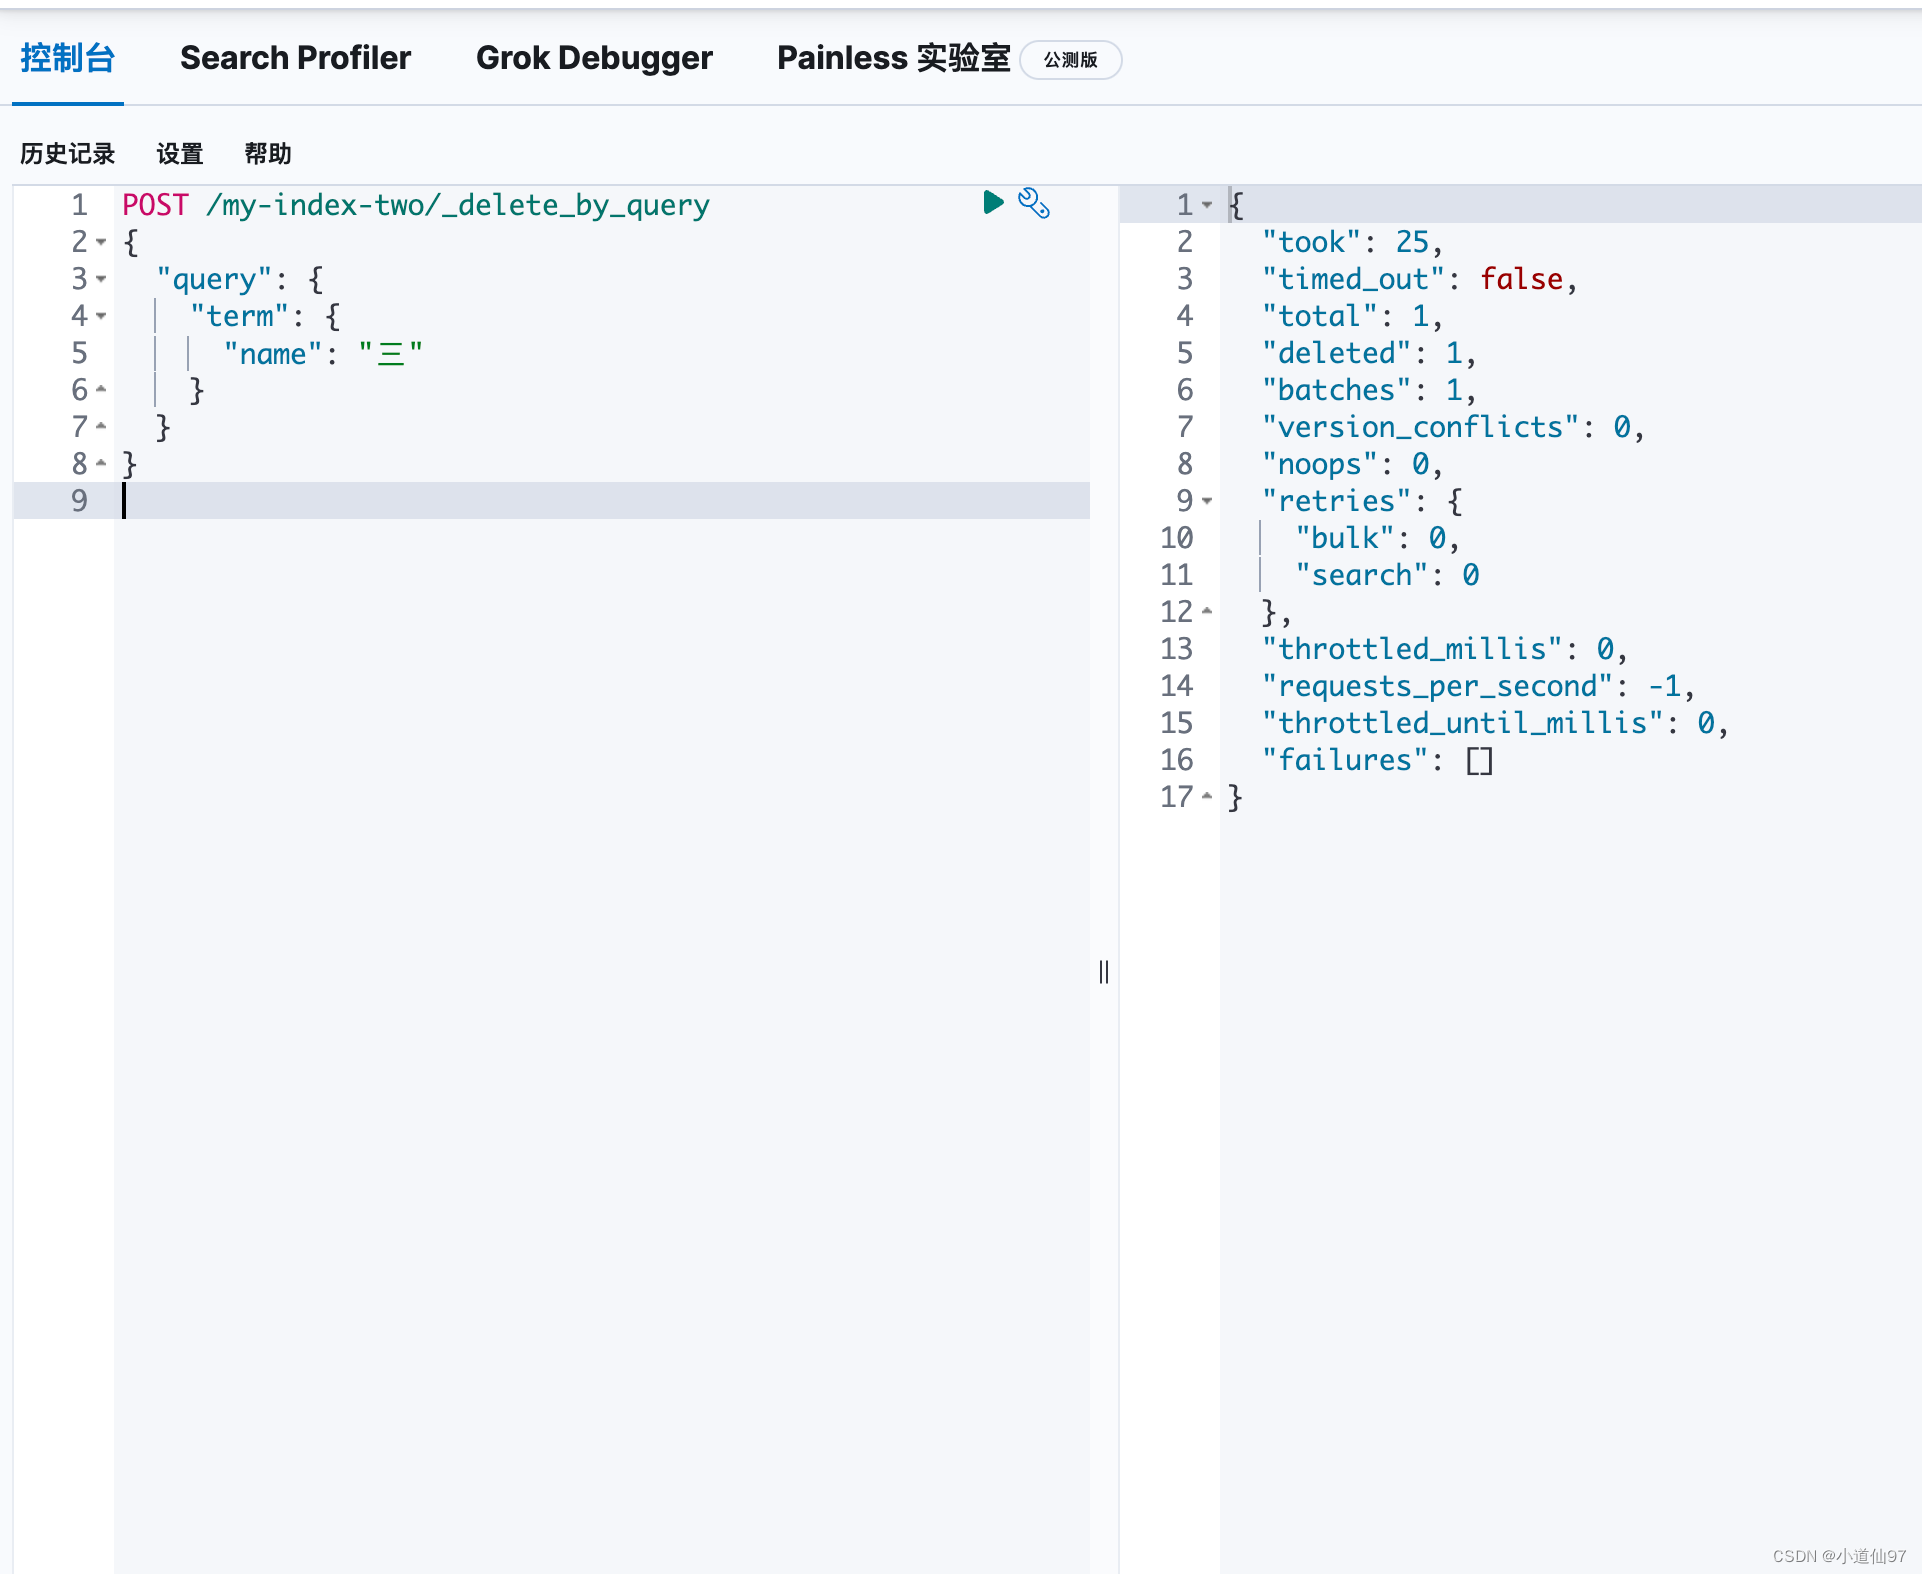
# 删除 name中带有 三 的数据
POST /my-index-two/_delete_by_query
{
"query": {
"term": {
"name": "三"
}
}
}
三、使用Java操作ES
3-1、引入依赖
非SpringBoot项目使用
<dependency>
    <groupId>co.elastic.clients</groupId>
    <artifactId>elasticsearch-java</artifactId>
    <version>8.3.3</version>
</dependency>
<dependency>
    <groupId>com.fasterxml.jackson.core</groupId>
    <artifactId>jackson-databind</artifactId>
    <version>2.13.3</version>
</dependency>
<!--It may happen that after setting up the dependencies, your application fails with ClassNotFoundException: jakarta.json.spi.JsonProvider.-->
<dependency>
    <groupId>jakarta.json</groupId>
    <artifactId>jakarta.json-api</artifactId>
    <version>2.1.1</version>
</dependency>
SpringBoot 项目使用
<dependency>
    <groupId>co.elastic.clients</groupId>
    <artifactId>elasticsearch-java</artifactId>
    <version>8.3.3</version>
</dependency>
<!--It may happen that after setting up the dependencies, your application fails with ClassNotFoundException: jakarta.json.spi.JsonProvider.-->
<dependency>
    <groupId>jakarta.json</groupId>
    <artifactId>jakarta.json-api</artifactId>
    <version>2.1.1</version>
</dependency>
3-2、CRUD
package com.xdx.cv.controller;

import co.elastic.clients.elasticsearch.ElasticsearchClient;
import co.elastic.clients.elasticsearch.core.*;
import co.elastic.clients.elasticsearch.core.search.Hit;
import co.elastic.clients.json.jackson.JacksonJsonpMapper;
import co.elastic.clients.transport.ElasticsearchTransport;
import co.elastic.clients.transport.rest_client.RestClientTransport;
import lombok.AllArgsConstructor;
import lombok.Builder;
import lombok.Data;
import lombok.NoArgsConstructor;
import org.apache.http.HttpHost;
import org.elasticsearch.client.RestClient;

import java.io.IOException;
import java.util.List;

public class Test {

    public static void main(String[] args) throws IOException {

        // 创建连接
        RestClient restClient = RestClient.builder(new HttpHost("127.0.0.1", 9200)).build();
        ElasticsearchTransport transport = new RestClientTransport(restClient, new JacksonJsonpMapper());
        ElasticsearchClient elasticsearchClient  = new ElasticsearchClient(transport);
        System.out.println("elasticsearchClient = " + elasticsearchClient);


        XdxTest build = XdxTest.builder().age(3).conutry("xxx").name("xxx").build();

        // 删除数据
        DeleteResponse deleteResponse = elasticsearchClient.delete(s -> s.index("my-index-two").id(build.age.toString()));
        System.out.println("删除结果: " + deleteResponse.result());

        // 插入数据
        IndexResponse indexResponse = elasticsearchClient.index(s -> s.index("my-index-two").id(build.age.toString()).document(build));
        System.out.println("新增文档结果: " + indexResponse.result());

        // 构建修改文档的请求
        XdxTest buildTwo = XdxTest.builder().age(3).conutry("xxxTwo").name("xxxTwo").build();
        UpdateResponse<XdxTest> updateResponse = elasticsearchClient.update(e -> e
                .index("my-index-two")
                .id(build.age.toString())
                .doc(buildTwo),
                XdxTest.class
        );
        System.out.println("修改文档结果:" + updateResponse.result());

        // 基于id查询数据
        GetResponse<XdxTest> getResponse = elasticsearchClient.get(s -> s.index("my-index-two").id("2"),XdxTest.class);
        System.out.println("基于id查询结果: " + getResponse.source().getConutry());

        // 高亮查询
        SearchResponse<XdxTest> response = elasticsearchClient.search(s -> s
                .index("my-index-two")
                .query(q -> q
                        .term(t -> t
                        .field("name")
                        .value("四"))
                )
                .highlight(h -> h
                .fields("name", f -> f
                .preTags("<font color='red'>")
                .postTags("</font>")))
                .source(source -> source
                    .filter(f -> f
                        .includes("name","id")
                        .excludes("")
                    )
                ),
                XdxTest.class
        );
        List<Hit<XdxTest>> hits = response.hits().hits();
        System.out.println("高亮查询结果" + hits.get(0).highlight().get("name"));

        restClient.close();
    }


    @Data
    @AllArgsConstructor
    @NoArgsConstructor
    @Builder
    public static class XdxTest {
        private String name;

        private Integer age;

        public String conutry;

        public List<String> tags;
    }
}
执行结果
elasticsearchClient = co.elastic.clients.elasticsearch.ElasticsearchClient@3d36e4cd
删除结果: Deleted
新增文档结果: Created
修改文档结果:Updated
基于id查询结果: java
高亮查询结果[李<font color='red'>四</font>]


 1万+
1万+


 被折叠的 条评论
为什么被折叠?
被折叠的 条评论
为什么被折叠?
 到【灌水乐园】发言


