


提到二维码条形码开发,我们就不得不提两大开源组件 ZBar 与 ZXing,如果搞过二维码开发的一定对着俩货不陌生,下面我们来总结一下优缺点:
ZBar
ZBar在扫描的灵敏度上,和内存的使用上相对于ZXing上都是较优的,但是对于 “圆角二维码” 的扫描确很困难。
http://rdcworld-iphone.blogspot.in/2013/03/how-to-use-barcode-scanner-br-and-qr-in.html
ZXing
ZXing 是 Google Code上的一个开源的条形码扫描库,是用java设计的,连Google Glass 都在使用的。但有人为了追求更高效率以及可移植性,出现了c++ port. Github上的Objectivc-C port,其实就是用OC代码封装了一下而已,而且已经停止维护。这样效率非常低,在instrument下面可以看到CPU和内存疯涨,在内存小的机器上很容易崩溃
http://blog.devtang.com/blog/2012/12/23/use-zxing-library/
AVFoundation
AVFoundation 是一个很大基础库,用来创建基于时间的视听媒体,可以使用它来检查,创建、编辑或媒体文件。也可以输入流从设备和操作视频实时捕捉和回放。详细框架介绍见官网:About AV Foundation。AVFoundation无论在扫描灵敏度和性能上来说都是最优的,所以毫无疑问我们应该切换到AVFoundation,需要兼容iOS 6或之前的版本可以用zbar或zxing代替。
那我们来看一下,怎么用AVFoundation 来进行二维码条形码扫描
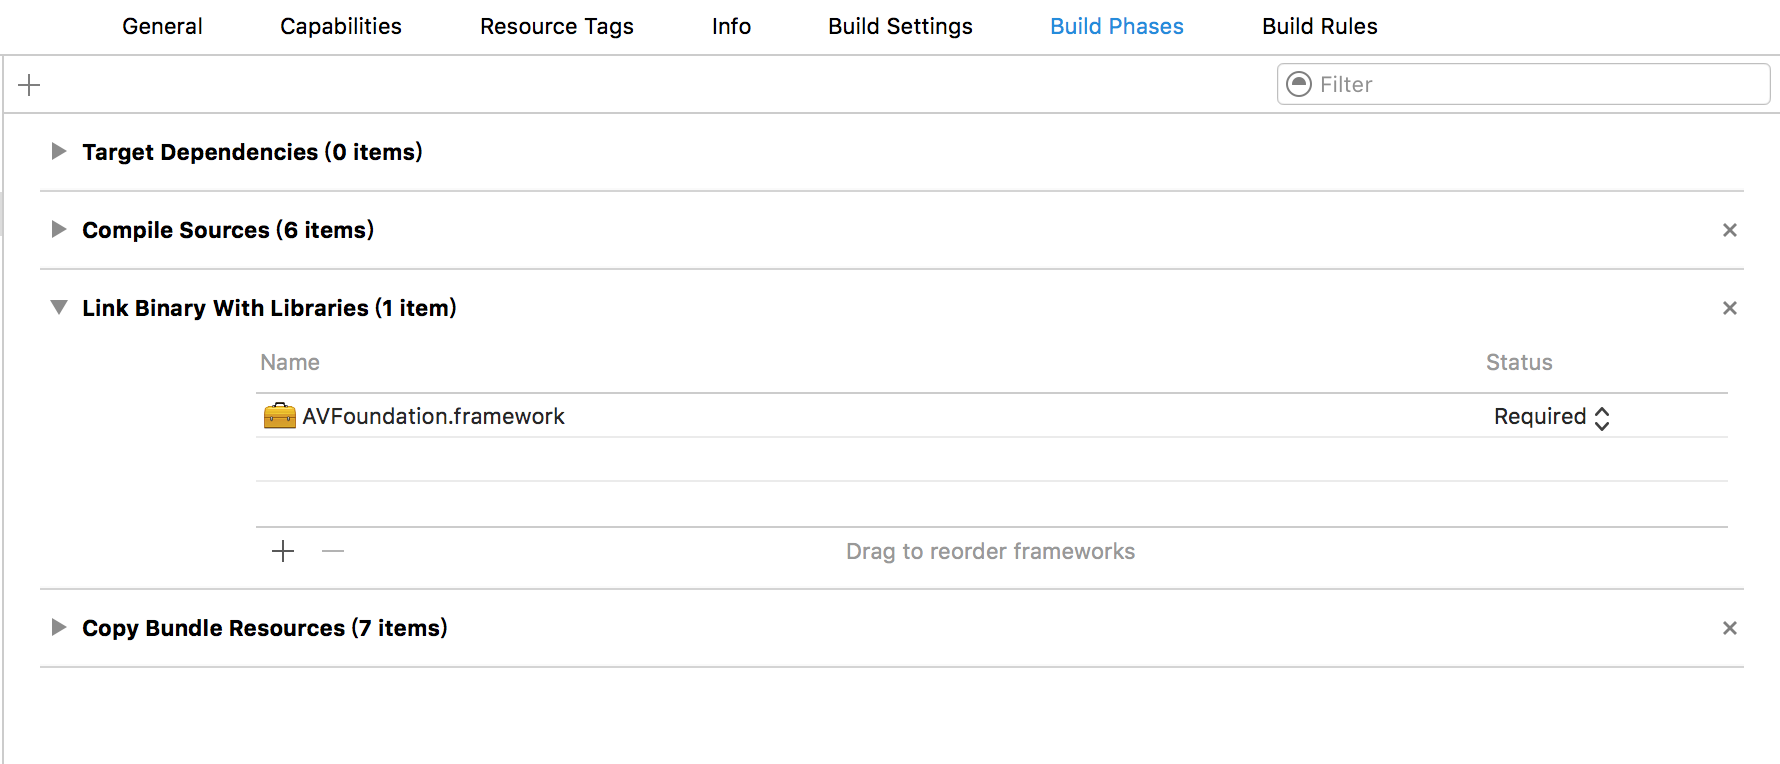
1.导入AVFoundation
2.引入头文件
#import <AVFoundation/AVFoundation.h>3.代理和成员变量
@interface ScanningViewController : UIViewController<AVCaptureMetadataOutputObjectsDelegate>
{
    int num;
    BOOL upOrdown;
    NSTimer * timer;
}
@property (strong,nonatomic)AVCaptureDevice * device;
@property (strong,nonatomic)AVCaptureDeviceInput * input;
@property (strong,nonatomic)AVCaptureMetadataOutput * output;
@property (strong,nonatomic)AVCaptureSession * session;
@property (strong,nonatomic)AVCaptureVideoPreviewLayer * preview;
@property (nonatomic, retain) UIImageView * line;


@end

#define Height [UIScreen mainScreen].bounds.size.height
#define Width [UIScreen mainScreen].bounds.size.width
#define XCenter self.view.center.x
#define YCenter self.view.center.y

#define SHeight 20

#define SWidth (XCenter+30)


@interface ScanningViewController ()
{
    UIImageView * imageView;
}

@end
4.初始化
- (void)viewDidLoad {
    [super viewDidLoad];
    self.view.backgroundColor = [UIColor whiteColor];

    UILabel * labIntroudction= [[UILabel alloc] initWithFrame:CGRectMake(60,100, 290, 50)];
    labIntroudction.backgroundColor = [UIColor clearColor];
    labIntroudction.numberOfLines=2;
    labIntroudction.textColor=[UIColor blueColor];
    labIntroudction.text=@"将条码二维码放入框中就能自动扫描";
    [self.view addSubview:labIntroudction];


    imageView = [[UIImageView alloc]initWithFrame:CGRectMake((Width-SWidth)/2,(Height-SWidth)/2,SWidth,SWidth)];
    imageView.image = [UIImage imageNamed:@"scanscanBg.png"];
    [self.view addSubview:imageView];

    upOrdown = NO;
    num =0;
    _line = [[UIImageView alloc] initWithFrame:CGRectMake(CGRectGetMinX(imageView.frame)+5, CGRectGetMinY(imageView.frame)+5, SWidth-10,1)];
    _line.image = [UIImage imageNamed:@"scanLine@2x.png"];
    [self.view addSubview:_line];

    //_line不断循环进行扫描
    timer = [NSTimer scheduledTimerWithTimeInterval:.02 target:self selector:@selector(animation1) userInfo:nil repeats:YES];

}
5.扫描的方法
-(void)animation1
{
    if (upOrdown == NO) {
        num ++;
        _line.frame = CGRectMake(CGRectGetMinX(imageView.frame)+5, CGRectGetMinY(imageView.frame)+5+2*num, SWidth-10,1);

        if (num ==(int)(( SWidth-10)/2)) {
            upOrdown = YES;
        }
    }
    else {
        num --;
        _line.frame =CGRectMake(CGRectGetMinX(imageView.frame)+5, CGRectGetMinY(imageView.frame)+5+2*num, SWidth-10,1);

        if (num == 0) {
            upOrdown = NO;
        }
    }

}
6.媒体采集
媒体采集的几个东西。这里所需要明白的是,在这个流程中,这里会存在几个对象:
- AVCaptureDevice。这里代表抽象的硬件设备。
- AVCaptureInput。这里代表输入设备(可以是它的子类),它配置抽象硬件设备的ports.
- AVCaptureOutput。它代表输出数据,管理着输出到一个movie或者图像。
- AVCaptureSession。它是input和output的桥梁。它协调着intput到output的数据传输。
高层面关系:
有很多Device的input,也有很多数据类型的Output,都通过一个Capture
Session来控制进行传输。也即:CaptureDevice适配AVCaptureInput,通过Session来输入到AVCaptureOutput中。这样也就达到了从设备到文件等持久化传输的目的(如从相机设备采集图像到UIImage中)。特别注意,这里的关系是可以通过唯一一个Capture Session来同时控制设备的输入和输出。
那么存在一个问题了:视频输入(input)就对应视频的输出(output),而音频输入就应对应音频的输出,因而需要建立对应的Connections,来各自连接它们。而这样的连接对象,是由AVCaptureSession来持有的,这个对象叫AVCaptureConnection。
在一个ACCaptureConnection中,这里维持着对应的数据传输输入到数据输出的过程(detail过程)。这里,AVCaptureInput或其子类对象包含着各种input
port,通过各种input port,我们的AVCaptureOutput可以获取到相应的数据。一个ACCaptureConnection可以控制input到output的数据传输。
-(void)viewWillAppear:(BOOL)animated
{
    [self setupCamera];
}

- (void)setupCamera
{
    // Device
    _device = [AVCaptureDevice defaultDeviceWithMediaType:AVMediaTypeVideo];

    // Input
    _input = [AVCaptureDeviceInput deviceInputWithDevice:self.device error:nil];

    // Output
    _output = [[AVCaptureMetadataOutput alloc]init];
    [_output setMetadataObjectsDelegate:self queue:dispatch_get_main_queue()];

    //设置扫描区域
    _output.rectOfInterest =[self rectOfInterestByScanViewRect:imageView.frame];//CGRectMake(0.1, 0, 0.9, 1);//
    // Session
    _session = [[AVCaptureSession alloc]init];
    [_session setSessionPreset:AVCaptureSessionPresetHigh];
    if ([_session canAddInput:self.input])
    {
        [_session addInput:self.input];
    }

    if ([_session canAddOutput:self.output])
    {
        [_session addOutput:self.output];
    }

    // 条码类型 AVMetadataObjectTypeQRCode
    _output.metadataObjectTypes =@[AVMetadataObjectTypeEAN13Code, AVMetadataObjectTypeEAN8Code, AVMetadataObjectTypeCode128Code, AVMetadataObjectTypeQRCode];


    // Preview
    _preview =[AVCaptureVideoPreviewLayer layerWithSession:self.session];
    _preview.videoGravity = AVLayerVideoGravityResize;
    _preview.frame =self.view.bounds;
    [self.view.layer insertSublayer:self.preview atIndex:0];

    [self.view bringSubviewToFront:imageView];

    //添加模糊效果
    [self setOverView];

    // Start
    [_session startRunning];
}
7.设置扫描区域
- (CGRect)rectOfInterestByScanViewRect:(CGRect)rect {
    CGFloat width = CGRectGetWidth(self.view.frame);
    CGFloat height = CGRectGetHeight(self.view.frame);

    CGFloat x = (height - CGRectGetHeight(rect)) / 2 / height;
    CGFloat y = (width - CGRectGetWidth(rect)) / 2 / width;

    CGFloat w = CGRectGetHeight(rect) / height;
    CGFloat h = CGRectGetWidth(rect) / width;

    return CGRectMake(x, y, w, h);
}
8.添加模糊效果
#pragma mark - 添加模糊效果
- (void)setOverView {
    CGFloat width = CGRectGetWidth(self.view.frame);
    CGFloat height = CGRectGetHeight(self.view.frame);

    CGFloat x = CGRectGetMinX(imageView.frame);
    CGFloat y = CGRectGetMinY(imageView.frame);
    CGFloat w = CGRectGetWidth(imageView.frame);
    CGFloat h = CGRectGetHeight(imageView.frame);

    [self creatView:CGRectMake(0, 0, width, y)];
    [self creatView:CGRectMake(0, y, x, h)];
    [self creatView:CGRectMake(0, y + h, width, height - y - h)];
    [self creatView:CGRectMake(x + w, y, width - x - w, h)];
}

- (void)creatView:(CGRect)rect {
    CGFloat alpha = 0.5;
    UIColor *backColor = [UIColor grayColor];
    UIView *view = [[UIView alloc] initWithFrame:rect];
    view.backgroundColor = backColor;
    view.alpha = alpha;
    [self.view addSubview:view];
}
9.代理方法,处理扫描结果
#pragma mark AVCaptureMetadataOutputObjectsDelegate
- (void)captureOutput:(AVCaptureOutput *)captureOutput didOutputMetadataObjects:(NSArray *)metadataObjects fromConnection:(AVCaptureConnection *)connection
{

    NSString *stringValue;

    if ([metadataObjects count] >0)
    {
        AVMetadataMachineReadableCodeObject * metadataObject = [metadataObjects objectAtIndex:0];
        /**
         *  获取扫描结果
         */
        stringValue = metadataObject.stringValue;
    }

    UIAlertController *alert = [UIAlertController alertControllerWithTitle:nil message:[NSString stringWithFormat:@"扫描结果:%@", stringValue] preferredStyle:UIAlertControllerStyleAlert];
    [alert addAction:[UIAlertAction actionWithTitle:@"Sure" style:UIAlertActionStyleCancel handler:^(UIAlertAction * _Nonnull action) {
        [_session startRunning];
    }]];
    [self presentViewController:alert animated:true completion:nil];
    [_session stopRunning];
}


 1万+
1万+

 被折叠的 条评论
为什么被折叠?
被折叠的 条评论
为什么被折叠?
 到【灌水乐园】发言


