


我的个人博客已经开发完成,现在来部署上线。
安装环境
买了腾讯轻量应用服务器,需要安装必要的软件,包括 Nginx、PHP、MYSQL、Git 和 Composer 等软件。
1. 安装 Nginx
在 Ubuntu 安装 nginx 很简单,首先升级软件包:
sudo apt update
然后安装 nginx,输入以下命令:
sudo apt install nginx
查看版本:
nginx -v
启动 nginx:
service nginx start
用浏览器打开公网 ip 地址就可以看到 nginx 的默认页面,如下图:

2. 安装 PHP 和 Composer
Laravel 最新版本 Laravel 9 需要 PHP 8 以上的版本才能运行,Composer 是一个 PHP 依赖管理器, Laravel 项目的依赖扩展包使用 Composer 来管理。
启用 PHP 存储库
执行如下命令启用 ondrej/php 的 PHP 存储库:
sudo apt install software-properties-common
sudo add-apt-repository ppa:ondrej/php
安装 PHP8.1
执行如下命令安装 PHP8.1:
sudo apt install php8.1
查看 PHP 版本:
php -v
使 Nginx 能处理 PHP 文件
Nginx 不具有处理 PHP 文件的内置支持,需要使用 PHP-FPM(fastCGI 流程管理器)来处理 PHP 文件。
执行以下命令安装 php-fpm:
sudo apt install php8.1-fpm
测试 Nginx 处理 PHP
要测试是否正确配置了 Web 服务器以进行 PHP 处理,运行以下命令创建一个/sites目录:
sudo mkdir /sites
后续所有的网站项目都放在这个目录,运行以下命令创建一个 index.php 文件:
sudo touch /sites/index.php
使用 vim 打开输入内容并保存:
<?php phpinfo();
修改 Nginx 的默认配置文件 /etc/nginx/sites-enabled/default,将来里面内容替换为如下内容:
server {
        listen 80 default_server;
        listen [::]:80 default_server;

        root /sites/test;

        index index.php;

        server_name _;

        location / {
                try_files $uri $uri/ =404;
        }
        location ~ \.php$ {
          include snippets/fastcgi-php.conf;
          fastcgi_pass unix:/run/php/php8.1-fpm.sock;
        }
}
重启 Nginx:
service nginx restart
开启 php-fpm:
service php8.1-fpm start
使用浏览器打开公网 IP 地址,可以看到如下页面:
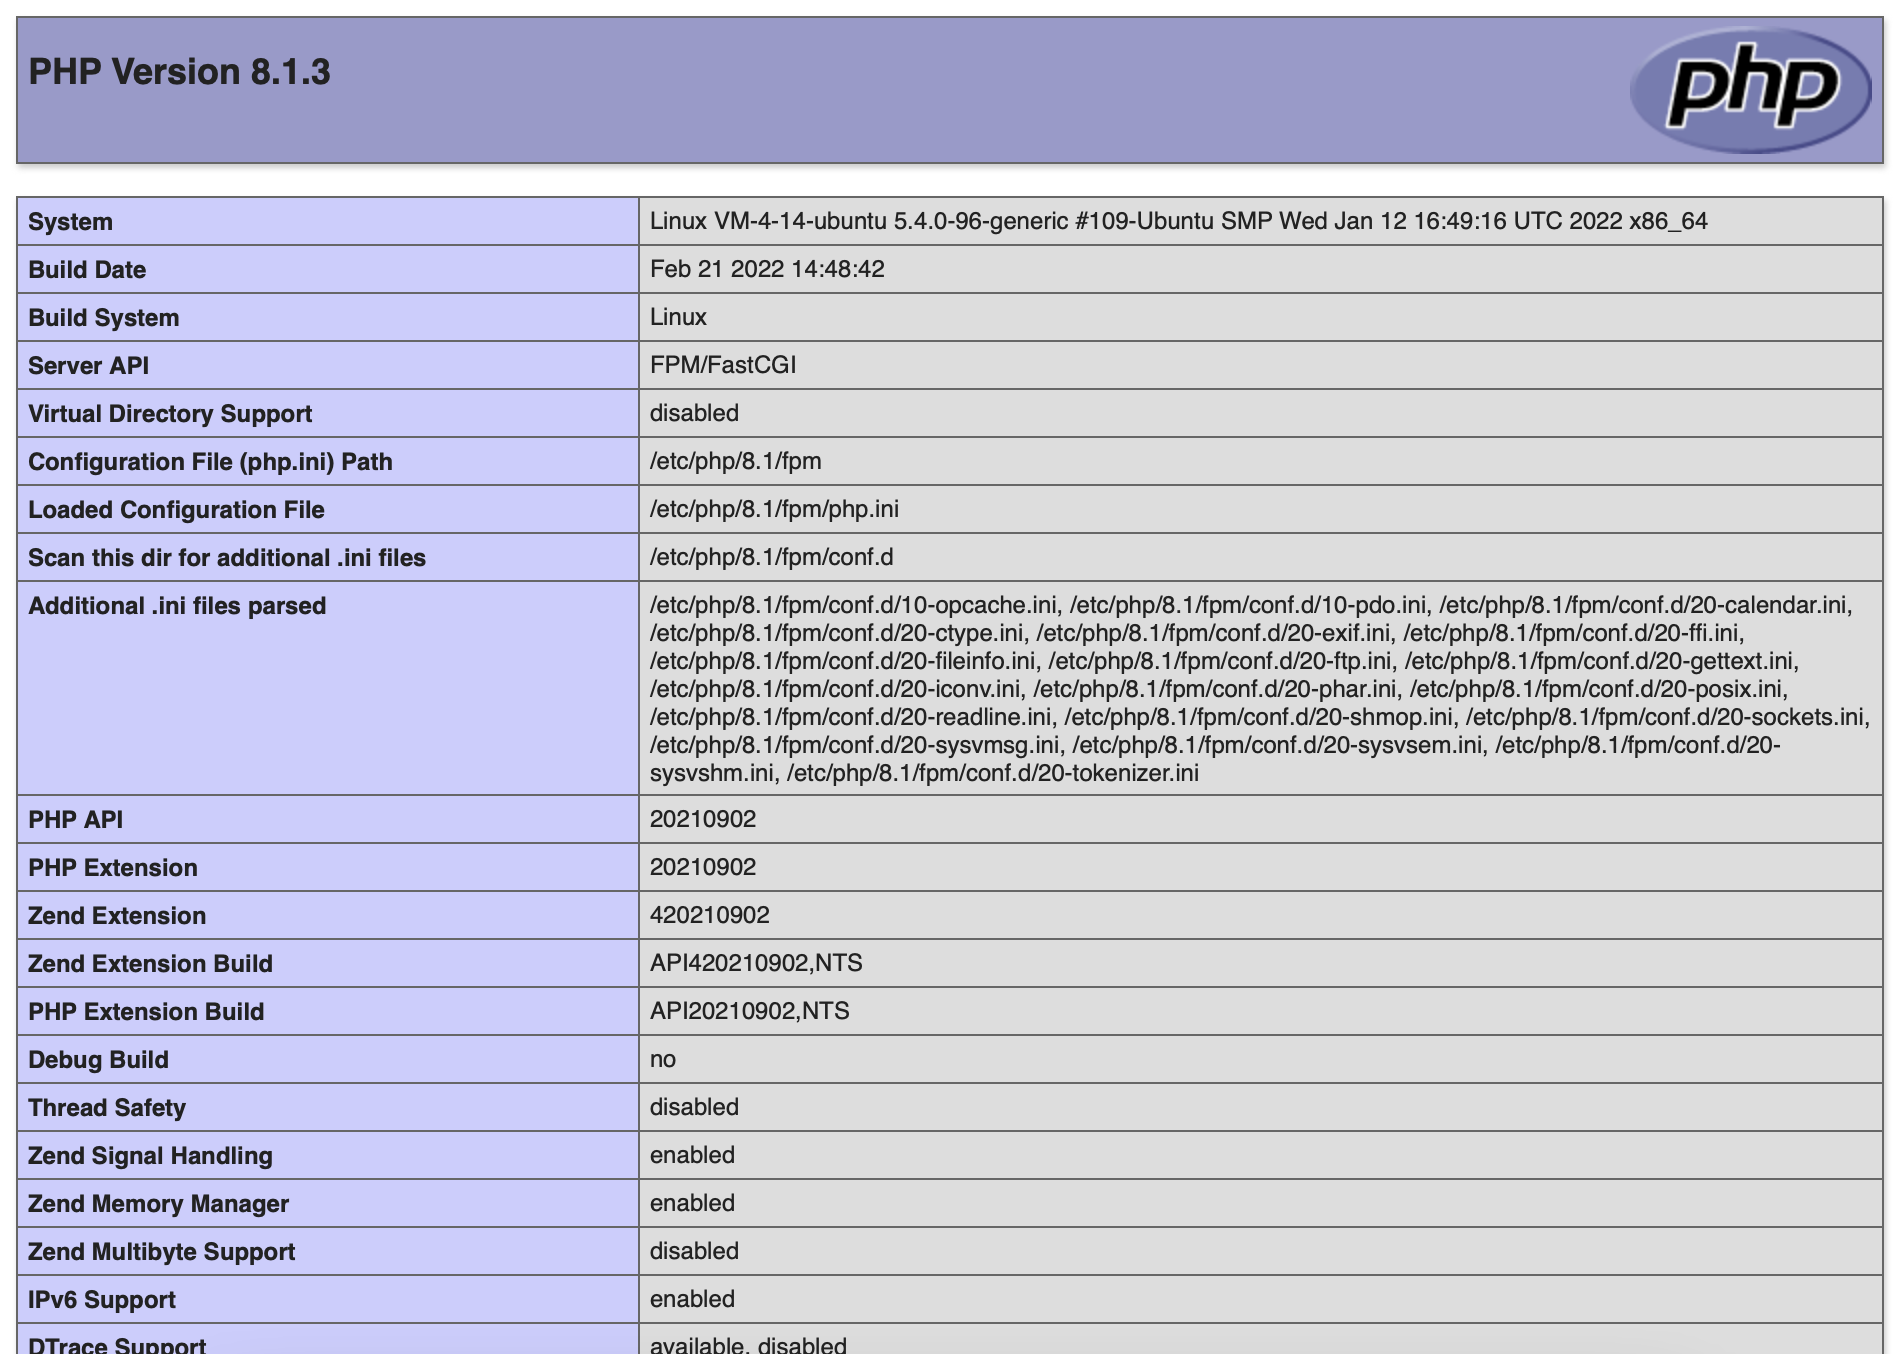
看到上图所示表示 PHP8.1 安装成功,并且 Nginx 能处理 PHP 文件。
安装 PHP 必要的依赖:
sudo apt install php8.1-mysql php8.1-gd php8.1-common php8.1-pdo php8.1-mbstring php8.1-xml php8.1-mcrypt php8.1-bcmath php8.1-ctype php8.1-curl
安装 Composer
Composer 提供了一个使用 PHP 编写的安装器,我们可以用来安装 Composer。 使用wget来下载这个安装器:
wget -O composer-setup.php https://getcomposer.org/installer
上面这个命令将会将文件在当前文件夹下保存为 composer-setup.php。
Composer 是一个简单的 CLI 应用程序文件,并且既可以被全局安装,也可以作为项目的一部分进行安装。全局安装需要 sudo 权限。
在系统范围内全局安装 Composer,将会对所有用户可用,只需要将文件放到系统 PATH 路径下。运行下面的命令将 Composer 安装到 /usr/local/bin目录:
sudo php composer-setup.php --install-dir=/usr/local/bin --filename=composer
查看版本:
composer -v
设置 composer 镜像地址为阿里云:
composer config -g repo.packagist composer https://mirrors.aliyun.com/composer/
3. 安装 MYSQL
项目中需要使用 MYSQL 数据库,现在来安装 MYSQL。
执行以下命令安装 mysql:
sudo apt-get install mysql-server
执行以下命令配置 mysql:
sudo mysql_secure_installation
详细的配置过程:
sudo mysql_secure_installationSecuring the MySQL server deployment.

Connecting to MySQL using a blank password.

VALIDATE PASSWORD COMPONENT can be used to test passwords
and improve security. It checks the strength of password
and allows the users to set only those passwords which are
secure enough. Would you like to setup VALIDATE PASSWORD component?

Press y|Y for Yes, any other key for No: y

There are three levels of password validation policy:

LOW    Length >= 8
MEDIUM Length >= 8, numeric, mixed case, and special characters
STRONG Length >= 8, numeric, mixed case, special characters and dictionary                  file

Please enter 0 = LOW, 1 = MEDIUM and 2 = STRONG: 1
Please set the password for root here.

New password:

Re-enter new password:

New password:

Re-enter new password:

Estimated strength of the password: 100
Do you wish to continue with the password provided?(Press y|Y for Yes, any other key for No) : y
By default, a MySQL installation has an anonymous user,
allowing anyone to log into MySQL without having to have
a user account created for them. This is intended only for
testing, and to make the installation go a bit smoother.
You should remove them before moving into a production
environment.

Remove anonymous users? (Press y|Y for Yes, any other key for No) :

 ... skipping.


Normally, root should only be allowed to connect from
'localhost'. This ensures that someone cannot guess at
the root password from the network.

Disallow root login remotely? (Press y|Y for Yes, any other key for No) :

 ... skipping.
By default, MySQL comes with a database named 'test' that
anyone can access. This is also intended only for testing,
and should be removed before moving into a production
environment.


Remove test database and access to it? (Press y|Y for Yes, any other key for No) :

 ... skipping.
Reloading the privilege tables will ensure that all changes
made so far will take effect immediately.

Reload privilege tables now? (Press y|Y for Yes, any other key for No) : y
Success.

All done!
逐步选择和解释:
- 询问是否校验密码强度,我选择 y 校验密码强度
- 校验等级,有 LOW、MEDIUM 和 STRONG 三个等级,我选择 MEDIUM ,等级说明:
- LOW – 密码长度大于 8。
- MEDIUM – 密码长度大于 8、数字、大小写混合和特殊字符。
- STRONG – 密码长度大于 8、数字、大小写混合、特殊字符和字典文件。
- 是否删除匿名用户,我选择 n 不删除
- 是否运行 root 用户远程登录,我选择 y 允许远程链接
- 是否删除测试数据库,我选择 n 不删除测试数据库
- 修改是否立即生效 ,我选择 y 立即生效
登录 mysql:
sudo mysql -uroot -p
切换数据库:
use mysql;
查询用户表:
select User, Host from mysql.user;
可以看到,默认情况,仅仅允许 localhost链接,执行以下命令设置允许远程链接:
update user set host = '%' where user = 'root';
将 Host 设置为 ‘%’ 表示任意 IP 都能连接 MySQL,也可以将 ‘%’ 改为指定 ip。
刷新 cache 中的配置:
flush privileges;
检查服务状态:
sudo service mysql status
重启 mysql:
sudo service mysql restart
现在可以使用 navcat 等工具远程链接 mysql。
FQA
出现 2003 - Can’t connect to MySQL server on (60 “Operation timed out”) 错误
按如下步骤排查:
- 修改
/etc/mysql/mysql.conf.d/mysqld.cnf将bind-address = 127.0.0.1注释。 - 关闭防火墙
sudo ufw disable - 设置云服务器安全组
4. 安装
在 Ubuntu 中安装 Git 和 Npm。
运行如下命令安装 Git:
sudo apt-get install git
查看版本:
git -version
运行如下命令安装:
sudo apt install npm
查看版本:
npm -v
部署 Laravel 项目
克隆源代码:
sudo git clone https://github.com/sevdot/sd-blog.git
进入项目目录:
cd sd-blog
安装扩展包依赖:
cd sd-blog
生成配置文件:
sudo cp .env.example .env
修改 .env 文件,关闭 debug 和设置项目域名:
APP_DEBUG=false
APP_URL=http://www.sevdot.com
创建blog数据库,修改 .env 文件里的数据库连接:
DB_HOST=localhost
DB_DATABASE=blog
DB_USERNAME=root
DB_PASSWORD=
修改 .env 文件里的百度翻译:
BAIDU_TRANSLATE_APPID=
BAIDU_TRANSLATE_KEY=
赋予 storage 相应权限
chmod -Rf 0755 storage/
生成密钥:
php artisan key:generate
创建 storage 软连接:
sudo php artisan storage:link
缓存配置文件:
sudo php artisan config:cache
Composer 优化:
sudo composer dump-autoload --optimize
类映射加载优化:
php artisan optimize
生成数据表:
php artisan migrate
导入后台数据:
php artisan db:seed --class=AdminTablesSeeder
创建一个管理员用户:
php artisan admin:create-user
运行如下命令创建一个 nginx 配置文件:
sudo vim /etc/nginx/sites-enabled/blog
输入如下内容并保存:
server {
    listen 80;
    server_name www.sevdot.com;
    root "/sites/sd-blog/public";

    index index.html index.htm index.php;

    charset utf-8;

    location / {
        try_files $uri $uri/ /index.php?$query_string;
    }

    access_log off;
    error_log  /var/log/nginx/sd-blog-error.log error;

    sendfile off;

    client_max_body_size 100m;

    location ~ \.php$ {
        fastcgi_split_path_info ^(.+\.php)(/.+)$;
        fastcgi_pass unix:/run/php/php8.1-fpm.sock;
        fastcgi_index index.php;
        include fastcgi_params;
        fastcgi_param SCRIPT_FILENAME 	$document_root$fastcgi_script_name;

        fastcgi_intercept_errors off;
        fastcgi_buffer_size 16k;
        fastcgi_buffers 4 16k;
        fastcgi_connect_timeout 300;
        fastcgi_send_timeout 300;
        fastcgi_read_timeout 300;
    }
}
运行如下命令重启 Nginx:
sudo service nginx restart


 281
281


 被折叠的 条评论
为什么被折叠?
被折叠的 条评论
为什么被折叠?
 到【灌水乐园】发言


