


文章目录
LayoutParams的理解
顾名思义,就是Layout Parameters :布局参数
例如
    <TextView
        android:layout_width="match_parent"
        android:layout_height="wrap_content"
        android:text="Errol-King"
        android:textColor="#ff0000"/>
我们都知道layout_width和layout_height这两个属性是为View指定宽高的。不过,为什么要加上layout_前缀修饰呢?其它的描述属性,如textColor和background,都很正常。为什么不用width和height描述宽高呢?
LayoutParams,它说layout_width是它的属性而非View的,并且不只是针对这一个,而是所有以”layout_”开头的属性都与它有关。所以,它的东西当然要打上自己的标识”layout_”
既然layout_width这样的属性是LayoutParams定义的,那为何会出现在描述View的xml属性里呢?看下官方文档怎么说:
1、LayoutParams are used by views to tell their parents how they want to be laid out.
– LayoutParams是View用来告诉它的父控件如何放置自己的2、The base LayoutParams class just describes how big the view wants to be for both width and height.
–基类LayoutParams(也就是ViewGroup.LayoutParams)仅仅描述了这个View想要的宽度和高度3、There are subclasses of LayoutParams for different subclasses of
ViewGroup.
– 不同ViewGroup的继承类对应着不同的ViewGroup.LayoutParams的子类
更加直白的翻译:
1、textColor和background这样的属性都是只与TextView自身有关的,无论这个TextView处于什么环境,这些属性都是不变的
而layout_width与layout_marginLeft这样的属性是与它的父控件息息相关的,是父控件通过LayoutParams提供这些”layout_”属性给孩子们用的;是父控件根据孩子们的要求(LayoutParams)来决定怎么测量,怎么安放孩子们的
2、基类LayoutParams是ViewGroup类里的一个静态内部类(看吧,这就证明了LayoutParams是与父控件直接相关的),它的功能很简单,只提供了width和height两个属性,对应于xml里的layout_width和layout_height。所以,对任意系统提供的容器控件或者是自定义的ViewGroup,其chid view总是能写layout_width和layout_height属性的
3、自从有了ViewGroup.LayoutParams后,我们就可以在自定义ViewGroup时,根据自己的逻辑实现自己的LayoutParams,为孩子们提供更多的布局属性。不用说,系统里提供给我们的容器控件辣么多,肯定也有很多LayoutParams的子类
LayoutParams 的作用是:子控件告诉父控件,自己要如何布局
ViewGroup.MarginLayoutParams
看名字我们也能猜到,它是用来提供margin属性的。
看看这个类里面的属性:
public static class MarginLayoutParams extends ViewGroup.LayoutParams {

        public int leftMargin;

        public int topMargin;

        public int rightMargin;

        public int bottomMargin;

        private int startMargin = DEFAULT_MARGIN_RELATIVE;

        private int endMargin = DEFAULT_MARGIN_RELATIVE;

        ...
    }
前面4个属性是我们以前在布局文件里常用的,而后面的startMargin和endMargin是为了支持RTL设计出来代替leftMargin和rightMargin的
一般情况下,View开始部分就是左边,但是有的语言目前为止还是按照从右往左的顺序来书写的,例如阿拉伯语。在Android 4.2系统之后,Google在Android中引入了RTL布局,更好的支持了从右往左文字布局的显示。为了更好的兼容RTL布局,google推荐使用MarginStart和MarginEnd来替代MarginLeft和MarginRight`,这样应用可以在正常的屏幕和从右往左显示文字的屏幕上都保持一致的用户体验
关于RTL的文章请戳这里
在xml布局里,layout_margin属性的值会覆盖layout_marginLeft与layout_marginRight等属性的值。
常见的添加View的方式
LinearLayout parent = (LinearLayout) findViewById(R.id.parent);
// 1.直接添加一个“裸”的TextView,不主动指定LayoutParams
TextView textView = new TextView(this);
textView.setText("宅在家的Errol_King");
textView.setTextColor(Color.RED);
parent.addView(textView);

// 2.先手动给TextView设定好LayoutParams,再添加
textView = new TextView(this);
textView.setText("来上班的Errol_King");
textView.setTextColor(Color.GREEN);
//300的单位是px
LinearLayout.LayoutParams lp = new LinearLayout.LayoutParams(300,300);
textView.setLayoutParams(lp);
parent.addView(textView);
//上边两句可以简化为parent.addView(textView,lp);

// 3.在添加的时候传递一个创建好的LayoutParams
textView = new TextView(this);
textView.setText("玩游戏的Errol_King");
textView.setTextColor(Color.BLUE);
//这里是设置TextView的布局
LinearLayout.LayoutParams lp2 = new LinearLayout.LayoutParams(ViewGroup.LayoutParams.WRAP_CONTENT,300);
parent.addView(textView, lp2);
上面代码展示的是3种往LinearLayout里动态添加TextView的方式,其中都涉及到了addView这个方法。我们来看看addView的几个重载方法:
//这3个方法都来自于基类ViewGroup

 public void addView(View child) {
        addView(child, -1);
    }


public void addView(View child, int index) {
        if (child == null) {
            throw new IllegalArgumentException("Cannot add a null child view to a ViewGroup");
        }
        LayoutParams params = child.getLayoutParams();
        if (params == null) {
            params = generateDefaultLayoutParams();
            if (params == null) {
                throw new IllegalArgumentException("generateDefaultLayoutParams() cannot return null");
            }
        }
        addView(child, index, params);
    }

public void addView(View child, LayoutParams params) {
        addView(child, -1, params);
    }
可以看出addView(View child)是调用了addView(View child, int index)方法的,在这个里面对child的LayoutParams做了判断,如果为null的话,则调用了generateDefaultLayoutParams方法为child生成一个默认的LayoutParams
让我们看看LinearLayout为我们这群懒人生成了怎样的默认LayoutParams
@Override
protected LayoutParams generateDefaultLayoutParams() {
        if (mOrientation == HORIZONTAL) {
            return new LayoutParams(LayoutParams.WRAP_CONTENT, LayoutParams.WRAP_CONTENT);
        } else if (mOrientation == VERTICAL) {
            return new LayoutParams(LayoutParams.MATCH_PARENT, LayoutParams.WRAP_CONTENT);
        }
        return null;
}
显然,LinearLayout是重写了基类ViewGroup里的generateDefaultLayoutParams方法的:如果布局是水平方向,则孩子们的宽高都是WRAP_CONTENT,而如果是垂直方向,高仍然是WRAP_CONTENT,但宽却变成了MATCH_PARENT。所以,这一点大家得注意,因为很有可能因为我们的懒,导致布局效果和我们理想中的不一样。因此呢,第1种添加View的方式是不推荐滴,像第2或第3种方式,添加的时候指定了LayoutParams,不仅明确,而且易修改
栗子1:动态修改布局
<LinearLayout
android:layout_width="match_parent"
android:layout_height="match_parent"
xmlns:android="http://schemas.android.com/apk/res/android"
android:orientation="vertical"
android:id="@+id/parent"
>
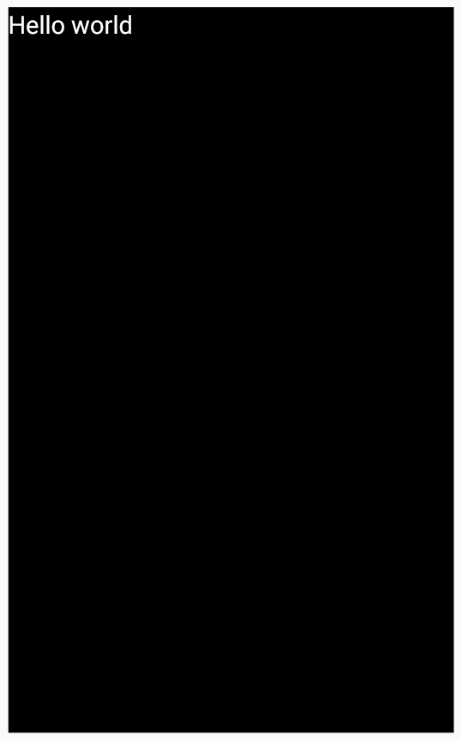
<TextView
android:id="@+id/textView"
android:layout_width="300dp"
android:layout_height="300dp"
android:text="Hello world"
android:background="#000"
android:textColor="#fff"/>
</LinearLayout>
效果

    TextView textView;
    @Override
    protected void onCreate(Bundle savedInstanceState) {
        super.onCreate(savedInstanceState);
        setContentView(R.layout.activity_main);

        textView = (TextView)findViewById(R.id.textView);

        LinearLayout.LayoutParams layoutParams = new LinearLayout.LayoutParams(textView.getLayoutParams());
        layoutParams.height = ViewGroup.LayoutParams.MATCH_PARENT;
        layoutParams.width = ViewGroup.LayoutParams.MATCH_PARENT;
        //设置margin值是px
        layoutParams.setMargins(20,20,20,20);
        layoutParams.gravity = Gravity.CENTER;

        textView.setLayoutParams(layoutParams);
    }
效果
栗子2:RelativeLayout相对位置设置
<RelativeLayout
android:layout_width="match_parent"
android:layout_height="match_parent"
xmlns:android="http://schemas.android.com/apk/res/android"
android:id="@+id/parent">

<TextView
    android:id="@+id/textView"
    android:layout_width="300dp"
    android:layout_height="300dp"
    android:text="Hello world"
    android:background="#000"
    android:textColor="#fff"/>

</RelativeLayout>
效果
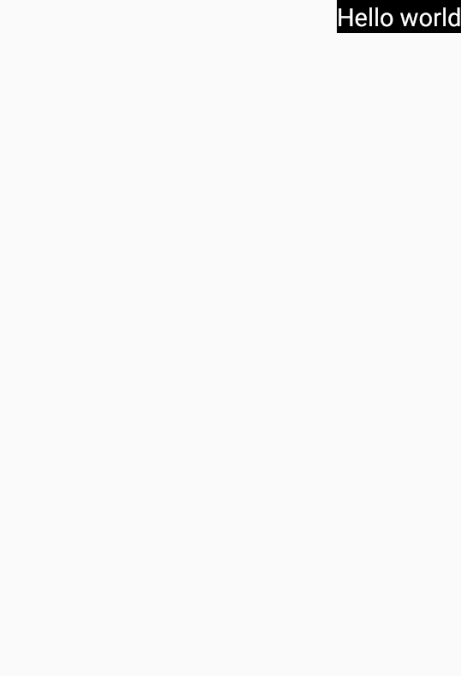
		textView = (TextView)findViewById(R.id.textView);

        RelativeLayout.LayoutParams lp=new RelativeLayout.LayoutParams(RelativeLayout.LayoutParams.WRAP_CONTENT, RelativeLayout.LayoutParams.WRAP_CONTENT);
        lp.addRule(RelativeLayout.ALIGN_PARENT_RIGHT, RelativeLayout.TRUE);
        lp.addRule(RelativeLayout.ALIGN_PARENT_TOP, RelativeLayout.TRUE);
        textView.setLayoutParams(lp);
效果
栗子3:动态增加一个布局
public class MainActivity extends Activity {
    @Override
    protected void onCreate(Bundle savedInstanceState) {
        super.onCreate(savedInstanceState);
        setContentView(R.layout.activity_main);

        LinearLayout parent = (LinearLayout)findViewById(R.id.parent);

        Button button = (Button) LayoutInflater.from(this).inflate(R.layout.view_button,null);
        button.setBackgroundResource(R.drawable.red_border);
        button.setText("确认收货");
        button.setTextColor(Color.parseColor("#ff0000"));

        LinearLayout.LayoutParams layoutParams = new LinearLayout.LayoutParams(LinearLayout.LayoutParams.WRAP_CONTENT,dpToPx(this,40));
        layoutParams.setMargins(dpToPx(this,5),dpToPx(this,5),0,0);

        button.setLayoutParams(layoutParams);

        parent.addView(button);
    }

    public static int dpToPx(Context context, float dpValue) {
        if (dpValue <= 0) {
            return 0;
        }
        final float scale = context.getResources().getDisplayMetrics().density;
        return (int) (dpValue * scale + 0.5f);
    }
效果

你应该了解的
LayoutParams类也只是简单的描述了宽高
宽和高都可以设置成三种值:
1、一个确定的值
2、FILL_PARENT,即填满(和父容器一样大小)
3、WRAP_CONTENT,即包裹住组件就好
setLayoutParams(new LayoutParams(LayoutParams.FILL_PARENT, LayoutParams.FILL_PARENT));
这一句话其实是子对父的,也就是父布局下的子控件要设置这句话,并且由于布局很多,也不同,虽然都继承至ViewGroup但是各个布局的局性和方法有很大的不同
如果子控件的父布局是一个TableRow,应该这样写才算准确:
setLayoutParams(new TableRow.LayoutParams(TableRow.LayoutParams.FILL_PARENT, TableRow.LayoutParams.FILL_PARENT));
这表示这个子控件的父布局是一个TableRow , 这样的LayoutParams 太多,所以应明确指明
不同的布局容器应使用与之相对应的LayoutParams
不同的布局容器应使用与之相对应的LayoutParams,因为不同的布局容器有自己特殊的属性需要设置
例如:
LinearLayout.LayoutParams
LinearLayout.LayoutParams lp= new LinearLayout.LayoutParams(LayoutParams.WRAP_CONTENT,LayoutParams.WRAP_CONTENT);
FrameLayout.LayoutParams
FrameLayout.LayoutParams lp = new FrameLayout.LayoutParams(LayoutParams.WRAP_CONTENT,LayoutParams.WRAP_CONTENT);
RelativeLayout.LayoutParams
RelativeLayout.LayoutParams lp = new RelativeLayout.LayoutParams(LayoutParams.WRAP_CONTENT,LayoutParams.WRAP_CONTENT);


 478
478

 被折叠的 条评论
为什么被折叠?
被折叠的 条评论
为什么被折叠?
 到【灌水乐园】发言


