


尝试编译下Linux-kernel 4.14.14,使用Ubuntu 16.04 64位 系统。
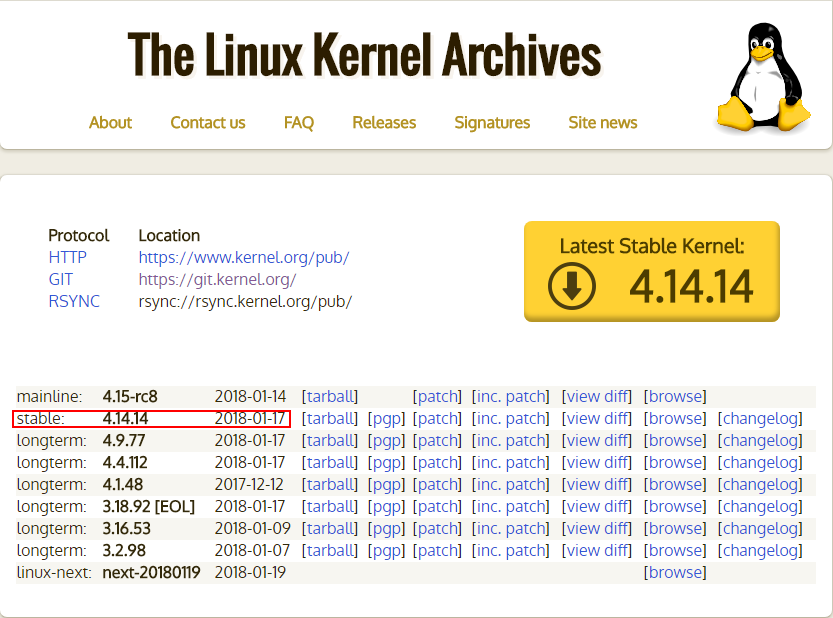
Linux内核官网: https://www.kernel.org/
内核下载链接: https://cdn.kernel.org/pub/linux/kernel/v4.x/linux-4.14.14.tar.xz
kernel-4.14.14 内核文件约96MB,解压后得到linux-4.14.14目录约900MB。在终端中切换到解压后的linux-4.14.14文件目录,执行下面的命令:
1. .config
复制一份当前系统编译时的配置,在/usr/src目录下
$ ls /usr/src/
linux-headers-4.10.0-35          linux-headers-4.8.0-36
linux-headers-4.10.0-35-generic  linux-headers-4.8.0-36-generic
其中,在 linux-headers-*-generic目录下存在 .config文件,复制一份到linux-4.14.14目录下
linux-4.14.14$ cp /usr/src/linux-headers-4.10.0-35-generic/.config .2. 编译配置
可能出现的问题
$ make menuconfig
 *** Unable to find the ncurses libraries or the
 *** required header files.
 *** 'make menuconfig' requires the ncurses libraries.
 ***
 *** Install ncurses (ncurses-devel) and try again.
 ***
scripts/kconfig/Makefile:202: recipe for target 'scripts/kconfig/dochecklxdialog' failed
make[1]: *** [scripts/kconfig/dochecklxdialog] Error 1
Makefile:543: recipe for target 'menuconfig' failed
make: *** [menuconfig] Error 2编译出了问题,提示缺少ncurses相关的库,安装就好
# 提示找不到ncurses-devel包
# sudo apt-get install ncurses-devel

sudo apt-get install libncurses5-dev
安装好之后,重新执行,选择[load]–>[OK]–>[Save]–>[OK]–>[EXIT]–>[EXIT]
$ make menuconfig
  HOSTCC  scripts/kconfig/mconf.o
  HOSTCC  scripts/kconfig/lxdialog/checklist.o
  HOSTCC  scripts/kconfig/lxdialog/util.o
  HOSTCC  scripts/kconfig/lxdialog/inputbox.o
  HOSTCC  scripts/kconfig/lxdialog/textbox.o
  HOSTCC  scripts/kconfig/lxdialog/yesno.o
  HOSTCC  scripts/kconfig/lxdialog/menubox.o
  HOSTLD  scripts/kconfig/mconf
scripts/kconfig/mconf  Kconfig
配置完结果
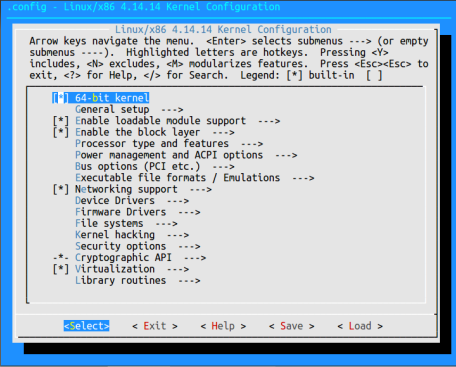
3. 编译内核
编译启动映像
编译的过程比较耗时,-jN部分, N越大,编译速度越快,当然,不要超过自己机器的上限。设置为256,整个内核编译只需要花费大概10min左右。
make bzImage -j256可能遇到的2个问题:
Makefile:942: *** "Cannot generate ORC metadata for CONFIG_UNWINDER_ORC=y, please install libelf-dev, libelf-devel or elfutils-libelf-devel". Stop.缺少相应的库,安装即可:sudo apt-get install libelf-dev
fatal error: openssl/opensslv.h: No such file or directory 没有安装openssl的,需要先安装openssl: sudo apt-get install libssl-dev
编译模块
直接执行 make modules -j256
4. 安装内核
安装内核的过程就快的很多了,这和一般的软件安装包的安装软件 是相似的。
先安装模块
root # make modules_install再安装内核
root # make install完成安装之后,会在/boot内生成对应的内核相关文件,重启之后,在启动引导页面,会让我们选择启动的内核,这时我们可以选择是当前默认的4.10内核还是刚刚编译安装的更新的4.14内核。
5. 更改启动grub
grub就是管理Ubuntu系统启动的一个程序,我们编译好的内核要设置为缺省运行项,修改对应的grub,其实也很简单。
查看当前:
$ cat /proc/version
Linux version 4.10.0-35-generic (buildd@lcy01-33) (gcc version 5.4.0 20160609 (Ubuntu 5.4.0-6ubuntu1~16.04.4) ) #39~16.04.1-Ubuntu SMP Wed Sep 13 09:02:42 UTC 2017

$cat /boot/grub/grub.cfg | grep 4.10
....
[未实操]
mkinitramfs 4.14.14 -o /boot/initrd.img-4.14.14
update-grub2
update-grub2命令会帮我们自动修改grub
参考:
[*]http://www.linuxidc.com/Linux/2016-04/129955.htm
[*]http://blog.51cto.com/191226139/2059117
[*]http://blog.csdn.net/u010889616/article/details/47868887
http://blog.csdn.net/qq_33044095/article/details/52645387
http://blog.csdn.net/crazycoder8848/article/details/44131735
http://blog.csdn.net/qq_34247099/article/details/50949720
编译问题:
http://blog.csdn.net/chenbang110/article/details/7794989
http://blog.csdn.net/nefuyang/article/details/8735133
http://blog.csdn.net/xxxxxx91116/article/details/7927520
http://blog.csdn.net/david_xtd/article/details/18888409
http://blog.csdn.net/loongembedded/article/details/52382667


 2万+
2万+

 被折叠的 条评论
为什么被折叠?
被折叠的 条评论
为什么被折叠?
 到【灌水乐园】发言


