


一 jwt的概念
1.1 jwt作用
JSON Web Token
(
JWT
)是一个开放的行业标准(
RFC 7519
),它定义了一种简介的、自包含的协议格式,用于
在通信双方传递json对象
,
传递的信息经过数字签名可以被验证和信任
。
JWT
可以使用
HMAC算法或使用RSA的公钥/私钥对来签名,防止被篡改。
1.2 jwt可以的解决问题
当资源服务和授权服务不在一起时资源服务使用
RemoteTokenServices
远程请求授权 服务验证token
,如果访问量较大将会影响系统的性能 。
解决上边问题:
令牌采
用JWT格式
即可解决上边的问题,用户认证通过会得到一个
JWT
令牌,
JWT令牌中已经包括了用户相关的信 息
,
客户端只需要携带JWT访问资源服务
,
资源服务根据事先约定的算法自行完成令牌校验
,
无需每次都请求认证服务完成授权
。
1.3 jwt的特点
1
)
jwt基于json,非常方便解析
。
2
)可以在令牌中自定义丰富的内容,易扩展。
3
)
通过非对称加密算法及数字签名技术
,
JWT防止篡改
,安全性高。
4
)资源服
务使用JWT可不依赖认证服务即可完成授权
。
缺点:
1)
JWT
令牌较长,占存储空间比较大。
1.4 JWT令牌结构
JWT
令牌由三部分组成,每部分中间使用点(
.
)分隔,比如:
xxxxx.yyyyy.zzzzz
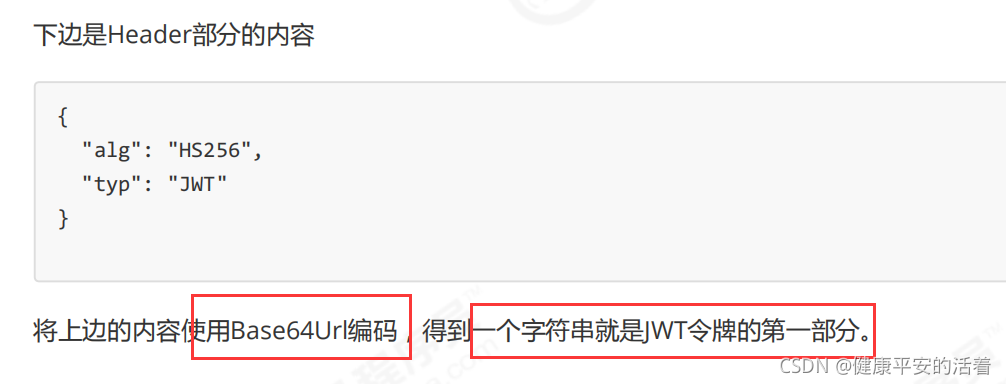
1.4.1 头部
头部包括令牌的类型(即
JWT
)及使用的哈希算法(如
HMAC SHA256
或
RSA
)
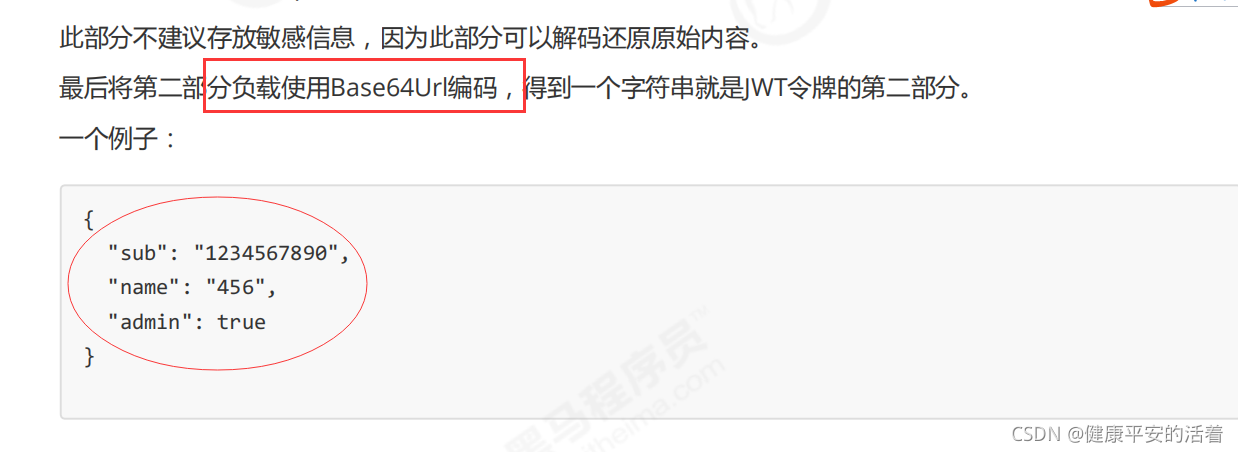
1.4.2 payload
第二部分是负载,内容也是
一个json对象,它是存放有效信息的地方
,它可以存放
jwt
提供的现成字段,比 如:iss
(签发者)
,exp
(过期时间戳)
, sub
(面向的用户)等,也可自定义字段。
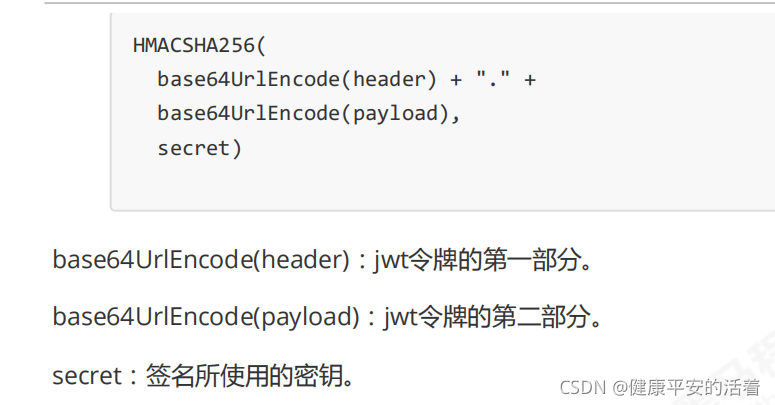
1.4.3 signature
第三部分是签名,此部分用于防止
jwt
内容被篡改。
这个部分使用
base64url
将前两部分进行编码,编码后使用点(
.
)连接组成字符串,最后使用
header
中声明 签名算法进行签名。
二 jwt的配置
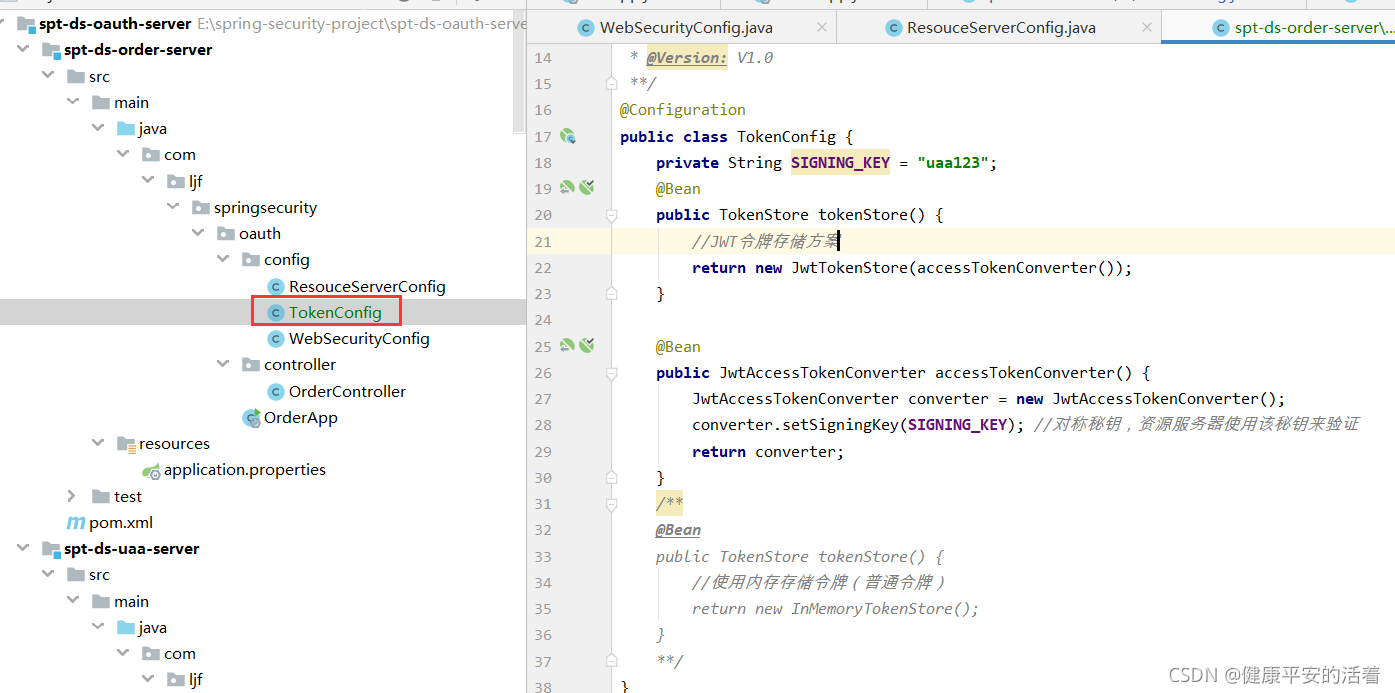
2.1 在认证uaa中配置jwt令牌
1.在spt-ds-uaa-server认证工程中,将前面章节使用的基于内存的令牌注释掉,使用jwt令牌

2.代码
package com.ljf.springsecurity.oauth.config;

import org.springframework.context.annotation.Bean;
import org.springframework.context.annotation.Configuration;
import org.springframework.security.oauth2.provider.token.TokenStore;
import org.springframework.security.oauth2.provider.token.store.InMemoryTokenStore;
import org.springframework.security.oauth2.provider.token.store.JwtAccessTokenConverter;
import org.springframework.security.oauth2.provider.token.store.JwtTokenStore;

/**
 * @ClassName: TokenConfig
 * @Description: TODO
 * @Author: liujianfu
 * @Date: 2021/08/29 12:49:39
 * @Version: V1.0
 **/
@Configuration
public class TokenConfig {
    private String SIGNING_KEY = "uaa123";
    @Bean
    public TokenStore tokenStore() {
        //JWT令牌存储方案
        return new JwtTokenStore(accessTokenConverter());
    }

    @Bean
    public JwtAccessTokenConverter accessTokenConverter() {
        JwtAccessTokenConverter converter = new JwtAccessTokenConverter();
        converter.setSigningKey(SIGNING_KEY); //对称秘钥,资源服务器使用该秘钥来验证
        return converter;
    }
    /**
    @Bean
    public TokenStore tokenStore() {
        //使用内存存储令牌(普通令牌)
        return new InMemoryTokenStore();
    }
    **/
}
2.2 在认证服务配置类中使用jwt令牌

2.具体代码
package com.ljf.springsecurity.oauth.config;

import org.springframework.beans.factory.annotation.Autowired;
import org.springframework.context.annotation.Bean;
import org.springframework.context.annotation.Configuration;
import org.springframework.http.HttpMethod;
import org.springframework.security.authentication.AuthenticationManager;
import org.springframework.security.crypto.bcrypt.BCryptPasswordEncoder;
import org.springframework.security.oauth2.config.annotation.configurers.ClientDetailsServiceConfigurer;
import org.springframework.security.oauth2.config.annotation.web.configuration.AuthorizationServerConfigurerAdapter;
import org.springframework.security.oauth2.config.annotation.web.configuration.EnableAuthorizationServer;
import org.springframework.security.oauth2.config.annotation.web.configurers.AuthorizationServerEndpointsConfigurer;
import org.springframework.security.oauth2.config.annotation.web.configurers.AuthorizationServerSecurityConfigurer;
import org.springframework.security.oauth2.provider.ClientDetailsService;
import org.springframework.security.oauth2.provider.code.AuthorizationCodeServices;
import org.springframework.security.oauth2.provider.code.InMemoryAuthorizationCodeServices;
import org.springframework.security.oauth2.provider.token.AuthorizationServerTokenServices;
import org.springframework.security.oauth2.provider.token.DefaultTokenServices;
import org.springframework.security.oauth2.provider.token.TokenEnhancerChain;
import org.springframework.security.oauth2.provider.token.TokenStore;
import org.springframework.security.oauth2.provider.token.store.JwtAccessTokenConverter;


import java.util.Arrays;

/**
 * @ClassName: AuthorizationServer
 * @Description: TODO
 * @Author: liujianfu
 * @Date: 2021/08/29 12:46:21
 * @Version: V1.0
 **/
@Configuration
@EnableAuthorizationServer
public class AuthorizationServer extends AuthorizationServerConfigurerAdapter {

    @Autowired
    private TokenStore tokenStore;
    @Autowired
    private ClientDetailsService clientDetailsService;
    @Autowired
    private AuthorizationCodeServices authorizationCodeServices;
    @Autowired
    private AuthenticationManager authenticationManager;
    @Autowired
    private JwtAccessTokenConverter accessTokenConverter;
    //step1:客户端详情服务
    @Override
    public void configure(ClientDetailsServiceConfigurer clients)
            throws Exception {
     clients.inMemory()// 使用in-memory存储
                .withClient("c1")// client_id
                .secret(new BCryptPasswordEncoder().encode("secret"))//客户端密钥
                .resourceIds("res1")//资源列表
                .authorizedGrantTypes("authorization_code", "password","client_credentials","implicit","refresh_token")// 该client允许的授权类型authorization_code,password,refresh_token,implicit,client_credentials
                .scopes("all")// 允许的授权范围
                .autoApprove(false)//false跳转到授权页面
                //加上验证回调地址
                .redirectUris("http://www.baidu.com");
    }
    //step2; 令牌管理服务
    @Bean
    public AuthorizationServerTokenServices tokenService() {
        DefaultTokenServices service=new DefaultTokenServices();
        service.setClientDetailsService(clientDetailsService);//客户端详情服务
        service.setSupportRefreshToken(true);//支持刷新令牌
        service.setTokenStore(tokenStore);//令牌存储策略
        //令牌增强
        TokenEnhancerChain tokenEnhancerChain = new TokenEnhancerChain();
        tokenEnhancerChain.setTokenEnhancers(Arrays.asList(accessTokenConverter));
        service.setTokenEnhancer(tokenEnhancerChain);

        service.setAccessTokenValiditySeconds(7200); // 令牌默认有效期2小时
        service.setRefreshTokenValiditySeconds(259200); // 刷新令牌默认有效期3天
        return service;
    }

    //step3: 设置授权码模式的授权码如何存取,暂时采用内存方式
   @Bean
    public AuthorizationCodeServices authorizationCodeServices() {
        return new InMemoryAuthorizationCodeServices();
    }
    //step4: 令牌服务端点
    @Override
    public void configure(AuthorizationServerEndpointsConfigurer endpoints) {
        endpoints
                .authenticationManager(authenticationManager)//认证管理器
                .authorizationCodeServices(authorizationCodeServices)//授权码服务
                .tokenServices(tokenService())//令牌管理服务
                .allowedTokenEndpointRequestMethods(HttpMethod.POST);
    }
   //step5: 令牌安全约束
   @Override
   public void configure(AuthorizationServerSecurityConfigurer security){
       security
               .tokenKeyAccess("permitAll()")                    //oauth/token_key是公开
               .checkTokenAccess("permitAll()")                  //oauth/check_token公开
               .allowFormAuthenticationForClients()				//表单认证(申请令牌)
       ;
   }
}
2.3 生成jwt令牌
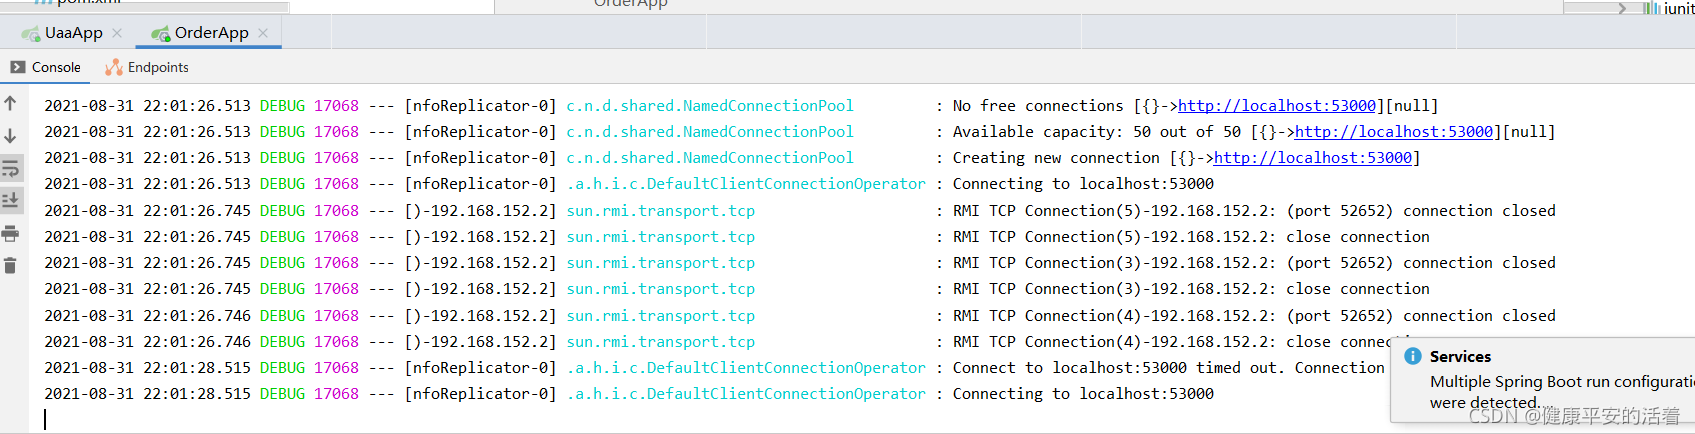
1.启动认证服务

2.使用密码模式生成jwt令牌:jwt令牌的字符串包含了用户信息和权限等信息
http://localhost:53020/uaa/oauth/token? client_id=c1&client_secret=secret&grant_type=password&username=shangsan&password=123

2.4 验证jwt令牌信息

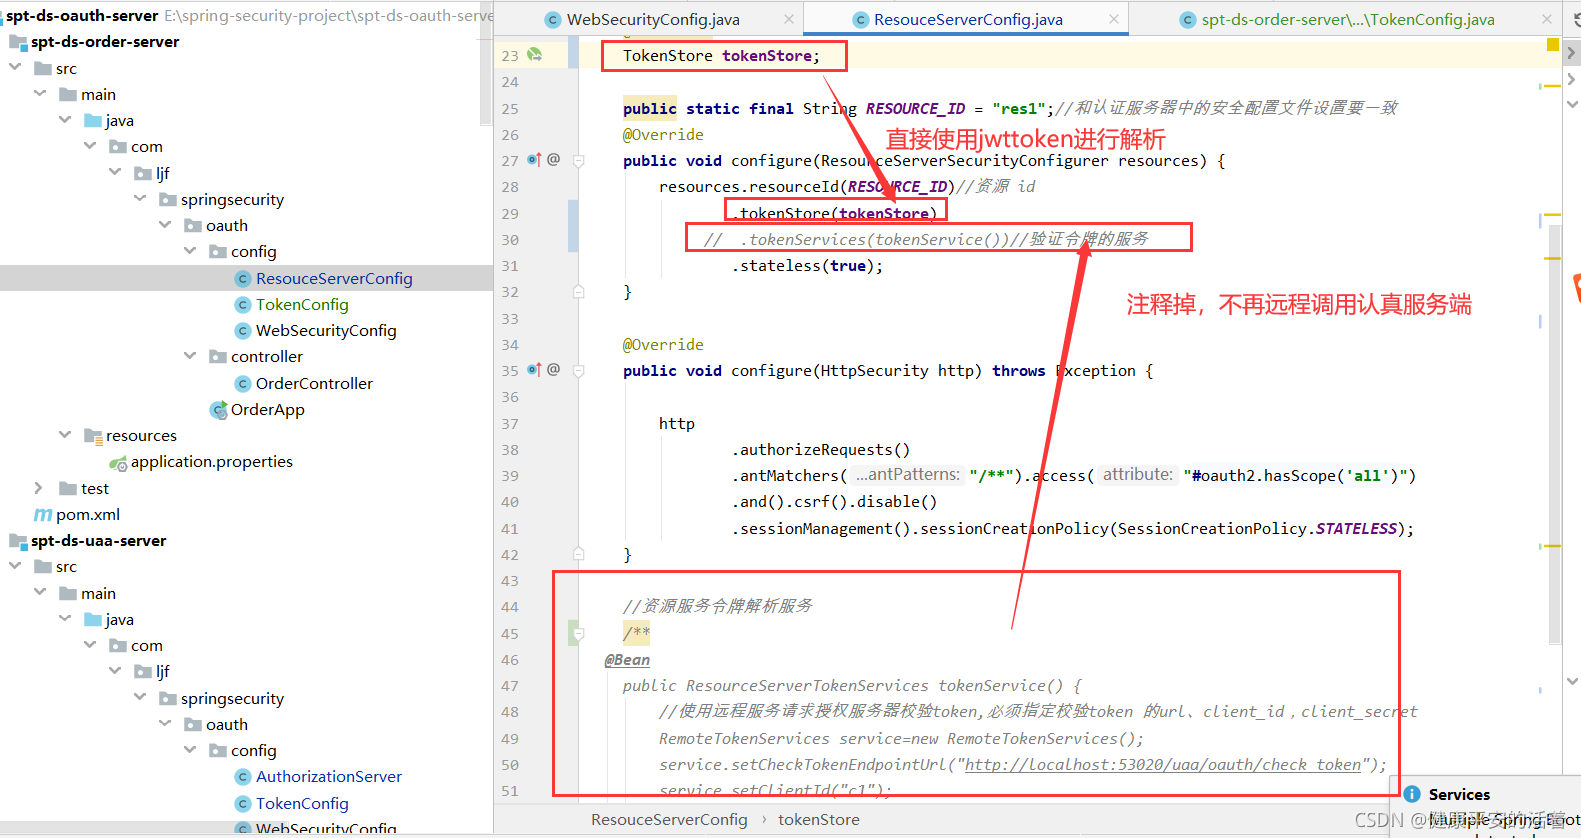
2.5 在order资源服务中校验jwt令牌
在上一章节中,在资源服务拿到token令牌后,需要远程调用认证服务,解析token是否正确有效

那么现在使用jwt的token令牌,则不需要再调用认证服务了,直接解析jwt的token串进行校验。
资源服务需要和授权服务拥有一致的签字、令牌服务等:
1、将授权服务中的TokenConfifig类拷贝到资源 服务中
2、屏蔽资源 服务原来的令牌服务类
3.代码实现类型tokenconfig:
package com.ljf.springsecurity.oauth.config;

import org.springframework.context.annotation.Bean;
import org.springframework.context.annotation.Configuration;
import org.springframework.security.oauth2.provider.token.TokenStore;
import org.springframework.security.oauth2.provider.token.store.JwtAccessTokenConverter;
import org.springframework.security.oauth2.provider.token.store.JwtTokenStore;

/**
 * @ClassName: TokenConfig
 * @Description: TODO
 * @Author: liujianfu
 * @Date: 2021/08/29 12:49:39
 * @Version: V1.0
 **/
@Configuration
public class TokenConfig {
    private String SIGNING_KEY = "uaa123";
    @Bean
    public TokenStore tokenStore() {
        //JWT令牌存储方案
        return new JwtTokenStore(accessTokenConverter());
    }

    @Bean
    public JwtAccessTokenConverter accessTokenConverter() {
        JwtAccessTokenConverter converter = new JwtAccessTokenConverter();
        converter.setSigningKey(SIGNING_KEY); //对称秘钥,资源服务器使用该秘钥来验证
        return converter;
    }
    /**
    @Bean
    public TokenStore tokenStore() {
        //使用内存存储令牌(普通令牌)
        return new InMemoryTokenStore();
    }
    **/
}
4.资源配置类的操作:ResouceServerConfig
package com.ljf.springsecurity.oauth.config;

import org.springframework.beans.factory.annotation.Autowired;
import org.springframework.context.annotation.Bean;
import org.springframework.context.annotation.Configuration;
import org.springframework.security.config.annotation.web.builders.HttpSecurity;
import org.springframework.security.config.http.SessionCreationPolicy;
import org.springframework.security.oauth2.config.annotation.web.configuration.EnableResourceServer;
import org.springframework.security.oauth2.config.annotation.web.configuration.ResourceServerConfigurerAdapter;
import org.springframework.security.oauth2.config.annotation.web.configurers.ResourceServerSecurityConfigurer;
import org.springframework.security.oauth2.provider.token.RemoteTokenServices;
import org.springframework.security.oauth2.provider.token.ResourceServerTokenServices;
import org.springframework.security.oauth2.provider.token.TokenStore;

/**
 * @author Administrator
 * @version 1.0
 **/
@Configuration
@EnableResourceServer
public class ResouceServerConfig extends ResourceServerConfigurerAdapter {
    @Autowired
    TokenStore tokenStore;

    public static final String RESOURCE_ID = "res1";//和认证服务器中的安全配置文件设置要一致
    @Override
    public void configure(ResourceServerSecurityConfigurer resources) {
        resources.resourceId(RESOURCE_ID)//资源 id
                .tokenStore(tokenStore)
             //  .tokenServices(tokenService())//验证令牌的服务
                .stateless(true);
    }

    @Override
    public void configure(HttpSecurity http) throws Exception {

        http
                .authorizeRequests()
                .antMatchers("/**").access("#oauth2.hasScope('all')")
                .and().csrf().disable()
                .sessionManagement().sessionCreationPolicy(SessionCreationPolicy.STATELESS);
    }

    //资源服务令牌解析服务
    /**
  @Bean
    public ResourceServerTokenServices tokenService() {
        //使用远程服务请求授权服务器校验token,必须指定校验token 的url、client_id,client_secret
        RemoteTokenServices service=new RemoteTokenServices();
        service.setCheckTokenEndpointUrl("http://localhost:53020/uaa/oauth/check_token");
        service.setClientId("c1");
        service.setClientSecret("secret");
        return service;
    }
**/
}
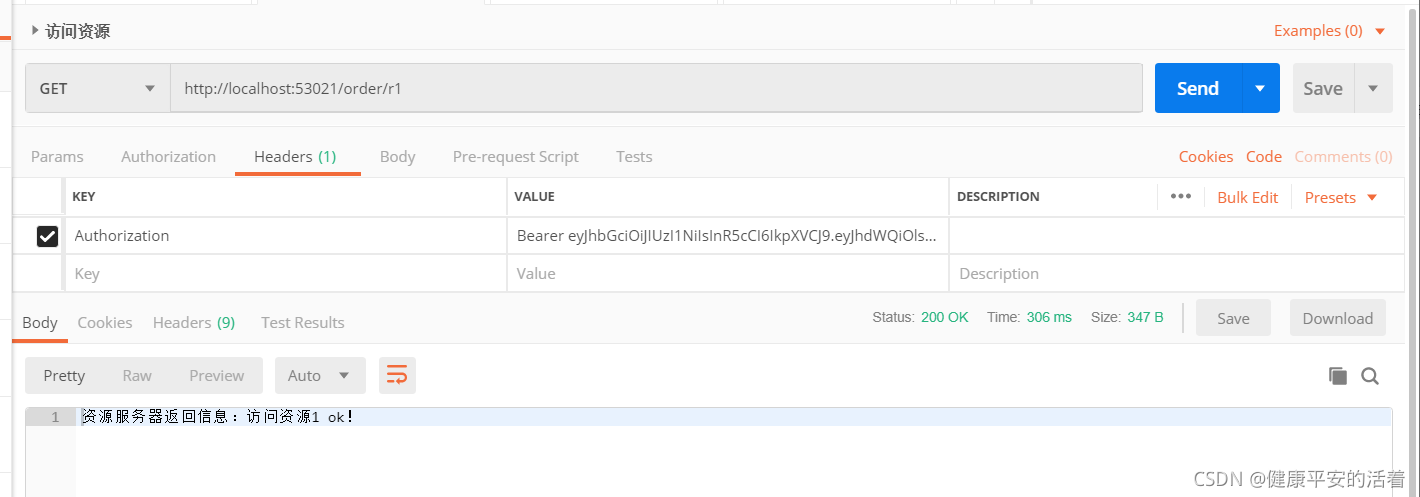
2.6 测试请求资源
1
)申请
jwt
令牌
2
)使用令牌请求资源
1.启动资源服务
2.访问资源
将前面得到的令牌 :
eyJhbGciOiJIUzI1NiIsInR5cCI6IkpXVCJ9.eyJhdWQiOlsicmVzMSJdLCJ1c2VyX25hbWUiOiJiZWlqaW5nIiwic2NvcGUiOlsiYWxsIl0sImV4cCI6MTYzMDQyNDE1NCwiYXV0aG9yaXRpZXMiOlsicDEiLCJwMyJdLCJqdGkiOiJkMWQyN2NhMC1mMzMyLTQ4YzktYmY1NS1mM2NlNjFmMGY5MjYiLCJjbGllbnRfaWQiOiJjMSJ9.M-ZhEVNE6StpixS8r5LJylLrWUCgg7pCJwIkKIhPjMs
复制到Bearer 后面,进行请求
2.7 将请求资源的角色改为其他
在controller中将请求资源的方法的角色改为其他,就是请求用户不具备的角色。
beijing 用户的角色为p1,p3,而现在访问此方法必须为p5角色才行。

执行访问的结果:


 1767
1767


 被折叠的 条评论
为什么被折叠?
被折叠的 条评论
为什么被折叠?
 到【灌水乐园】发言


