


1.在系统是4.4以上的系统,包括4.4开始可以设置半透明的状态栏了
代码:
    if(VERSION.SDK_INT >= VERSION_CODES.KITKAT) {
                                    //透明状态栏
                                    getWindow().addFlags(WindowManager.LayoutParams.FLAG_TRANSLUCENT_STATUS);
                                    //透明导航栏
                                    getWindow().addFlags(WindowManager.LayoutParams.FLAG_TRANSLUCENT_NAVIGATION);
                            }
或者在style中设置主题:
    <style name="AppBaseTheme" parent="android:Theme.Holo.Light.DarkActionBar">

            <!-- API 19 theme customizations can go here. -->
            <item name="android:windowTranslucentStatus">true</item>
            <item name="android:windowTranslucentNavigation">true</item>
        </style>
但是设置了这两个属性之后,布局里面的view会自动向上移动,显示在透明状态栏下面(就相当于状态栏外层是framlayout),为了防止这种现象,可以在主题中或者xml设置:
<item name="android:fitsSystemWindows">true</item>设置了如上后:
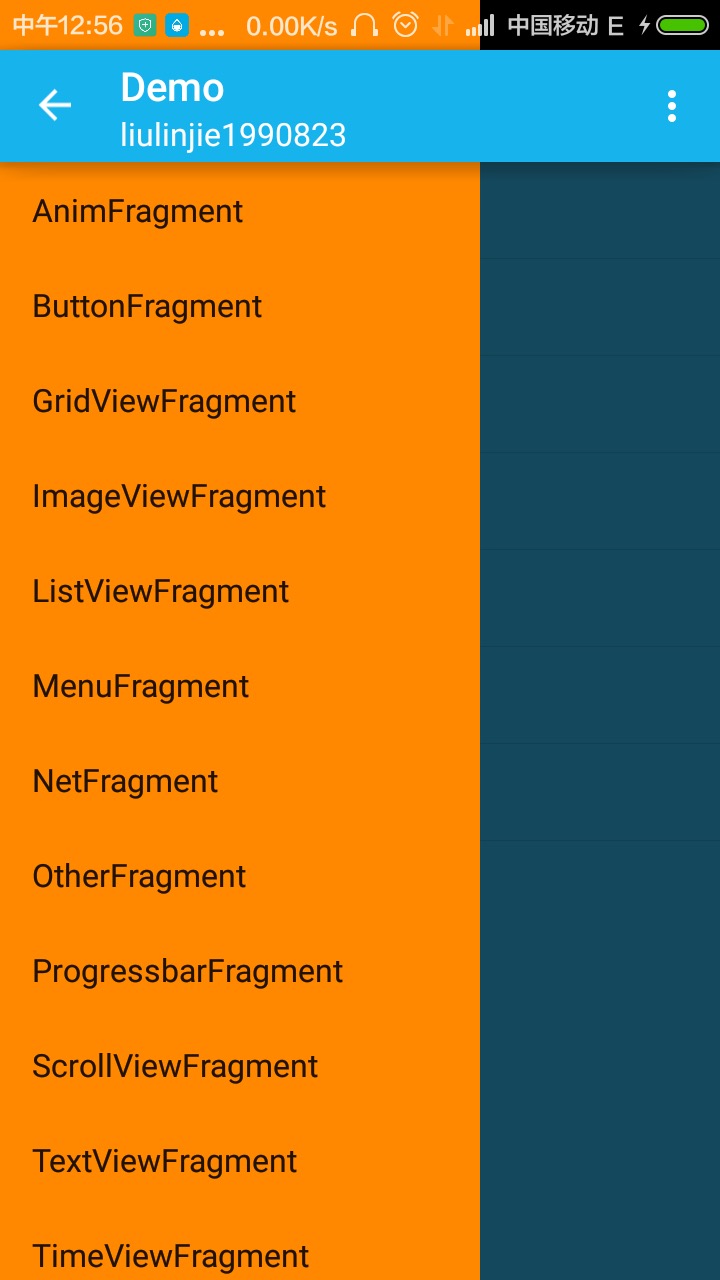
由于使用了Theme.AppCompat.Light.DarkActionBar的主题,默认设置colorPrimaryDark的颜色:
<item name="colorPrimaryDark">@color/primary_dark_material_dark</item>
如果设置了:
<item name="colorPrimaryDark">@android:color/transparent</item>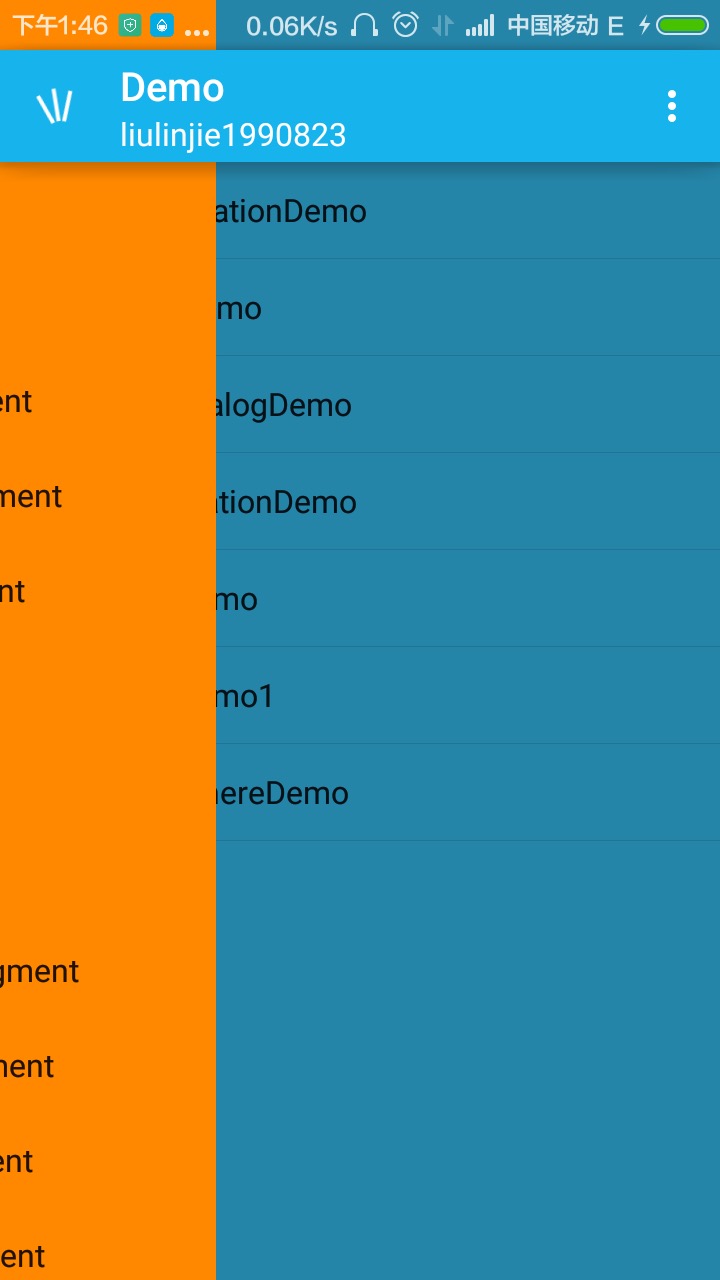
设置了透明后就可以很好的显示了
2.为了兼容地版本,可以使用开源的框架SystemBarTint来实现(这个也只是兼容19以上的版本)
在api 19中是可以通过
(1).
getWindow().addFlags(WindowManager.LayoutParams.FLAG_TRANSLUCENT_STATUS);android:fitsSystemWindows="true"
(2).
依旧设置:
getWindow().addFlags(WindowManager.LayoutParams.FLAG_TRANSLUCENT_STATUS);如果在actvity的主题中设置:
android:fitsSystemWindows="true"
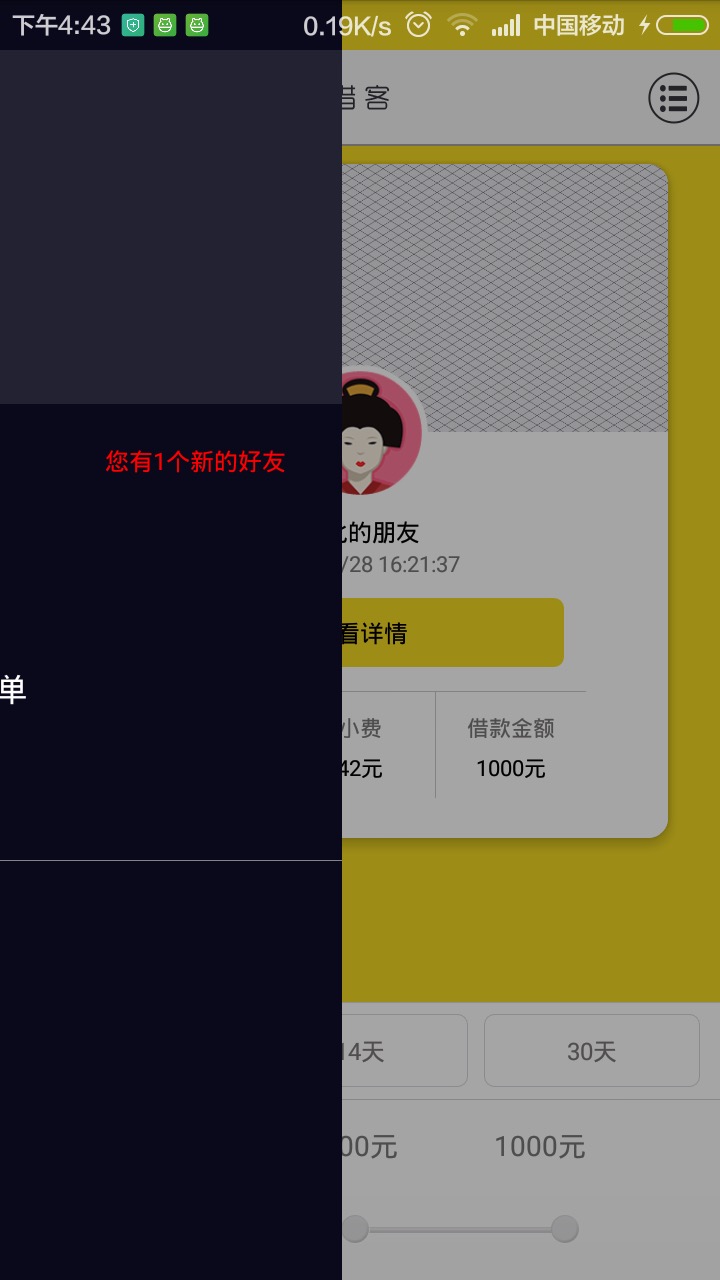
(3).如果用SystemBarTint开源类,我们就可以主动改变状态栏的颜色,但是只能设置单色,不能像上面一样随着背景的改变而改变。
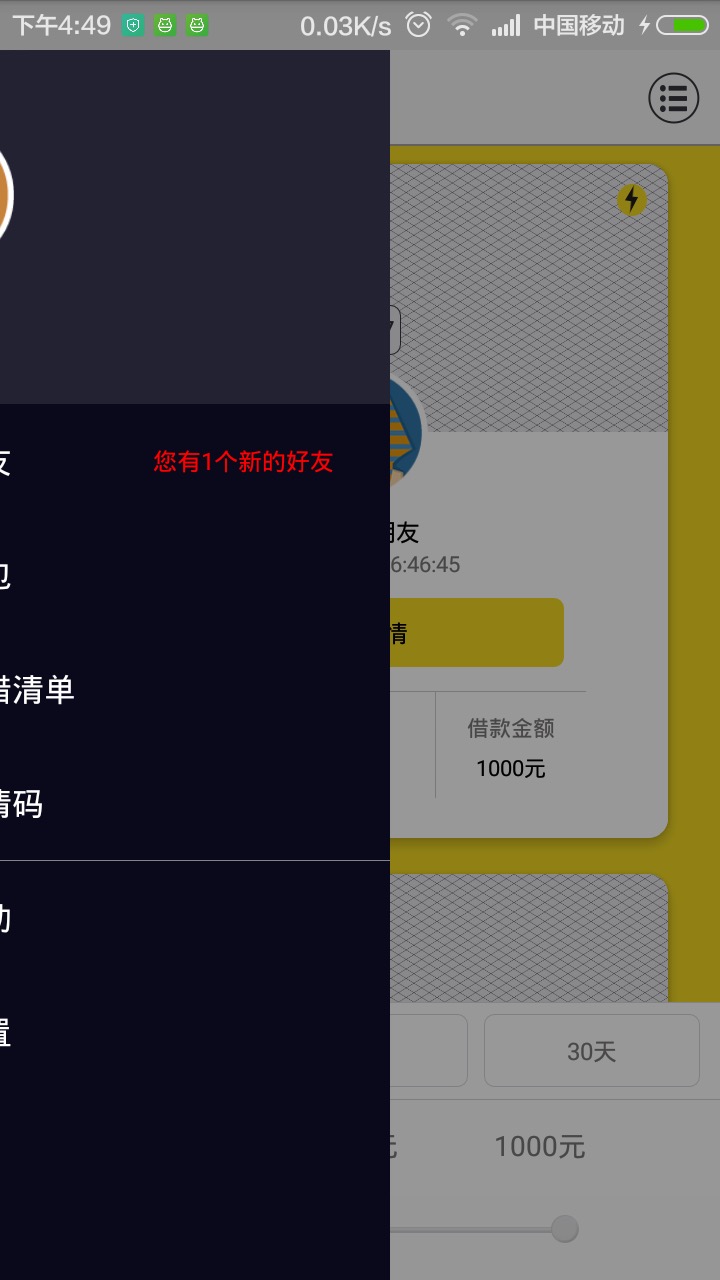
1.需要在主题中设置:
<style name="FullBleedTheme" parent="android:Theme.Holo.Light.NoActionBar.TranslucentDecor"><style name="Theme.Holo.Light.NoActionBar.TranslucentDecor">
<item name="android:windowTranslucentStatus">true</item>
<item name="android:windowTranslucentNavigation">true</item>
<item name="android:windowContentOverlay">@null</item>
</style>if(VERSION.SDK_INT >= VERSION_CODES.KITKAT) {
//透明状态栏
getWindow().addFlags(WindowManager.LayoutParams.FLAG_TRANSLUCENT_STATUS);
//透明导航栏
getWindow().addFlags(WindowManager.LayoutParams.FLAG_TRANSLUCENT_NAVIGATION);
}2.然后在布局的最外层或者activity的主题中设置:
android:fitsSystemWindows="true"3.然后在setContentView(layoutResID)之后调用代码:
SystemBarTintManager tintManager = new SystemBarTintManager(this);
		tintManager.setStatusBarTintEnabled(true);
		tintManager.setStatusBarTintColor(Color.parseColor("#222231"));
下面再使用如下主题的情况下:
Theme.AppCompat.Light.NoActionBar<style name="NoActionbarAppTheme" parent="Theme.AppCompat.Light.NoActionBar">
<item name="colorPrimaryDark">@color/material_blue_700</item>
<item name="colorPrimary">@color/material_blue_500</item>
<item name="android:windowBackground">@color/white</item>
<item name="android:textColorPrimary">@color/black</item>
<item name="colorAccent">@color/material_green_A200</item>
</style>android:fitsSystemWindows="true"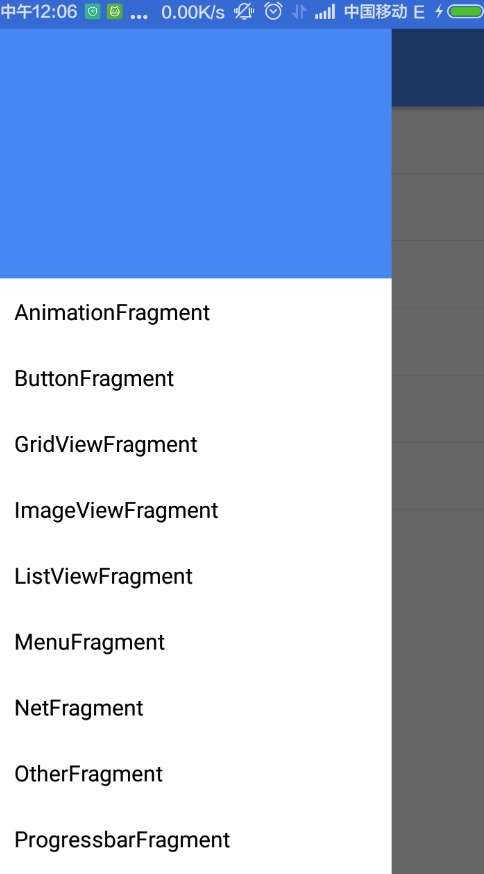
2.values-v19
<style name="NoActionbarAppTheme_v19" parent="Theme.AppCompat.Light.NoActionBar">
        <item name="android:windowTranslucentNavigation">true</item>
        <item name="android:windowTranslucentStatus">true</item>
        <item name="colorPrimaryDark">@color/material_blue_700</item>
        <item name="colorPrimary">@color/material_blue_500</item>
        <item name="android:windowBackground">@color/white</item>
        <item name="android:textColorPrimary">@color/black</item>
        <item name="colorAccent">@color/material_green_A200</item>
</style>android:fitsSystemWindows="true"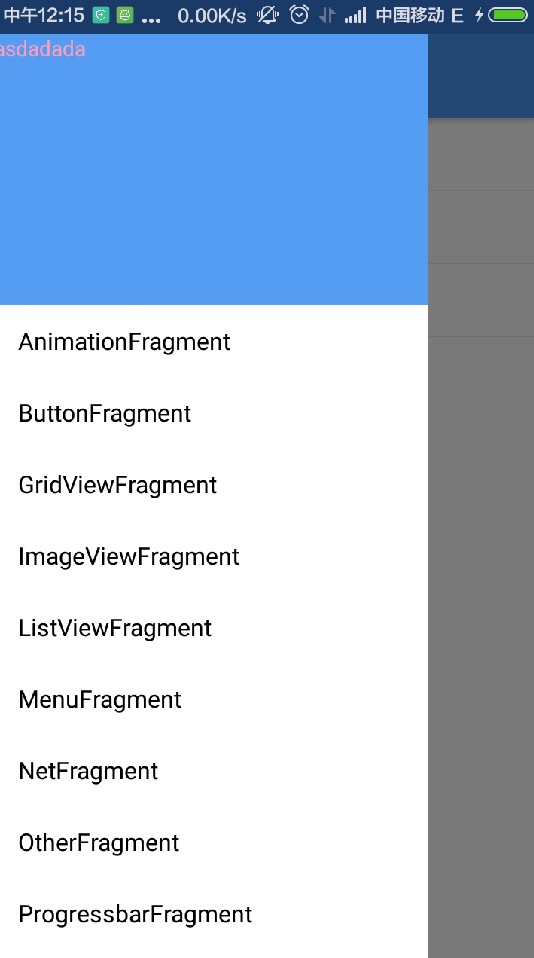
看效果与第一张类似,只是左边菜单划出的时候状态栏上面有暗色的阴影
3.values-v21
<style name="NoActionbarAppTheme_v21" parent="Theme.AppCompat.Light.NoActionBar">
        <item name="colorPrimaryDark">@color/material_blue_700</item>
        <item name="colorPrimary">@color/material_blue_500</item>
        <item name="android:windowBackground">@color/bg</item>
        <item name="android:textColorPrimary">@color/black</item>
        <item name="colorAccent">@color/material_green_A200</item>
        <item name="colorControlHighlight">@color/material_blue_500</item>
        <item name="android:windowDrawsSystemBarBackgrounds">true</item>
        <item name="android:statusBarColor">@android:color/transparent</item>
</style> android:fitsSystemWindows="true"


 1982
1982

 被折叠的 条评论
为什么被折叠?
被折叠的 条评论
为什么被折叠?
 到【灌水乐园】发言


