


一、环境准备
ubuntu:20.04
nodejs:v10.19.0,安装在了sudo用户下
node:v19.0.0,安装在了当前用户下
nodejs就是node,node就是nodejs
- nodejs安装(找个不装也没关系,因为程序运行在普通用户下面)
(1)使用ubuntu自带的apt-get安装(安装后的版本低,但是可以用,根据报错选择升级node还是nodejs)
sudo apt update
sudo apt install nodejs npm
在 Ubuntu 20.04 软件源中的 Node.js 版本是10.19.0,这是一个长期版本。

(2)从 NodeSource 中安装 Node.js 和 np
NodeSource 软件源提供了以下版本:
v14.x - 最新稳定版
v13.x
v12.x - 最新长期版本
v10.x - 前一个长期版本

以 sudo 用户身份运行下面的命令(如果你需要另外的 Node.js 版本,例如12.x,将setup_14.x修改为setup_12.x)
curl -sL https://deb.nodesource.com/setup_14.x | sudo -E bash -

安装 Node.js 和 npm:
sudo apt install nodejs

验证
sudo node --version

安装开发工具:
sudo apt install build-essential
nodejs 软件下载源:https://mirrors.huaweicloud.com/nodejs/
eg:curl -Lf https://mirrors.huaweicloud.com/nodejs/v16.17.0/node-v16.17.0-linux-x64.tar.xz|tar -Jx
- node安装(一般安装方式参考找个就行)
从 NVM 安装 Node.js 和 npm
使用 NVM,你可以随时安装或者卸载任何你想要使用或者测试的 Node.js版本。
sudo apt update
curl -o- https://raw.githubusercontent.com/nvm-sh/nvm/v0.38.0/install.sh | bash
source ~/.bashrc
nvm --version

nvm ls-remote

##[version.number]是上面显示的内容
nvm install [version.number]

script_wang@master:~/ota/curl$ nvm ls
->      v10.9.0
        v19.0.0

如果你想修改当前使用的版本,输入:
nvm use 12.16.3

想要修改默认的 Node.js 版本,运行下面的命令:
nvm alias default 12.16.3
二、Curl使用教程
三、测试curl DELETE、PUST、POST的Request
Curl Get
curl -X "GET" <URL>
Curl DELETE Request Syntax
curl --request "DELETE" <URL>
curl -X "DELETE" <URL>
install the json-server library using the NPM package manager
(1)sudo npm install -g json-server

(2)The file represents a mock database of people with unique IDs and names.
cat database.json
{
"people": [
{
"id": 1,
"name": "Matthew"
},
{
"id": 2,
"name": "Mark"
},
{
"id": 3,
"name": "Luke"
}
]
}

(3)Run the following command to start the server:
json-server --watch database.json
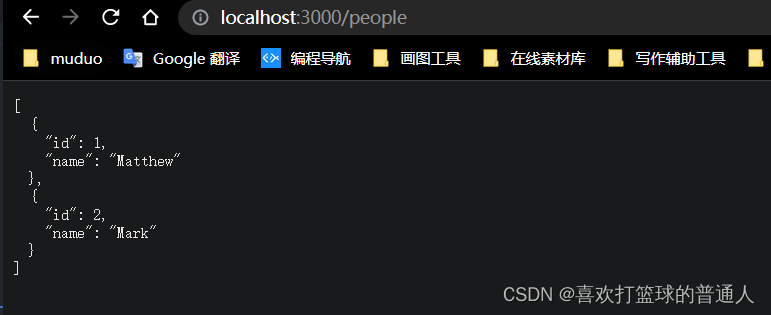
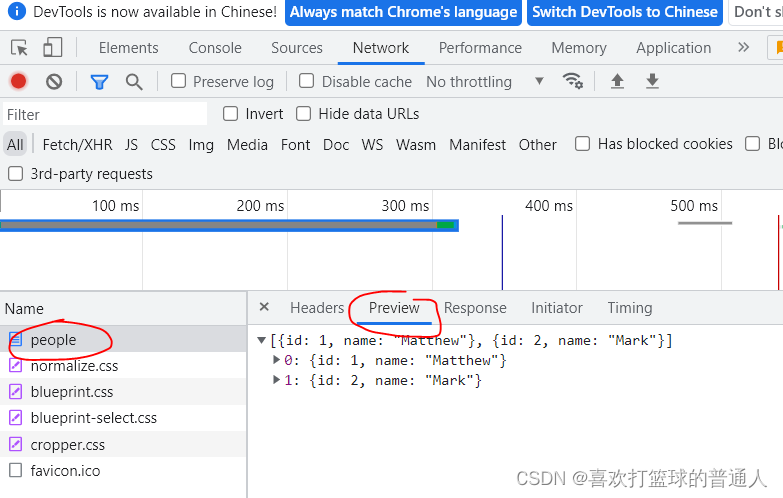
(4)The server starts locally, listing the following two pages:
可以看到如下内容:

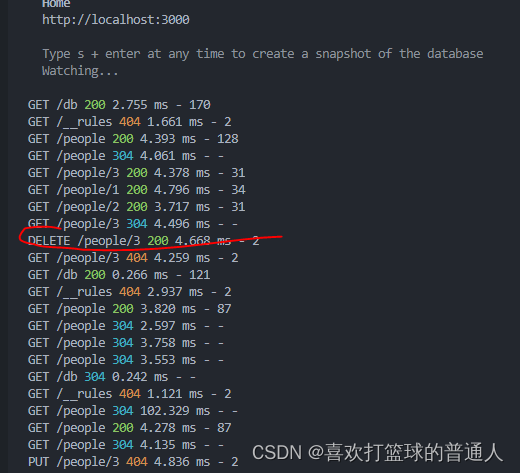
(5)In a new terminal tab, send a DELETE request using curl:
curl -X "DELETE" 'http://localhost:3000/people/3'
1.http格式
- Content-Length:22指的是user=jeffrey&pwd=1234 这个内容长度,
- HttpServer(Python版本):post_data = self.rfile.read(content_length) ,这个是读取body体里面的内容就是user=jeffrey&pwd=1234
POST /reg.jsp HTTP/ (CRLF)
Accept:image/gif,image/x-xbit,... (CRLF)
...
HOST:127.0.0.1:8080 (CRLF)
Content-Length:22 (CRLF)
Connection:Keep-Alive (CRLF)
Cache-Control:no-cache (CRLF)
(CRLF)         //该CRLF表示消息报头已经结束,在此之前为消息报头
user=jeffrey&pwd=1234  //此行以下为提交的数据
- GET和POST区别是GET没有body体,他所有的参数都是在url中传入的
发送get请求
http://127.0.0.1:8080?user=jeffrey&pwd=1234


收到就是
 GET /?user=jeffrey&pwd=1234 HTTP/1.1..
Host: 127.0.0.1:8080..
User-Agent: Mozilla/5.0 (Windows NT 10.0; Win64; x64; rv:60.0)
2.命令测试
测试POST
curl -H "Content-Type: application/json" -X POST -d "{\"abc\":123,\"name\":\"wangji\"}" "http://localhost:3000/people"
-d,即指定body里面的参数,参数的数据,需要使用双引号,json里的双引号使用反斜杠转义才可以
-X:指定http请求的方法。
默认是使用POST,可以省略-X参数。
json数据放在一个文件里:curl -H “Content-Type: application/json” -X POST -d @test.json URL
新建一条记录的话就用post,
更新一条记录的话就用put.
测试GET
##错误,必须增加-o参数,否则有error
##curl -X GET XXX -o XXX.file   等价于wget
 curl -X GET http://localhost:12345/objects/03/d78abbe32b246a24bc9a58b6f9a888cd35beb4ab1eed743d7a6c0a5d5c3011.filez

##OK
curl -X GET http://localhost:12345/objects/03/d78abbe32b246a24bc9a58b6f9a888cd35beb4ab1eed743d7a6c0a5d5c3011.filez -o test.file
查看头信息和内容
- 如果要连同头信息一起返回,可以加上-i参数(默认就加上了-X GET参数)
curl -i  http://localhost:12345/tmp

仅显示头部信息
curl -I  http://localhost:12345/tmp
测试PUT
curl -H "Content-Type: application/json" -X PUT -d "{\"abc\":123,\"name\":\"wangji\"}" "http://localhost:3000/people/2"
测试POST
- -H指定head中多个参数,-d指定body内容
curl -X POST -H "Content-Type: application/octet-stream" -H "content-length:6" http://localhost:12345/wangji.txt -d "123456"


 2755
2755

 被折叠的 条评论
为什么被折叠?
被折叠的 条评论
为什么被折叠?
 到【灌水乐园】发言


