


文章目录
一、背景
给出这套解决方案的真相是因为大多数人都没有MacOS系统的条件,无法在MacOS端实现iphone手机app自动化测试,一是购买设备成本太大,二是因为条件所限(金钱),阻碍进行iOS移动应用的自动化测试进程;所以需要另辟蹊径找到iOS移动应用的自动化测试解决方案,皇天不负有心人,终于让题主找到了,当然这也是现有的解决方案:python(facebook-wda)+webdriveragent。
二、环境准备
1、python版本3.6及以上,使用anaconda环境管理器,conda activate 进入base虚拟环境;
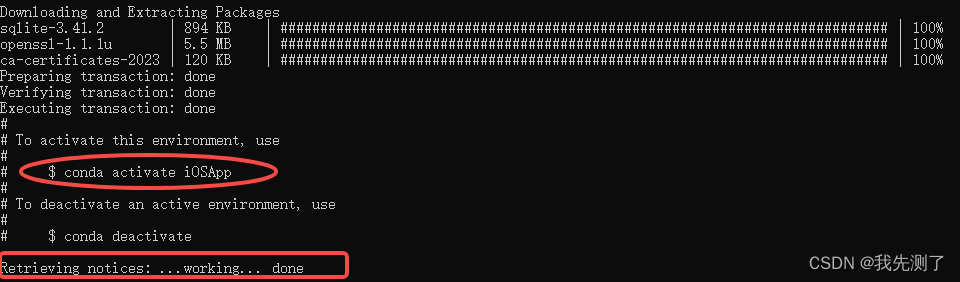
conda create -n iOSApp python==3.7.5
$ conda activate iOSApp 激活虚拟环境
2、tidevice安装
一种常见的解决方案是使用xcodebuild来启动WebDriverAgent,而xcode需要Mac系统,也就是必须在MAC上进行iOS自动化测试。
tidevice 是阿里开源的一个基于Python的iOS自动化工具,通过逆向iOS通信协议,模拟xcodebuild与手机进行通信,向手机发送特定的指令,来启动WDA,从而可以脱离Mac电脑,能够在Linux、Windows上运行iOS自动化。tidevice基于python实现了libimobiledevice中的功能。
tidevice通过usbmuxd与手机通信来启动WDA,通过建立一个TCP连接到usbmuxd的/var/run/usbmuxd TCP端口,然后usbmuxd将请求发送到USB连接的iPhone上。上面提到的libimobiledevice就是一个跨平台的用于与iOS设备进行通信的库。
pip install -U "tidevice[openssl]" ,出现successfully built 表示安装成功

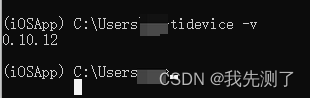
检查tidevice版本号:tidevice version或tidevice -v
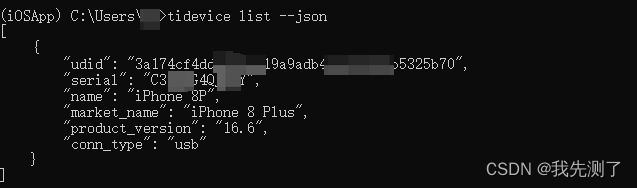
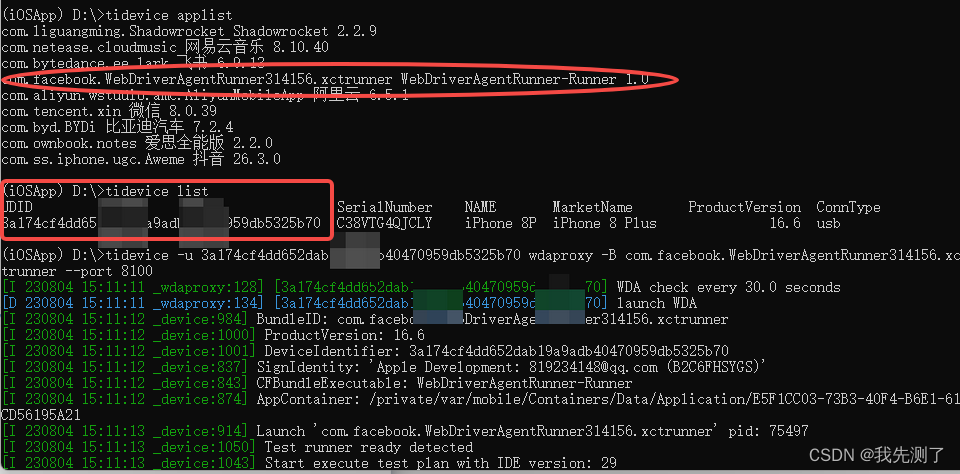
3、连接iphone设备:tidevice list 或tidevice list --json
4、应用管理常用命令tidevice
安装应用:tidevice install example.ipa
指定设备安装:tidevice --udid $UDID install https://example.org/example.ipa
卸载应用:tidevice uninstall com.example.demo
启动应用:tidevice launch com.example.demo
停止应用:tidevice kill com.example.demo
查看已安装应用:tidevice applist
查看运行中的应用:tidevice ps 或tidevice ps —json output as json

# 运行XCTEST
$ tidevice xctest -B com.facebook.wda.WebDriverAgent.Runner
# 运行XCTEST,修改监听端口为8200, 并显示调试日志
$ tidevice xctest -B com.facebook.wda.WebDriverAgent.Runner -e USB_PORT:8200 --debug

# 转发请求到手机,类似于iproxy
$ tidevice relay 8100 8100
# 转发并把传输的内容用hexdump的方法print出来
$ tidevice relay -x 8100 8100


# 运行 XCTest 并在PC上监听8200端口转发到手机8100服务
# wdaproxy这个命令会同时调用xctest和relay,另外当wda退出时,会自动重新启动xctest
# 不支持运行企业证书签名的WDA
$ tidevice wdaproxy -B com.facebook.wda.WebDriverAgent.Runner --port 8200

# 查看设备信息
$ tidevice info

# 查看设备电源信息
$ tidevice info --domain com.apple.mobile.battery --json

# 重启
$ tidevice reboot

# 截图
$ tidevice screenshot screenshot.jpg

# 性能采集 (TODO)
# $ tidevice perf -o fps,mem,cpu -B com.example.demo

# 输出日志 same as idevicesyslog
$ tidevice syslog

# 你查看性能
$ tidevice perf -B appname
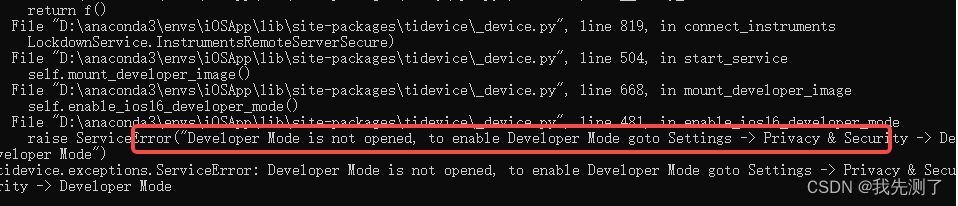
tips:tidevice ps异常:Developer Mode is not opened, to enable Developer Mode goto Settings -> Privacy & Security -> Developer Mode
iphone 需要开启开发者模式: 设置–隐私和安全–安全性(开发者模式)–默认关闭,打开会重新手机
开启之后:tidevice ps

三、总结
上面的步骤已经基本可以实现tidevice命令行操作app应用了,但是它还不能实现自动化,自动化工具还需要appium的结合;这里涉及一个问题就是跨平台,既然咱们只想在win系统实现iOS应用的自动化测试,那么免不了需要代理,怎么代理呢?webdriveragent就是安装在iOS真机设备上的应用,需要它转发到win系统,并且通过python脚本去执行iOS应用。
四、扩展
WDAClient:WDA的客户端,测试库facebook-wda 就是 WDA 的 Python 客户端库,通过HTTP协议(Mobile JSON Wire Protocol)与WebDriverAgent进行通信。
WebDriverAgentRunner:运行在手机上的WDA server,默认监听端口为8100,主要功能包括①接收WDAClient的请求并将操作命令发送给XCTest.framework。②将响应发送给WDA Client
4.1、WDA Client
WDA Client是基于WebDriverAgent实现的WDA的客户端。
我们在 iOS 设备上启动了 WDA 的服务端。为了运行 Mac OS 上的脚本,我们需要在 Mac OS 上安装 WDA 客户端。
facebook-wda 就是 WDA 的 Python 客户端库,通过直接构造HTTP请求直接跟WebDriverAgent通信。
# 安装 WDA python 客户端
pip3 install --pre facebook-wda
4.2、先使用WDA实现自动化
WebDriverAgent是Facebook开发的一个iOS自动化测试工具;这个应用需要本地构建直接安装到iOS真机设备,即使外面流传的ipa包都无法安装,因为它需要重新签名才行。WDA在Client创建了一个Server,在手机端安装了一个叫作WebDriverAgentRunner 的一个应用;这个应用会接收来自 Server 的指令,并连接底层的XCTest.framwork,让 XCTest.framwork 调用苹果API来操作手机进行自动化
~#: tidevice  list  #  得到设备Udid
3a174cf4dd652dab19a9adb40470959db5325b70
~#: tideivce applist # 得到app名称
com.bytedance.ee.lark
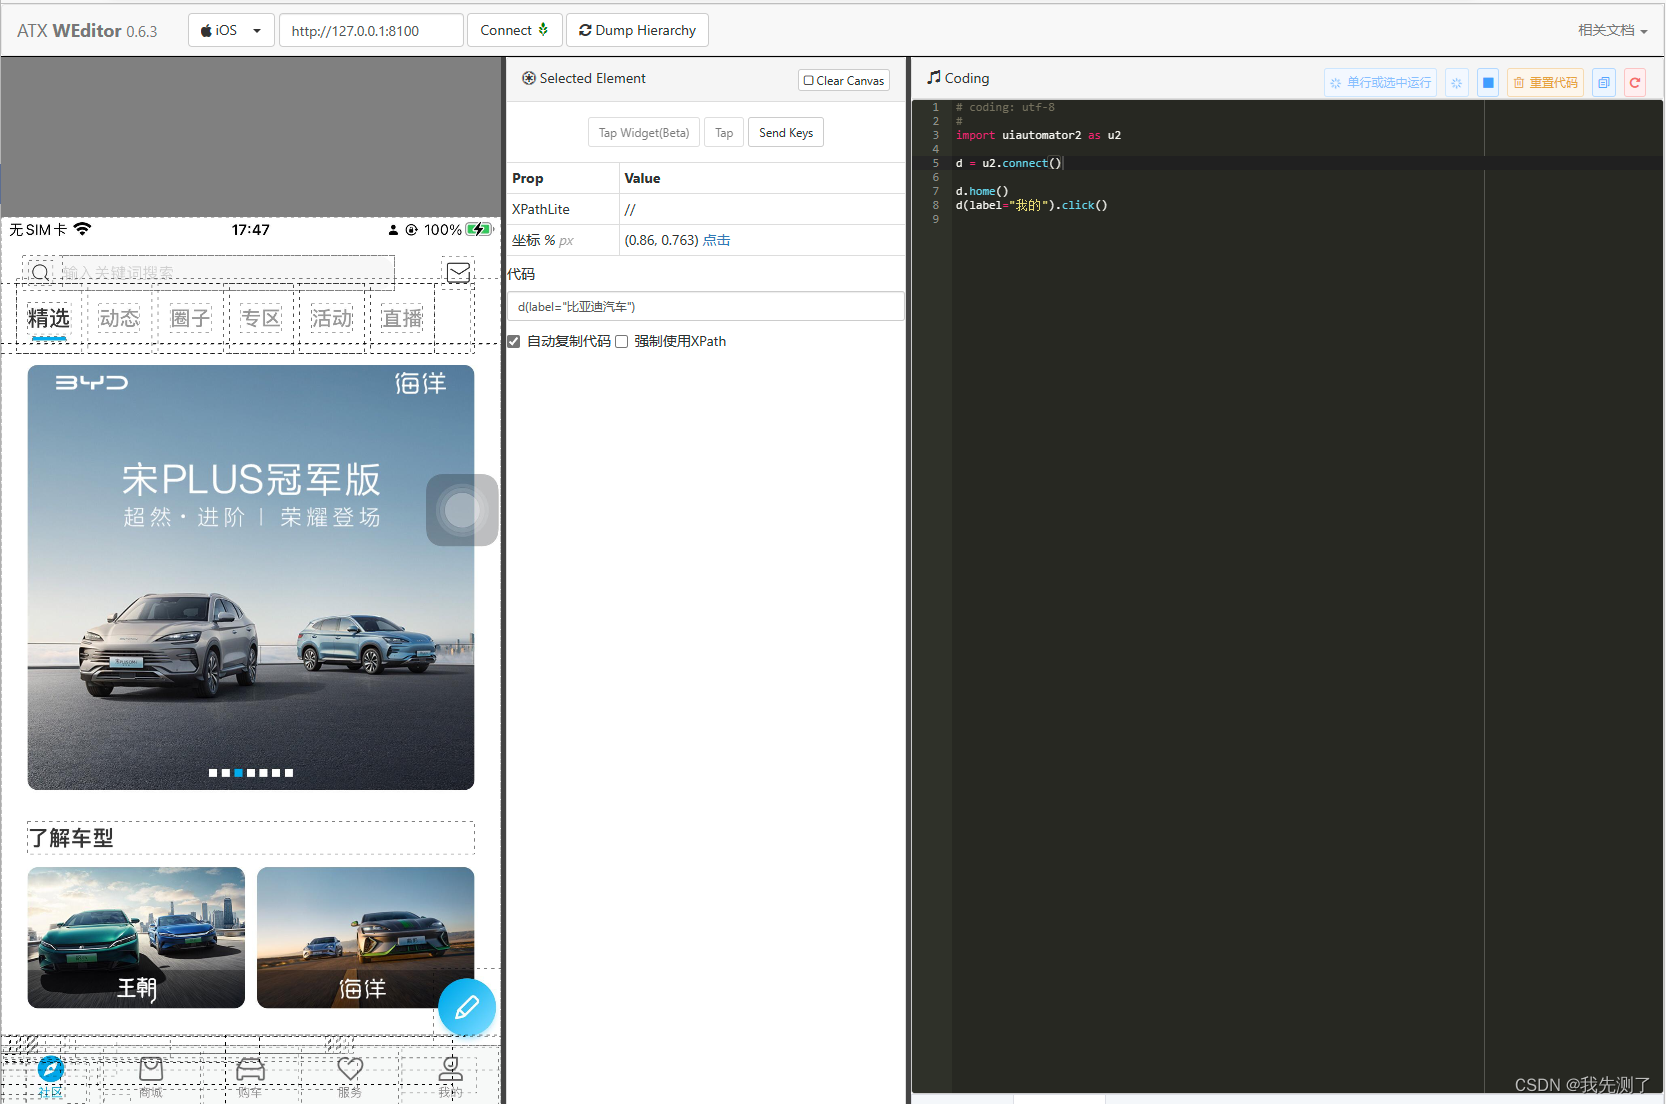
4.3、代码示例:
import wda

c = wda.Client('http://127.0.0.1:8100')
c.session().app_activate("com.byd.BYDi")
c(name="我的").click()
c(name="每日签到").click()
4.4、脱离macOS测试iOS App自动化,两个解决方案:
1、准备macOS系统的电脑设备,直连iOS测试app
2、macOS系统可以使用虚拟机,只要支持usb接口
3、基于第二个方案,使用macOS虚拟机xcode构建WDA应用安装到iOS真机,然后使用tidevice+wda(真机设备启动的服务端)+python(facebook-wda作为客户端)完成App自动化测试解决方案
$ tidevice -u [设备 udid] wdaproxy -B [wda 的 bundle Id] --port 8100 # 运行 XCTest 并在PC上监听8100端口
设备udid:tidevice list 获取
[wda 的 bundle Id] 是编译的wda应用的标识,意思是在iphone设备代理wda转发到pc上8100端口监听,通过tidevice applist找到wda的bundle Id
$ tidevice -u 3a174cf4dd652dab19a9adb40470959db5325b70 wdaproxy -B com.facebook.WebDriverAgentRunner314156.xctrunner --port 8100 # 运行 XCTest 并在PC上监听8100端口
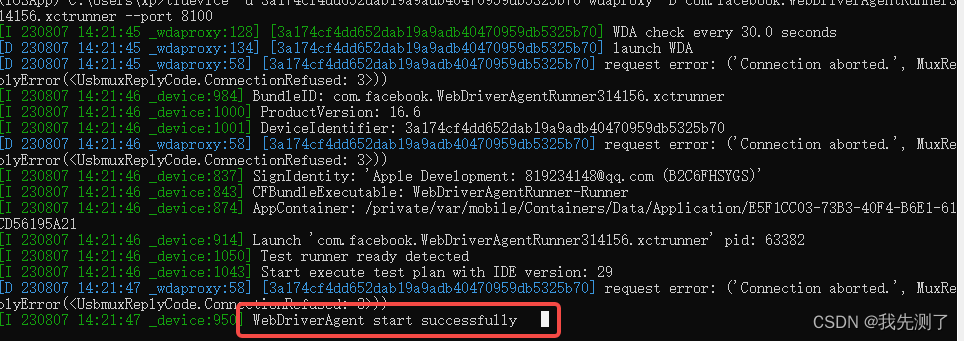
看到最后:WebDriverAgent start successfully
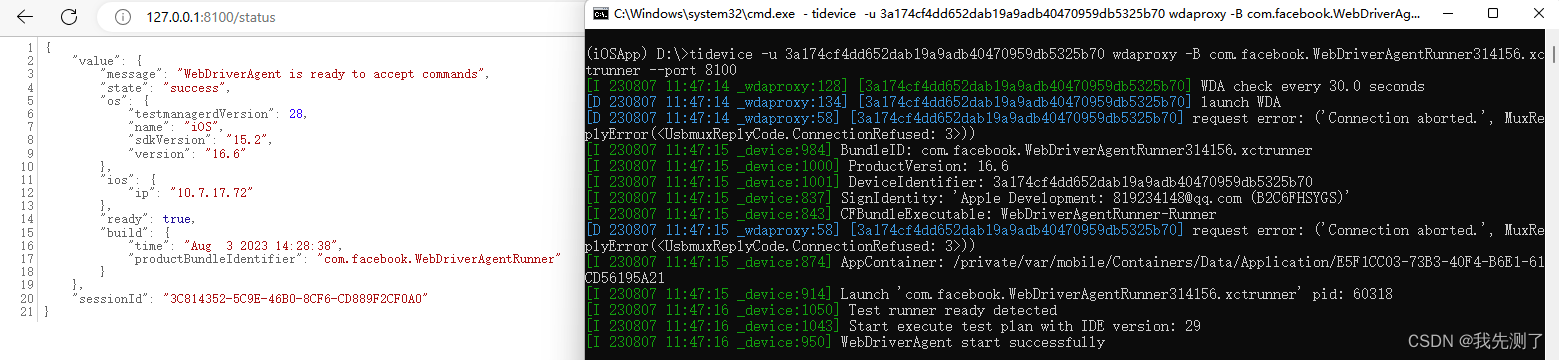
本地访问:http//127.0.0.1:8100/status;
http://127.0.0.1:8100/inspector已经被appium兼并,所以可以通过appium-desktop来获取iOS真机应用元素
tidevice xctest -B $BUNDLE_ID …通过包名启动WebDriverAgent(单台)
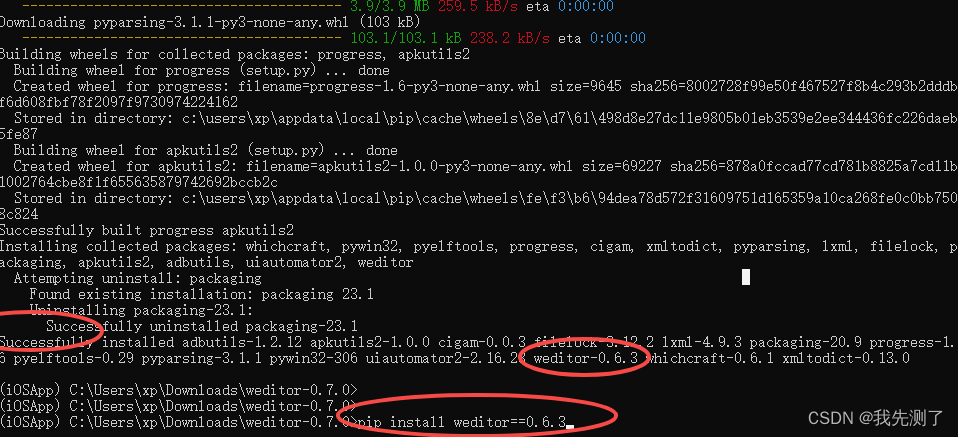
4.5、第二种解决办法:pip install -U weditor
安装最新的版本,容易出错,指定0.6.3版本
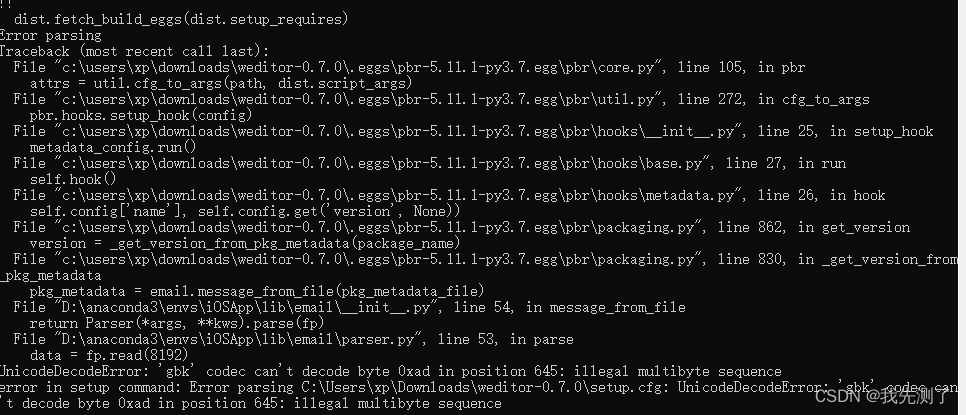
一般人都喜欢钻牛角尖,认为自己一定能解决,殊不知网络一片解决不了原版本的问题,不得已,只能降低版本
pip install weditor==0.6.3
python -m weditor启动
如果不能访问,需要转发端口:tidevice relay 8300 8100
有些iphone手机通过手机的IP和端口号还不能访问,此时需要将手机的端口转发到mac上;iproxy 8100 8100 # iproxy 8300 8100;所以在win系统是不存在这个操作
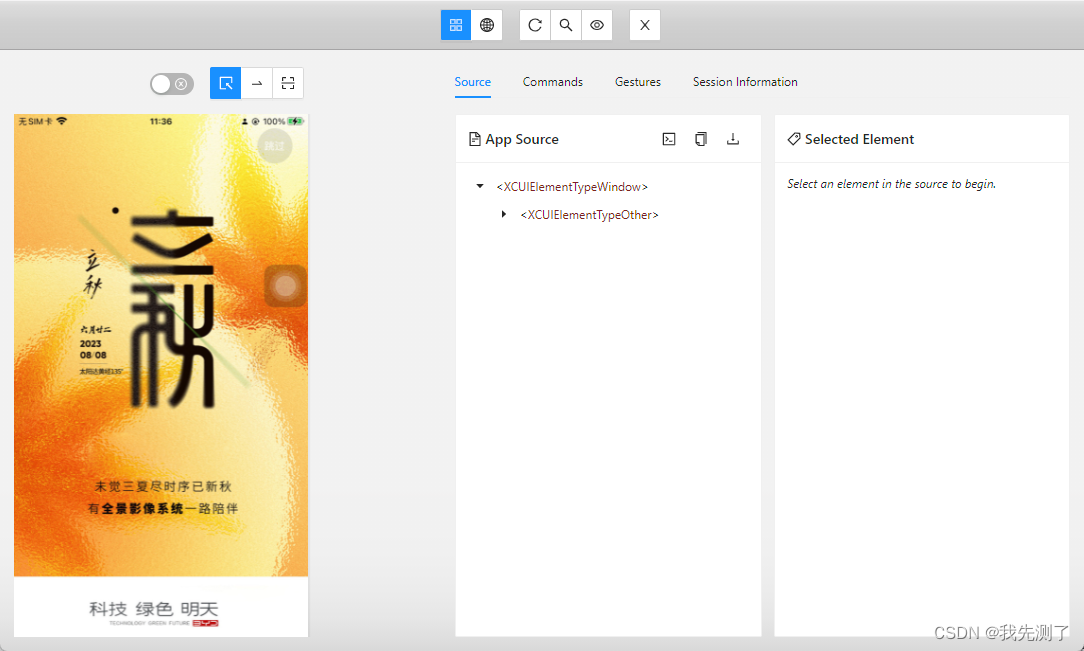
4.6、下载安装Appium-Inspector:
npm install app-inspector -g
下载地址:https://github.com/appium/appium-inspector/releases/download/v2023.8.1/Appium-Inspector-windows-2023.8.1.exe
启动appium-inspector
4.7、下载安装nodejs
npm -version
npm install -g appium --registry=https://registry.npm.taobao.org
npm install --location=global appium  --registry=https://registry.npm.taobao.org --drivers=xcuitest,uiautomator2
npm install -g appium-doctor
安装appium之后,需要python本机环境安装wda
pip3 install -U facebook-wda
# facebook-wda 就是 WDA 的 Python 客户端库,通过直接构造HTTP请求直接跟WebDriverAgent通信
GitHub - openatx/facebook-wda: Facebook WebDriverAgent Python Client Library (not official)
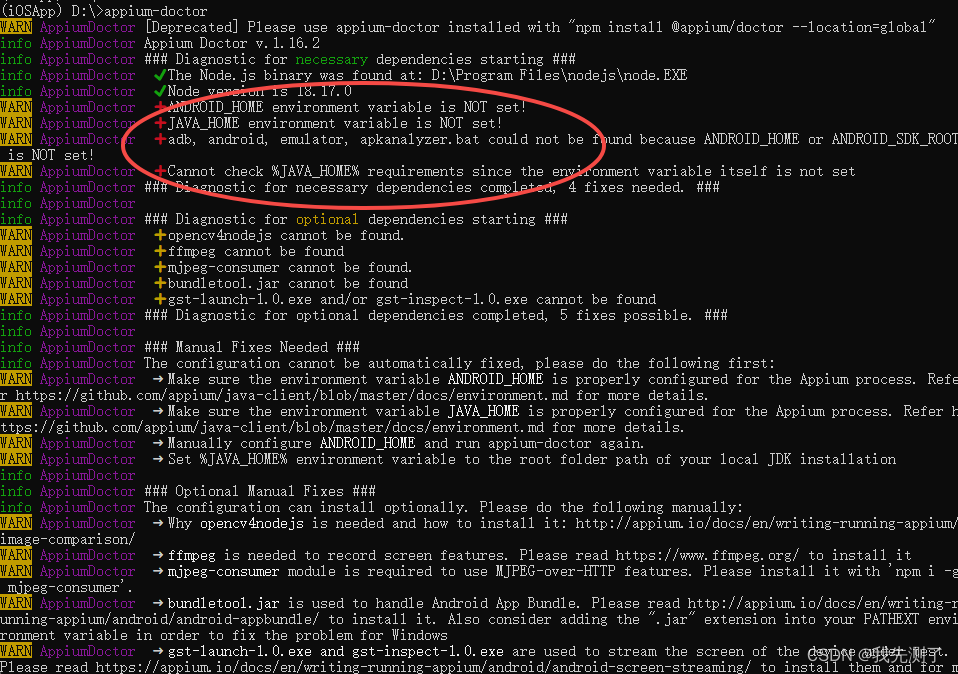
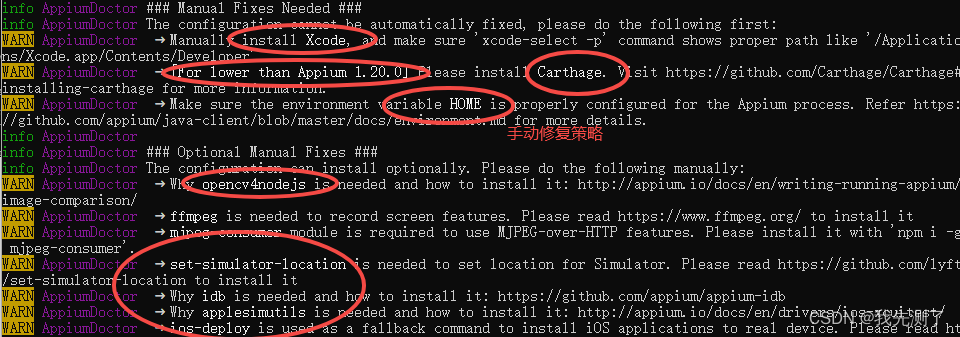
问题1:appium-doctor --ios检查iOS运行环境
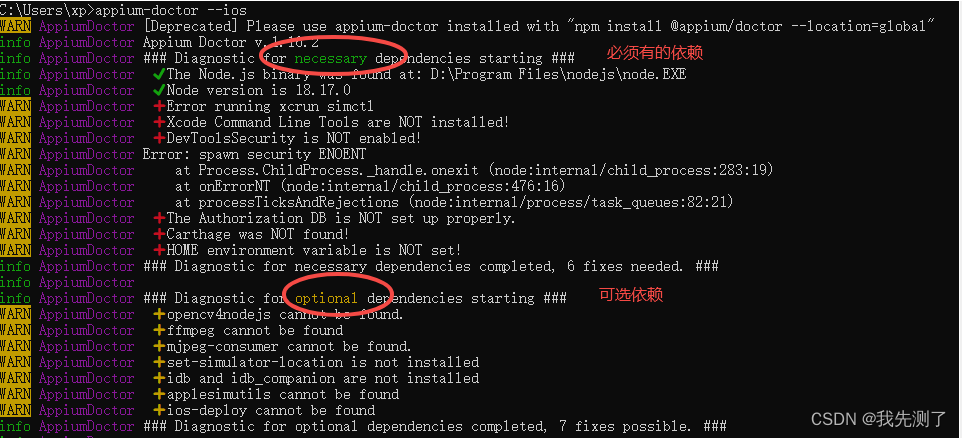
修复建议:因为咱们的[iOS]自动化测试解决方案是win系统下python+appium+wda+tidevice,所以need需要的xcode、Carthage都不需要,唯独需要nodejs安装之后npm安装appium即可;下面的那些ios-deploy都是mac需要的吧
问题2:appium启动服务
突然发现咱们的是iOS系统,没有XCuiTest插件,使用appium plugin命令 install安装,
问题: Could not find a driver for automationName ‘XCUITest’ and platformName ‘ios’. Have you installed a driver that supports those capabilities? Run ‘appium driver list --installed’ to see. (Lower-level error: Could not find installed driver to support given caps)
说的是环境没有找到automationName是XCUITest
appium driver list --install
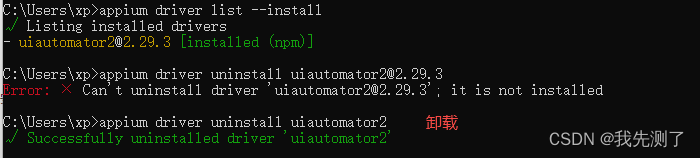
原因是先安装了appium driver install xcuitest然后再appium driver install uiautomator2结果把前面的覆盖卸载了,所以只要安装前者,它会有两个驱动插件
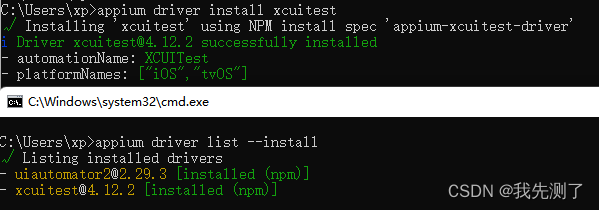
结果如下
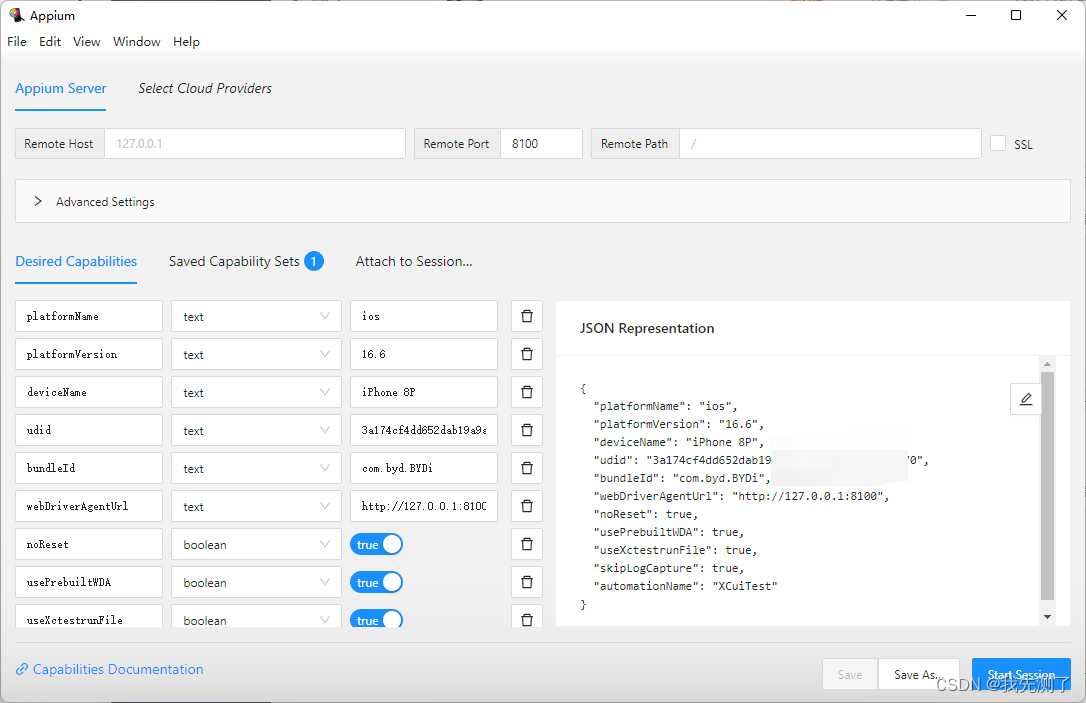
问题3:capabilities配置问题,注意udid是真机设备id、webDriverAgentUrl是tidevice启动真机wda监听地址、automationName是iOS驱动xcuitest对比Android的就是uiautomator2
capabilities={
    "platformName": "ios",
    "platformVersion": "16.6",
    "deviceName": "iPhone 8P",
    "udid": "3a174cf4dd652dab19a9adb40470959db5325b70",
    "bundleId": "com.byd.BYDi",
    "webDriverAgentUrl": "http://127.0.0.1:8100",
    "noReset": True,
    "usePrebuiltWDA": False,
    "useXctestrunFile": False,
    "skipLogCapture": True,
    "automationName": "XCuiTest"
}
XCUITest是苹果开发的一个做IOS自动化测试的框架-
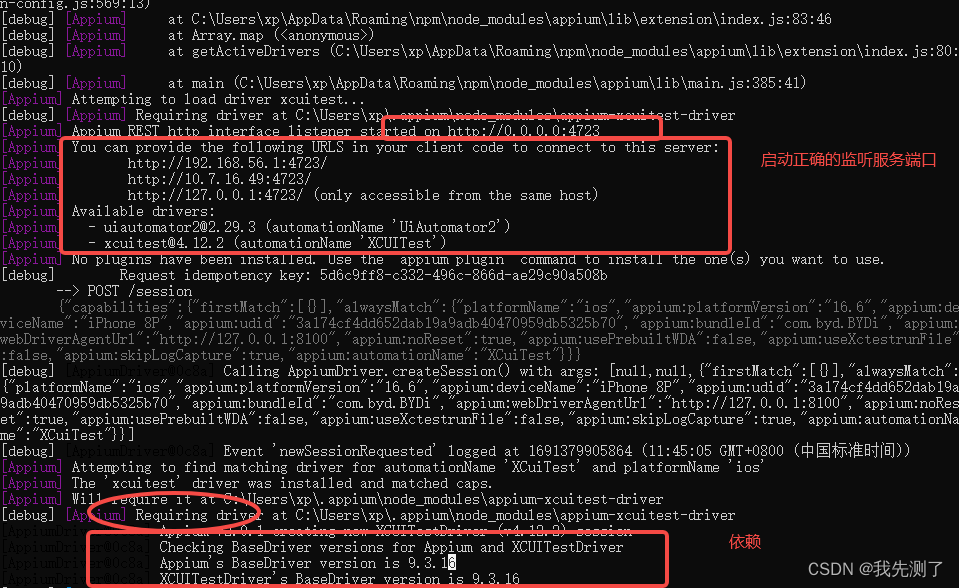
问题4:日志分析
1、appium启动成功,有监听服务+端口、有正确的驱动
2、python或其他配置保持一致的capabilities属性
3、npm安装appium有对应的wda代理服务,有些博客说要自己下载appium/webdriveragent去覆盖appium安装的wda;appium是把WebDriverAgentRunner给集成进去了,因此实现了appium的跨平台能力
4、这是tidevice启动真机安装的wda代理服务器,可/status访问得到基本设备信息
5、python脚本通过配置wda代理驱动被测应用,创建下面可执行的sessionId

扩展:软件环境概览
1、appnium环境:The prerequisites for Appium:
- Installation of Nodejs 10+ and Node Package Manager (NPM)
- Appium
- Appium Doctor
- Java JDK +8
- Maven
- IntelliJ as an IDE, which is the recommended IDE, but you can use any editor or IDE that you want
2、iOS环境 The iOS requirements to use Appium:
- Mac OS Operating System version 10.13 or higher
- Homebrew installed
- Xcode installed (+10 on your machine)
- Carthage
- Ios-deploy
- ideviceinstaller
- Apple developer account
- Apple developer tools (including iPhone simulator SDK and command-line tools)


 7382
7382


 被折叠的 条评论
为什么被折叠?
被折叠的 条评论
为什么被折叠?
 到【灌水乐园】发言


