


简单介绍:转身做安卓进来才觉得有点思路,也给需要帮助的同学做个基础,今天主要学习一下安卓中常用的PopupWindow 的使用,大概了解了一下,这个也是安卓的一个弹框之一,不过是自定义的而已,
总结一下安卓弹框:AlertDialog 和PopupWindow
不同点:
- AlertDialog 的位置固定,PopupWindow 的位置是自定义的
- AlertDialog 是非阻塞线程的,而PopupWindow 是阻塞线程的,
PopupWindow的位置按照有无偏移分,可以分为偏移和无偏移两种;按照参照物的不同,可以分为相对于某个控件(Anchor锚)和相对于父控件,具体如下所示:
- showAsDropDown(View anchor):相对某个控件的位置(正左下方),无偏移
- showAsDropDown(View anchor, int xoff, int yoff):相对某个控件的位置,有偏移
- showAtLocation(View parent, int gravity, int x, int y):相对于父控件的位置(例如正中央Gravity.CENTER,下方Gravity.BOTTOM等),可以设置偏移或无偏移
测试demo下载地址 :PopupWindow demo 下载地址
学习交流QQ群:392633290
先截图如下所示效果

简单的写法,类似抽屉菜单
public class PopMainActivity extends AppCompatActivity {
 private PopupWindow popupWindow;
@Override
  protected void onCreate(Bundle savedInstanceState) {
    super.onCreate(savedInstanceState);
   setContentView(R.layout.activity_pop_main);
      Button pop = (Button) findViewById(R.id.popButton);
     pop.setOnClickListener(popClick);
  }
 View.OnClickListener popClick = new View.OnClickListener() {
      @Override
        public void onClick(View v) {
         getPopupWindow();
          popupWindow.showAtLocation(v, Gravity.LEFT,0,0);
      }
 };
   /**
   * 创建PopupWindow
   *
   */
   protected  void  initPopupWindow(){
  // TODO: 15/10/9
 //获取自定义布局文件activity_pop_left.xml 布局文件
     final View popipWindow_view = getLayoutInflater().inflate(R.layout.activity_pop_left,null,false);
      //创建Popupwindow 实例,200,LayoutParams.MATCH_PARENT 分别是宽高
      popupWindow = new PopupWindow(popipWindow_view,250, ViewGroup.LayoutParams.MATCH_PARENT,true);
//设置动画效果
     popupWindow.setAnimationStyle(R.style.AnimationFade);
   //点击其他地方消失
   popipWindow_view.setOnTouchListener(new View.OnTouchListener() {
      @Override
     public boolean onTouch(View v, MotionEvent event) {
          if (popipWindow_view != null && popipWindow_view.isShown()) {

             popupWindow.dismiss();
                  popupWindow = null;
         }
      return false;
    }
   });
      popupWindow.setBackgroundDrawable(new ColorDrawable(0));
    Button button1 = (Button) popipWindow_view.findViewById(R.id.button1);
      button1.setOnClickListener(new View.OnClickListener() {
         @Override
       public void onClick(View v) {
             Toast.makeText(getApplicationContext(),"当前点击的是我",Toast.LENGTH_SHORT).show();
              System.out.println("我被点击了");
        }
   });
  }
/**
* 获取PopipWinsow实例
 */
private  void  getPopupWindow(){
 if (null!=popupWindow){
    popupWindow.dismiss();
   return;
   }else {
   initPopupWindow();
}}- activity_pop_main.xml 布局如下
<LinearLayout xmlns:android="http://schemas.android.com/apk/res/android"
xmlns:tools="http://schemas.android.com/tools"
  android:layout_width="match_parent"
  android:layout_height="match_parent"
 android:orientation="vertical"
tools:context=".PopMainActivity">
   <Button
     android:id="@+id/popButton"
      android:text="弹出左菜单"
   android:layout_width="fill_parent"
     android:layout_height="wrap_content" />
</LinearLayout>- activity_pop_left.xml 布局如下,也就是我们点击按钮的弹框视图
<?xml version="1.0" encoding="utf-8"?>
<LinearLayout xmlns:android="http://schemas.android.com/apk/res/android"
   android:layout_width="match_parent"
   android:layout_height="match_parent"
  android:background="#00ff00"
   android:orientation="vertical"
 android:paddingTop="50dp"    >
<Button
 android:layout_width="fill_parent"
     android:layout_height="wrap_content"
     android:text="New Button1"
     android:id="@+id/button1" />
   <Button
     android:layout_width="fill_parent"
     android:layout_height="wrap_content"
      android:text="New Button2"
android:id="@+id/button2" />
   <Button
    android:layout_width="fill_parent"
       android:layout_height="wrap_content"
    android:text="New Button3"
      android:id="@+id/button3" />
   <Button
    android:layout_width="fill_parent"
      android:layout_height="wrap_content"
     android:text="New Button4"
     android:id="@+id/button4" />
</LinearLayout>
接下来有点击按钮时需要的动画,
我们按照如下截图在res 进行创建一个anim 文件夹
我使用的是Android studio 方法如下所示

添加控件需要动画采用如下方式
此处我们如果使用shape,都是这样添加的,不要错了就行

在此处选择animation,因为我们使用动画
项目添加完成以后整体的结构
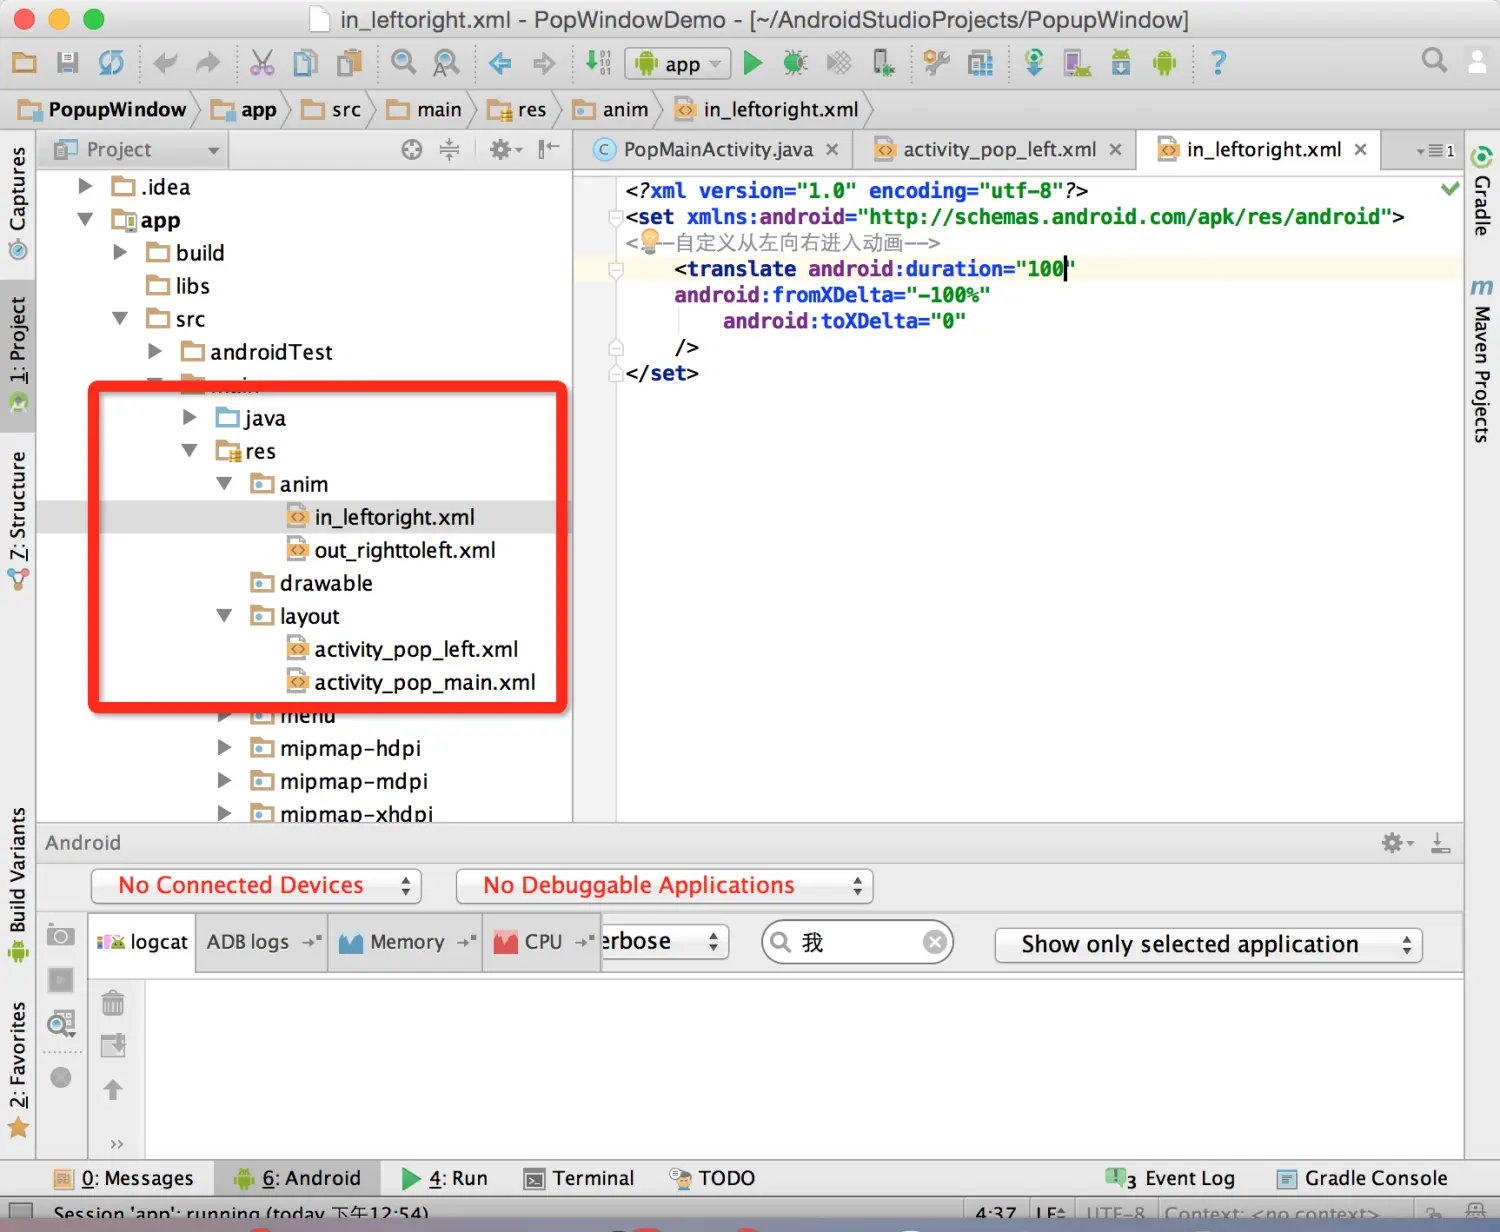
看到这样的结构你们更容易看懂
- 我们在
in_lefttoright.xml中添加如下信息
<?xml version="1.0" encoding="utf-8"?>
<set xmlns:android="http://schemas.android.com/apk/res/android">
<!--自定义从左向右进入动画-->
    <translate android:duration="100"
    android:fromXDelta="-100%"
    android:toXDelta="0"
/></set>- 在
out_righttoleft.xml文件中添加如上代码
<?xml version="1.0" encoding="utf-8"?>
<set xmlns:android="http://schemas.android.com/apk/res/android">
<!--自定义从右向左进入动画-->
    <translate android:duration="100"
    android:fromXDelta="0"
    android:toXDelta="-100%"
  /></set>
最后一步,我们还要在values 文件夹下的style下进行如下配置
<resources>
  <!-- Base application theme. -->
  <style name="AppTheme" parent="Theme.AppCompat.Light.DarkActionBar">
   <!-- Customize your theme here. -->
 </style>
 <style name="AnimationFade">
     <!-- PopupWindow 左右弹出的效果-->
      <item name="android:windowEnterAnimation">@anim/in_leftoright<
/item>
     <item name="android:windowExitAnimation">@anim/out_righttoleft
</item>

   </style>
</resources>
整体的弹框自定义视图算是完成了,代码简单,能学习明白就好,
整体需要注意的地方,
我们点击按钮会弹出左侧视图,点击其他部位消失,有时候我们也需要点击手机返回键进行撤销视图,按照其他人提供的意见是API19,需要这样写,
代码:popupWindow.setBackgroundDrawable(new ColorDrawable(0)); 上面已经加上了,这样我们可以按下手机返回键进行撤销菜单页面了,在此弹出视图到此告一段落,


 414
414

 被折叠的 条评论
为什么被折叠?
被折叠的 条评论
为什么被折叠?
 到【灌水乐园】发言


