


步骤:
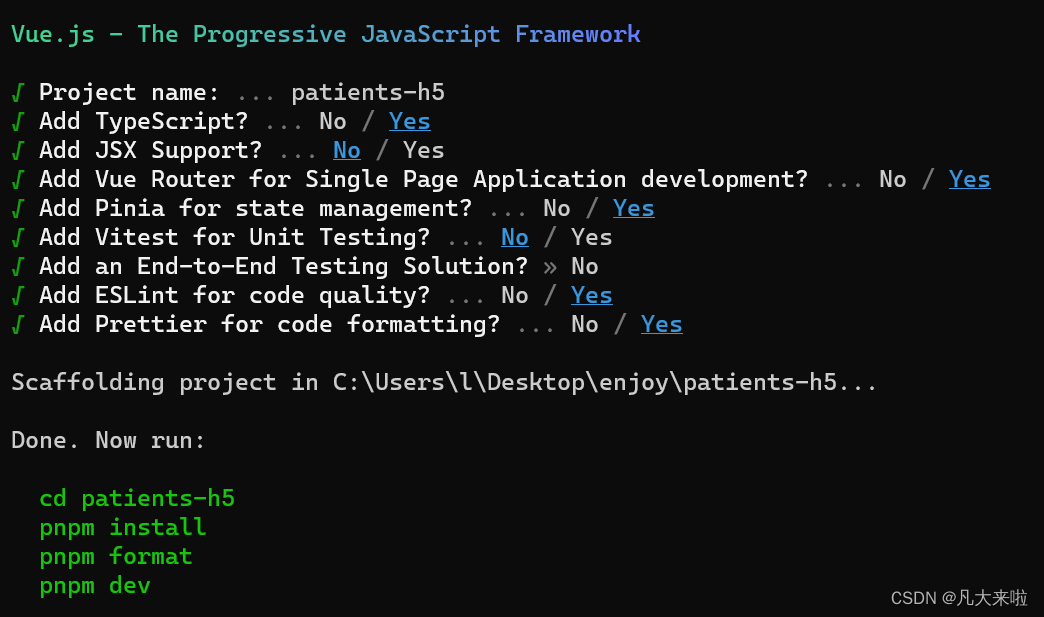
1. 执行创建命令
pnpm create vue2. 选择项目依赖内容
3. 安装项目开发需要的一些插件(vscode中)
Vue Language Features (Volar)   // vue3语法支持
TypeScript Vue Plugin (Volar)   // vue3中更好的ts提示
Eslint  // 代码风格校验
注意:vscode 安装了 Prettier 插件的可以先禁用,或者关闭保存自动格式化功能,避免和项目的 Eslint 风格冲突。
4. 完成 Eslint 的预制配置(.eslintrc.cjs里粘贴)
rules: {
  'prettier/prettier': [
    'warn',
    {
      singleQuote: true,
      semi: false,
      printWidth: 80,
      trailingComma: 'none',
      endOfLine: 'auto'
    }
  ],
  'vue/multi-word-component-names': [
    'warn',
    {
      ignores: ['index']
    }
  ],
  'vue/no-setup-props-destructure': ['off']
}

// 格式:单引号,没有分号,行宽度100字符,没有对象数组最后一个逗号,换行字符串自动
// vue 组件需要大驼峰命名,除去 index 之外,App 是默认支持的
// 允许对 props 进行解构,我们会开启解构保持响应式的语法糖
5. vscode 开启 Eslint 自动修复,在 vscode 的设置里找到 settings.json 进行修改:
"editor.codeActionsOnSave": {
  "source.fixAll": true,
},
6. 代码检查工作流
6.1 初始化与安装
# 如果出现报错,需要先 git init 初始化仓库
pnpm dlx husky-init && pnpm install
6.2 修改 .husky / pre-commit 文件
pnpm lint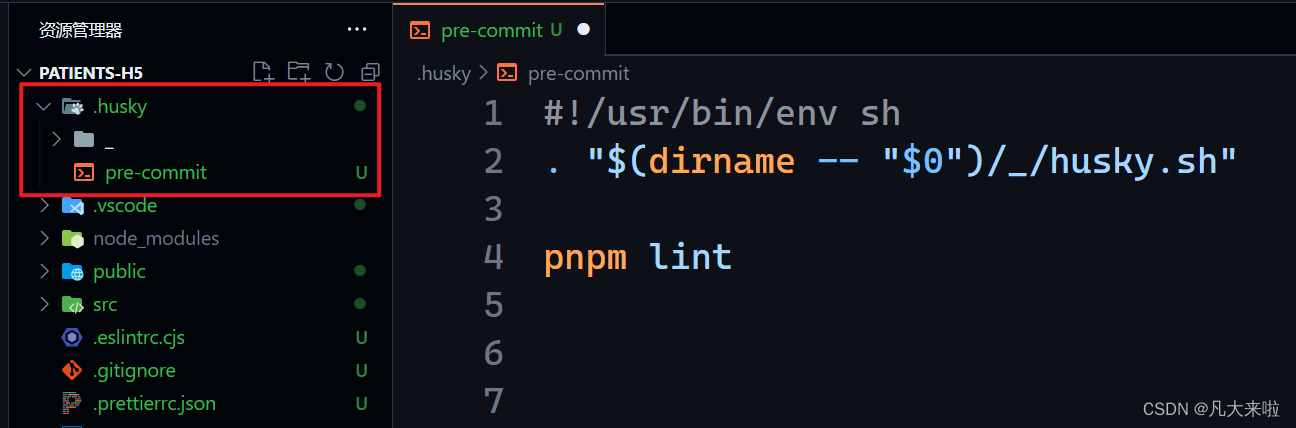
6.3 lint-staged 配置
6.3.1 安装
pnpm i lint-staged -D6.3.2 配置 package.json
{
  // ... 省略 ...
  "lint-staged": {
    "*.{js,ts,vue}": [
      "eslint --fix"
    ]
  }
}
{
  "scripts": {
    // ... 省略 ...
    "lint-staged": "lint-staged"
  }
}
6.3.3 在 .husky / pre-commit 文件添加一条规则
pnpm lint-staged7. 项目结构调整
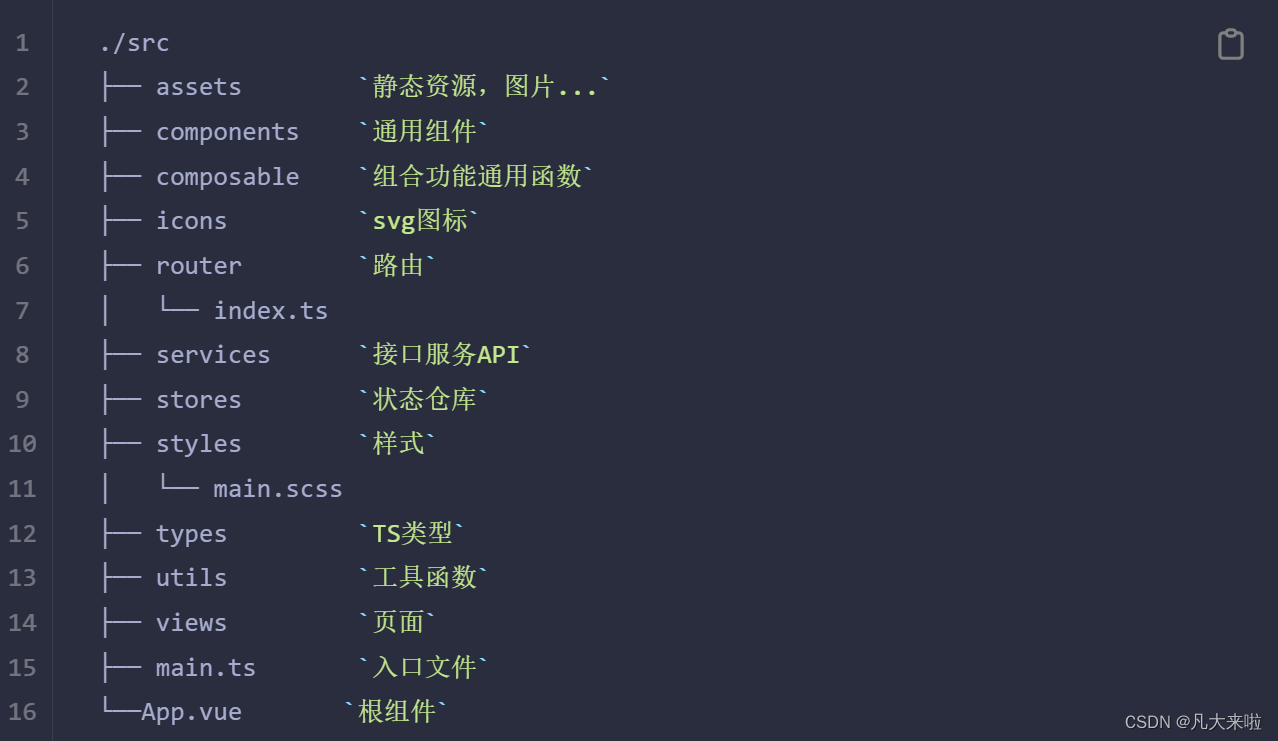
项目使用sass预处理器,安装sass,即可支持scss语法:
pnpm add sass -D----------End----------


 1731
1731


 被折叠的 条评论
为什么被折叠?
被折叠的 条评论
为什么被折叠?
 到【灌水乐园】发言


