容器仓库Harbor安装使用
一、Harbor简介
Docker容器应用的开发和运行离不开可靠的镜像管理,虽然Docker官方也提供了公共的镜像仓库,但是从安全和效率等方面考虑,部署私有环境内的Registry也是非常必要的。Harbor是由VMware公司开源的企业级的Docker Registry管理项目,它包括权限管理(RBAC)、LDAP、日志审核、管理界面、自我注册、镜像复制和中文支持等功能
二、环境准备
2.1 环境说明
安装机器:centos7
需要安装软件:
Docker:20.10.12
Docker-compose:v2.0.1
Harbor:1.10.10
2.1 docker安装
安装docker
# 安装需要的软件包
sudo yum install -y yum-utils device-mapper-persistent-data lvm2
# 设置yum源为阿里云
sudo yum-config-manager --add-repo http://mirrors.aliyun.com/docker-ce/linux/centos/docker-ce.repo
# 安装docker
sudo yum install docker-ce -y
修改docker镜像下载地址,启动docker,设置开机自启动
sudo mkdir -p /etc/docker
sudo tee /etc/docker/daemon.json <<-'EOF'
{
  "registry-mirrors": ["https://u4dk6b2s.mirror.aliyuncs.com"]
}
EOF
sudo systemctl daemon-reload
sudo systemctl restart docker
systemctl enable docker
安装docker-compose
# 下载docker-compose插件
curl -L https://get.daocloud.io/docker/compose/releases/download/v2.0.1/docker-compose-`uname -s`-`uname -m` > /usr/local/bin/docker-compose
# 移动到命令目录
chmod +x /usr/local/bin/docker-compose
# 测试
docker-compose version
三、安装Harbor
在GIthub上下载harbor的安装包,在网站https://github.com/goharbor/harbor/releases/tag/v1.10.10进行下载
wget https://github.com/goharbor/harbor/releases/download/v1.10.10/harbor-offline-installer-v1.10.10.tgz
如果访问不了Github,可以在百度网盘上下载
链接:https://pan.baidu.com/s/1EnLAM4tNwPVnEtjLwAbXOQ
提取码:6666
下载完毕后,移动到要安装harbor的服务器上,进行解压
tar -zxvf 2022-02-19-11-51-46-harbor-harbor-offline-installer-v1.10.10.tgz
进入harbor目录修改配置文件,**注:**要把https的选项给注释了
# 创建数据文件位置
mkdir -p /data/harbor/data
cd harbor && vi harbor.yml

进行安装
sh install.sh
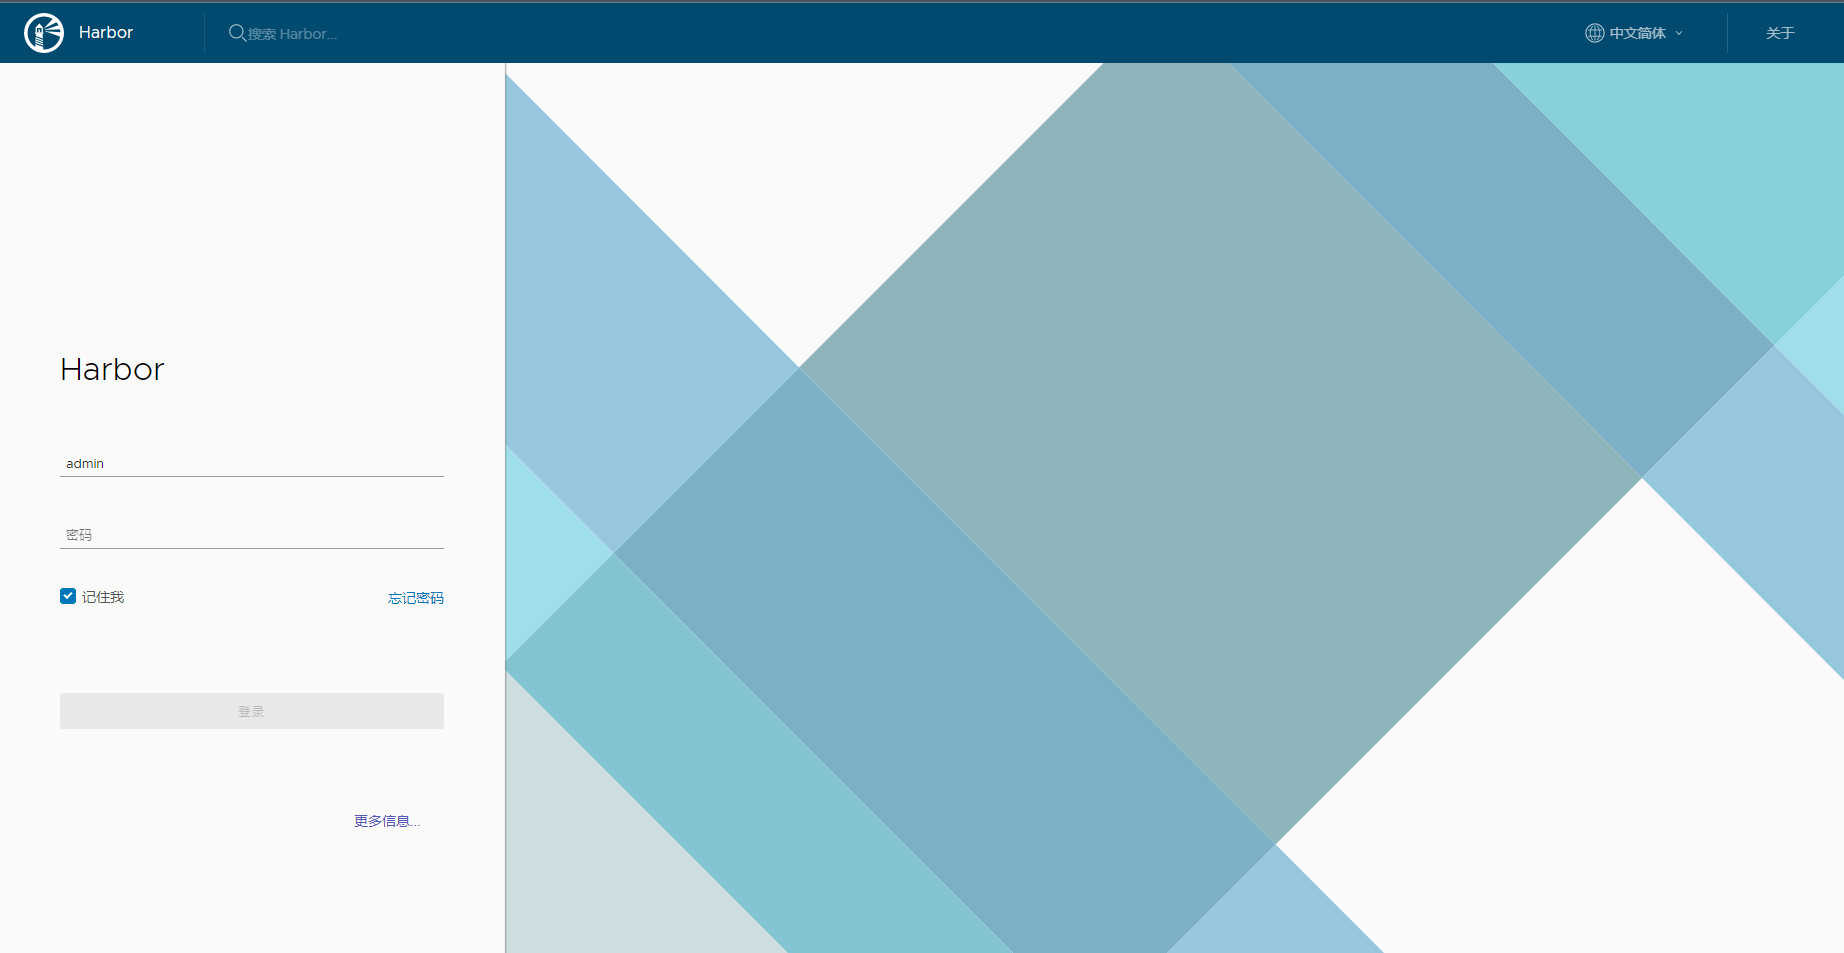
安装完成后通过IP+端口地址访问,端口就是在配置文件中设置的那个

默认账号为:admin,密码就是配置文件中的 harbor_admin_password配置的密码
四、镜像上传下载
因为我的本地服务器已经安装了Docker,我在Harbor所在的服务器进行测试,进行登录,输入完下载的命令后输入用户名和密码
docker login 192.168.67.67
会报以下错误
Error response from daemon: Get https://192.168.67.67/v2/: dial tcp 192.168.67.67:443: connect: connection refused
高版本(14以上)docker执行login命令,默认使用https,且harbor必须使用域名,只是用ip访问是不行的,我们得添加信任列表
修改文件 /etc/docker/daemon.json,添加 insecure-registries选项
vi /etc/docker/daemon.json
完整的daemon.json如下
{
  "registry-mirrors": ["https://u4dk6b2s.mirror.aliyuncs.com"],
  "insecure-registries":["192.168.67.67"]
}
重启docker服务
sudo systemctl daemon-reload
sudo systemctl restart docker
# 因为docker重启了,在harbor目录下执行以下命令,启动所有harbor服务
docker-comopose up -d
再进行登录,输入用户名密码即可登录
docker login 192.168.67.67
在web页面上登录Harbor,创建项目test,是私有的

我们打包一个nginx的镜像到我们仓库里
# 拉取一个nginx镜像
docker pull nginx
# 打tag
docker tag nginx:latest 192.168.67.67/test/nginx:v1
# 推送镜像
docker push 192.168.67.67/test/nginx:v1
# 删除本地镜像
docker rmi 192.168.67.67/test/nginx:v1
docker rmi nginx
# 拉取镜像
docker pull 192.168.67.67/test/nginx:v1
如果我们再其他服务器拉取镜像的话
docker pull 192.168.67.67/test/nginx:v1
也会出现
Error response from daemon: Get https://192.168.67.67/v2/: dial tcp 192.168.67.67:443: connect: connection refused
这就需要我们重启docker,如果有服务正在运行这就不好重启,我们需要怎么办呢
五、证书
第四节提到我们再任何docker服务器拉取Harbor镜像需要重启Docker,会导致问题,我们可以生成证书,这样就不用再重启Docker了。
假设我们的要设置的域名是 www.harbor521.mobi
因为这个网址是虚拟的,所以需要在本机hosts文件中添加
echo "192.168.67.67 www.harbor521.mobi" >> /etc/hosts
修改harbor.yml配置文件
hostname: www.harbor521.mobi

# http related config
http:
  # port for http, default is 80. If https enabled, this port will redirect to https port
  port: 80

# https related config
https:
  # https port for harbor, default is 443
  port: 443
  # The path of cert and key files for nginx
  certificate: /data/cert/www.harbor521.mobi.crt
  private_key: /data/cert/www.521.mobi.key
运行以下脚本,生成证书
#!/bin/bash

# 在该目录下操作生成证书,正好供harbor.yml使用
mkdir -p /data/cert
cd /data/cert

openssl genrsa -out ca.key 4096
openssl req -x509 -new -nodes -sha512 -days 3650 -subj "/C=CN/ST=Beijing/L=Beijing/O=example/OU=Personal/CN=www.harbor521.mobi" -key ca.key -out ca.crt
openssl genrsa -out www.harbor521.mobi.key 4096
openssl req -sha512 -new -subj "/C=CN/ST=Beijing/L=Beijing/O=example/OU=Personal/CN=www.harbor521.mobi" -key www.harbor521.mobi.key -out www.harbor521.mobi.csr

cat > v3.ext <<-EOF
authorityKeyIdentifier=keyid,issuer
basicConstraints=CA:FALSE
keyUsage = digitalSignature, nonRepudiation, keyEncipherment, dataEncipherment
extendedKeyUsage = serverAuth
subjectAltName = @alt_names

[alt_names]
DNS.1=www.harbor521.mobi
DNS.2=harbor
DNS.3=ks-allinone
EOF

openssl x509 -req -sha512 -days 3650 -extfile v3.ext -CA ca.crt -CAkey ca.key -CAcreateserial -in www.harbor521.mobi.csr -out www.harbor521.mobi.crt

openssl x509 -inform PEM -in www.harbor521.mobi.crt -out www.harbor521.mobi.cert

cp www.harbor521.mobi.crt /etc/pki/ca-trust/source/anchors/www.harbor521.mobi.crt
update-ca-trust
然后将这三个证书文件复制到docker相对应的目录下,注意最后的路径名,要和上面的保持一致
mkdir -p /etc/docker/certs.d/www.harbor521.mobi/
cp /data/cert/www.harbor521.mobi.cert /etc/docker/certs.d/www.harbor521.mobi/
cp /data/cert/www.harbor521.mobi.key /etc/docker/certs.d/www.harbor521.mobi/
cp /data/cert/ca.crt /etc/docker/certs.d/www.harbor521.mobi/

# 最终docker目录结构
[root@localhost cert]# ls -l /etc/docker/certs.d/www.harbor521.mobi/
总用量 12
-rw-r--r--. 1 root root 2045 2月  21 15:58 ca.crt
-rw-r--r--. 1 root root 2118 2月  21 15:58 www.harbor521.mobi.cert
-rw-r--r--. 1 root root 3247 2月  21 15:58 www.harbor521.mobi.key

# 进入harbor目录,停止harbor
cd /opt/harbor/
# 停止harbor
docker-compose down
# 删除/etc/docker/daemon.json中配置的地址,防止干扰
vi /etc/docker/daemon.json
# 重启docker
systemctl restart docker.service
harbor操作
# 重新生成配置文件,增加上其他chart功能等
./prepare --with-notary --with-clair --with-chartmuseum

# 启动
docker-compose up -d
登录验证
[root@localhost harbor]# docker login www.harbor521.mobi
Username: admin
Password:
WARNING! Your password will be stored unencrypted in /root/.docker/config.json.
Configure a credential helper to remove this warning. See
https://docs.docker.com/engine/reference/commandline/login/#credentials-store

Login Succeeded
访问的话可以直接访问IP地址即可,也可以在host文件中加入域名映射到host文件中,使用域名进行访问。
如果其他服务器的Docker需要登录Harbor里的东西,需要下面两个步骤
- 直接复制上面的三个证书到那个服务器即可
- 执行命令(地址是Harbor服务器IP地址):echo “192.168.67.67 www.harbor521.mobi” >> /etc/hosts
六、Helm用法
如果有使用Helm,添加仓库的时候需要加入证书
helm repo add --ca-file /data/cert/ca.crt --cert-file /data/cert/www.harbor521.mobi.cert --key-file /data/cert/www.harbor521.mobi.key myrepo https://www.harbor521.mobi/chartrepo/myrepo
推送目录,app是目录
helm push --ca-file /data/cert/ca.crt --cert-file /data/cert/www.harbor.mobi.cert --key-file /data/cert/www.harbor.mobi.key --username=admin --password=h12345 app myrepo
推送tgz文件,redis.tgz是chart应用文件
helm push --ca-file /data/cert/ca.crt --cert-file /data/cert/www.harbor.mobi.cert --key-file /data/cert/www.harbor.mobi.key --username=admin --password=h12345 redis.tgz myrepo
七、参考地址
https://www.cnblogs.com/sanduzxcvbnm/p/11957793.html


 740
740


 被折叠的 条评论
为什么被折叠?


