


前言
spring项目中可以使用springfox或者springdoc,通过写注解的方式生成swagger文档,下面介绍一种不写注解,动态生成swagger文档的方式,在某些场景会适用,例如接口是动态生成的,此时swagger就不能通过注解来生成了。
一、定义swagger模板
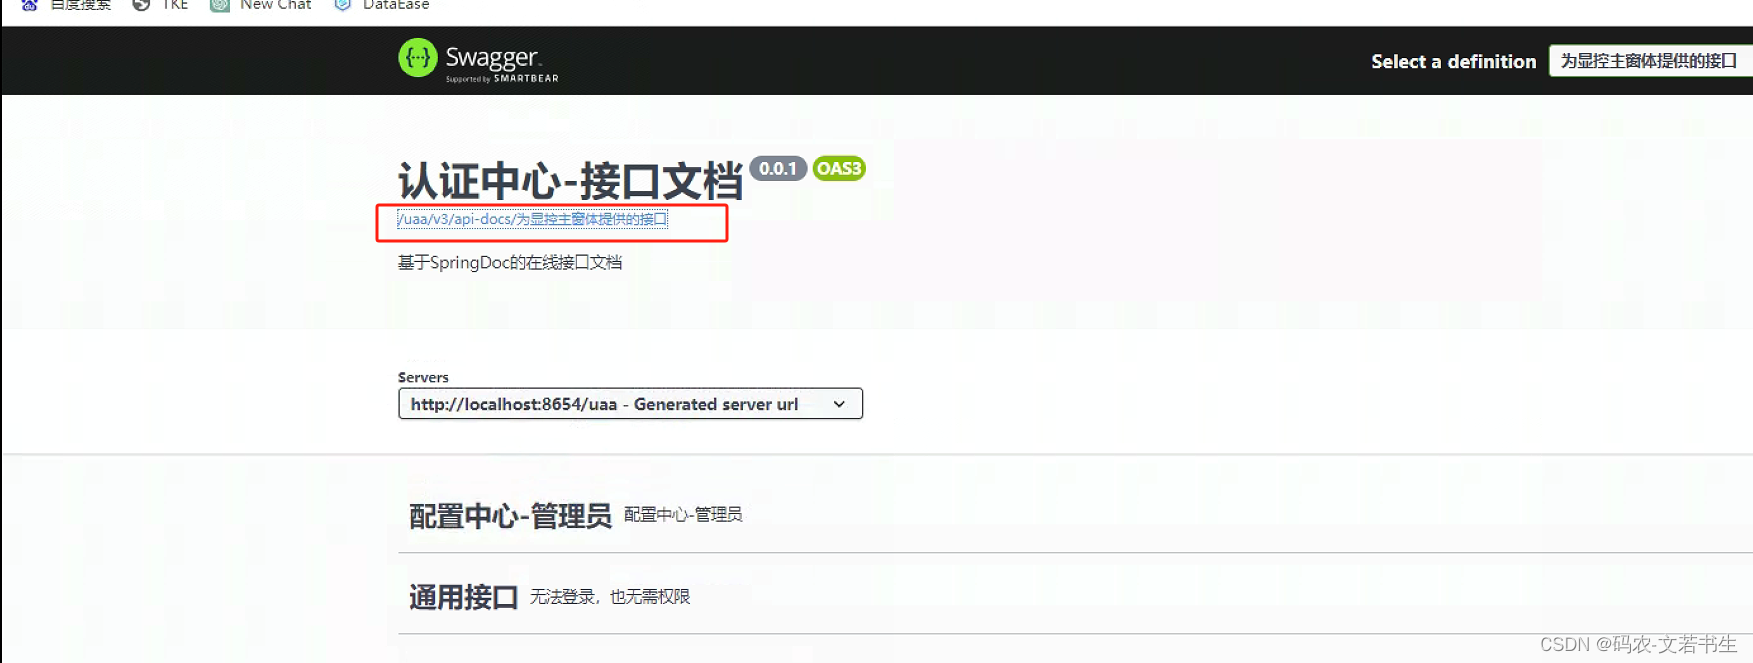
通过观察一个swagger文档的openapi结构,将其中需要动态替换的部分写成变量,生成freemaker的ftl模板。
通过点击swagger图示链接可以查看openapi的json结构。
修改一个json结构,生成一个ftl模板,将模板放在springboot项目的resources/static/data-service-swagger-templates下面
{
  "openapi": "3.0.3",
  "info": {
    "title": "通用查询-[${interfaceName}]接口",
    "description": "通用查询接口",
    "version": "0.0.1"
  },
  "servers": [{
    "url": "${dataServicePrefix}",
    "description": "Generated server url"
  }],
  "security": [{
    "secretHeader": []
  }],
  "paths": {
    "${url}": {
      "post": {
        "tags": ["数据服务-通用查询接口"],
        "summary": "通用查询接口",
        "description": "通用查询接口,请求体采用统一数据结构",
        "operationId": "getData2UsingPOST",
        "requestBody": {
          "content": {
            "application/json": {
              "schema": {
                "$ref": "#/components/schemas/DmoRequest"
              }
            }
          }
        },
        "responses": {
          "200": {
            "description": "OK",
            "content": {
              "*/*": {
                "schema": {
                  "$ref": "#/components/schemas/ResponseEntity"
                }
              }
            }
          },
          "201": {
            "description": "Created"
          },
          "401": {
            "description": "Unauthorized"
          },
          "403": {
            "description": "Forbidden"
          },
          "404": {
            "description": "Not Found"
          }
        }
      }
    }


  },
  "components": {
    "schemas": {
      "ResponseEntity": {
        "title": "ResponseEntity",
        "type": "object",
        "properties": {
          "desc": {
            "type": "string",
            "description": "错误详细描述"
          },
          "message": {
            "type": "string",
            "description": "如果为非200的返回,可以将此message提示给用户"
          },
          "requestURL": {
            "type": "string"
          },
          "stackTrace": {
            "type": "string",
            "description": "后端的异常栈信息,如果过长,只截取前面一部分"
          },
          "status": {
            "type": "integer",
            "description": "200:正常;401:未登陆;403:没有权限;400:请求参数校验失败;500:服务器内部错误",
            "format": "int32"
          },
          "tookInMillis": {
            "type": "integer",
            "description": "请求耗时",
            "format": "int64"
          },
          "value": {
            "type": "object"
          }
        }
      },
      "DmoRequest": {
        "title": "DmoRequest",
        "type": "object",
        "properties": {
          "fulltextNode": {
            "$ref": "#/components/schemas/QueryNode"
          },
          "node": {
            "$ref": "#/components/schemas/QueryNode"
          },
          "pageNumber": {
            "type": "integer",
            "description": "页码",
            "format": "int32"
          },
          "pageSize": {
            "type": "integer",
            "description": "每页条数",
            "format": "int32"
          },
          "showColumns": {
            "uniqueItems": true,
            "type": "array",
            "items": {
              "type": "string",
              "description": "显示的列"
            }
          },
          "sorts": {
            "type": "array",
            "items": {
              "$ref": "#/components/schemas/DmoSort"
            }
          }
        }
      },
      "QueryNode": {
        "title": "QueryNode",
        "type": "object",
        "description": "查询条件",
        "properties": {
          "children": {
            "type": "array",
            "items": {
              "$ref": "#/components/schemas/QueryNode"
            }
          },
          "data": {
            "$ref": "#/components/schemas/NodeData"
          },
          "type": {
            "type": "string",
            "description": "节点类型",
            "enum": ["AND", "LEAF", "OR", "ROOT"]
          }
        }
      },
      "NodeData": {
        "title": "NodeData",
        "type": "object",
        "description": "节点数据",
        "properties": {
          "operator": {
            "type": "string",
            "description": "操作符",
            "enum": ["BETWEEN", "EQ", "EXISTS", "GE", "GT", "IN", "IS_NOT_NULL", "IS_NULL", "LE", "LIKE", "LT", "NE", "NOT_BETWEEN", "NOT_EXISTS", "NOT_IN", "NOT_LIKE", "PREFIX", "REGEXP"]
          },
          "param": {
            "type": "string",
            "description": "参数名称,一般对应表的列名"
          },
          "value": {
            "type": "array",
            "description": "参数值",
            "items": {
              "type": "object"
            }
          }
        }
      },
      "DmoSort": {
        "title": "DmoSort",
        "type": "object",
        "description": "排序",
        "properties": {
          "column": {
            "type": "string",
            "description": "列名"
          },
          "sortOrder": {
            "type": "string",
            "description": "排序方式",
            "enum": ["ASC", "DESC"]
          }
        }
      }
    },
    "securitySchemes": {
        "secretHeader": {
            "type": "apiKey",
            "name": "Authorization",
            "in": "header"
        }
    }
  }
}
二、使用freemarker生成openapi的JSON结构
1.引入库
代码如下(示例):
<dependency>
    <groupId>org.freemarker</groupId>
    <artifactId>freemarker</artifactId>
    <version>2.3.32</version>
</dependency>
2.生成json
下面的serviceInterface就是一个实体,可以自行定义
 @ApiOperation(value = "获取openapi的JSON", notes = "获取openapi的JSON")
    @GetMapping("/swagger-json/{id}")
    public String getSwaggerJson(@ApiParam(value = "id") @PathVariable Integer id) throws BaseException {
   		ServiceInterface serviceInterface = getServiceInterface(id);
        return getOpenApiJson(ServiceInterface serviceInterface, "test.ftl") ;
    }

 private String getOpenApiJson(ServiceInterface serviceInterface, String ftl) throws BaseException {
 		freemarker.template.Configuration configuration = new 		freemarker.template.Configuration(freemarker.template.Configuration.VERSION_2_3_0);
                    // 设置默认编码
                    configuration.setDefaultEncoding("utf-8");
                    //设置类加载器
                    configuration.setClassLoaderForTemplateLoading(this.getClass().getClassLoader(), "data-service-swagger-templates");
                    try {
                        // 生成模板对象
                        Template template = configuration.getTemplate(fileName);
                        TEMPLATE_CACHE.put(fileName, template);
                    } catch (Exception e) {
                        throw new BaseException(String.format("获取模版文件:[%s]出错", fileName), e);
                    }
        Template template = getFltTemplate(ftl);
        String dataServicePrefix = dataServiceProtocol + dataServiceUpstream;
        Map<String, String> dataMap = new HashMap<>();
        dataMap.put("interfaceName", serviceInterface.getServiceName());
        dataMap.put("dataServicePrefix", dataServicePrefix);
        dataMap.put("url", serviceInterface.getUrl());
        StringWriter sw = new StringWriter();
        try {
            template.process(dataMap, sw);
            return sw.toString();
        } catch (Exception e) {
            throw new BaseException("模板转换出错:" + e.getMessage(), e);
        }
    }
三、前端生成swagger示例
<!DOCTYPE html>
<html>
<head>
<title>数据服务接口文档</title>
<link rel="stylesheet" type="text/css" href="swagger-ui.css"/>
</head>
<body>
<div id="swagger-ui"></div>
<script src="swagger-ui-bundle.js"></script>
<script>
window.onload = function () {
SwaggerUIBundle({
// url: "http://localhost:14500/v3/api-docs", // 替换成您的OpenAPI规范的URL或文件路径
// url: "swagger-custom-select.json", // 替换成您的OpenAPI规范的URL或文件路径
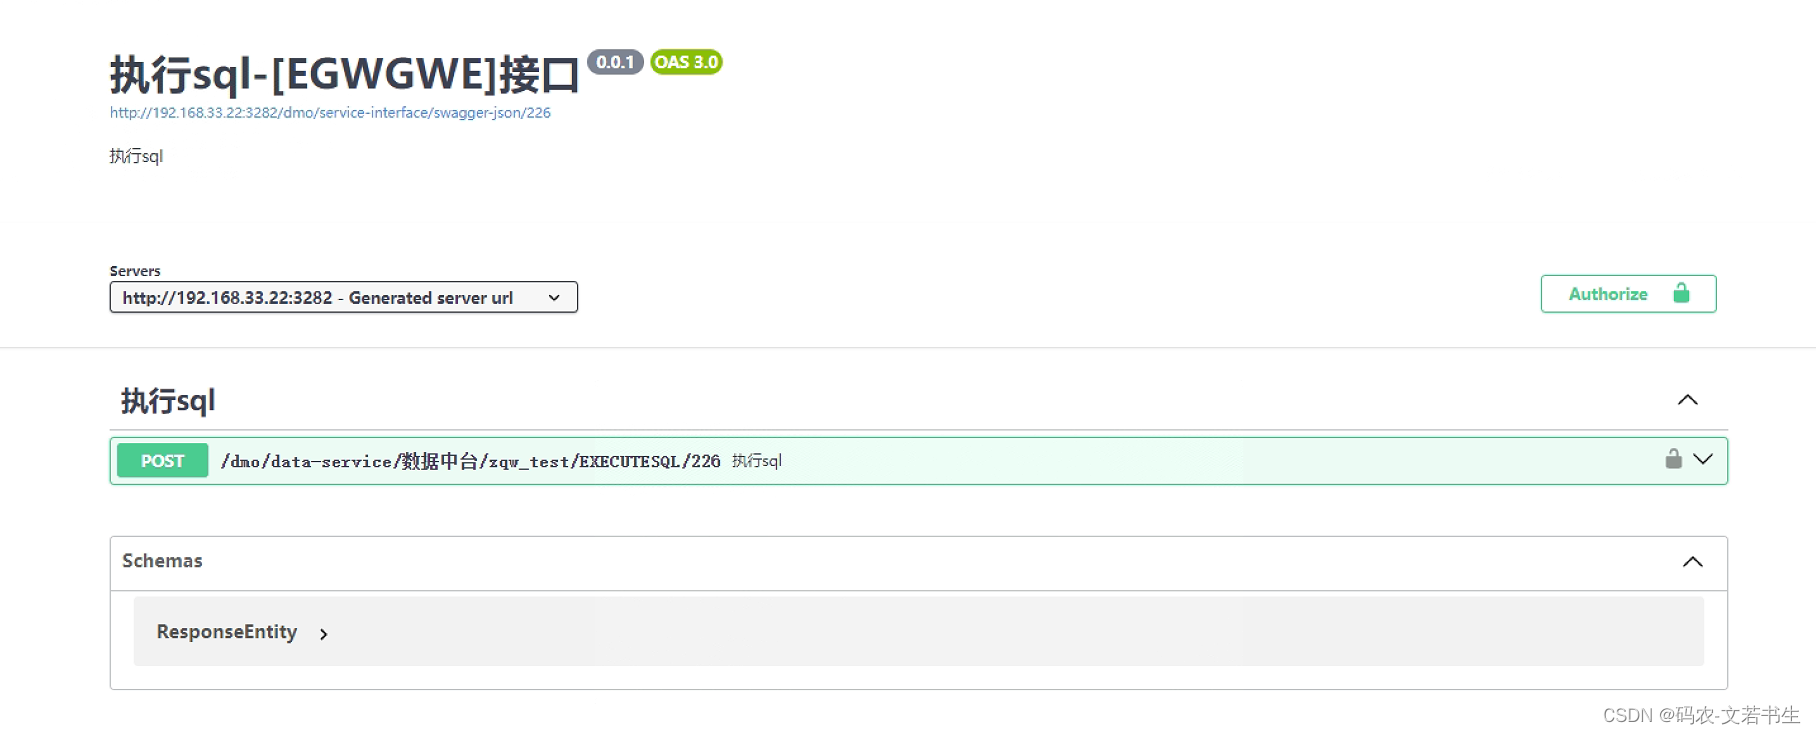
url: "http://192.168.33.22:3282/dmo/service-interface/swagger-json/226", // 替换成您的OpenAPI规范的URL或文件路径
dom_id: "#swagger-ui",
deepLinking: true,
});
};
</script>
</body>
</html>
其中url 为第二步的接口
用到的css和js下载地址:https://blog.csdn.net/weixin_41085315/article/details/124965953
四、测试


 3296
3296


 被折叠的 条评论
为什么被折叠?
被折叠的 条评论
为什么被折叠?
 到【灌水乐园】发言


