


 本文详细介绍了如何将React Native嵌入到Android原生应用中,包括环境准备、新建Android项目、集成React Native的步骤,如执行npm命令、创建index.android.js文件、添加依赖、构建Activity文件。此外,还提供了AndroidManifest.xml的配置、运行应用的方法以及常见问题与解决方案,如调试模式与release模式的区别、解决64位和32位库冲突、找不到BatchedBridge等问题。
开发环境准备
首先你要搭建好React Native for Android开发环境, 没有搭建好的可以参考:React Native for Android Windows环境搭建
用Android Studio新建Android原生项目
我创建了一个名叫ReactNativeDemo的原生项目。
把React Native集成到原生项目当中
利用Windows命令行在项目根目录(ReactNativeDemo文件夹)下执行下面三行命令:
npm init
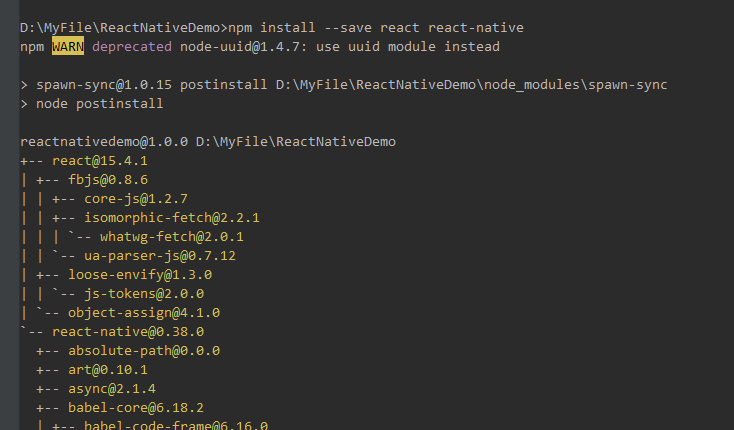
npm install --save react react-native
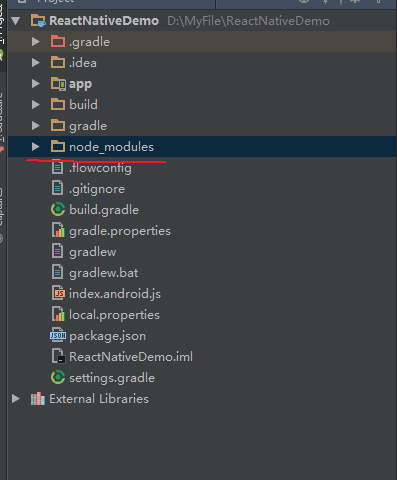
curl -o .flowconfig https://raw.githubusercontent.com/facebook/react-native/master/.flowconfig这将在项目根目录(ReactNativeDemo文件夹)创建node_modules文件夹(模块),并添加React Native依赖。
针对上面三条命令的解释
npm init
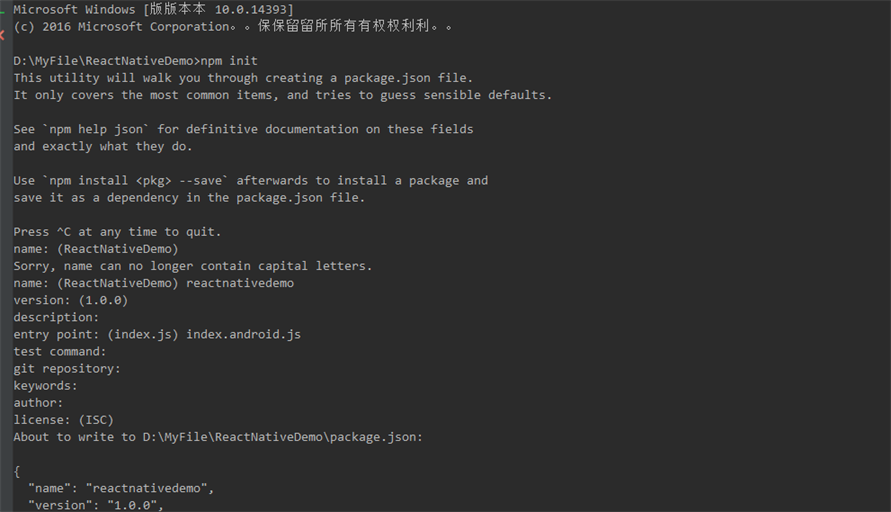
注意:
name的填写由图可知填默认的是不行的,它的要求是不能有大写字母并且不能以数字开头;
entry point的填写入口文件名称,默认的是index.js,我们建立的入口文件是index.android.js,所以填写index.android.js。只要填写的名称与自己定义的入口文件名称一致就行。
其他的项根据自己需求填写即可。
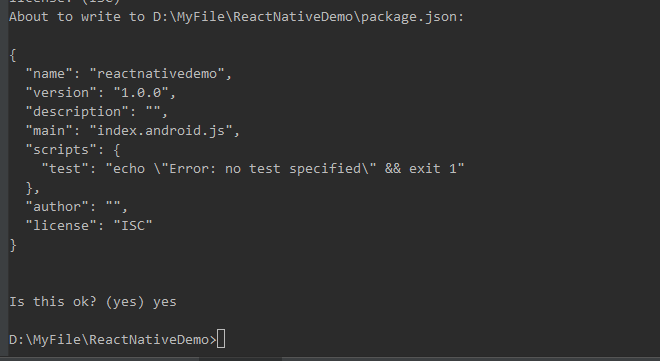
这个步骤会在项目的根目录产生一个名称为package.json的文件,我们还需要修改我们的package.json文件:
在”scripts”节点下添加”start”: “node node_modules/react-native/local-cli/cli.js start”。
 "scripts": {
    "test": "echo \"Error: no test specified\" && exit 1",
    "start": "node node_modules/react-native/local-cli/cli.js start"
  }
其中的test节点是自动生成的,我们可以把它删除,最后我的package.json为:
{
  "name": "reactnativedemo",
  "version": "1.0.0",
  "description": "",
  "main": "index.android.js",
  "scripts": {
    "start": "node node_modules/react-native/local-cli/cli.js start"
  },
  "author": "",
  "license": "ISC",
  "dependencies": {
    "react": "^15.4.1",
    "react-native": "^0.38.0"
  }
}
npm install –save react react-native

curl -o .flowconfig https://raw.githubusercontent.com/facebook/react-native/master/.flowconfig
curl是利用URL语法在命令行方式下工作的开源文件传输工具。它被广泛应用在Unix、多种Linux发行版中,并且有DOS和Win32、Win64下的移植版本。
所以可知上面这句话的意思是在对应网址下下载.flowconfig文件。
在windows下我们要使用curl命令会提示:curl不是内部和外部命令,也不是可执行文件或批处理命令。。。
我们在windows下要使用curl命令比较麻烦。解决方法就是我们用下载工具从https://raw.githubusercontent.com/facebook/react-native/master/.flowconfig上把.flowconfig下载下来复制到项目根目录,或者是在项目根目录下新建一个.flowconfig文件用浏览器访问这个网址其中的内容把其中的内容复制到文件当中。
建立index.android.js文件
在项目的根目录建立index.android.js文件并把下面的代码复制进去:
'use strict';

import React from 'react';
import {
  AppRegistry,
  StyleSheet,
  Text,
  View
} from 'react-native';

class HelloWorld extends React.Component {

  render() {
    return (
      <View style={styles.container}>
        <Text style={styles.hello}>Welcome!</Text>
      </View>
    )
  }
}
var styles = StyleSheet.create({
  container: {
    flex: 1,
    justifyContent: 'center',
  },
  hello: {
    fontSize: 20,
    textAlign: 'center',
    margin: 10,
  },
});

AppRegistry.registerComponent('HelloWorld', () => HelloWorld);
添加依赖
在项目的根目录的build.gradle中加入:
allprojects {
    repositories {
        jcenter()
        maven {
            //添加react native依赖,url路径根据实际的来写,本文的如下:
            url "$rootDir/node_modules/react-native/android"
        }
    }
}
注意:Android项目默认的依赖包的源为jcenter(),其中并不包含最新版的 React Native(它只到0.20.1)。
新版的React Native只在npm里发布,所以你需要增加一下依赖包的源。在编译完后,检查项目External Libraries的
react-native版本如果为0.20.1,则说明maven的依赖源没有添加成功。这时候应该是maven的路径出问题了,你要检查
路径是否正确,正确的结果为:
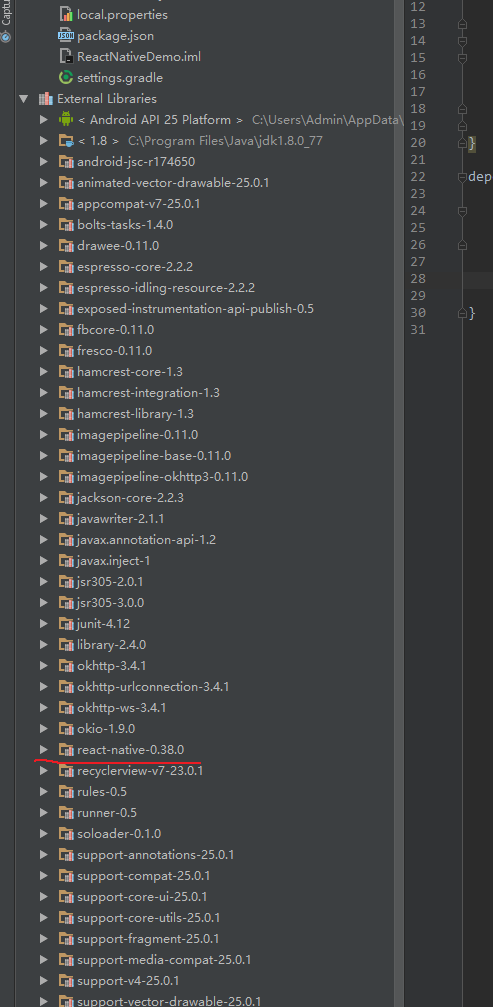
在项目的模块(app)中的build.gradle文件中添加:
文件头添加(可选):
apply from: "$rootDir/node_modules/react-native/react.gradle"无法编译通过的时候可以尝试添加上面这句。
 dependencies {
     ...
     compile
最低0.47元/天 解锁文章


 2180
2180

 被折叠的 条评论
为什么被折叠?
被折叠的 条评论
为什么被折叠?
 到【灌水乐园】发言


