


 本文介绍了如何从一个网页中提取portlet组件,并将其适应于bootstrap3的布局。通过修改class属性,如将'span4'替换为'col-sm-4 col-md-4',实现了兼容性。页面包含一个可配置组件的齿轮按钮,用户可以拖动和删除组件。保存配置后,组件会显示在主页面。文章提到了js简化、图标调整以及后台如何处理保存的组件id和坐标,用于更新数据库。
首先,我是从下面这个页面抠出来的。
http://wrapbootstrap.com/preview/WB00958H8
效果:
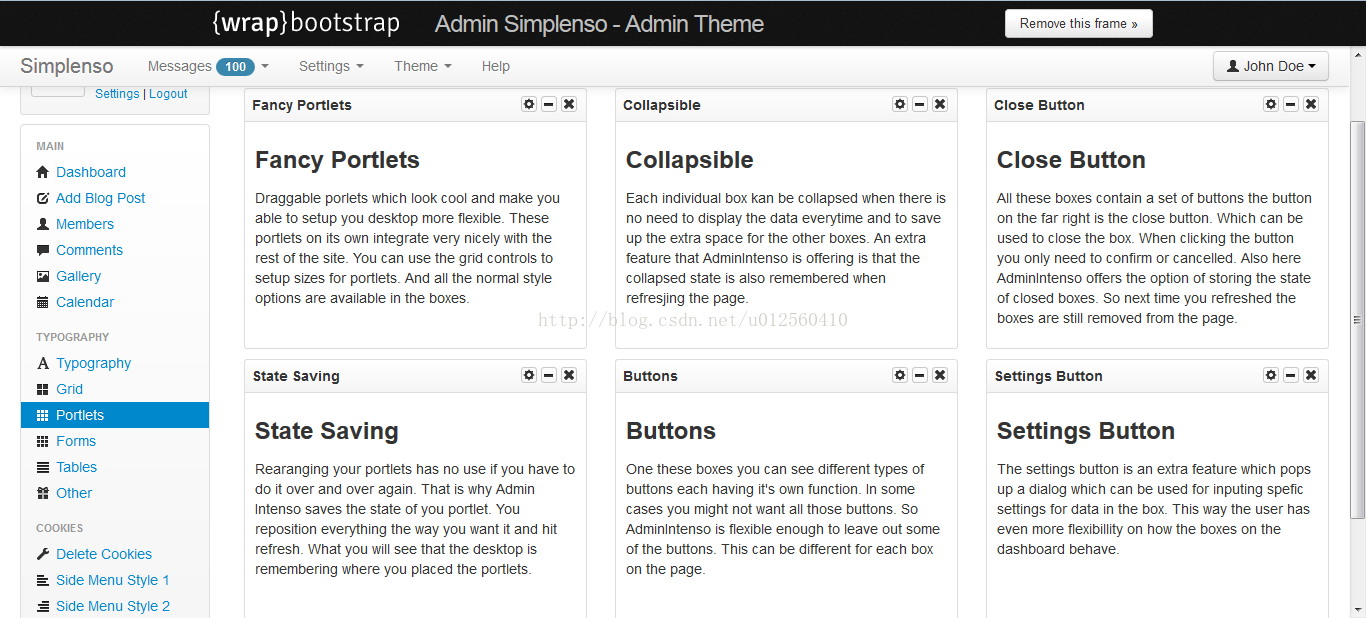
在这个页面直接右键查看源代码,就可以看到了。非常清楚。
因为我就只用这么一个portlet功能,我就给抠下来了。
原来的代码使用的是bootstrap2,我们项目用的是bootstrap3,我测试了可以用。只要把页面中原本bootstrap2的一些class,比如class="span4"这种的换成相应的class="col-sm-4 col-md-4 "就可以了。
下面的css文件,bootstrap-default.css(主题样式theme)和bootstrap-responsive.css(响应式布局css,bootstrap3已经没有了)就可以不用引入了。
页面代码如下:
<!DOCTYPE html>
<html lang="en">
<head>
  <meta charset="utf-8">
  <title>Admin Simplenso - Portlets</title>
  <meta name="viewport" content="width=device-width, initial-scale=1.0">
  <meta name="description" content="HTML5 Admin Simplenso Template">
  <meta name="author" content="ahoekie">

  <!-- Bootstrap -->
  <link href="css/bootstrap/bootstrap.css" rel="stylesheet" id="main-theme-script">
  <link href="css/bootstrap/bootstrap-default.css" rel="stylesheet" id="theme-specific-script">
  <link href="css/bootstrap/bootstrap-responsive.css" rel="stylesheet">


  <!-- Uniform  表单美化插件
  <link rel="stylesheet" type="text/css" media="screen,projection" href="scripts/uniform/css/uniform.default.css" />
	-->

  <!-- Simplenso -->
  <link href="css/simplenso.css" rel="stylesheet">

  <!-- Le HTML5 shim, for IE6-8 support of HTML5 elements -->
  <!--[if lt IE 9]>
    <script src="http://html5shim.googlecode.com/svn/trunk/html5.js"></script>
  <![endif]-->

  <!-- Le fav and touch icons -->
  <link rel="shortcut icon" href="images/ico/favicon.ico">
  <link rel="apple-touch-icon-precomposed" sizes="144x144" href="images/ico/apple-touch-icon-144-precomposed.png">
  <link rel="apple-touch-icon-precomposed" sizes="114x114" href="images/ico/apple-touch-icon-114-precomposed.png">
  <link rel="apple-touch-icon-precomposed" sizes="72x72" href="images/ico/apple-touch-icon-72-precomposed.png">
  <link rel="apple-touch-icon-precomposed" href="images/ico/apple-touch-icon-57-precomposed.png">


</head>
<body id="portlets">

<!-- Top navigation bar -->
<!-- Main Content Area | Side Nav | Content -->
<div class="container-fluid">


    <!-- Bread Crumb Navigation -->
	<div class="span10">

      <div class="row-fluid">
      	 <!-- Portlet Set 1 -->
         <div class="span4 column" id="col1">
         	 <!-- Portlet: Fancy Portlets -->
             <div class="box" id="box-0">
              <h4 class="box-header round-top">Fancy Portlets
                  <a class="box-btn" title="close"><i class="icon-remove"></i></a>
                  <a class="box-btn" title="toggle"><i class="icon-minus"></i></a>
                  <a class="box-btn" title="config" data-toggle="modal" href="#box-config-modal"><i class="icon-cog"></i></a>
              </h4>
              <div class="box-container-toggle">
                  <div class="box-content">
                    <h2>Fancy Portlets</h2>
                    <p>
                    Draggable porlets which look cool and make you able to setup you desktop more flexible.
                    These portlets on its own integrate very nicely with the rest of the site.
                    You can use the grid controls to setup sizes for portlets.
                    And all the normal style options are available in the boxes.
                    </p>
                  </div>
              </div>
            </div><!--/span-->
            <!-- Portlet: State Saving -->
            <div class="box" id="box-1">
              <h4 class="box-header round-top">State Saving
                  <a class="box-btn" title="close"><i class="icon-remove"></i></a>
                  <a class="box-btn" title="toggle"><i class="icon-minus"></i></a>
                  <a class="box-btn" title="config" data-toggle="modal" href="#box-config-modal"><i class="icon-cog"></i></a>
              </h4>
              <div class="box-container-toggle">
                  <div class="box-content">
                    <h2>State Saving</h2>
                    <p>
                    Rearanging your portlets has no use if you have to do it over and over again.
                    That is why Admin Intenso saves the state of you portlet.
                    You reposition everything the way you want it and hit refresh.
                    What you will see that the desktop is remembering where you placed the portlets.
                    </p>
                  </div>
              </div>
            </div><!--/span-->
         </div>

         <!-- Portlet Set 2 -->
         <div class="span4 column" id="col2">
         	 <!-- Portlet: Collapsible -->
             <div class="box" id="box-2">
              <h4 class="box-header round-top">Collapsible
                  <a class="box-btn" title="close"><i class="icon-remove"></i></a>
                  <a class="box-btn" title="toggle"><i class="icon-minus"></i></a>
                  <a cla
最低0.47元/天 解锁文章


 5033
5033

 被折叠的 条评论
为什么被折叠?
被折叠的 条评论
为什么被折叠?
 到【灌水乐园】发言


