首先先来段废话介绍一下XMPP
简介:可扩展通讯和表示协议 (XMPP) 可用于服务类实时通讯、表示和需求响应服务中的XML数据元流式传输。XMPP以Jabber协议为基础,而Jabber是即时通讯中常用的开放式协议。XMPP is the IETF's formalization of the base XML streaming protocols for instant messaging and presence developed within the Jabber open-source community in 1999,XMPP(可扩展消息处理现场协议)是基于可扩展标记语言(XML)的协议,它用于即时消息(IM)以及在线现场探测。它在促进服务器之间的准即时操作。这个协议可能最终允许因特网用户向因特网上的其他任何人发送即时消息,即使其操作系统和浏览器不同。
XMPP的前身是Jabber,一个开源形式组织产生的网络即时通信协议。XMPP目前被IETF国际标准组织完成了标准化工作。标准化的核心结果分为两部分;核心的XML流传输协议基于XMLFreeEIM流传输的即时通讯扩展应用
XMPP的核心XML流传输协议的定义使得XMPP能够在一个比以往网络通信协议更规范的平台上。借助于XML易于解析和阅读的特性,使得XMPP的协议能够非常漂亮。
XMPP的即时通讯扩展应用部分是根据IETF在这之前对即时通讯的一个抽象定义的,与其他业已得到广泛使用的即时通讯协议,诸如AIM,QQ等有功能完整,完善等先进性。
XMPP的扩展协议Jingle使得其支持语音和视频。


- (BOOL)application:(UIApplication *)application didFinishLaunchingWithOptions:(NSDictionary *)launchOptions {
    // Override point for customization after application launch.
    self.window=[[UIWindow alloc]initWithFrame:[UIScreen mainScreen].bounds];
    self.window.backgroundColor=[UIColor whiteColor];
    [self.window makeKeyAndVisible];//main window出现在最前端
    self.window.rootViewController=[[ViewController alloc]init];

    return YES;
}// liaoliao
// Created by LiuJiawei on 15/11/7.
// Copyright © 2015年 LIUjiawei. All rights reserved.
//
#import <UIKit/UIKit.h>
@interface ViewController : UITabBarController
@end// liaoliao
//
// Created by LiuJiawei on 15/11/7.
// Copyright © 2015年 LIUjiawei. All rights reserved.
//
#import "ViewController.h"
#import "PersonController.h"
#import "RosterController.h"
#import "CharRoomController.h"
#import "LoginViewController.h"
#import "AbilityManage.h"
@interface ViewController ()
@end
@implementation ViewController
-(id)init{
self=[super init];
if (self){
NSLog(@"init");
}
return self;
}
- (void)viewDidLoad {
[super viewDidLoad];
// Do any additional setup after loading the view, typically from a nib.
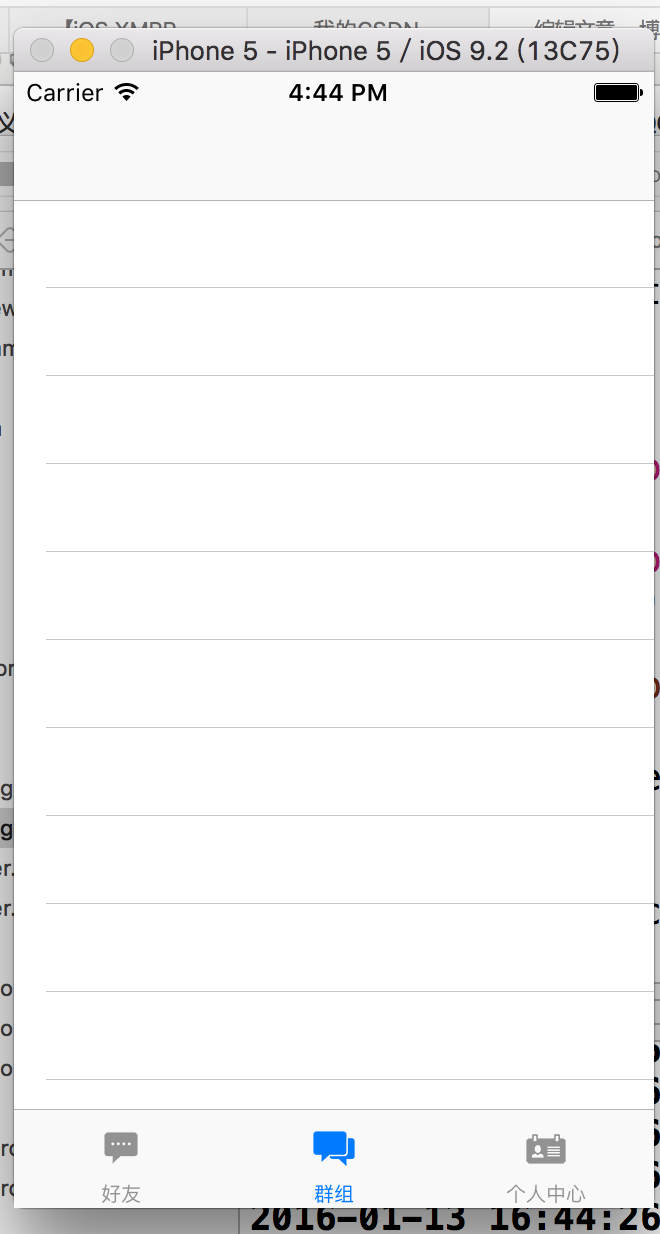
[self createViewControllers];//创造了三个viewcontroller
}
-(void)createViewControllers{
PersonController *personVC=[[PersonController alloc]init]; //个人
RosterController *rosterVC=[[RosterController alloc]init]; //好友列表
ChatRoomController *chatroomVC=[[ChatRoomController alloc]init];//群组
NSArray *array=@[rosterVC,chatroomVC,personVC];
NSArray *titlearray=@[@"好友",@"群组",@"个人中心"];
NSArray *imagearray=@[@"roster",@"chatroom",@"person"];
NSMutableArray *Muarray=[[NSMutableArray alloc] initWithCapacity:3];
for (int i=0; i<3; i++) {
UINavigationController *nav=[[UINavigationController alloc]initWithRootViewController:array[i]];
nav.tabBarItem.title=titlearray[i];
nav.tabBarItem.image=[UIImage imageNamed:imagearray[i]];
[Muarray addObject:nav];
}
self.viewControllers=Muarray;
}
- (void)didReceiveMemoryWarning {
[super didReceiveMemoryWarning];
// Dispose of any resources that can be recreated.
}
@end


注册通知:即要在什么地方接受消息;[[NSNotificationCenter defaultCenter] addObserver:self selector:@selector(mytest:) name:@" mytest" object:nil];
参数介绍:
addObserver: 观察者,即在什么地方接收通知;
selector: 收到通知后调用何种方法;
name: 通知的名字,也是通知的唯一标示,编译器就通过这个找到通知的。
发送通知:调用观察者处的方法。
[[NSNotificationCenter defaultCenter] postNotificationName:@"mytest" object:searchFriendArray];
参数:
postNotificationName:通知的名字,也是通知的唯一标示,编译器就通过这个找到通知的。
object:传递的参数
注册方法的写法:
- (void) mytest:(NSNotification*) notification
{
id obj = [notification object];//获取到传递的对象
}
[[NSNotificationCenter defaultCenter] addObserver:self selector:@selector(onlineNotification:) name:@"Ability_online_Noti" object:nil];#pragma mark - Notification
-(void)onlineNotification:(NSNotification*)notification{
BOOL signin=[notification.object boolValue];
if (signin){
NSLog(@"Roster_queryRosterList");
[[AbilityRoster sharedRoster] queryRosterList];//已经在线了说明登录成功了,所以查找这个帐号拥有的好友
}
else{
NSLog(@"LoginViewController");
LoginViewController* loginVC=[[LoginViewController alloc]init];//没有在线,需要登录
[self presentViewController:loginVC animated:YES completion:^{
}];
}
}
在登录界面也有一个注册通知
LoginViewController
<span style="font-size:14px;"> [[NSNotificationCenter defaultCenter] addObserver:self selector:@selector(onlineNotification:) name:@"Ability_online_Noti" object:nil];</span>-(void)onlineNotification:(NSNotification*)notification{
BOOL online=[notification.object boolValue];
NSLog(@"onlineNotification");
if (online){<span style="white-space:pre"> </span>//在线了登录成功了,登录界面可以消失了
NSLog(@"no-LoginViewController");
[self dismissViewControllerAnimated:YES completion:^{}];
}
}-(void)setOnline:(BOOL)online{
_online=online;
if (online){
//发送在线状态
[[NSNotificationCenter defaultCenter] postNotificationName:Ability_online_Noti object:[NSNumber numberWithBool:YES]];
}
else{
[[NSNotificationCenter defaultCenter] postNotificationName:Ability_online_Noti object:[NSNumber numberWithBool:NO]];
}
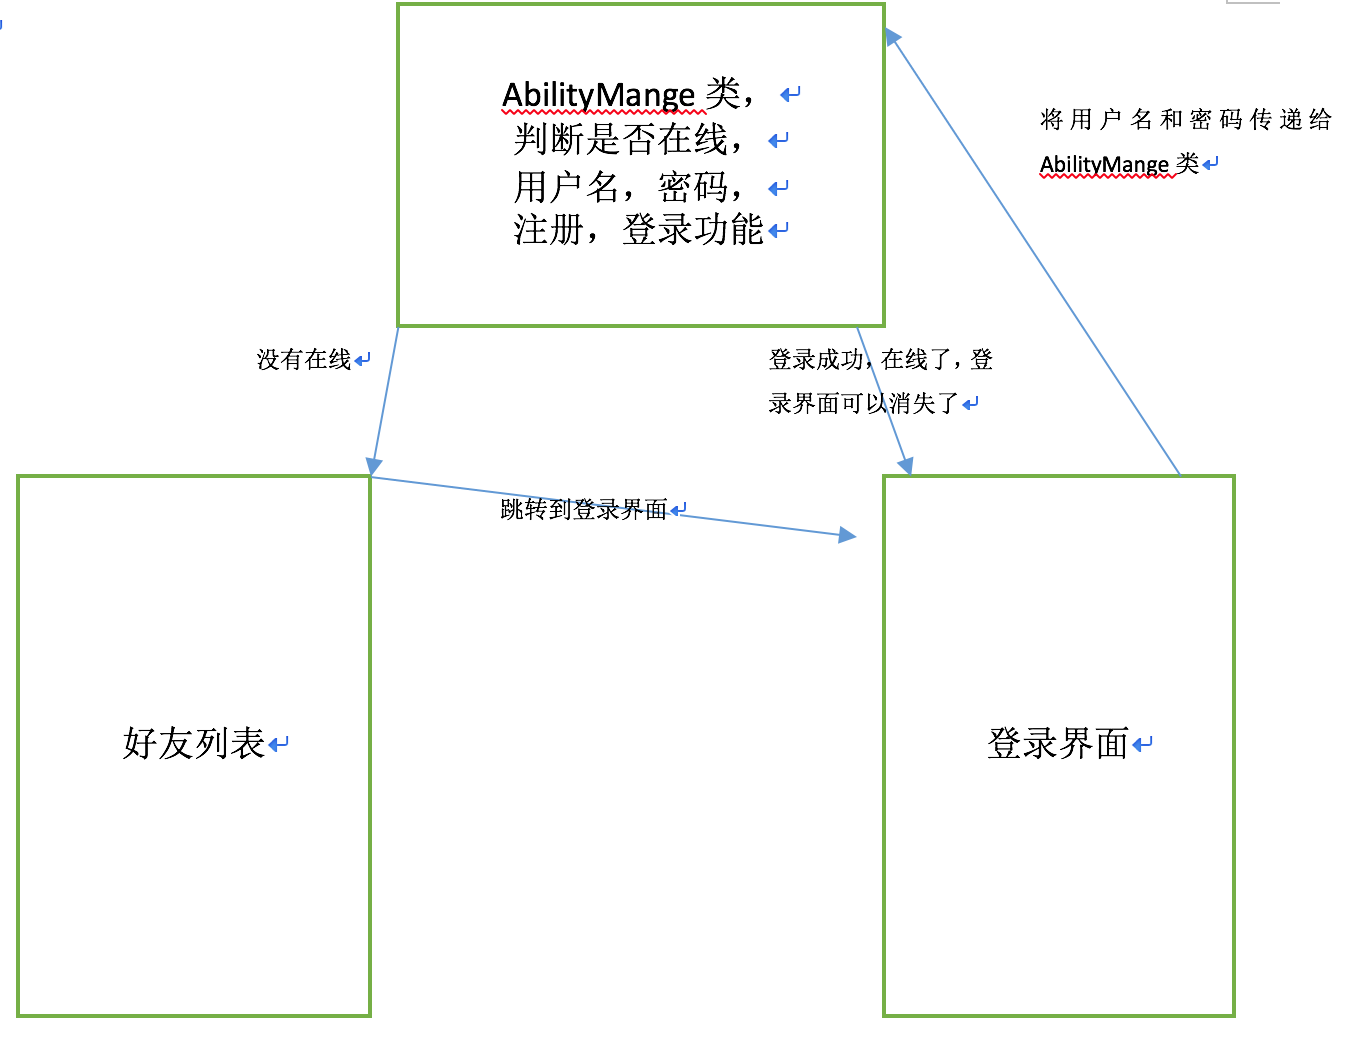
}现在具体讲讲RosterController->AbilityMange-> LoginViewController->AbilityMange-> RosterController的过程
-(void)viewWillAppear:(BOOL)animated{
[[NSNotificationCenter defaultCenter] addObserver:self selector:@selector(onlineNotification:) name:@"Ability_online_Noti" object:nil];
}
视图加载结束后实例化AbilityManage
-(void)viewDidAppear:(BOOL)animated{
[AbilityManage sharedManager];
}然后我们AbilityMange类shareManager方法是怎么样的
static AbilityManage *_shareManager=nil;
+(AbilityManage *)sharedManager{
if (!_shareManager) {
_shareManager=[[self alloc] init];
[_shareManager setupXMPP];
}
return _shareManager;
}
-(void)setupXMPP{
_xmppStream = [[XMPPStream alloc] init];
[_xmppStream addDelegate:self delegateQueue:dispatch_get_main_queue()];使AbilityManage有XmppStream的协议
[_xmppStream addDelegate:[AbilityRoster sharedRoster] delegateQueue:dispatch_get_main_queue()];使AbilityRoster有XmppStream的协议
#if !TARGET_IPHONE_SIMULATOR
{
_xmppStream.enableBackgroundingOnSocket = YES;
}
#endif
_xmppReconnect = [[XMPPReconnect alloc] init];
[_xmppReconnect activate:_xmppStream];
self.online=NO;//一般默认是不在线的,同时触发方法-(void)setOnline:(BOOL)online;
}
触发方法-(void)setOnline:(BOOL)online;发送的object是NO
-(void)setOnline:(BOOL)online{
    _online=online;
    if (online){
        //发送在线状态
        [[NSNotificationCenter defaultCenter] postNotificationName:Ability_online_Noti object:[NSNumber numberWithBool:YES]];
    }
    else{
        [[NSNotificationCenter defaultCenter] postNotificationName:Ability_online_Noti object:[NSNumber numberWithBool:NO]];
    }
}这个时候由于RosterController有Ability_online_Not的注册通知,由于是NO所以实例化LoginViewController,并且跳转到登录界面
-(void)onlineNotification:(NSNotification*)notification{
BOOL signin=[notification.object boolValue];
if (signin){
NSLog(@"Roster_queryRosterList");
[[AbilityRoster sharedRoster] queryRosterList];
}
else{
NSLog(@"LoginViewController");
LoginViewController* loginVC=[[LoginViewController alloc]init];
[self presentViewController:loginVC animated:YES completion:^{
}];
}
}
<span style="font-size:14px;">-(IBAction)onButtonDone:(id)sender{
NSString* username=self.username.text;
NSString* password=self.password.text;
NSString* host=self.hosttext.text;
[[NSUserDefaults standardUserDefaults] setObject:username forKey:Username_Key];
[[NSUserDefaults standardUserDefaults] setObject:password forKey:Password_Key];
[[NSUserDefaults standardUserDefaults] setObject:host forKey:Host_Key];
[[NSUserDefaults standardUserDefaults] synchronize];
NSLog(@"onbuttondone");
[[AbilityManage sharedManager] signinWithUsername:username password:password host:host isregister:NO];</span><span style="font-size:14px;">//需要AbilltyManage类的登陆功能!!!!
}</span>这个时候又回到了AbilityManage类里,她的连接服务器的方法如下:
-(void)signinWithUsername:(NSString *)username password:(NSString *)password host:(NSString *)host isregister:(BOOL)isregister {
self.username=username;
self.password=password;
self.host=host;
if (![_xmppStream isDisconnected]){
return;
}
_registerAction=isregister;
self.jid=[NSString stringWithFormat:@"%@@%@",self.username,self.host];
[_xmppStream setMyJID:[XMPPJID jidWithString:_jid resource:@"drrr"]];
[_xmppStream setHostName:host];
NSError *error = nil;
BOOL result=[_xmppStream connectWithTimeout:3.0f error:&error];
NSLog(@"connect:%d,%@",result,error);
}连接成功之后 会依次调用XMPPStreamDelegate的方法,方法是前辈们写好的,暂时不用弄懂,就是给服务器发服务器能看懂我看不懂的字符串
2016-01-13 13:15:42:737 Chat[23076:2707] SEND: <?xml version='1.0'?>
2016-01-13 13:15:42:742 Chat[23076:2707] SEND: <stream:stream xmlns='jabber:client' xmlns:stream='http://etherx.jabber.org/streams' version='1.0' to='xxxxx.6655.la'>
2016-01-13 13:15:42:791 Chat[23076:5407] RECV: <stream:stream xmlns:stream="http://etherx.jabber.org/streams" xmlns="jabber:client" from="xxxxx.6655.la" id="8a7e501" stream1:lang="en" version="1.0"/>
#pragma mark - xmpp delegate
-(void)xmppStreamDidConnect:(XMPPStream *)sender{
//验证密码
NSError* error=nil;
BOOL result;
if (!_registerAction){
result=[_xmppStream authenticateWithPassword:self.password error:&error];
}
else{
result=[_xmppStream registerWithPassword:self.password error:&error];
}
///注册只要一次,之后就改为登录,防止在重复连接的时候又去注册
_registerAction=NO;
NSLog(@"authenticated:%d,%@",result,error);
}
用xmppStream 的authenticateWithPassword方法进行密码验证,成功的话会响应delegate的方法,就是下面这个
- (void)xmppStreamDidAuthenticate:(XMPPStream *)sender
//这里我保持着会用就行的立场
-(void)xmppStreamDidAuthenticate:(XMPPStream *)sender{
//发送在线状态
XMPPPresence *presence = [XMPPPresence presence];
[_xmppStream sendElement:presence];
}
-(void)xmppStream:(XMPPStream *)sender didReceivePresence:(XMPPPresence *)presence{
XMPPJID* jidFrom=[presence from];
XMPPJID* jidTo=[presence to];
NSString *presenceFromUser = [jidFrom user];
NSString* presenceFromJid=[jidFrom bare];
//取得好友状态
NSString *presenceType = [presence type]; //online/offline
//当前用户是否在线
NSString *userId = [[sender myJID] user];
if ([presenceFromUser isEqualToString:userId]){
if ([presenceType isEqualToString:@"available"]){
self.online=YES; //重要在这里
}
else if ([presenceType isEqualToString:@"unavailable"]){
self.online=NO; <span style="font-family: 'Helvetica Neue', Helvetica, STheiti, 微软雅黑, 黑体, Arial, Tahoma, sans-serif, serif;">//重要在这里</span>
}
}
}online的值变化了,
-(void)setOnline:(BOOL)online{
    _online=online;
    if (online){
        //发送在线状态
        [[NSNotificationCenter defaultCenter] postNotificationName:Ability_online_Noti object:[NSNumber numberWithBool:YES]];
    }
    else{
        [[NSNotificationCenter defaultCenter] postNotificationName:Ability_online_Noti object:[NSNumber numberWithBool:NO]];
    }
}<span style="font-size:14px;">#pragma mark - Notification
-(void)onlineNotification:(NSNotification*)notification{
BOOL signin=[notification.object boolValue];
if (signin){
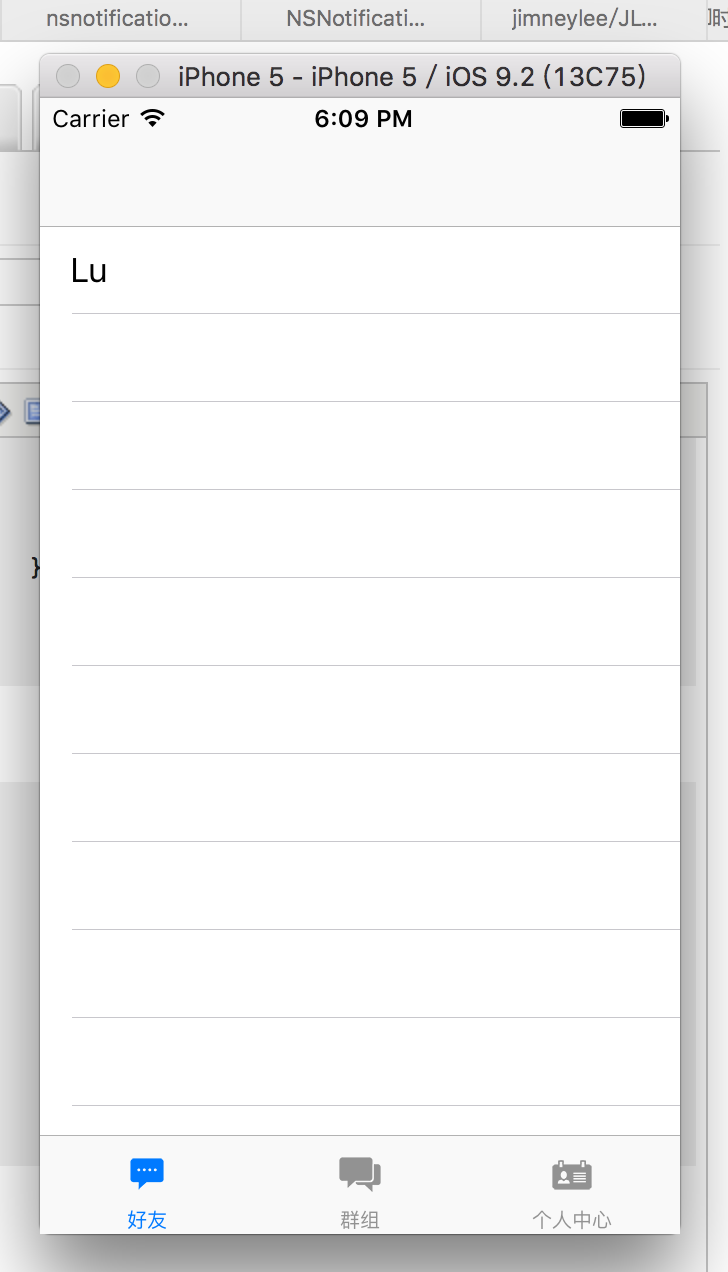
[[AbilityRoster sharedRoster] queryRosterList];//寻找此账号的好友
}
else{
NSLog(@"LoginViewController");
LoginViewController* loginVC=[[LoginViewController alloc]init];
[self presentViewController:loginVC animated:YES completion:^{ }];
}
}</span>
-(void)onlineNotification:(NSNotification*)notification{
    BOOL online=[notification.object boolValue];
    NSLog(@"onlineNotification");
    if (online){
        NSLog(@"no-LoginViewController");
       [self dismissViewControllerAnimated:YES completion:^{}];
    }
   }
至于如何添加好友,并将好友信息找到并显示出来,都是另一个AbilityRoster类负责,下一篇再讲


 1869
1869

 被折叠的 条评论
为什么被折叠?


