


基于t-io聊天集成到springboot中
官方文档地址, 点这儿
我是直接下载的demo: https://gitee.com/tywo45/tio-websocket-showcase
大概是这样的:
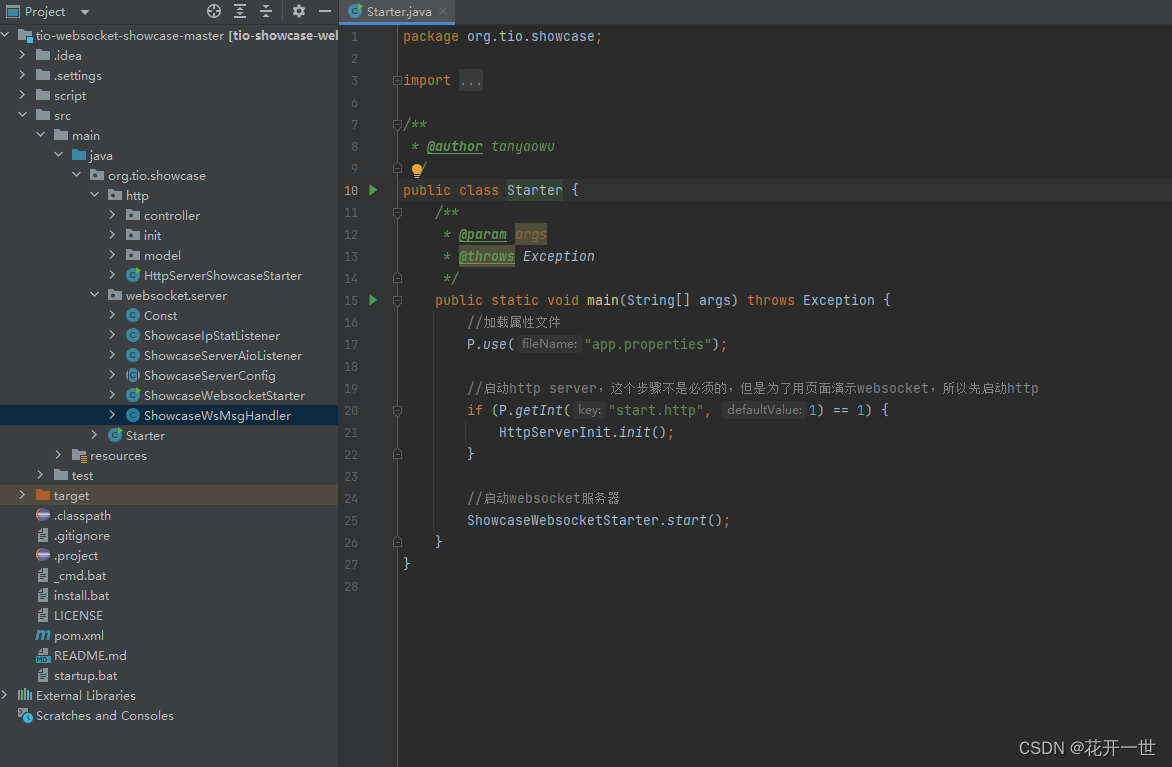
这里直接运行main方法就可以了。
集成到spring里面的话可以使用监听器启动t-io的服务,并把serverTioConfig设置为全局变量,便于其他地方使用(比如接口中需要给你某个人发个消息)。
/**
 * @description:初始化聊天相关配置
 * @version:1.0
 */
@Component
@Slf4j
public class InitContextListener implements ApplicationListener<ContextRefreshedEvent> {

    public static ImServerStarter imServerStarter = null;
    public static ServerTioConfig serverTioConfig = null;

    @Override
    public void onApplicationEvent(ContextRefreshedEvent contextRefreshedEvent) {
        /**先加载配置文件*/
        P.use("app.properties");
        try {
            this.initServer(ShowcaseServerConfig.SERVER_PORT, ShowcaseWsMsgHandler.me);
            this.imServerStarter.start();
            /**
             * 存起来,可全局使用
             */
            ServerConfig.serverTioConfig = this.serverTioConfig;
            ServerConfig.imServerStarter = this.imServerStarter;
        } catch (Exception e) {
            throw new RuntimeException(e);
        }
    }

    /**
     * @author scw
     */
    public void initServer(int port, ShowcaseWsMsgHandler wsMsgHandler) throws Exception {

        imServerStarter = new ImServerStarter(port, wsMsgHandler);

        serverTioConfig = imServerStarter.getServerTioConfig();
        serverTioConfig.setName(ShowcaseServerConfig.PROTOCOL_NAME);
        serverTioConfig.setServerAioListener(ShowcaseServerAioListener.me);

        //设置ip监控
        serverTioConfig.setIpStatListener(ShowcaseIpStatListener.me);
        //设置ip统计时间段
        serverTioConfig.ipStats.addDurations(ShowcaseServerConfig.IpStatDuration.IPSTAT_DURATIONS);
        //设置心跳超时时间
        serverTioConfig.setHeartbeatTimeout(ShowcaseServerConfig.HEARTBEAT_TIMEOUT);

        if (P.getInt("ws.use.ssl", 1) == 1) {
            //如果你希望通过wss来访问,就加上下面的代码吧,不过首先你得有SSL证书(证书必须和域名相匹配,否则可能访问不了ssl)
//			String keyStoreFile = "classpath:config/ssl/keystore.jks";
//			String trustStoreFile = "classpath:config/ssl/keystore.jks";
//			String keyStorePwd = "214323428310224";
            String keyStoreFile = P.get("ssl.keystore", null);
            String trustStoreFile = P.get("ssl.truststore", null);
            String keyStorePwd = P.get("ssl.pwd", null);
            serverTioConfig.useSsl(keyStoreFile, trustStoreFile, keyStorePwd);
        }
    }

}
ServerConfig
```java
public class ServerConfig {
    public static ImServerStarter imServerStarter = null;
    public static ServerTioConfig serverTioConfig = null;
}
**新手小白,初次接触网络编程,如有不当之处,欢迎指正。**


 1111
1111


 被折叠的 条评论
为什么被折叠?
被折叠的 条评论
为什么被折叠?
 到【灌水乐园】发言


