Loading界面常用动画
我们的APP大多数会有一个Loading界面,通常是展示一张图片或者加载广告,这里介绍的是是当展示一张图片的时候常用到的动画效果。
所使用到的图片是网上找的较宽的图片
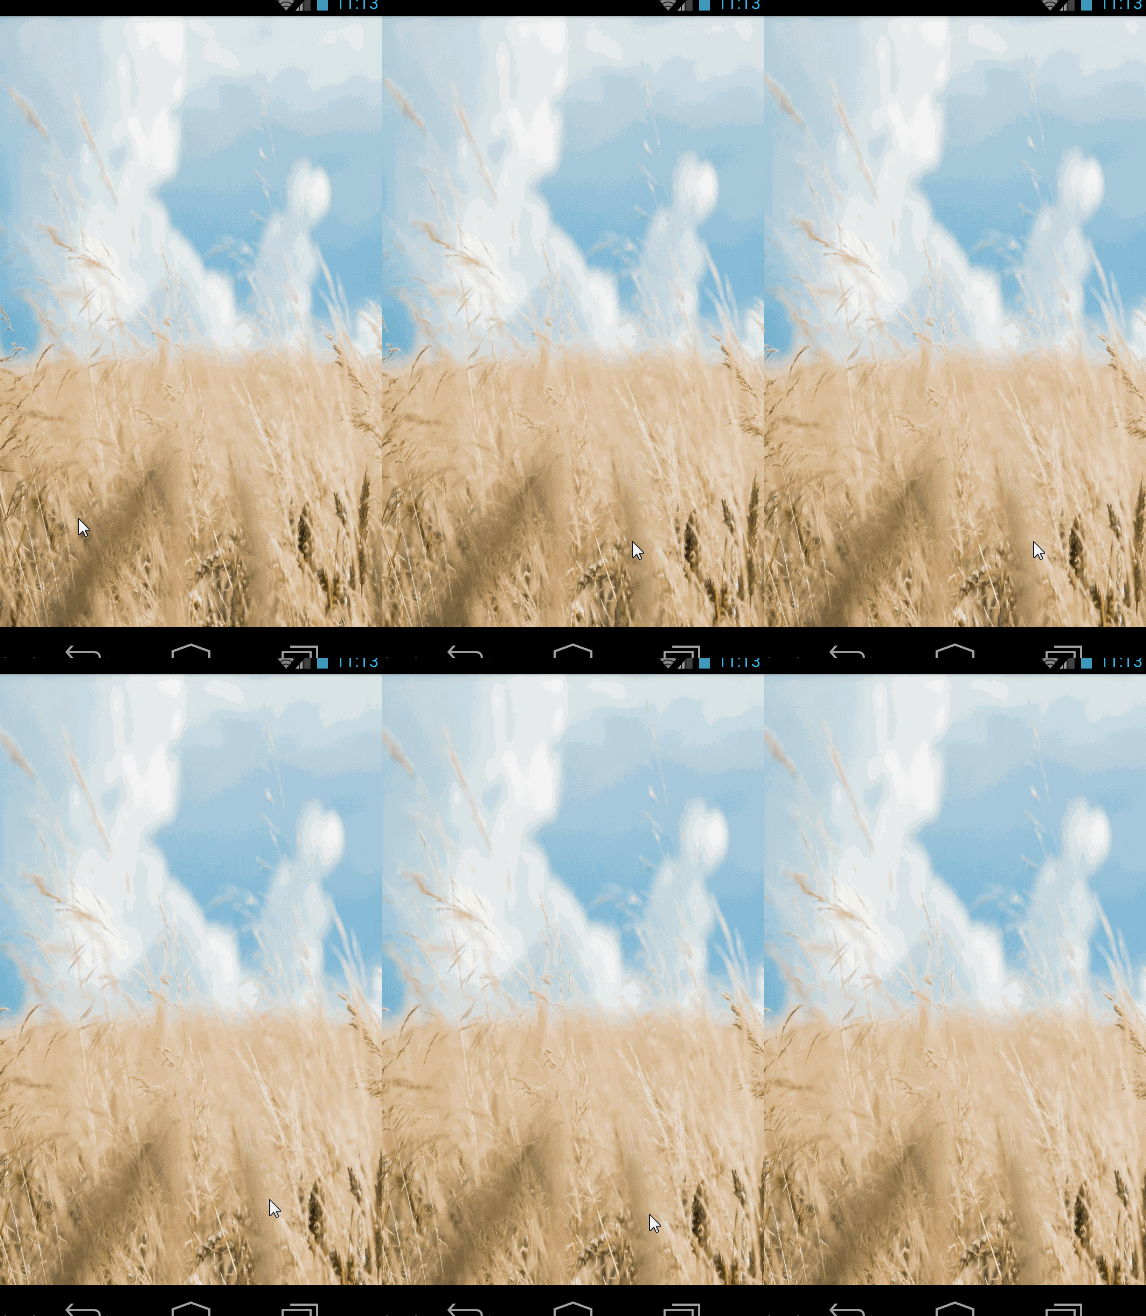
(一)图片放大效果
anim文件
<set xmlns:android="http://schemas.android.com/apk/res/android"
     android:duration="3000"
     android:fillAfter="true">
    <scale
        android:fromXScale="1.0"
        android:fromYScale="1.0"
        android:pivotX="50%"
        android:pivotY="50%"
        android:toXScale="1.2"
        android:toYScale="1.2"/>
</set>
java代码
Animation anim = AnimationUtils.loadAnimation(LoadingActivity.this, R.anim.splash);
        anim.setAnimationListener(new Animation.AnimationListener() {
            @Override
            public void onAnimationStart(Animation animation) {
            }
            @Override
            public void onAnimationEnd(Animation animation) {
                //在这里可进行页面的跳转
            }
            @Override
            public void onAnimationRepeat(Animation animation) {
            }
        });
        img.setAnimation(anim);
效果如图:
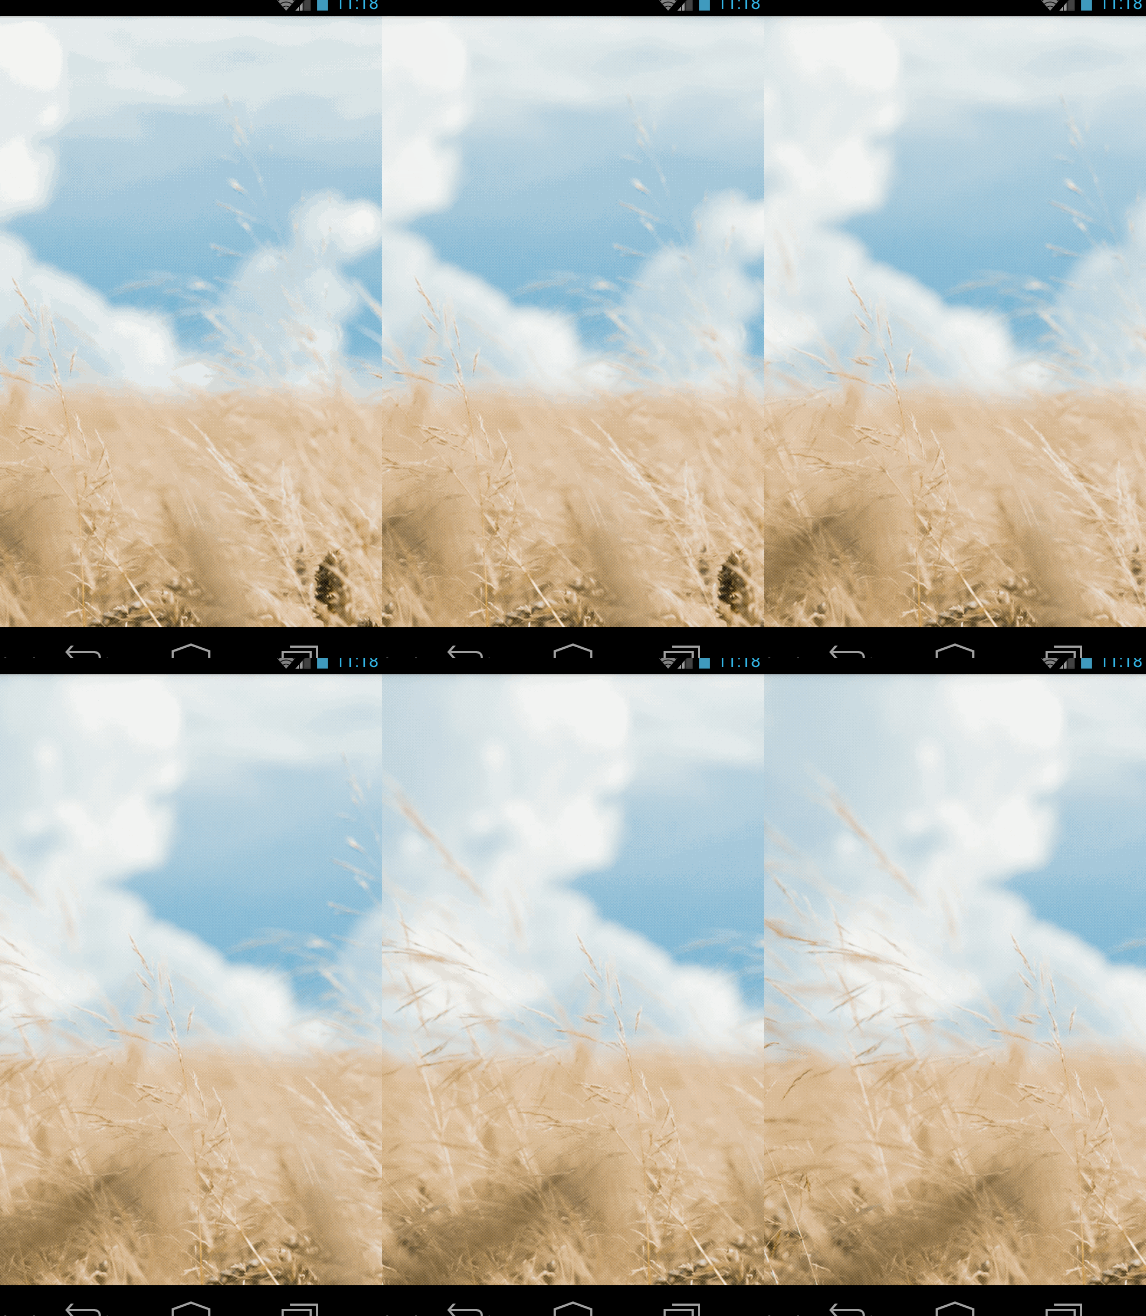
(二)图片左右平移效果:
为了展示GIF,我把动画调快了 ,正常背景左右移动可能需要20S左右,我调成了5S。
layout要注意:图片必须被包裹,宽度为尽量超出一屏。
<?xml version="1.0" encoding="utf-8"?>
<RelativeLayout xmlns:android="http://schemas.android.com/apk/res/android"
    android:layout_width="match_parent"
    android:layout_height="match_parent">

    <LinearLayout
        android:layout_width="match_parent"
        android:layout_height="match_parent">

        <ImageView
            android:id="@+id/id_scroll_img"
            android:layout_width="1280dp"
            android:layout_height="match_parent"
            android:scaleType="matrix"
            android:src="@drawable/mi_laucher_default_homebg" />
    </LinearLayout>

</RelativeLayout>
TranslateAnimation right = new TranslateAnimation(Animation.RELATIVE_TO_PARENT, 0f,
                Animation.RELATIVE_TO_PARENT, -1f,
                Animation.RELATIVE_TO_PARENT, 0f, Animation.RELATIVE_TO_PARENT,
                0f);

TranslateAnimation left= new TranslateAnimation(Animation.RELATIVE_TO_PARENT, -1f,
                Animation.RELATIVE_TO_PARENT, 0f, Animation.RELATIVE_TO_PARENT,
                0f, Animation.RELATIVE_TO_PARENT, 0f);
        right.setDuration(5000);//动画时间
        left.setDuration(5000);//动画时间
        right.setFillAfter(true);
        left.setFillAfter(true);

        right.setAnimationListener(new Animation.AnimationListener() {
            @Override
            public void onAnimationStart(Animation animation) {
            }

            @Override
            public void onAnimationRepeat(Animation animation) {
            }

            @Override
            public void onAnimationEnd(Animation animation) {
                img.startAnimation(left);
            }
        });
        left.setAnimationListener(new Animation.AnimationListener() {
            @Override
            public void onAnimationStart(Animation animation) {
            }

            @Override
            public void onAnimationRepeat(Animation animation) {
            }

            @Override
            public void onAnimationEnd(Animation animation) {
                img.startAnimation(right);
            }
        });
        img.startAnimation(right);
(三)中心上下展开
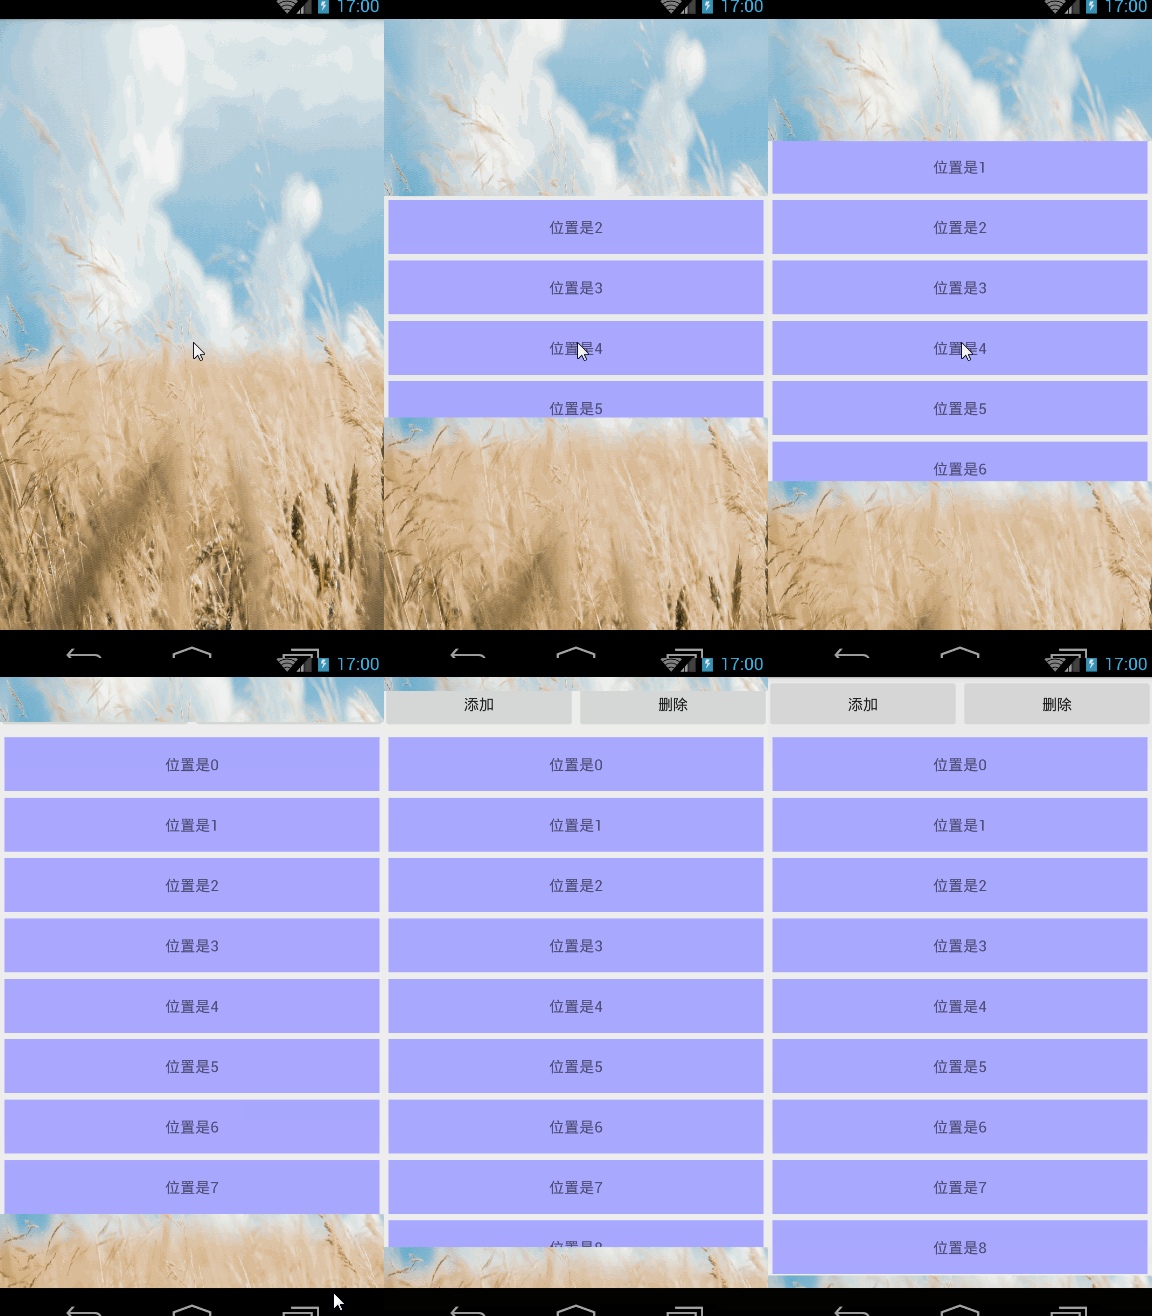
把图片上下展开,效果可以参考美食杰
最简单的方法是两张图片上下进行动画,而我的这是把当前屏幕转成Bitmap然后去分成两半进行的动画。
首先Activity1的看布局
<?xml version="1.0" encoding="utf-8"?>
<RelativeLayout xmlns:android="http://schemas.android.com/apk/res/android"
    android:layout_width="match_parent"
    android:layout_height="match_parent">

    <TextView
        android:id="@+id/open_click"
        android:layout_width="match_parent"
        android:layout_height="match_parent"
        android:text="点击进行动画"
        android:gravity="center"
        android:textSize="48sp"
        android:background="@drawable/mi_laucher_default_homebg"/>

</RelativeLayout>
在Activity1的代码中,我们给TextView加上点击事件,进行
findViewById(R.id.open_click).setOnClickListener(new View.OnClickListener() {
            @Override
            public void onClick(View v) {
            //在这调用方法去截取当前Activity的界面
                AnimatorUtils.prepare(Activity1.this);
                startActivity(new Intent(Activity1.this, Activity2.class));
                overridePendingTransition(0, 0);
            }
        });
在Activity2中的onCreate()方法中加上进行动画
AnimatorUtils.prepareAnimation(Activity2.this);下面查看我们的AnimatorUtils类
import android.animation.Animator;
import android.animation.AnimatorSet;
import android.animation.ObjectAnimator;
import android.animation.TimeInterpolator;
import android.app.Activity;
import android.content.Context;
import android.graphics.Bitmap;
import android.graphics.Canvas;
import android.graphics.Paint;
import android.graphics.PixelFormat;
import android.graphics.Rect;
import android.graphics.drawable.BitmapDrawable;
import android.graphics.drawable.Drawable;
import android.os.Handler;
import android.view.Gravity;
import android.view.View;
import android.view.WindowManager;
import android.view.animation.DecelerateInterpolator;
import android.widget.ImageView;

/**
 * Created by 32918 on 2015/11/23.
 */
public class AnimatorUtils {
    public static Bitmap mBitmap = null;
    private static int[] mLoc1;
    private static int[] mLoc2;
    private static ImageView mTopImage;
    private static ImageView mBottomImage;
    private static AnimatorSet mSetAnim;

    /**
     * Preparing the graphics for the animation
     *
     * @param currActivity the current Activity from where we start the new one
     */
    public static void prepare(Activity currActivity) {

        // Get the content of the activity and put in a bitmap
        View root = currActivity.getWindow().getDecorView().findViewById(android.R.id.content);
        root.setDrawingCacheEnabled(true);
        mBitmap = root.getDrawingCache();
        int height = currActivity.getWindow().getWindowManager().getDefaultDisplay().getHeight();

        // If the split Y coordinate is -1 - We'll split the activity equally
        int splitYCoord =  height / 2;//mBitmap.getHeight() / 2
        if (splitYCoord > mBitmap.getHeight())
            throw new IllegalArgumentException("Split Y coordinate [" + splitYCoord + "] exceeds the activity's height [" + mBitmap.getHeight() + "]");

        // Set the location to put the 2 bitmaps on the destination activity
        mLoc1 = new int[]{0, splitYCoord, root.getTop()};
        mLoc2 = new int[]{splitYCoord, height, root.getTop()};
    }

    public static void prepareAnimation(final Activity destActivity) {
        mTopImage = createImageView(destActivity, mBitmap, mLoc1);
        mBottomImage = createImageView(destActivity, mBitmap, mLoc2);
        animate(destActivity, 2000, new DecelerateInterpolator());
    }

    /**
     * Start the animation the reveals the destination Activity
     * Should be called on the destination activity on Activity#onCreate() AFTER setContentView()
     *
     * @param destActivity the destination Activity
     * @param duration The duration of the animation
     * @param interpolator The interpulator to use for the animation. null for no interpulation.
     */

    public static void animate(final Activity destActivity, final int duration, final TimeInterpolator interpolator) {

        // Post this on the UI thread's message queue. It's needed for the items to be already measured

        new Handler().post(new Runnable() {

            @Override
            public void run() {
                mSetAnim = new AnimatorSet();
                mTopImage.setLayerType(View.LAYER_TYPE_HARDWARE, null);
                mBottomImage.setLayerType(View.LAYER_TYPE_HARDWARE, null);
                mSetAnim.addListener(new Animator.AnimatorListener() {
                    @Override
                    public void onAnimationStart(Animator animation) {
                    }

                    @Override
                    public void onAnimationEnd(Animator animation) {
                        clean(destActivity);
                    }

                    @Override
                    public void onAnimationCancel(Animator animation) {
                        clean(destActivity);
                    }

                    @Override
                    public void onAnimationRepeat(Animator animation) {

                    }
                });

                // Animating the 2 parts away from each other
                Animator anim1 = ObjectAnimator.ofFloat(mTopImage, "translationY", mTopImage.getHeight() * -1);
                Animator anim2 = ObjectAnimator.ofFloat(mBottomImage, "translationY", mBottomImage.getHeight());

                if (interpolator != null) {
                    anim1.setInterpolator(interpolator);
                    anim2.setInterpolator(interpolator);
                }

                mSetAnim.setDuration(duration);
                mSetAnim.playTogether(anim1, anim2);
                mSetAnim.start();
            }
        });
    }

    /**
     * Clean stuff
     *
     * @param activity The Activity where the animation is occurring
     */
    private static void clean(Activity activity) {
        if (mTopImage != null) {
            mTopImage.setLayerType(View.LAYER_TYPE_NONE, null);
            try {
                // If we use the regular removeView() we'll get a small UI glitch
                activity.getWindowManager().removeViewImmediate(mBottomImage);
            } catch (Exception ignored) {
            }
        }
        if (mBottomImage != null) {
            mBottomImage.setLayerType(View.LAYER_TYPE_NONE, null);
            try {
                activity.getWindowManager().removeViewImmediate(mTopImage);
            } catch (Exception ignored) {
            }
        }

        mBitmap = null;
    }


    /**
     * Creating the an image, containing one part of the animation on the destination activity
     *
     * @param destActivity The destination activity
     * @param bmp          The Bitmap of the part we want to add to the destination activity
     * @param loc          The location this part should be on the screen
     * @return
     */
    private static ImageView createImageView(Activity destActivity, Bitmap bmp, int loc[]) {
        MyImageView imageView = new MyImageView(destActivity);
        imageView.setImageBitmap(bmp);
        imageView.setImageOffsets(bmp.getWidth(), loc[0], loc[1]);

        WindowManager.LayoutParams windowParams = new WindowManager.LayoutParams();
        windowParams.gravity = Gravity.TOP;
        windowParams.x = 0;
        windowParams.y = loc[2] + loc[0];
        windowParams.height = loc[1] - loc[0];
        windowParams.width = bmp.getWidth();
        windowParams.flags = WindowManager.LayoutParams.FLAG_LAYOUT_IN_SCREEN;
        windowParams.format = PixelFormat.TRANSLUCENT;
        windowParams.windowAnimations = 0;
        destActivity.getWindowManager().addView(imageView, windowParams);

        return imageView;
    }

    /**
     * MyImageView
     * Extended ImageView that draws just part of an image, base on start/end position
     */
    private static class MyImageView extends ImageView
    {
        private Rect mSrcRect;
        private Rect mDstRect;
        private Paint mPaint;

        public MyImageView(Context context)
        {
            super(context);
            mPaint = new Paint(Paint.ANTI_ALIAS_FLAG);
        }

        /**
         * Setting the bitmap offests to control the visible area
         *
         * @param width        The bitmap image
         * @param startY      The start Y position
         * @param endY        The end Y position
         * @return
         */
        public void setImageOffsets(int width, int startY, int endY)
        {
            mSrcRect = new Rect(0, startY, width, endY);
            mDstRect = new Rect(0, 0, width, endY - startY);
        }

        @Override
        protected void onDraw(Canvas canvas)
        {
            Bitmap bm = null;
            Drawable drawable = getDrawable();
            if (null != drawable && drawable instanceof BitmapDrawable)
            {
                bm = ((BitmapDrawable)drawable).getBitmap();
            }

            if (null == bm)
            {
                super.onDraw(canvas);
            }
            else
            {
                canvas.drawBitmap(bm, mSrcRect, mDstRect, mPaint);
            }
        }
    }

}
效果如图:


 532
532

 被折叠的 条评论
为什么被折叠?


