


主要步骤:Steps:
- Request permission to notify the user.
- Create a notification object.
- Execute the notification.
- Prepare your app to receive the notification.
- when it’s not running.
- when it’s in any other lifecycle state
- Wire up the user interface
Code for step 1: Request Permission
在ViewController中添加如下方法的定义和实现
- (void) requestPermissionToNotify{
    //create types for wanted notifications
    UIUserNotificationType types = UIUserNotificationTypeBadge | UIUserNotificationTypeSound | UIUserNotificationTypeAlert;
    //create settings for wanted types
    UIUserNotificationSettings *settings = [UIUserNotificationSettings settingsForTypes:types categories:nil];
    //ask for permissions
    [[UIApplication sharedApplication] registerUserNotificationSettings:settings];

}
Code for step 2&3
- (void) createANotification:(int)seconds_in_future{
    //create local notificaiton object
    UILocalNotification *localNotif = [[UILocalNotification alloc] init];

    //set the fire time of this notification
    localNotif.fireDate = [[NSDate date] dateByAddingTimeInterval:seconds_in_future];

    //if you want the notification fire date to stick to one specific time zone
    localNotif.timeZone = nil;

    //set notification title
    localNotif.alertTitle = @"Alert Title ";

    //set notification body
    localNotif.alertBody = @"Alert Body";

    //provide an action to close notification
    localNotif.alertAction = @"confirm";

    //set the sound
    localNotif.soundName = UILocalNotificationDefaultSoundName;

    //set badge number, using 1018 for fun
    localNotif.applicationIconBadgeNumber = 1018;

    //schedule the notification into application
    [[UIApplication sharedApplication] scheduleLocalNotification:localNotif];
}
Code for step 4: Prepare your app to receive the notification
在AppDelegate.m中,重写两个方法,用于在不同情况下接收notification并响应
- (BOOL)application:(UIApplication *)application didFinishLaunchingWithOptions:(NSDictionary *)launchOptions {
//clear badge
application.applicationIconBadgeNumber = 0;
//request notification object to associate with a predefined key. If not launched by notification, it would be nil
UILocalNotification *localNotif = launchOptions[UIApplicationLaunchOptionsLocalNotificationKey];
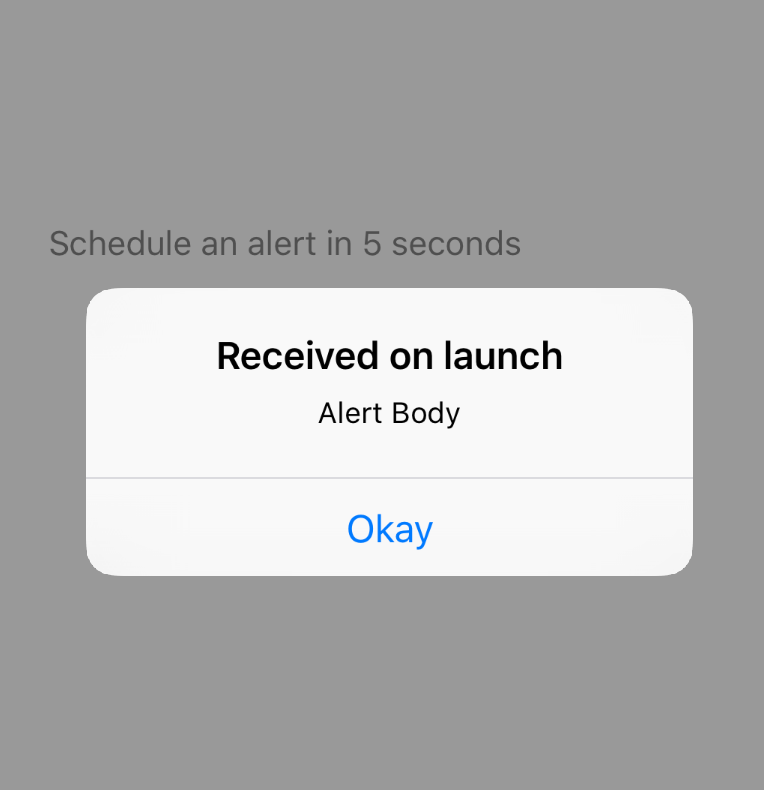
if(localNotif){
UIAlertController *ac = [UIAlertController alertControllerWithTitle:@"Received on launch" message:localNotif.alertBody preferredStyle:UIAlertControllerStyleAlert ];
UIAlertAction *aa = [UIAlertAction actionWithTitle:@"Okay" style:UIAlertActionStyleDefault handler:nil];
[ac addAction:aa];
dispatch_async(dispatch_get_main_queue(), ^{
[application .keyWindow.rootViewController presentViewController:ac animated:YES completion:nil];
});
}
return YES;
}
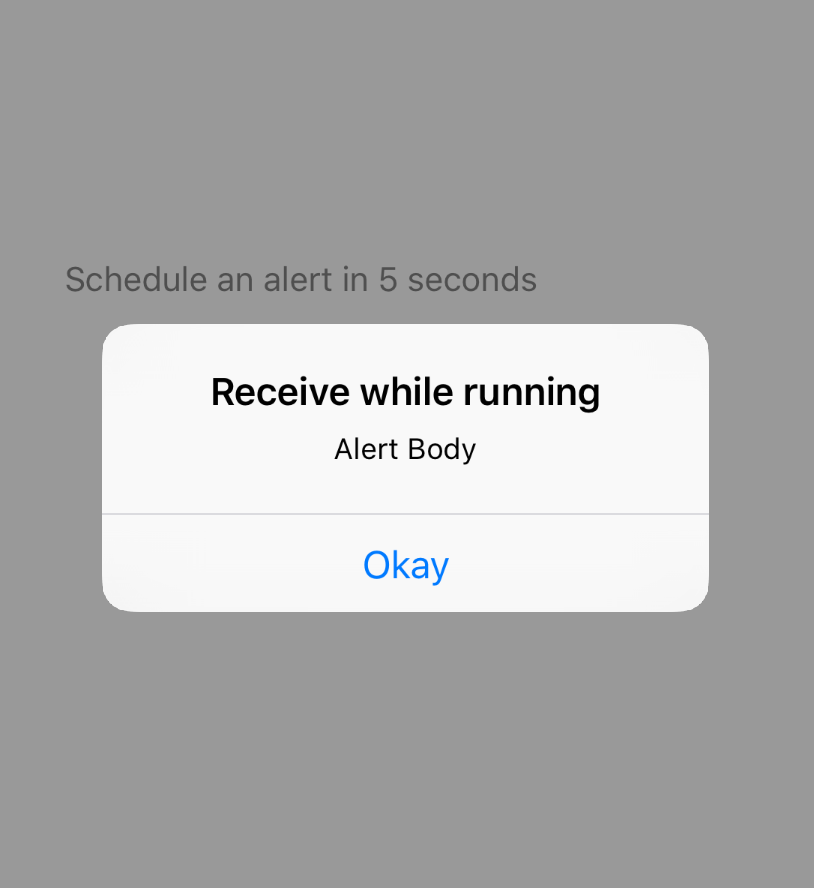
- (void)application:(UIApplication *)application didReceiveLocalNotification:(nonnull UILocalNotification *)notification{
//clear badge
application.applicationIconBadgeNumber = 0;
//received a notification, display an alert controller
UIAlertController *ac = [UIAlertController alertControllerWithTitle:@"Receive while running" message:notification.alertBody preferredStyle:UIAlertControllerStyleAlert ];
UIAlertAction *aa = [UIAlertAction actionWithTitle:@"Okay" style:UIAlertActionStyleDefault handler:nil];
[ac addAction:aa];
dispatch_async(dispatch_get_main_queue(), ^{
[application .keyWindow.rootViewController presentViewController:ac animated:YES completion:nil];
});
}Code for step 5: Wire up the user interface
添加一个按钮,添加如下触发函数
- (IBAction)scheduleTapped:(id)sender {
    [self requestPermissionToNotify];
    [self createANotification:5]; //the number 5 here means 5 seconds
}
执行效果:
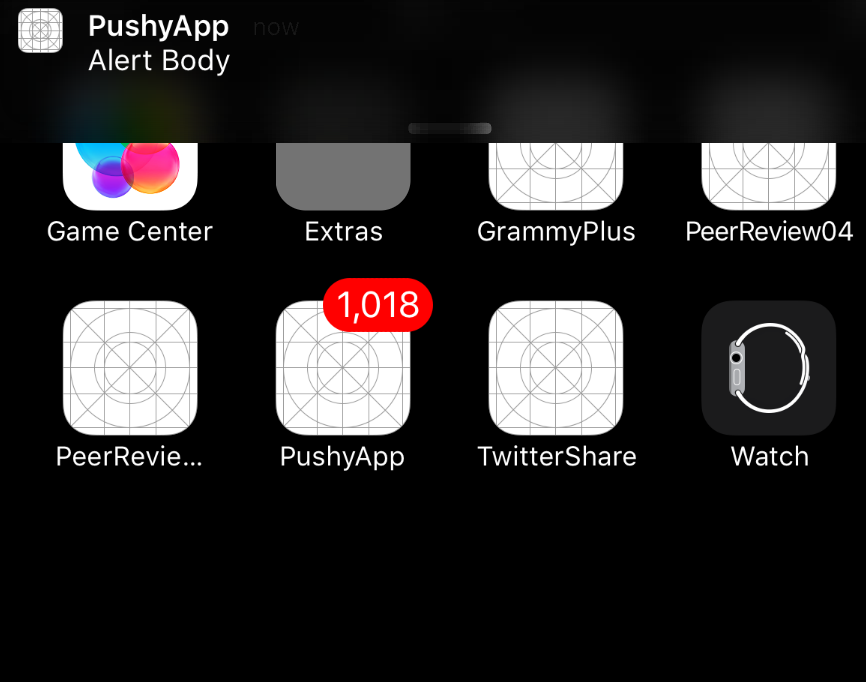
关闭后接收通知:


 2222
2222

 被折叠的 条评论
为什么被折叠?
被折叠的 条评论
为什么被折叠?
 到【灌水乐园】发言


