


提示:文章写完后,目录可以自动生成,如何生成可参考右边的帮助文档
前言
作为技术而言,我并不认为多语言有什么值得深入研究的地方,本来也没打算开这个话题。前段时间看到了群里有朋友在讨论这个,一想到它确实也算一个比较常用的功能,所以决定对它做一个封装,如果您正好需要,希望对您有帮助。
一、使用步骤
1.1 新建WPF项目,引用NuGet包“QS.WPF.Toolkit.GlobalizationSourceGenerator”;
dotnet add package QS.WPF.Toolkit.GlobalizationSourceGenerator --version 1.0.1
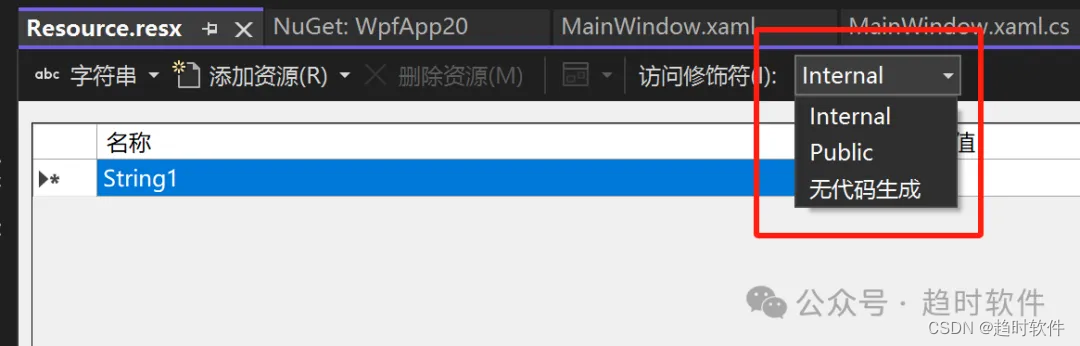
1.2 添加资源文件(名称为Resource.resx或Resources.resx);
1.2.1 将资源文件的访问修饰符改为Public(鼠标双击Resource.resx文件打开);
1.2.2 添加多语言版本文字(建议使用ResX Manager);

当然你也可以自己添加,以下是添加后的效果。

1.3 在界面上绑定资源
<Window
x:Class="WpfApp20.MainWindow"
xmlns="http://schemas.microsoft.com/winfx/2006/xaml/presentation"
xmlns:x="http://schemas.microsoft.com/winfx/2006/xaml"
xmlns:d="http://schemas.microsoft.com/expression/blend/2008"
xmlns:local="clr-namespace:WpfApp20"
xmlns:mc="http://schemas.openxmlformats.org/markup-compatibility/2006"
xmlns:res="clr-namespace:WpfApp20.Resources"
Title="MainWindow"
Width="800"
Height="450"
mc:Ignorable="d">
<Grid>
<TextBlock
HorizontalAlignment="Center"
VerticalAlignment="Center"
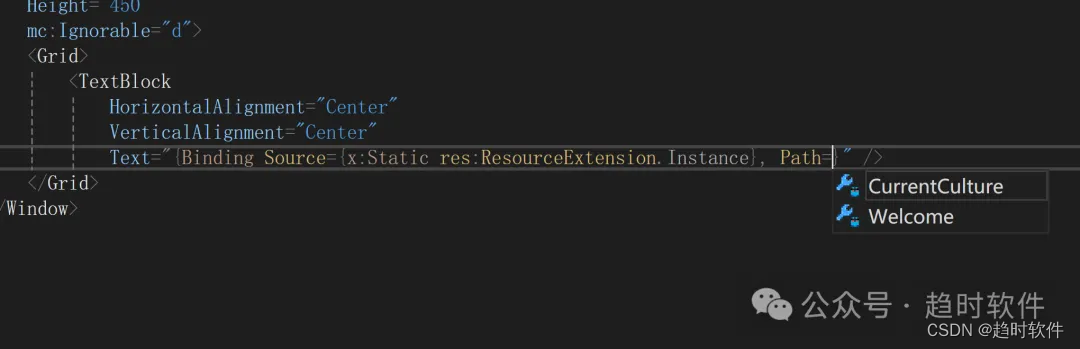
Text="{Binding Source={x:Static res:ResourceExtension.Instance}, Path=Welcome}" />
</Grid>
</Window>
智能提示可用
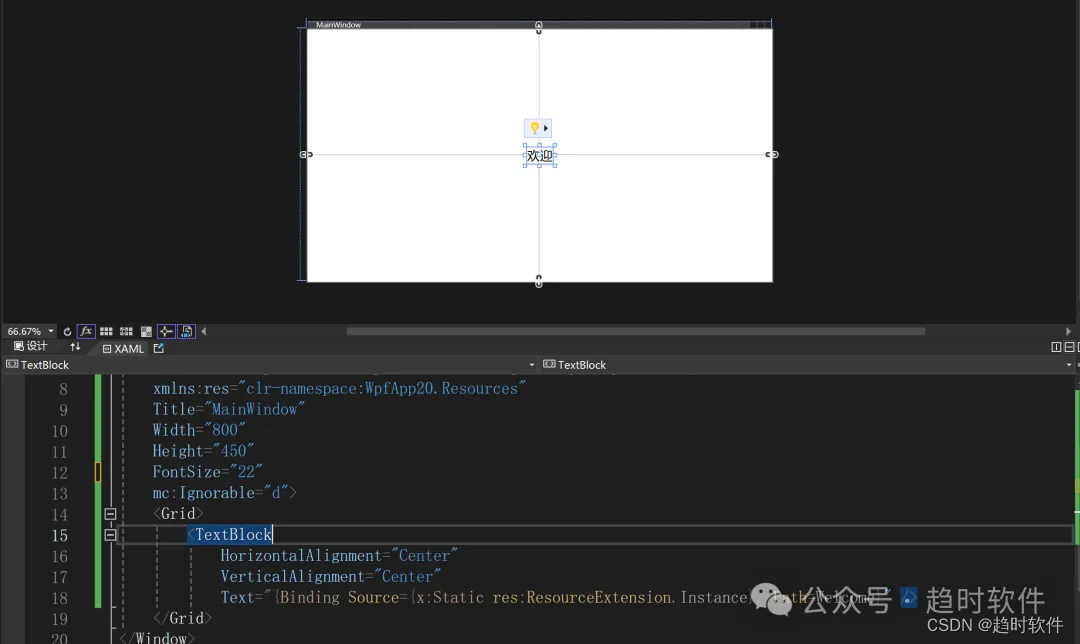
设计视图可用
1.4 语言切换
xaml
<Window
    x:Class="WpfApp20.MainWindow"
    xmlns="http://schemas.microsoft.com/winfx/2006/xaml/presentation"
    xmlns:x="http://schemas.microsoft.com/winfx/2006/xaml"
    xmlns:d="http://schemas.microsoft.com/expression/blend/2008"
    xmlns:local="clr-namespace:WpfApp20"
    xmlns:mc="http://schemas.openxmlformats.org/markup-compatibility/2006"
    xmlns:res="clr-namespace:WpfApp20.Resources"
    Title="MainWindow"
    Width="800"
    Height="450"
    FontSize="16"
    mc:Ignorable="d">
    <Grid>
        <StackPanel
            Margin="0,2,2,0"
            HorizontalAlignment="Right"
            VerticalAlignment="Top"
            Orientation="Horizontal">
            <Button Width="80" Click="Button_Click">中文</Button>
            <Button Width="80" Click="Button_Click_1" Margin="2,0,0,0">English</Button>
        </StackPanel>
        <TextBlock
            HorizontalAlignment="Center"
            VerticalAlignment="Center"
            Text="{Binding Source={x:Static res:ResourceExtension.Instance}, Path=Welcome}" />
    </Grid>
</Window>
cs
using System.Windows;

namespace WpfApp20
{
    public partial class MainWindow : Window
    {
        public MainWindow()
        {
            InitializeComponent();
        }

        private void Button_Click(object sender, RoutedEventArgs e)
        {
            WpfApp20.Resources.ResourceExtension.Instance.CurrentCulture = "zh-CN";
        }

        private void Button_Click_1(object sender, RoutedEventArgs e)
        {
            WpfApp20.Resources.ResourceExtension.Instance.CurrentCulture = "en-US";
        }
    }
}
完成后效果

二、实现原理
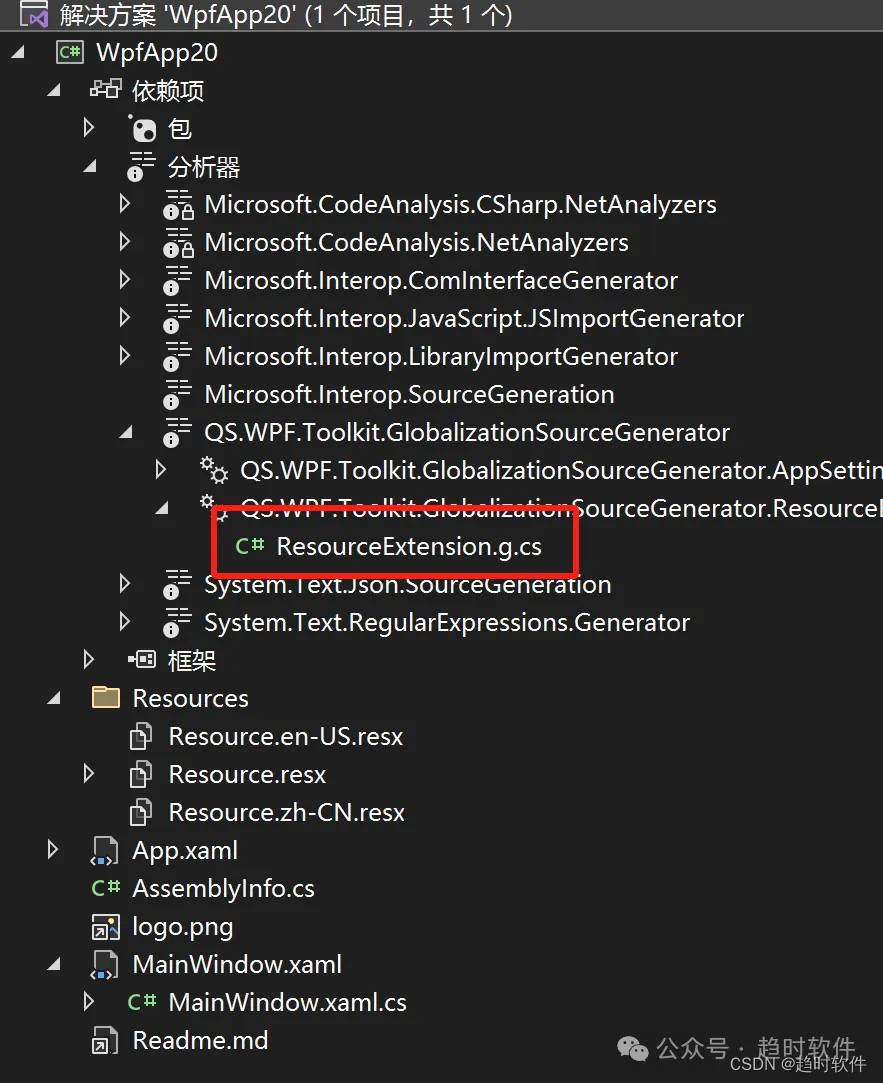
细心的朋友可能第一个疑问就是ResourceExtension这个类怎么来的,这里使用了一个叫源码生成器的技术(如果没了解过可以自行搜索,了解的话自行略过),它是在编译阶段执行的,通过这个特性,我们可以在编译阶段读取Resource文件,然后根据这个文件里的静态属性来生成ResourceExtension类,这个类实现了属性通知的功能,当CurrentCulture属性被更改后,会循环调用OnPropertyChanged方法来触发所有的属性通知事件,如此就实现了运行时的语言切换。如果对生成的源代码感兴趣可以在项目依赖项的分析器下找到生成的代码。
三、疑问解答
3.1 支持的.Net版本有哪些?
.Net Framework>=4.5,.Net Core>=5.0。
3.2 为什么资源文件名必须是Resource或Resources?
因为在.Net Framework WPF项目中,资源文件名默认是Resources,而在.Net Core WPF中资源文件名默认是Resource。
3.3 在.Net Framework WPF项目中引用这个包不起作用?
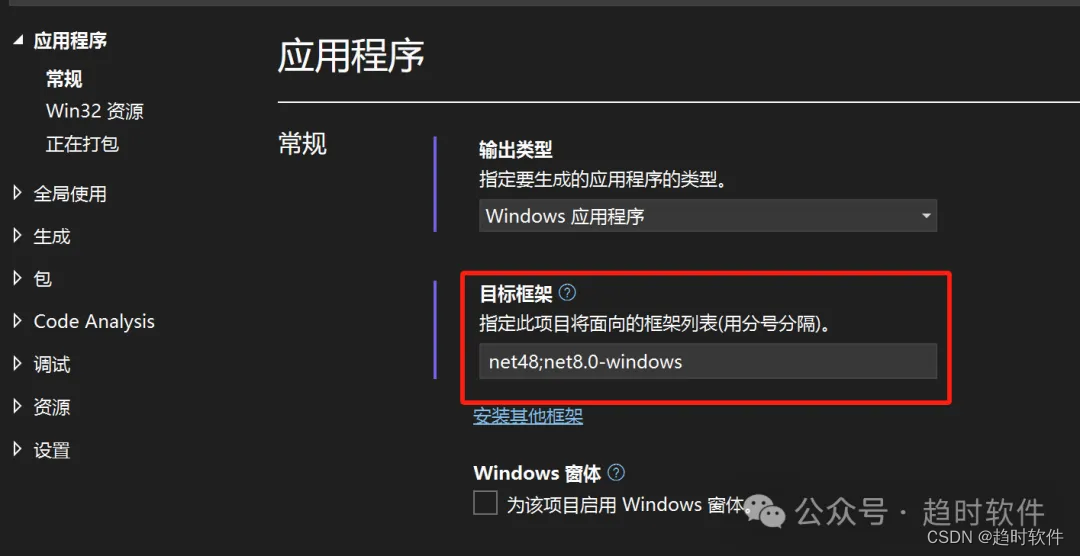
.Net Framework项目中使用源生器目前只能手动添加,建议在.Net Core项目中编译成多目标框架版本的方式使用,如果确实要在.Net Framework版本中使用,可以给我留言。
说明:
示例代码会上传到QQ群共享文件,有需要可以前往下载。
QQ群

微信群:


 7982
7982


 被折叠的 条评论
为什么被折叠?
被折叠的 条评论
为什么被折叠?
 到【灌水乐园】发言


