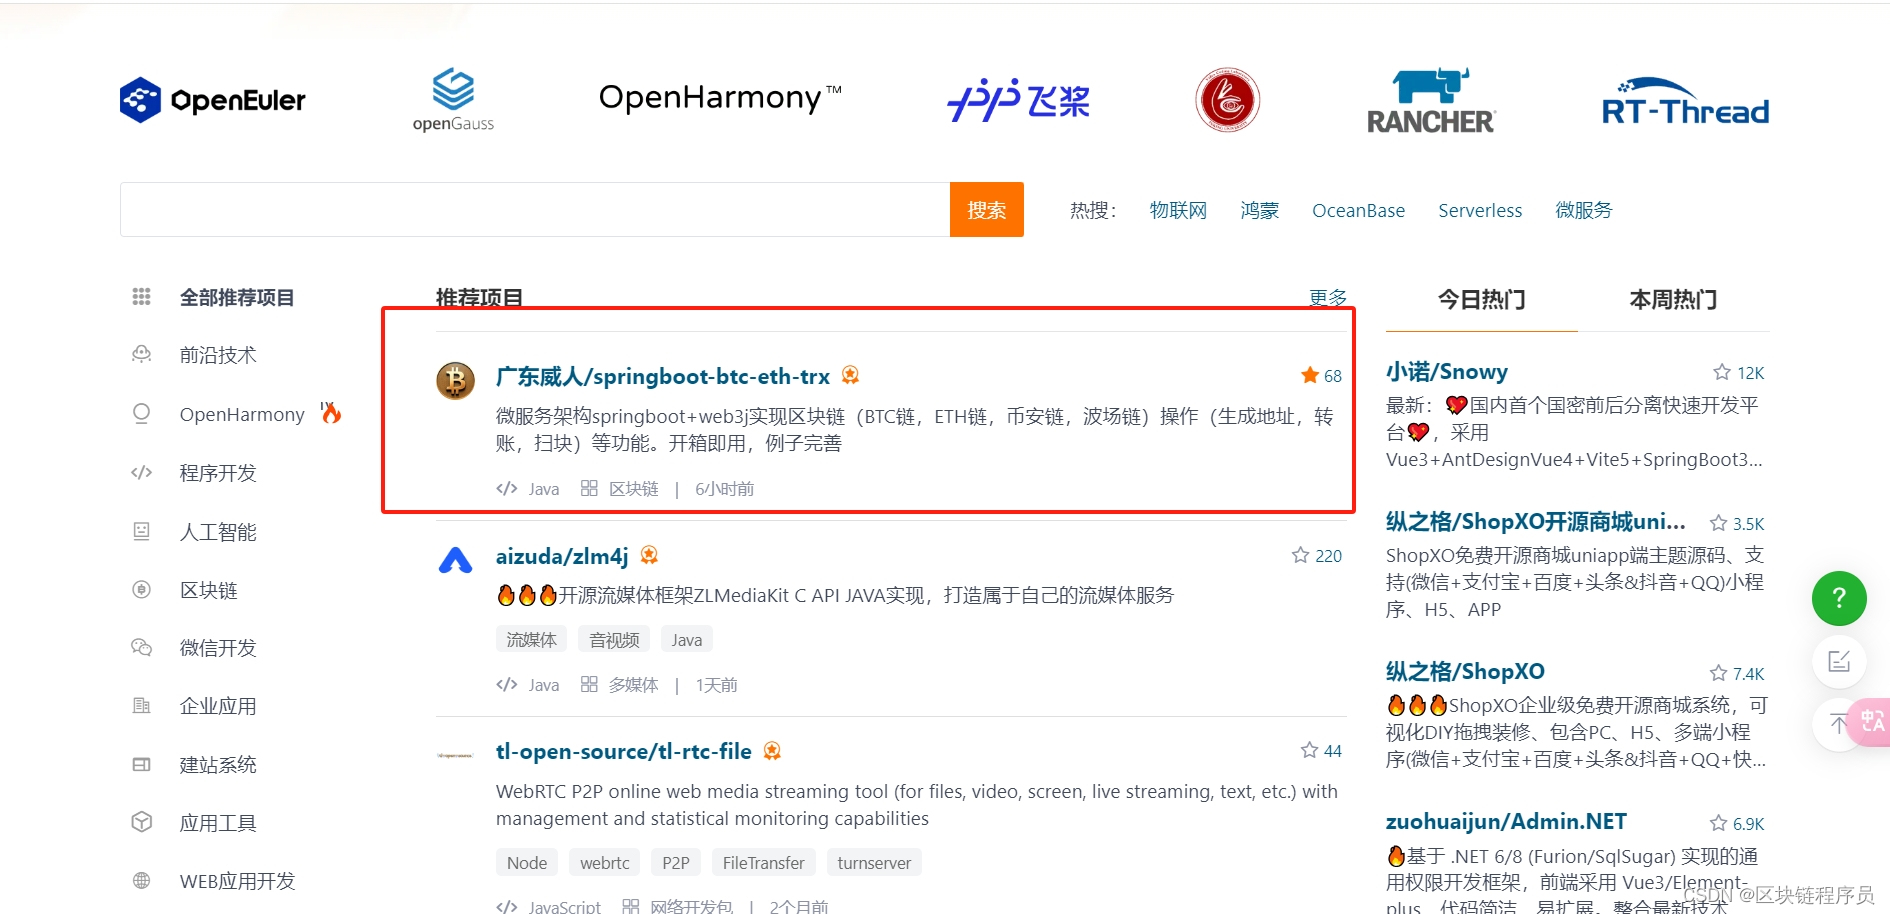
微服务架构springboot+web3j实现区块链(BTC链,ETH链,币安链,波场链)操作(生成地址,转账,扫块)等功能。开箱即用,例子完善
开源地址:https://gitee.com/Linriqiang/springboot-btc-eth-trx
动动您发财的手为我们点一颗star,是对我们最好的鼓励和支持,也是我们前进的动力
1.项目才刚刚开始,后面还有很多丰富的功能
2.请关注我们了解后续的情况(不定期更新)
重要提示:
本项目只用作学习,不做任何投资建议,一切风险自行承担,敬请广大开发者注意
以下是部门部分代码展示
1.创建钱包
public String createAddress() {
		try {

			String ethKeystorePath = BlockChainProperties.getErc20_keystore_path();
			String password = Func.randomUUID();
			String filename = WalletUtils.generateNewWalletFile(password, new File(ethKeystorePath), true);
			String fileUrl = ethKeystorePath + filename;
			Credentials credentials = WalletUtils.loadCredentials(password, new File(fileUrl));
			String address = credentials.getAddress();//地址
			String privateKey = credentials.getEcKeyPair().getPrivateKey().toString(16);//私钥


			Bip39Wallet wallet = WalletUtils.generateBip39Wallet(password, new File(ethKeystorePath));
			String filename2 = wallet.getFilename();
			String fileUrl2 = ethKeystorePath + filename2;

			Credentials credentials2 = WalletUtils.loadCredentials(password, new File(fileUrl2));
			String address2 = credentials2.getAddress();//地址

			String mnemonic = wallet.getMnemonic();//这里是助记词

			System.out.println("mnemonic============" + mnemonic);
			System.out.println("address2========" + address2);
			System.out.println(JsonUtil.toJson(credentials));


			return address;
		} catch (Exception e) {
			e.printStackTrace();
		}

		return null;
	}
2.导入助记词生成地址
public boolean importAddressByMnemonic(String mnemonic) {
		String ETH_TYPE = "m/44'/60'/0'/0/0";
		try {
			List<String> list = Func.toStrList(" ", mnemonic);
			String password = IdWorker.getIdStr();

			String passphrase = "";
			long creationTimeSeconds = System.currentTimeMillis() / 1000;
			DeterministicSeed ds = new DeterministicSeed(list, null, passphrase, creationTimeSeconds);

			String[] pathArray = ETH_TYPE.split("/");

			//根私钥
			byte[] seedBytes = ds.getSeedBytes();

			DeterministicKey dkKey = HDKeyDerivation.createMasterPrivateKey(seedBytes);
			for (int i = 1; i < pathArray.length; i++) {
				ChildNumber childNumber;
				if (pathArray[i].endsWith("'")) {
					int number = Integer.parseInt(pathArray[i].substring(0, pathArray[i].length() - 1));
					childNumber = new ChildNumber(number, true);
				} else {
					int number = Integer.parseInt(pathArray[i]);
					childNumber = new ChildNumber(number, false);
				}
				dkKey = HDKeyDerivation.deriveChildKey(dkKey, childNumber);
			}


			ECKeyPair keyPair = ECKeyPair.create(dkKey.getPrivKeyBytes());
			WalletFile walletFile = Wallet.createLight(password, keyPair);
			System.out.println("地址:" + "0x" + walletFile.getAddress());
			System.out.println("私钥:" + keyPair.getPrivateKey().toString(16));
			;


		} catch (Exception e) {
			e.printStackTrace();
			return false;
		}
		return true;
	}
3.获取代币余额
public String getTokenBalance(String fromAddress, String contractAddress) {

		String methodName = "balanceOf";
		List<Type> inputParameters = new ArrayList<>();
		List<TypeReference<?>> outputParameters = new ArrayList<>();
		Address address = new Address(fromAddress);
		inputParameters.add(address);

		TypeReference<Uint256> typeReference = new TypeReference<Uint256>() {
		};
		outputParameters.add(typeReference);
		Function function = new Function(methodName, inputParameters, outputParameters);
		String data = FunctionEncoder.encode(function);
		Transaction transaction = Transaction.createEthCallTransaction(fromAddress, contractAddress, data);

		EthCall ethCall;
		BigInteger balanceValue = BigInteger.ZERO;
		try {
			ethCall = this.getWeb3j().ethCall(transaction, DefaultBlockParameterName.LATEST).send();
			List<Type> results = FunctionReturnDecoder.decode(ethCall.getValue(), function.getOutputParameters());
			balanceValue = (BigInteger) results.get(0).getValue();
		} catch (Exception e) {
			e.printStackTrace();
		}
		return balanceValue.toString();
	}
总结:开源不易,希望能得到你一个小小的star
Gitee: springboot-btc-eth-trx: 微服务架构springboot+web3j实现区块链(BTC链,ETH链,币安链,波场链)操作(生成地址,转账,扫块)等功能。开箱即用,例子完善


 1166
1166

 被折叠的 条评论
为什么被折叠?


