


1.沉浸式状态栏、变色状态栏区别
变色状态栏
变色状态栏其实就是透明状态栏的一种实现。透明状态栏是Android4.4加入的新特性,状态栏可以设为透明状态。变色状态栏是将状态栏本身的背景全透明化,同时改变应用窗口顶部的颜色。这样能在切换应用窗口时,完成同步变色,并且将色彩一体感做得比原生系统更彻底。既保证顶栏应用图标和文字清晰显示,又将顶栏的颜色与下部的颜色无缝连接起来。将动静态之间的效果调整恰当,让整体的视觉显得流畅。我们常用的很多应用会把状态栏颜色变得和应用的背景颜色一样,但是实际上只是修改了状态栏的颜色,使状态栏与软件颜色融为一体。

沉浸式状态栏
沉浸模式也是4.4加入的新特性,开启沉浸模式后,应用程序的界面将占据整个屏幕,系统自动将隐藏系统的状态栏和导航栏,让应用程序内容可以在最大显示范围呈现,增加大屏体验,而当需要查看通知的时候只需要从顶部向下滑动就能呼出通知栏。(图片来自网络)
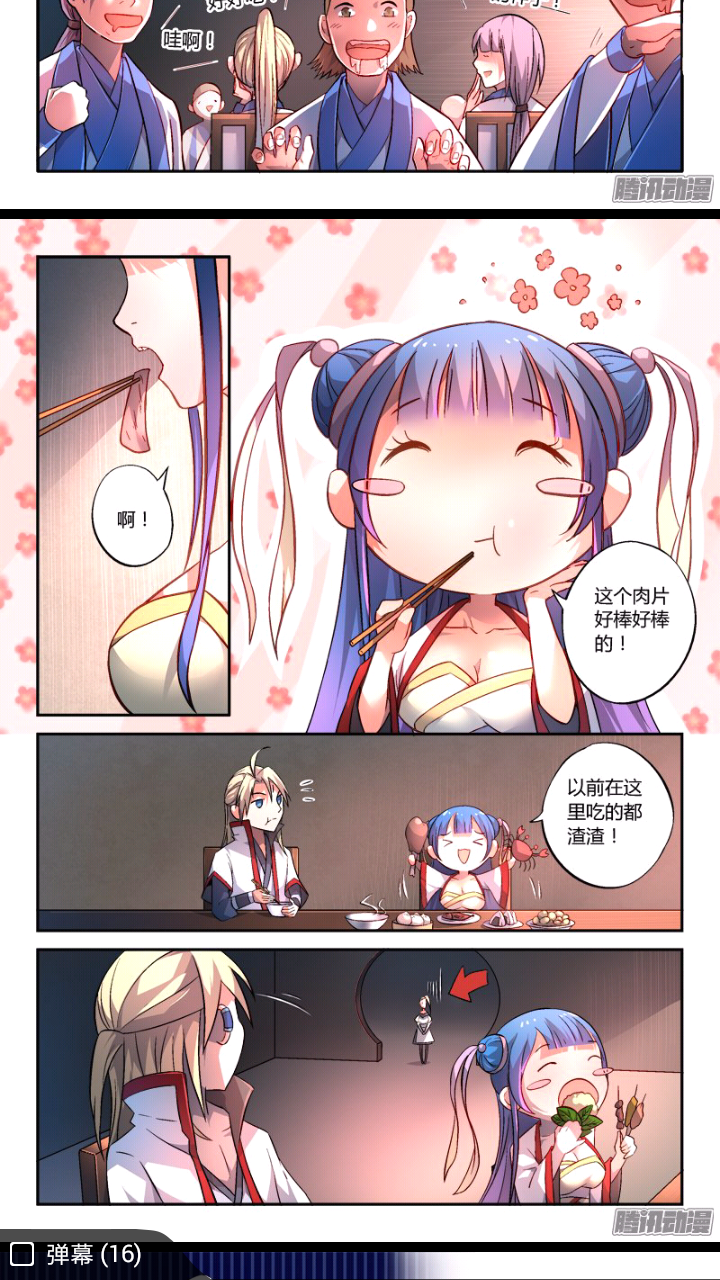
看一个腾讯动漫的例子:
沉浸模式下,程序内容完全占据整个屏幕
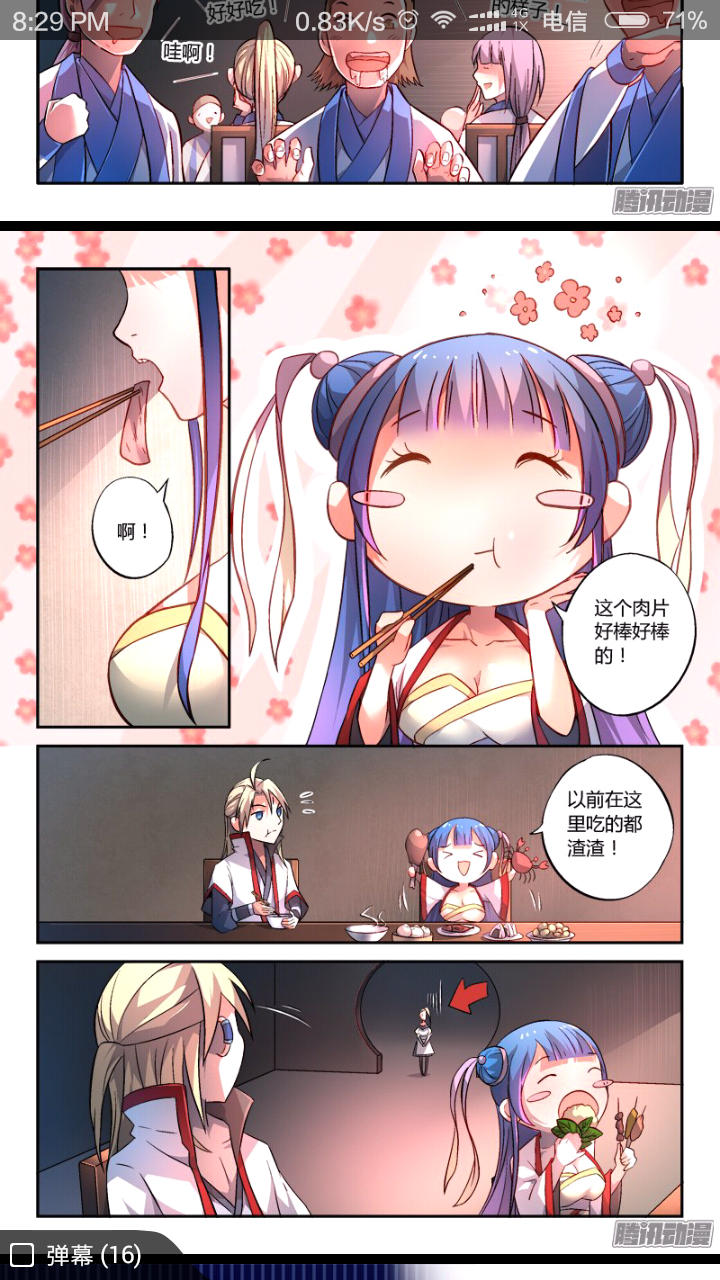
在顶部下滑就可以呼出状态栏,状态栏直接覆盖在程序内容上
2.如何实现透明状态栏
一、在代码中设置
1.首先,我们在res/values/styles.xml主题中添加如下属性,设置内容界面从ActionBar下方开始。
<item name="android:fitsSystemWindows">true</item>这个一个boolean值的内部属性,让view可以根据系统窗口(如status bar)来调整自己的布局,如果值为true,就会调整view的paingding属性来给system windows留出空间。
2.在Activity的onCreate()方法添加如下代码,设置状态栏透明。
if (Build.VERSION.SDK_INT >= Build.VERSION_CODES.KITKAT) {
            WindowManager.LayoutParams layoutParams = getWindow().getAttributes();
            layoutParams.flags = WindowManager.LayoutParams.FLAG_TRANSLUCENT_STATUS | layoutParams.flags;
        }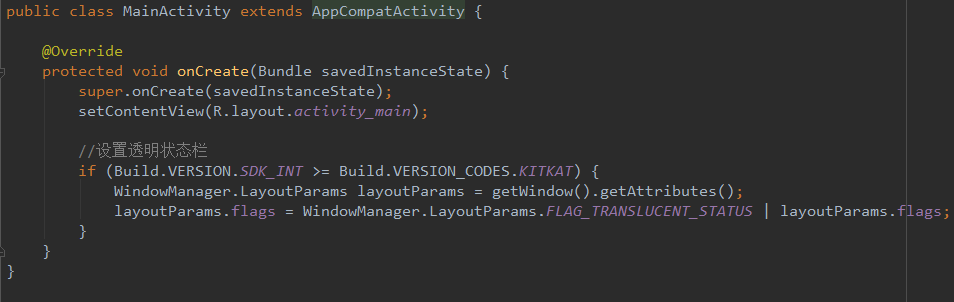
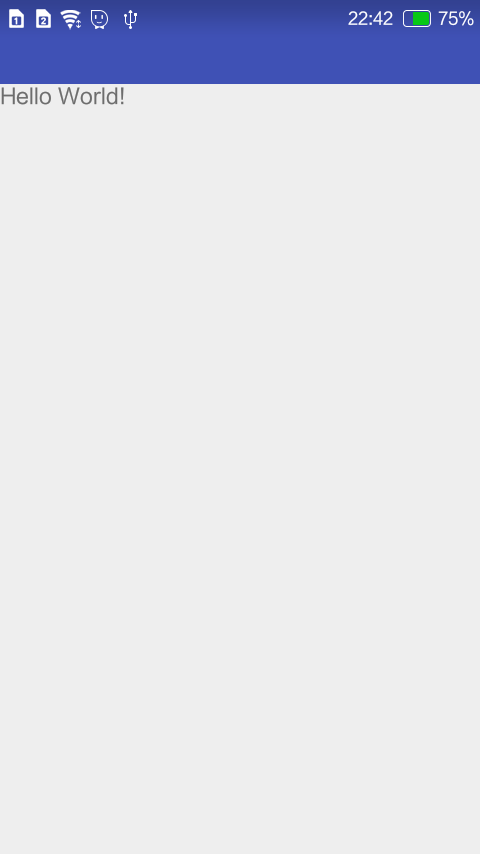
现在我们来运行一下,效果如下:
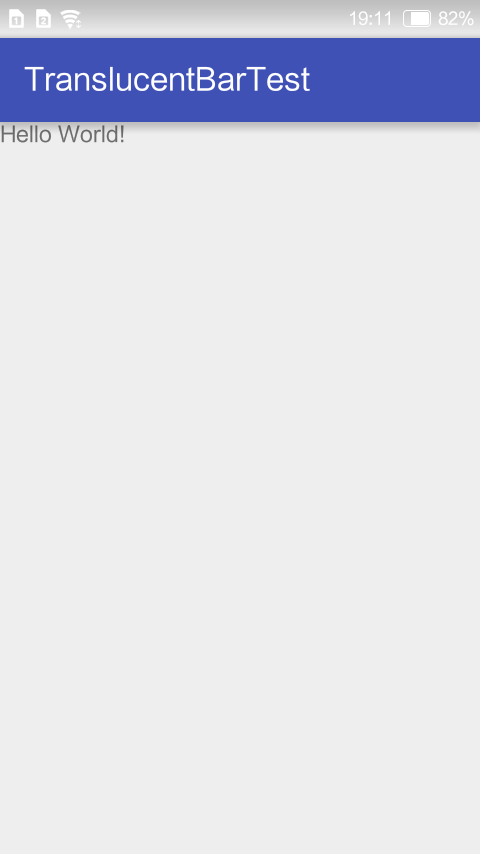
啊捏,和我们平时看到的咋不一样?状态栏是变成透明的了,但是因为我们没有设置底色,显示的是默认布局的白色底色。
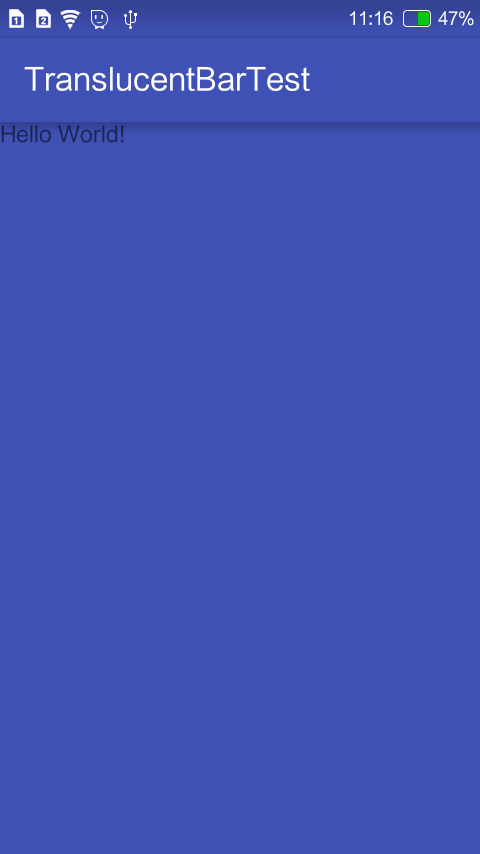
现在我们给布局设置一个背景色看看,我们使用color.xml中默认提供的颜色。
res/layout/activity_main.xml
<?xml version="1.0" encoding="utf-8"?>
<RelativeLayout xmlns:android="http://schemas.android.com/apk/res/android"
    xmlns:tools="http://schemas.android.com/tools"
    android:layout_width="match_parent"
    android:layout_height="match_parent"
    android:paddingBottom="@dimen/activity_vertical_margin"
    android:paddingLeft="@dimen/activity_horizontal_margin"
    android:paddingRight="@dimen/activity_horizontal_margin"
    android:paddingTop="@dimen/activity_vertical_margin"
    android:background="@color/colorPrimary"
    tools:context="com.myxh.translucentbartest.MainActivity">

    <TextView
        android:layout_width="wrap_content"
        android:layout_height="wrap_content"
        android:text="Hello World!" />
</RelativeLayout>
效果如下:
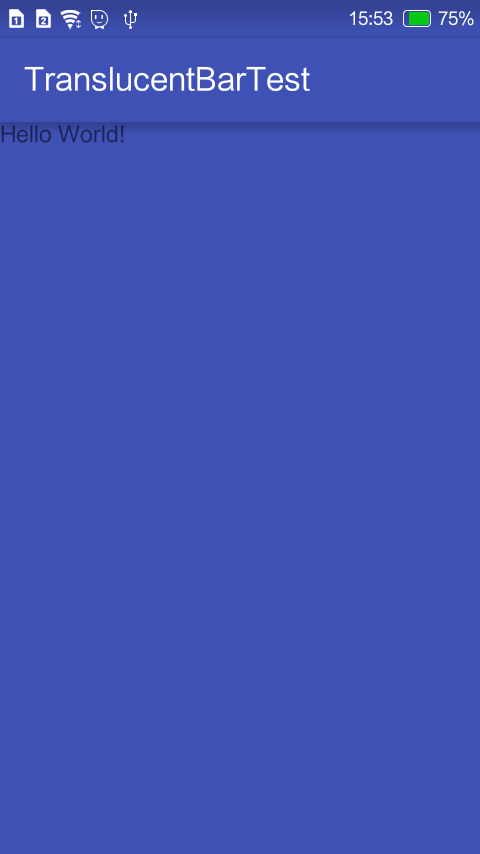
换个颜色试试,将背景色改为android:background="@color/colorAccent"
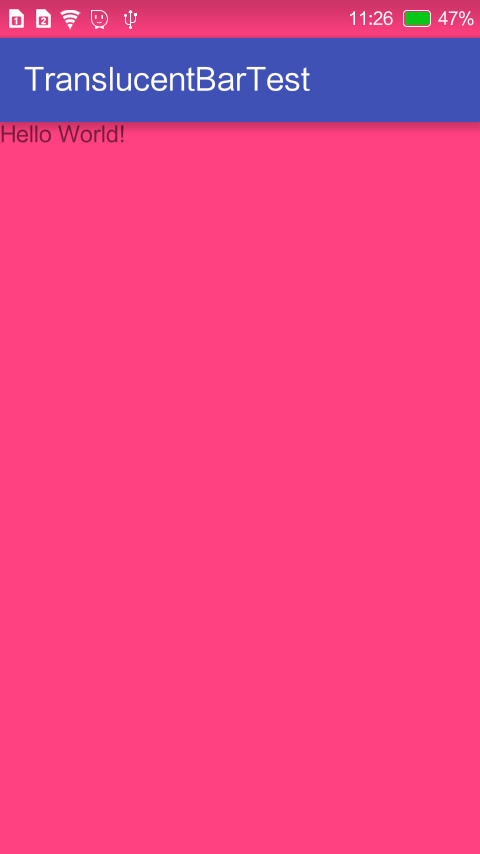
哈哈,简直丑爆有木有
基于这种透明状态栏我们很容易就可以实现变色的状态栏,既然状态栏是透明的了,我们只需要改变状态栏的底色就可以。但是这样设置会使整个布局跟着变色,我们只想实现状态栏变色怎么办?
很简单,我们可以添加一个与状态栏等高的TextView,设置底色与ActionBar颜色相同就可以了。关于如何获取状态栏高度,可以参考这里
- 首先,我们需要去掉前面在style.xml中设置的fitSystemWindow属性,让控件从顶部开始布局,否则始终会在ActionBar以下开始布局
res/values/styles.xml
<resources>

    <!-- Base application theme. -->
    <style name="BaseAppTheme" parent="Theme.AppCompat.Light.DarkActionBar">
        <!-- Customize your theme here. -->
        <item name="colorPrimary">@color/colorPrimary</item>
        <item name="colorPrimaryDark">@color/colorPrimaryDark</item>
        <item name="colorAccent">@color/colorAccent</item>
    </style>

    <style name="AppTheme" parent="BaseAppTheme">
        <!--<item name="android:fitsSystemWindows">true</item>-->
    </style>

</resources>- 在activity_main.xml中我们定义一个TextView用于覆盖状态栏,将其他控件设置
fitSystemWindow为true,记得删除根布局自带的padding属性
res/values/activity_main.xml
<?xml version="1.0" encoding="utf-8"?>
<RelativeLayout xmlns:android="http://schemas.android.com/apk/res/android"
    xmlns:tools="http://schemas.android.com/tools"
    android:layout_width="match_parent"
    android:layout_height="match_parent"
    tools:context="com.myxh.translucentbartest.MainActivity">

    <TextView
        android:id="@+id/main_tv"
        android:layout_width="match_parent"
        android:layout_height="wrap_content"
        android:layout_alignParentTop="true"
        android:paddingTop="0dp"/>

    <TextView
        android:layout_width="wrap_content"
        android:layout_height="wrap_content"
        android:fitsSystemWindows="true"
        android:text="Hello World!" />
</RelativeLayout>- 在代码中将TextView高度设置为状态栏高度,并设置背景颜色
public class MainActivity extends AppCompatActivity {
private TextView mTextView;
@Override
protected void onCreate(Bundle savedInstanceState) {
super.onCreate(savedInstanceState);
setContentView(R.layout.activity_main);
//设置透明状态栏
if (Build.VERSION.SDK_INT >= Build.VERSION_CODES.KITKAT) {
WindowManager.LayoutParams layoutParams = getWindow().getAttributes();
layoutParams.flags = WindowManager.LayoutParams.FLAG_TRANSLUCENT_STATUS | layoutParams.flags;
//为状态栏设置背景
mTextView = (TextView) findViewById(R.id.main_tv);
mTextView.setHeight(getStatusBarHeight());
mTextView.setBackgroundResource(R.color.colorPrimary);
}
}
//获取状态栏高度
public int getStatusBarHeight()
{
int statusBarHeight = -1;
int resId = getResources().getIdentifier("status_bar_height", "dimen", "android");
if (resId > 0) {
statusBarHeight = getResources().getDimensionPixelSize(resId);
}
return statusBarHeight;
}
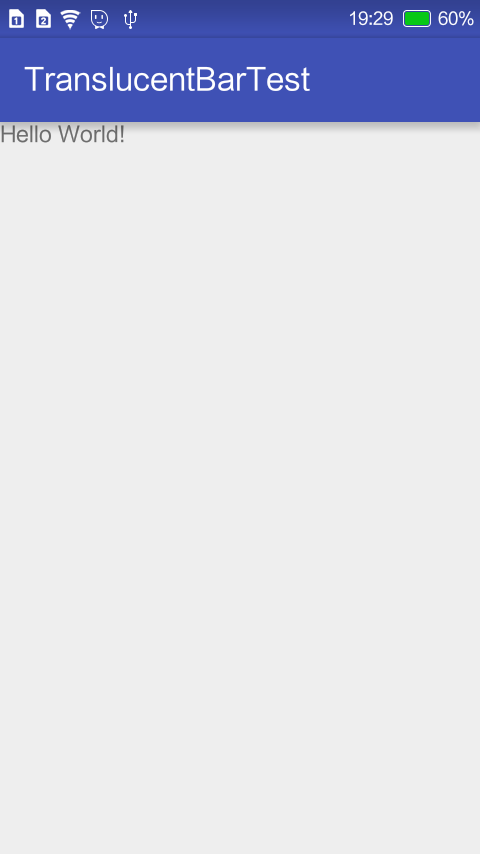
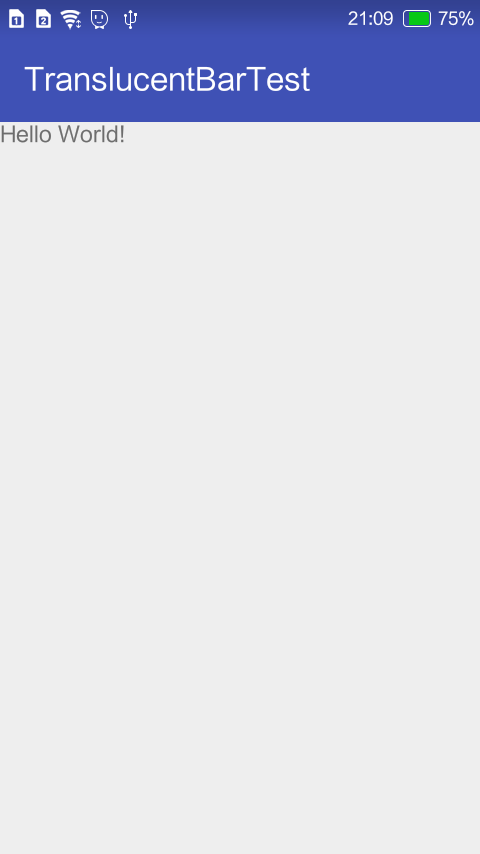
}- 运行效果如图:
二、在xml中设置
1)使用ActionBar
- 在xml中设置非常简单,我们首先在在/res目录下新建一个values-v19文件夹,表示api19也就是Android4.4以上版本系统会使用该目录下的属性文件。
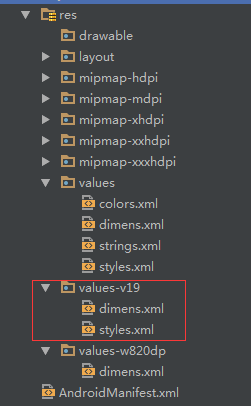
- 我们
/res/values-v19/styles.xml中继承默认的Theme
<?xml version="1.0" encoding="utf-8"?>
<resources>
    <style name="AppTheme" parent="BaseAppTheme">
        <item name="android:windowTranslucentStatus">true</item>
        <item name="android:windowTranslucentNavigation">true</item>
    </style>
</resources>
上面一行是设定Status Bar透明、下面一行是设定Navigation Bar 透明。别忘了,如果不希望内容被 Action Bar 压住,需要设置Layout属性android:fitsSystemWindows=”true”。实现的效果和上面使用代码的方式一样。
如果只想实现状态栏变色做法和上面是一样的。
2)使用Toolbar
在这里我们就不用默认的ActionBar了,我们使用现在流行的更加灵活的Toolbar
- 首先,我们引入Toolbar所在的v7包
compile 'com.android.support:appcompat-v7:23.4.0'- 定义Toolbar的布局
<?xml version="1.0" encoding="utf-8"?>
<android.support.v7.widget.Toolbar
    xmlns:android="http://schemas.android.com/apk/res/android"
    xmlns:app="http://schemas.android.com/apk/res-auto"
    android:id="@+id/toolbar"
    android:layout_width="match_parent"
    android:layout_height="wrap_content"
    android:paddingTop="@dimen/toolbar_padding_top"
    android:background="@color/colorPrimary"
    android:minHeight="?attr/actionBarSize"
    android:theme="@style/ThemeOverlay.AppCompat.Dark.ActionBar"
    android:fitsSystemWindows="true"
    app:popupTheme="@style/ThemeOverlay.AppCompat.Light">

</android.support.v7.widget.Toolbar>
注意,在这里我们使用了一个
paddingTop值,如果我们不设置这个padding属性的话,Toolbar会占据状态栏,与状态栏内容重叠。toolbar_padding_top的值在values中设置的是0dp,表示在4.4以下版本系统不占据状态栏,在values-v19中设置的是25dp。25dp是状态栏的高度,这个值可以从status_bar的源码中查到,不信我们可以使用上面获取状态栏高度的代码获取看看。
- 在activity_main.xml中将Toolbar布局include进来
<?xml version="1.0" encoding="utf-8"?>
<LinearLayout xmlns:android="http://schemas.android.com/apk/res/android"
    xmlns:tools="http://schemas.android.com/tools"
    android:layout_width="match_parent"
    android:layout_height="match_parent"
    android:orientation="vertical"
    tools:context="com.myxh.translucentbartest.MainActivity">

    <include
        layout="@layout/layout_toolbar"
        android:layout_width="match_parent"
        android:layout_height="wrap_content"/>

    <TextView
        android:layout_width="wrap_content"
        android:layout_height="wrap_content"
        android:text="Hello World!" />
</LinearLayout>值得注意的是,这里include进来的布局我们并没有加id,关于原因可以参考使用include标签的注意事项,加了id后会出现下面这种情况:
首先,原来的的title不见了,设置的paddingTop也没效果,很明显挤到状态栏上去了,不加id的效果后面的图,此为补充。
- 然后依然需要操作/res目录下values-v19文件夹中的属性xml文件。在此之前,我们先去掉默认的ActionBar,在
BaseAppTheme中将主题设置为NoActionBar,values-v19中设置状态栏透明
/res/values/styles.xml
<resources>

    <!-- Base application theme. -->
    <style name="BaseAppTheme" parent="Theme.AppCompat.Light.NoActionBar">
        <!-- Customize your theme here. -->
        <item name="colorPrimary">@color/colorPrimary</item>
        <item name="colorPrimaryDark">@color/colorPrimaryDark</item>
        <item name="colorAccent">@color/colorAccent</item>
    </style>

    <style name="AppTheme" parent="BaseAppTheme">
    </style>

</resources>
/res/values-v19/styles.xml
<?xml version="1.0" encoding="utf-8"?>
<resources>
    <style name="AppTheme" parent="BaseAppTheme">
        <item name="android:windowTranslucentStatus">true</item>
        <item name="android:windowTranslucentNavigation">true</item>
    </style>
</resources>
需要注意一点,在某些国产ROM上通过xml可能达不到状态栏透明的效果,我们可以通过上面提到的在代码中进行设置,这样更加保险一些。代码如下:
if (Build.VERSION.SDK_INT >= Build.VERSION_CODES.KITKAT) {
    WindowManager.LayoutParams layoutParams = getWindow().getAttributes();
    layoutParams.flags = WindowManager.LayoutParams.FLAG_TRANSLUCENT_STATUS | layoutParams.flags;
}- 在MainActivity中我们需要通过
setSupportActionBar()将Toolbar设置为Activity的ActionBar进行关联,这样我们就可以把Toolbar当成ActionBar一样使用了。
public class MainActivity extends AppCompatActivity {

    private Toolbar mToolbar;

    @Override
    protected void onCreate(Bundle savedInstanceState) {
        super.onCreate(savedInstanceState);
        setContentView(R.layout.activity_main);

        mToolbar = (Toolbar) findViewById(R.id.toolbar);
        if (mToolbar != null) {
            setSupportActionBar(mToolbar);
        }
    }

}- 运行之后可以得到一样的效果:
3.总结
综上所述,实现变色状态栏主要是将状态栏设置为透明,设置它底下的内容的背景,让它呈现它底下的内容的背景。
其实关于4.4,5.X,6.0状态栏些许有些不同,具体区别搜索一下就知道了。
好了,关于变色状态栏就写这么多了,有时间再补充。


 618
618

 被折叠的 条评论
为什么被折叠?
被折叠的 条评论
为什么被折叠?
 到【灌水乐园】发言


