


由于外出工作两天,所以这两天的学习心得没有更新。今天开始继续复习 Cocoa Touch。
1.委托
在创建根控制器(rootViewController)前使用委托的方法,在 AppDelegate.h 中加入输出口
@property (strong, nonatomic) UIWindow *window;
@property (strong, nonatomic) IBOutlet UITabBarController *rootController;- (BOOL)application:(UIApplication *)application didFinishLaunchingWithOptions:(NSDictionary *)launchOptions{
self.window = [[UIWindow alloc] initWithFrame:[[UIScreen mainScreen] bounds]];
// Override point for customization after application launch.
[[NSBundle mainBundle] loadNibNamed:@"TabBarController" owner:self options:nil];
self.window.rootViewController = self.rootController;
self.window.backgroundColor = [UIColor whiteColor];
[self.window makeKeyAndVisible];
return YES;
}
2.创建根控制器

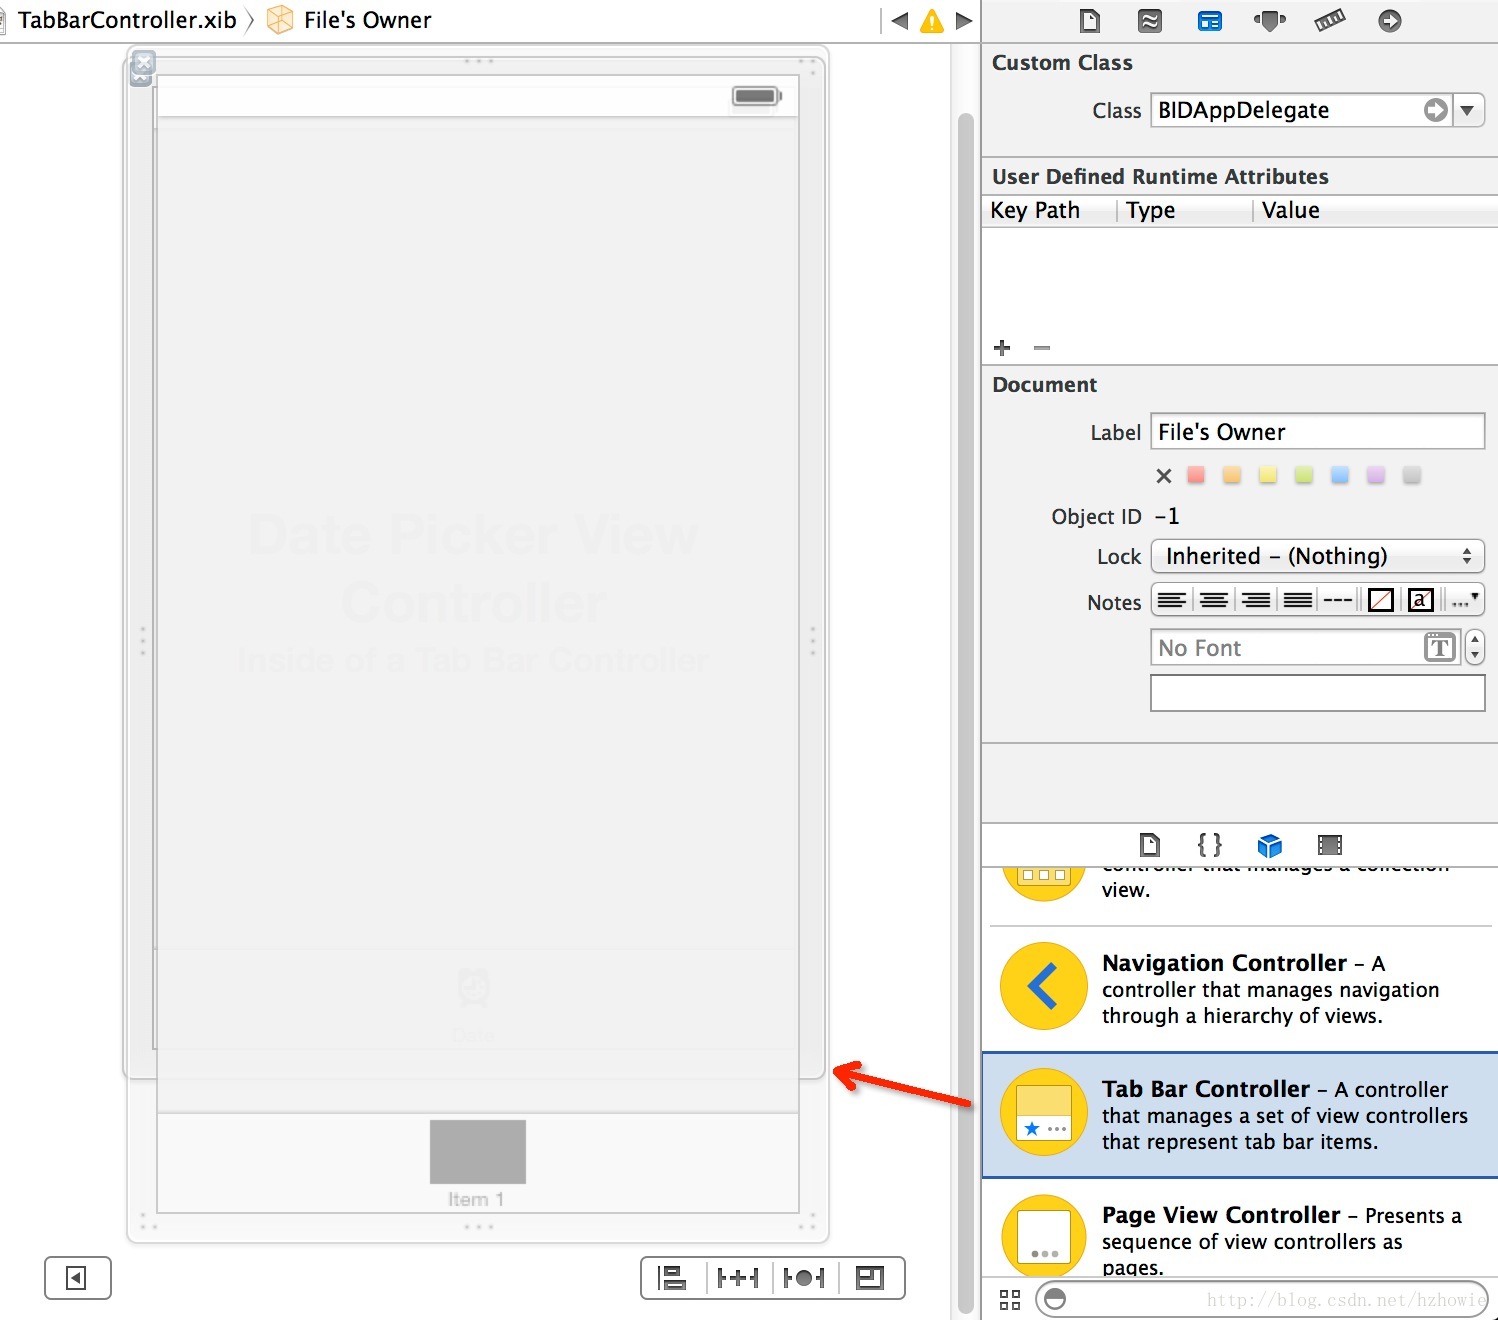
拖入一个 Tab Bar Controller
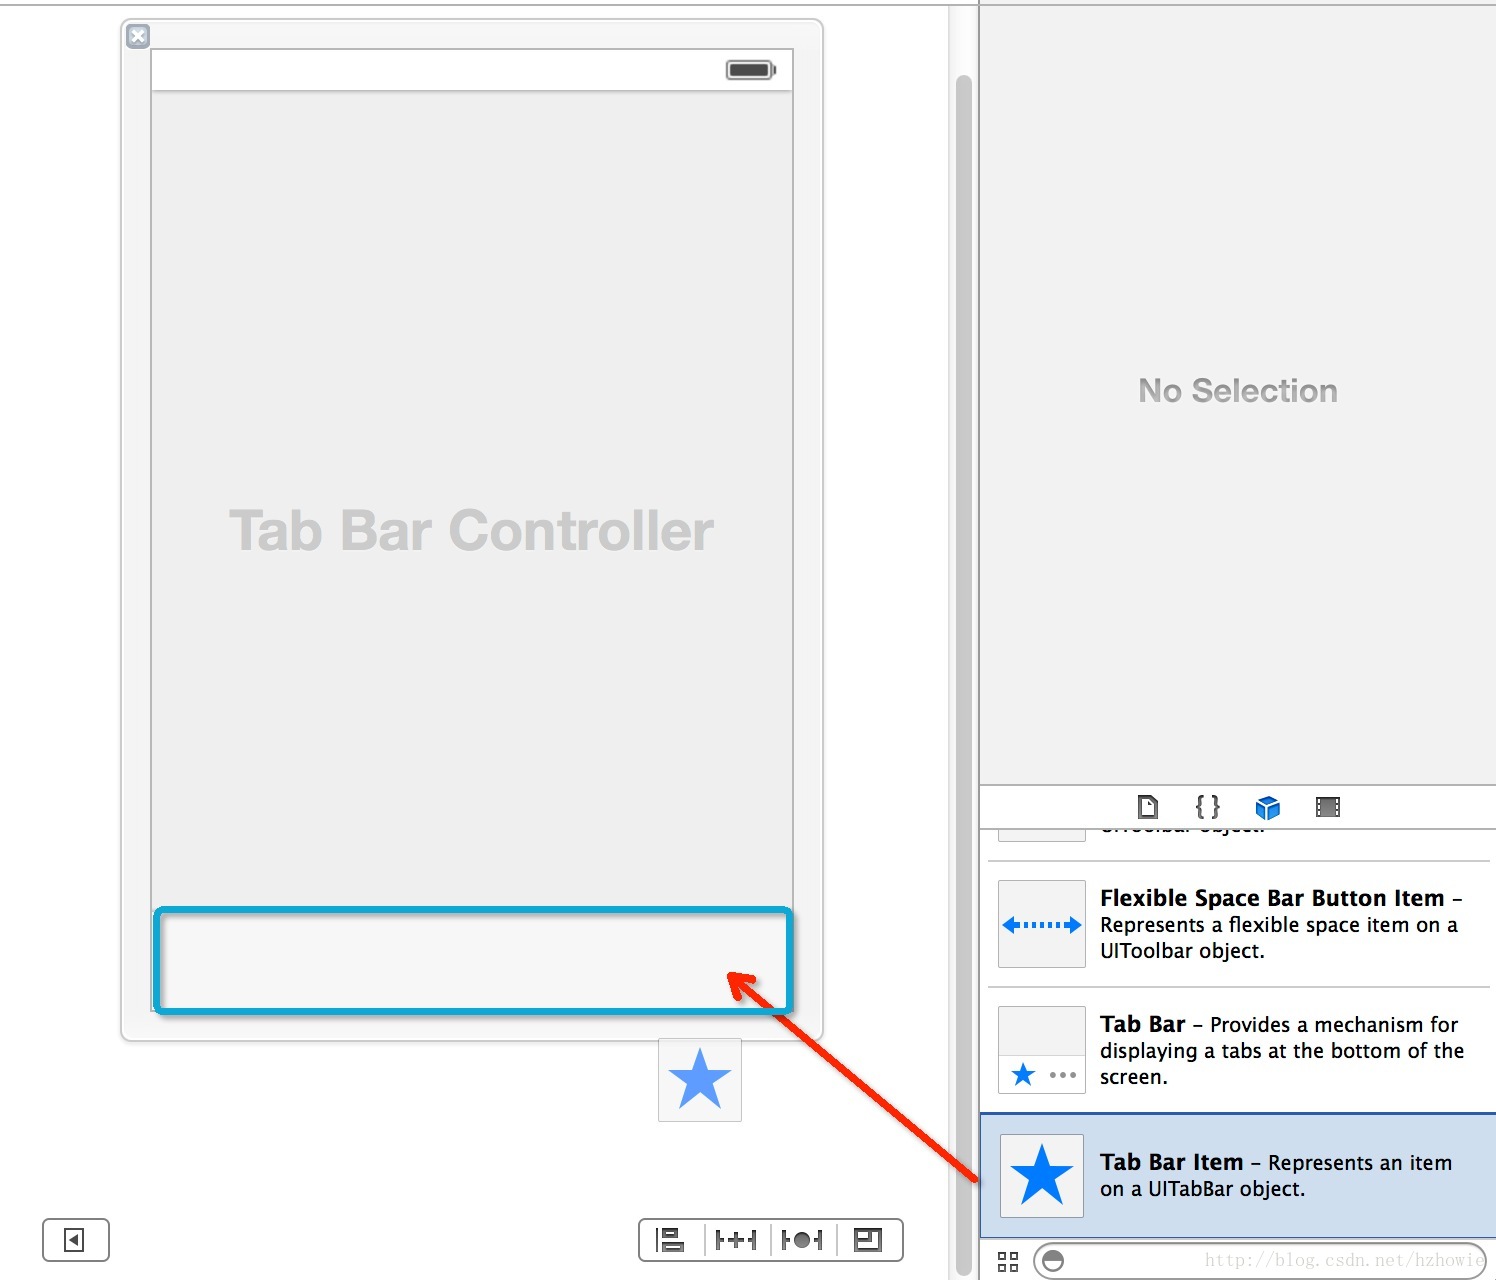
在 Object Library 中找到 Tab Bar Item,并按需拖入 Tab Bar Controller 下方的横条中。
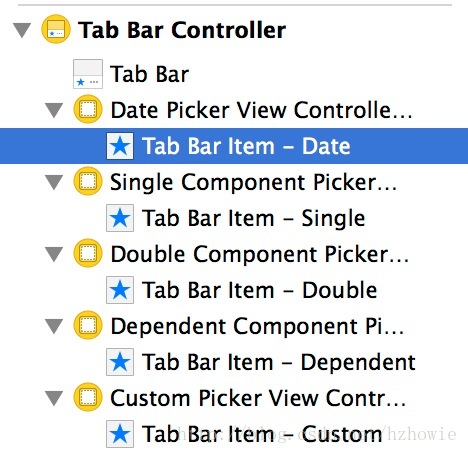
这时候点开 xib 界面左下角的三角形,并点开 Tab Bar Controller 左边那个三角形展开下拉列表,可以发现里面有许多项目了。继续展开列表,发现里面有 Tab Bar Item 这一项,这时候选中它,然后选择 Attribute inspector,在 Bar Item 中有 Title 这一项,我们可以在这里更改需要在标签栏里显示的标签的文字,同时我们也可以通过 Image 这一项更改标签栏中的图标。

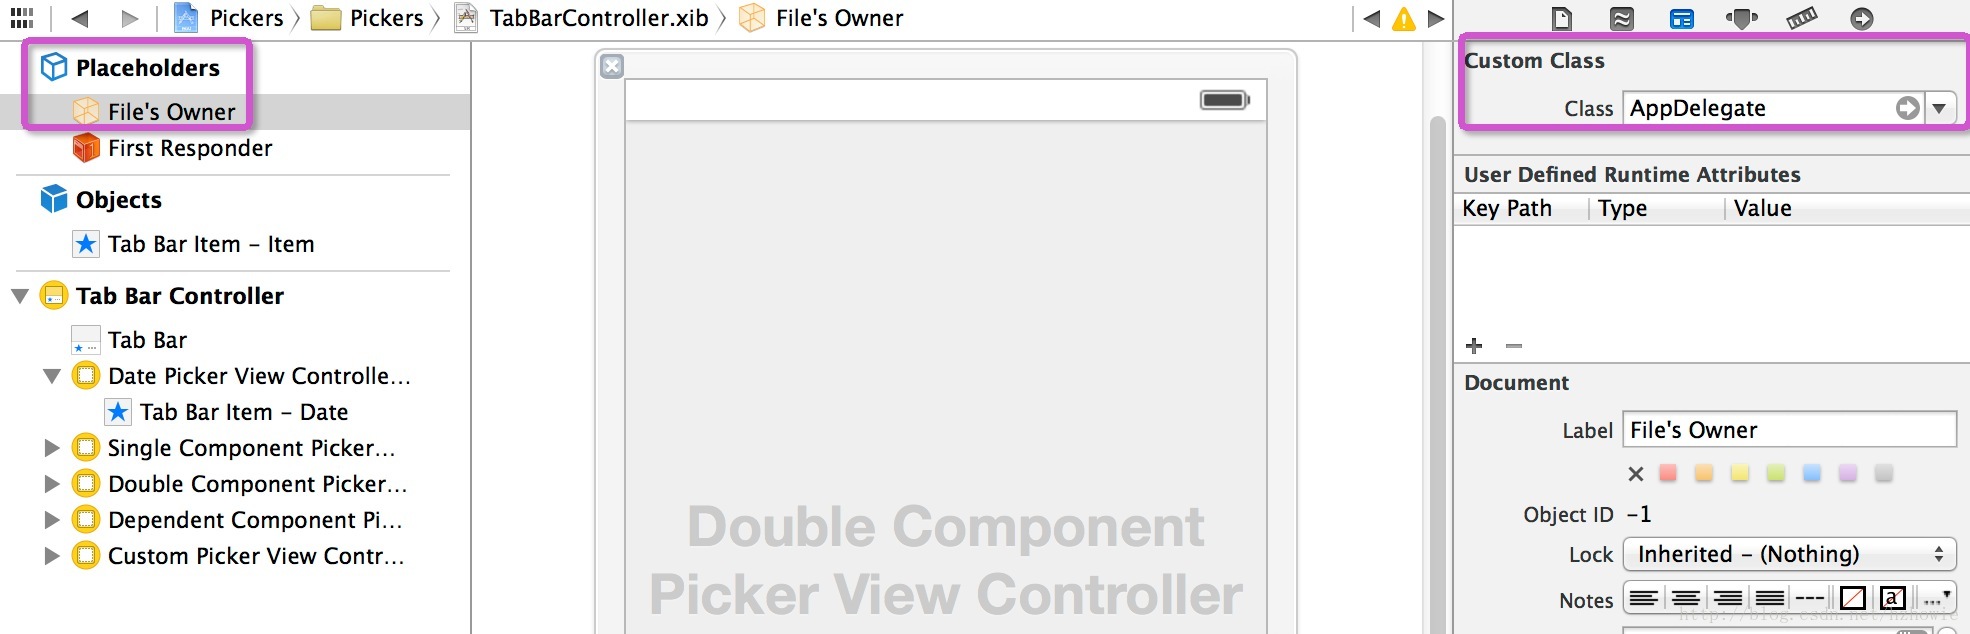
接下来我们要把 Tab Bar Controller 与 AppDelegate 关联,否则 Tab Bar Controller 没有相应的 File's Owner,也就无法成为根控制器。选中File's Owner,把右侧的 Identity inspector 中的 Custom Class 改为 "AppDelegate"(可以在下拉列表中选择或者手动输入,但是手动输入之后一定要按 return 键。Xcode的操作需要注意很多细节,有时候程序做失败了不是你方法不对,而是细节没做好,细节的内容可能很多书都不会讲)。
接着进入 Connection inspector,我们可以看到这边有个名为 rootController 的输出口,点击右边的小圆圈并拖动到 Tab Bar Controller 界面上(左侧的列表也可以),这样就建立了连接。

3.编辑各页面
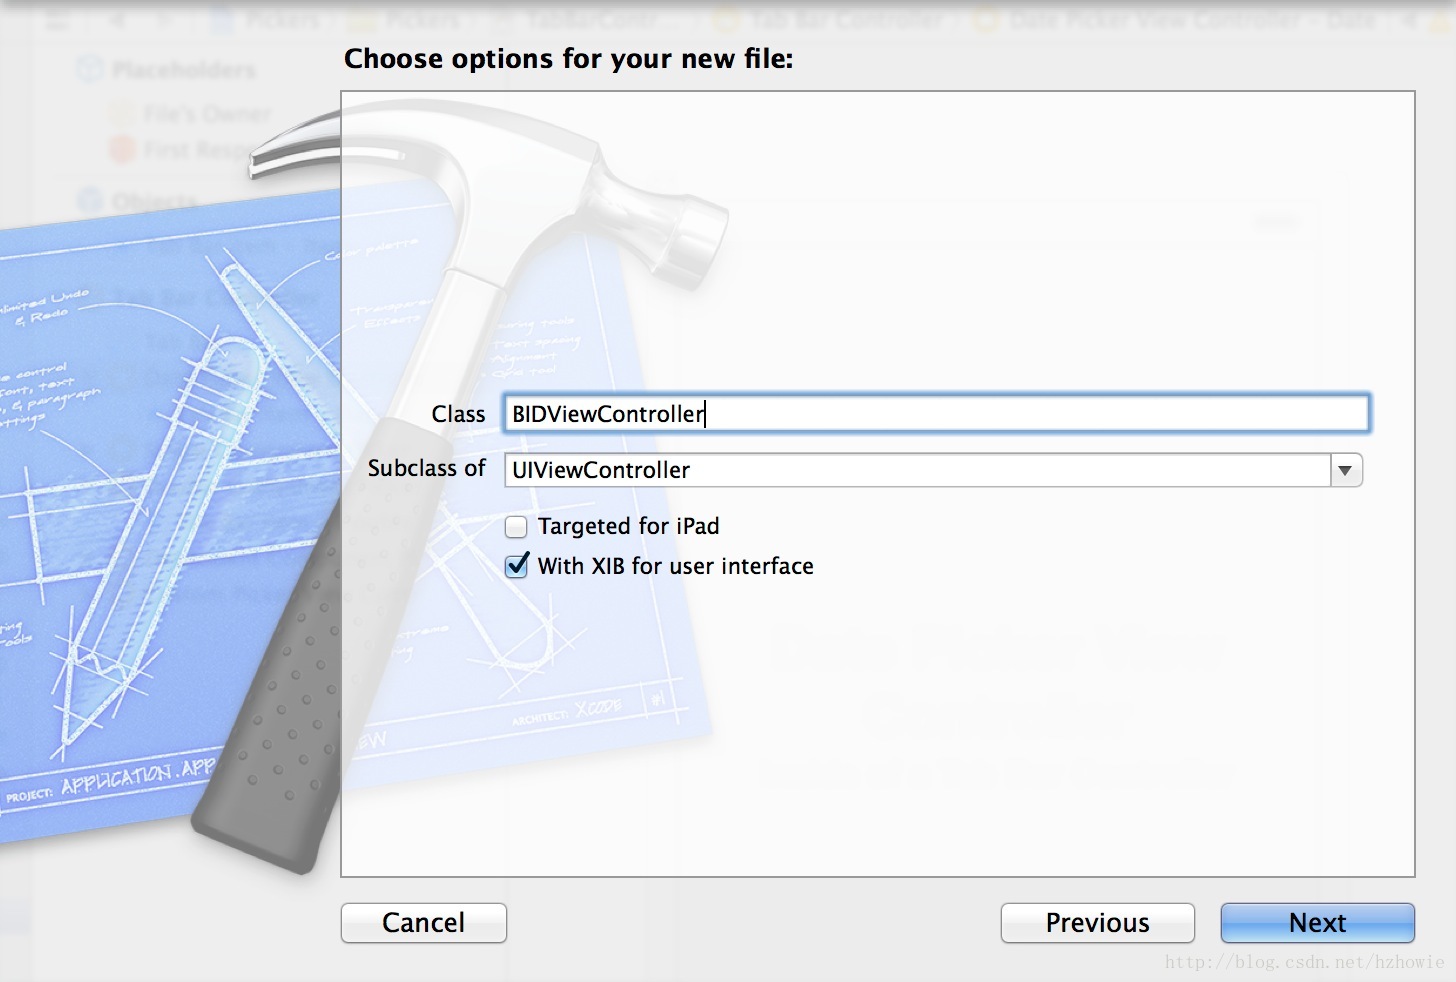
那么如何编辑 Tab Bar Item所对应的 View呢?只需要创建一个新的 Objective-C Class,但注意 Subclass of 一项要选 UIViewController,同时选中 With XIB for User Interface。
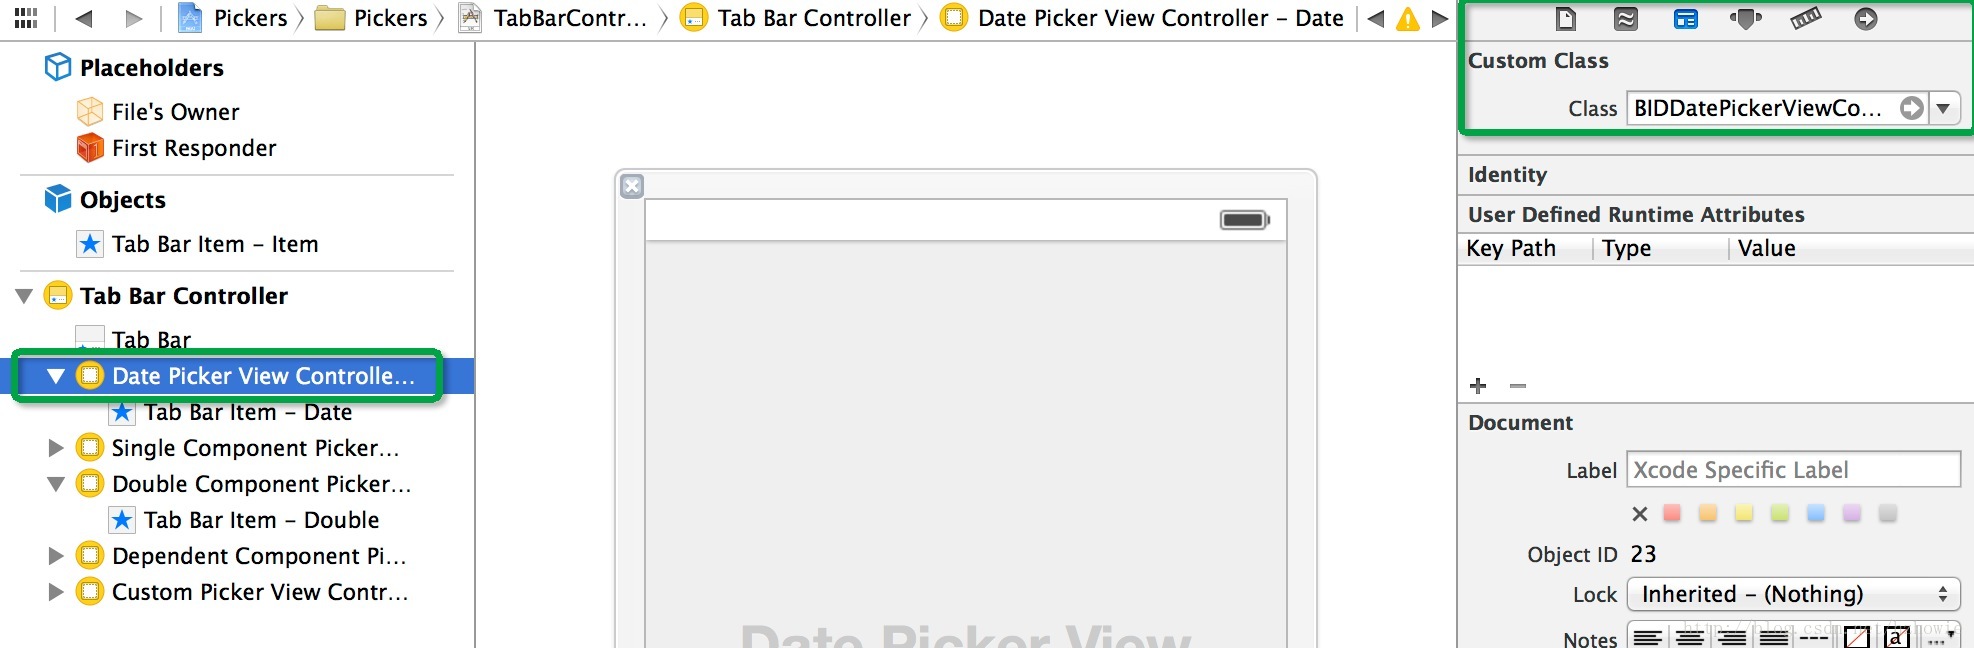
然后回到 TabBarController.xib,在左侧的列表中选中相应的 View Controller,将其 Identity inspector 中的 Custom Class 改为你刚刚建立的 Objective-C Class 的名字。
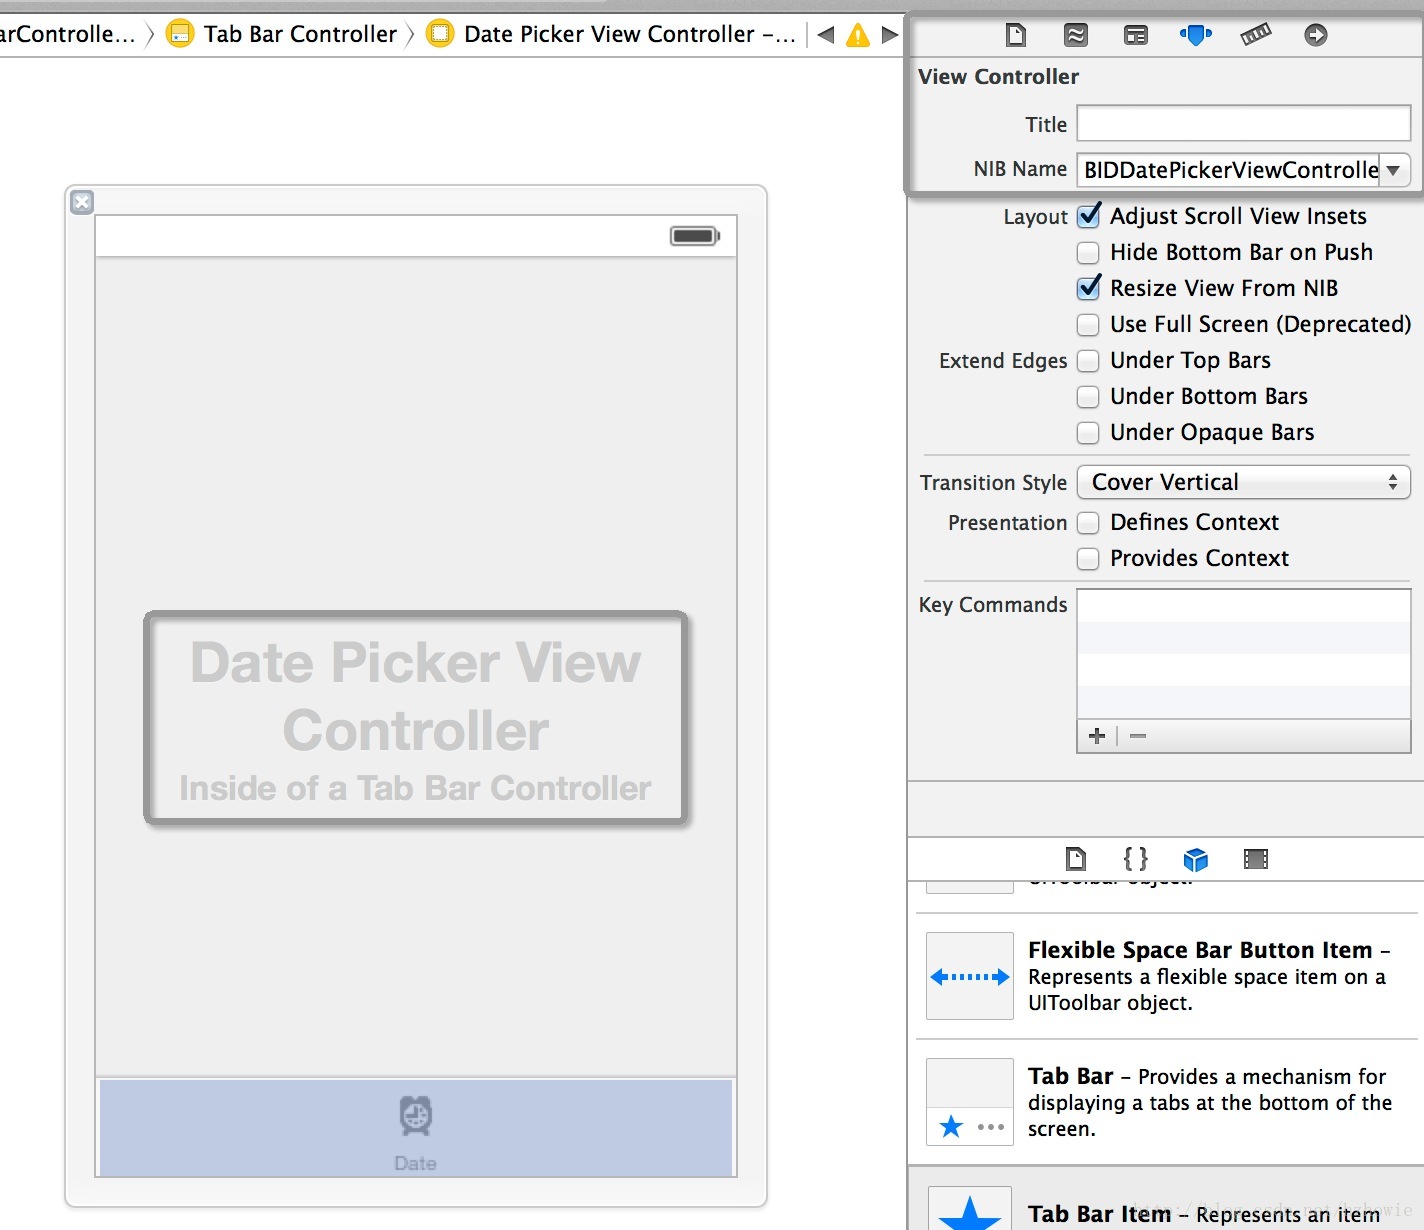
然后你可以进入 Attribute inspector,把 View Controller 中的 NIB Name 设置为你所希望显示的内容(以书上的Date Picker为例,将其改为BIDDatePickerViewController),这样我们就可以看到左侧列表中以及图形界面的名字的更改了,这样有助于理清思路,防止混乱。
接下来你就可以进入你创建的 Objective-C Class 和对应的 xib 中完成你想实现的功能了。


 1020
1020


 被折叠的 条评论
为什么被折叠?
被折叠的 条评论
为什么被折叠?
 到【灌水乐园】发言


