搭建Maven私服Nexus以及两者之间的关联
安装Nexus
1. Nexus介绍
- nexus是一个强大的maven仓库管理器,它极大的简化了本地内部仓库的维护和外部仓库的访问。
- nexus是一套开箱即用的系统不需要数据库,它使用文件系统加Lucene来组织数据。
nexus使用ExtJS来开发界面,利用Restlet来提供完整的REST APIs,通过IDEA和Eclipse集成使用。 - exus支持webDAV与LDAP安全身份认证。
- nexus提供了强大的仓库管理功能,构件搜索功能,它基于REST,友好的UI是一个extjs的REST客户端,占用较少的内存,基于简单文件系统而非数据库。
2.下载地址
- https://www.sonatype.com/download-nexus-repo-oss
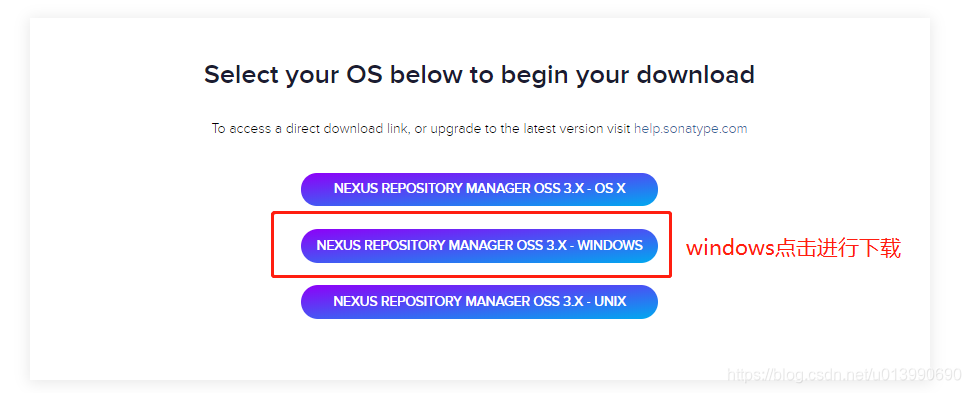
- 因为Nexus Repository Manager 仓库管理有2个版本,专业版和oss版,oss版是免费的,专业版是收费的,我们使用oss版。
3. 安装
- 因为下载下来的文件是nexus解压版的,所以直接解压到指定文件夹即可;

- 配置环境变量
进入环境变量界面
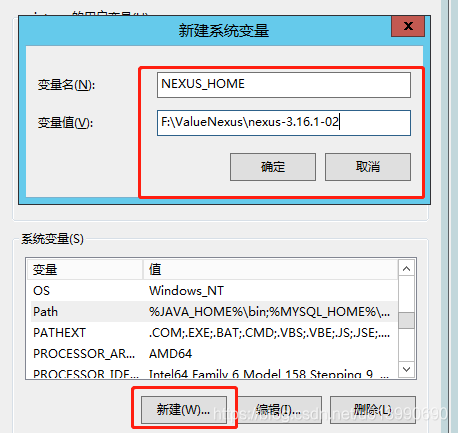
然后找到Path在最后写入%NEXUS_HOME%\bin(注意前面有没有分号;); - cmd进入到指定文件夹\bin目录下,执行命令:nexus.exe /run ;
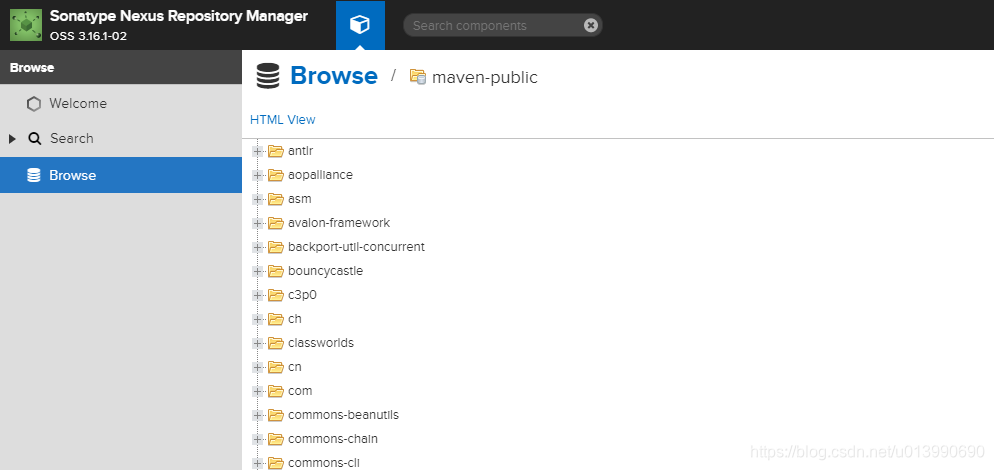
- 打开http://localhost:8081/;
- 如果需要修改8081端口号8088,则在nexus文件夹下找到etc\nexus-default.properties文件打开修改application-port;

- 如果需要修改其他配置,请自行百度,这里就不一一介绍了。
Maven与Nexus的关联
1. Maven下的conf\setting.xml配置
- servers配置
在setting文件找到servers节点,在server节点下第一行加入以下代码:
<server>
<id>nexus-snapshots</id>
<username>admin</username>
<password>admin</password>
</server>
<server>
<id>nexus-snapshots</id>
<username>admin</username>
<password>admin</password>
</server>
- mirrors配置
在setting.xml文件中找到mirrors节点,在mirrors节点下第一行加入以下代码:
<mirror>
	<id>local private nexus</id>
	 <mirrorOf>*</mirrorOf>
	<name>nexus-value</name>
	<url>http://localhost:8081/repository/maven-public/</url>
 </mirror>
2. 本地项目上传配置
<repositories>
<repository>
<id>nexus</id>
<name>local private nexus</name>
<url>http://localhost:8081/repository/maven-public/</url>
<releases><enabled>true</enabled></releases>
<snapshots><enabled>true</enabled></snapshots>
</repository>
</repositories>
<pluginRepositories>
<pluginRepository>
<id>nexus</id>
<name>local private nexus</name>
<url>http://localhost:8081/repository/maven-public/</url>
<releases><enabled>true</enabled></releases>
<snapshots><enabled>true</enabled></snapshots>
</pluginRepository>
</pluginRepositories>
<distributionManagement>
<repository>
<id>nexus-releases</id>
<name>Releases</name>
<url>http://localhost:8081/repository/maven-releases/</url>
</repository>
<snapshotRepository>
<id>nexus-snapshots</id>
<name>Snapshots</name>
<url>http://localhost:8081/repository/maven-snapshots/</url>
</snapshotRepository>
</distributionManagement>
- 直接执行maven命令进行打包上传
mvn clean install deploy -Dmaven.skip.test=true - 上传成功


 1510
1510


 被折叠的 条评论
为什么被折叠?
被折叠的 条评论
为什么被折叠?
 到【灌水乐园】发言


