


使用的eclipse+maven3.1+jdk1.7
pom.xml中的配置:
<project xmlns="http://maven.apache.org/POM/4.0.0" xmlns:xsi="http://www.w3.org/2001/XMLSchema-instance"
  xsi:schemaLocation="http://maven.apache.org/POM/4.0.0 http://maven.apache.org/maven-v4_0_0.xsd">
  <modelVersion>4.0.0</modelVersion>
  <groupId>com.xingguo</groupId>
  <artifactId>springboot</artifactId>
  <packaging>war</packaging>
  <version>0.0.1-SNAPSHOT</version>
  <name>springboot Maven Webapp</name>
  <url>http://maven.apache.org</url>

  <parent>
    <groupId>org.springframework.boot</groupId>
    <artifactId>spring-boot-starter-parent</artifactId>
    <version>1.4.1.RELEASE</version>
  </parent>

    <dependencies>
        <dependency>
            <groupId>org.springframework.boot</groupId>
            <artifactId>spring-boot-starter-web</artifactId>
        </dependency>
    </dependencies>

</project>
核心点是:
<parent>
   <groupId>org.springframework.boot</groupId>
   <artifactId>spring-boot-starter-parent</artifactId>
   <version>1.4.1.RELEASE</version>
</parent><dependency>
<groupId>org.springframework.boot</groupId>
<artifactId>spring-boot-starter-web</artifactId>
</dependency>有的教程使用的是<version>1.3.0.BUILD-SNAPSHOT</version>
然后后面加上其他的依赖,这个也是可以的(我试过了,不过依赖写的代码多,我用的带.RELEASE的)
下面写了两个测试类Example.java和Application.java,如下:
package com.xingguo.springboot;
import org.springframework.boot.context.properties.EnableConfigurationProperties;
import org.springframework.web.bind.annotation.RequestMapping;
import org.springframework.web.bind.annotation.RestController;
@RestController
@EnableConfigurationProperties
public class Example {
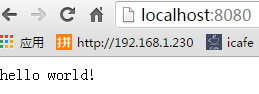
@RequestMapping("/")
public String home(){
return "hello world!";
}
@RequestMapping("/1")
public String home1(String name){
return "hello world!"+name;
}
}
package com.xingguo.springboot;

import org.springframework.boot.SpringApplication;
import org.springframework.boot.autoconfigure.SpringBootApplication;

@SpringBootApplication
public class Application {

    public static void main(String[] args) {
        SpringApplication.run(Application.class, args);
    }
}
然后右键项目运行,如图。
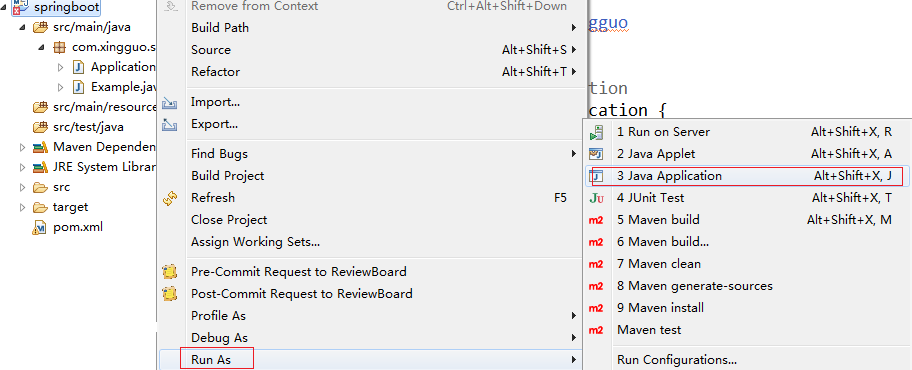

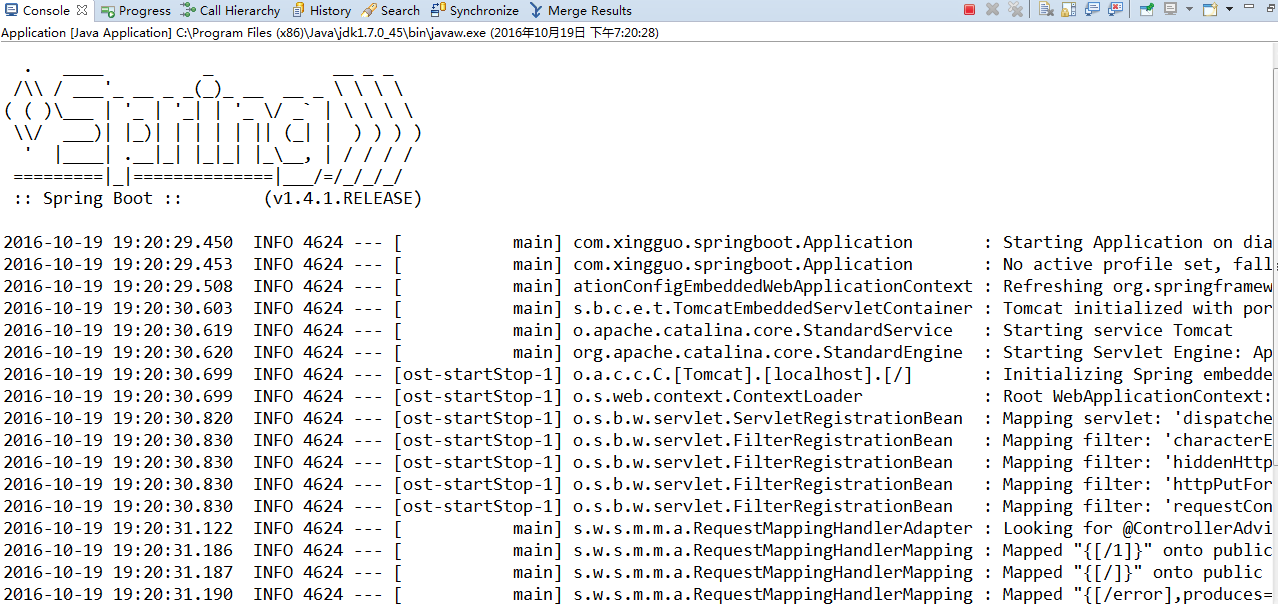
成功运行!
不过在测试过程中,有的教程上把main方法写example.java,无论怎么运行都会报错,报错信息如下:
org.springframework.context.ApplicationContextException: Unable to start embedded container; nested exception is org.springframework.context.ApplicationContextException: Unable to start EmbeddedWebApplicationContext due to missing EmbeddedServletContainerFactory bean.
    at org.springframework.boot.context.embedded.EmbeddedWebApplicationContext.onRefresh(EmbeddedWebApplicationContext.java:137) ~[spring-boot-1.4.1.RELEASE.jar:1.4.1.RELEASE]
    at org.springframework.context.support.AbstractApplicationContext.refresh(AbstractApplicationContext.java:535) ~[spring-context-4.3.3.RELEASE.jar:4.3.3.RELEASE]
    at org.springframework.boot.context.embedded.EmbeddedWebApplicationContext.refresh(EmbeddedWebApplicationContext.java:122) ~[spring-boot-1.4.1.RELEASE.jar:1.4.1.RELEASE]
    at org.springframework.boot.SpringApplication.refresh(SpringApplication.java:761) [spring-boot-1.4.1.RELEASE.jar:1.4.1.RELEASE]
    at org.springframework.boot.SpringApplication.refreshContext(SpringApplication.java:371) [spring-boot-1.4.1.RELEASE.jar:1.4.1.RELEASE]
网上尝试了很多种方法也没有效果,只好把example.java中main方法删掉写在另一个类中就可以了。
这里也记录下其他给出的方法,可能以后会用到:
1.添加代码
@Bean
    public EmbeddedServletContainerFactory servletContainer() {
        TomcatEmbeddedServletContainerFactory factory =
                      new TomcatEmbeddedServletContainerFactory();
        return factory;
     }
2.pom.xml中添加build
<plugin>
      <groupId>org.springframework.boot</groupId>
                <artifactId>spring-boot-maven-plugin</artifactId>
     <executions>
         <execution>
             <goals>
                 <goal>repackage</goal>
             </goals>
         </execution>
     </executions>
 </plugin>


 810
810

 被折叠的 条评论
为什么被折叠?
被折叠的 条评论
为什么被折叠?
 到【灌水乐园】发言


