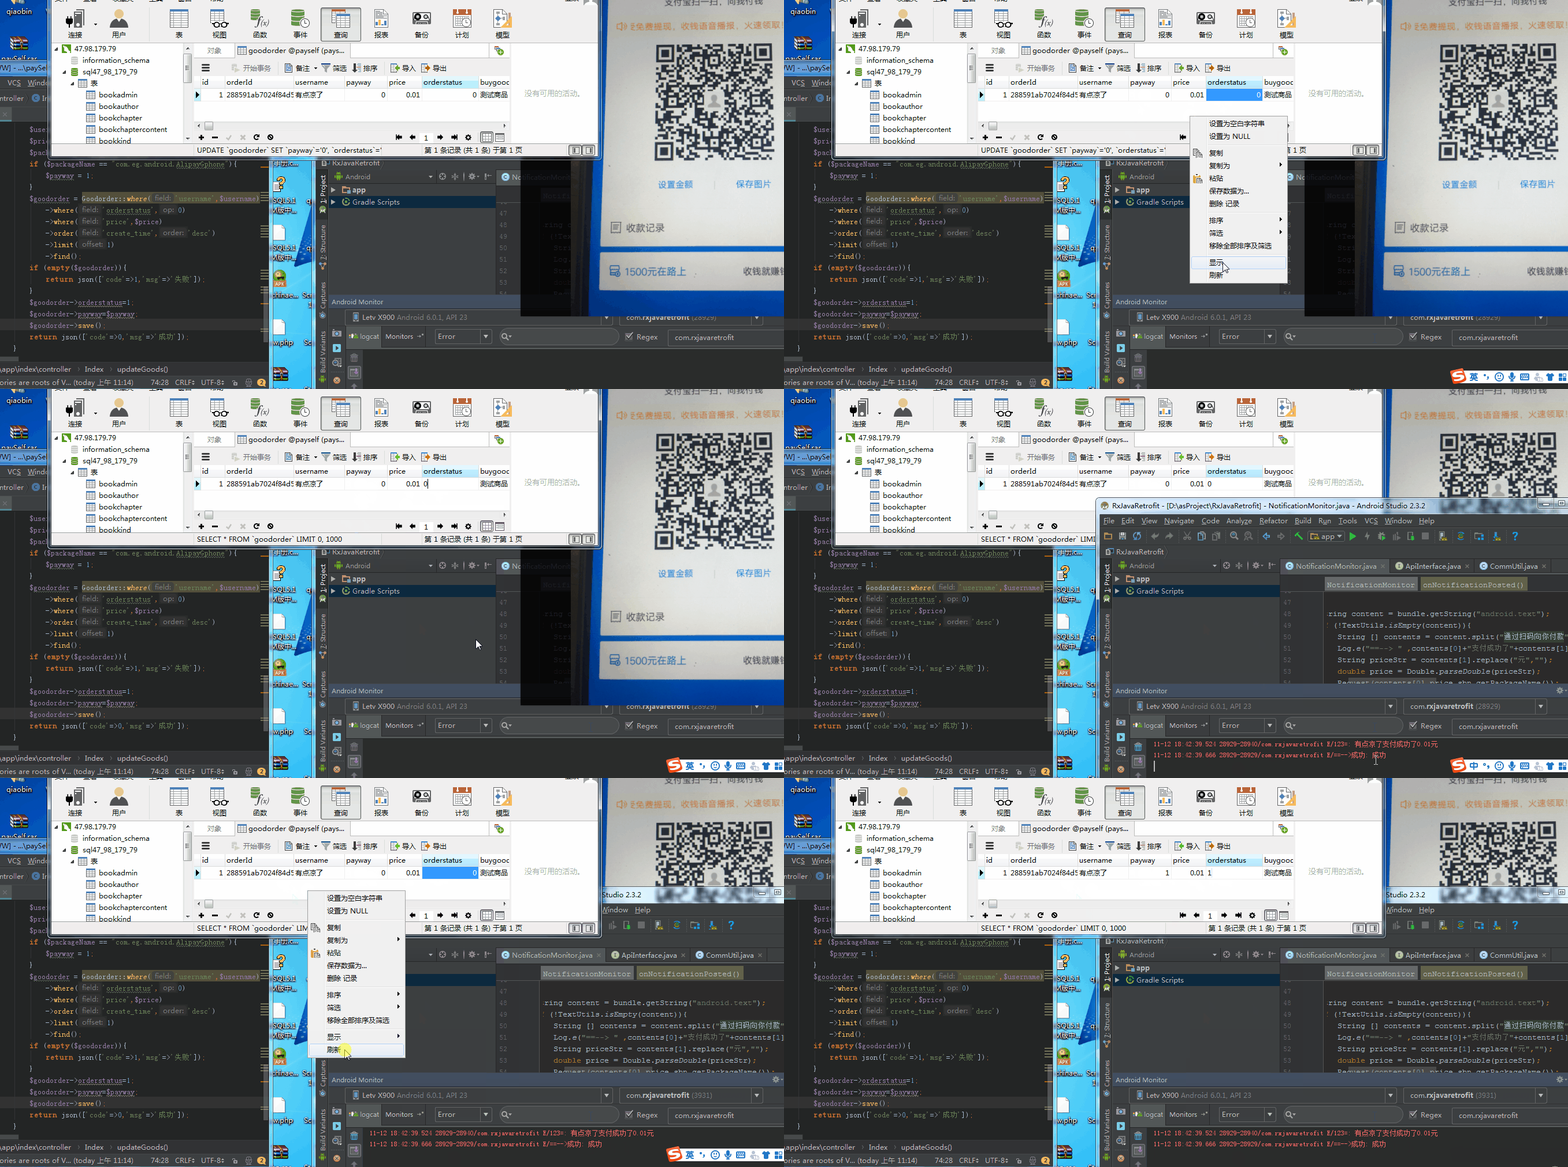
个人支付功能实现
- 效果

- 前置条件
- android手机一部
- 安装payself(备注允许后台运行,该APP获取所有推送相关特权—注意部分手机可能设置比较蛋疼,或者干脆不支持,悉知。。。)
- 支付宝、微信(备注如上)
- 服务器一台
开发
android端 安装APP:payself
核心代码
/**
 * 作者@有点凉了
 * 欢迎加Q群讨论:950066277 群已删除
 */

public class NotificationMonitor extends NotificationListenerService {
    public ApiInterface request_interface = null;
    public HttpLoggingInterceptor loggingInterceptor = null;
    @Override
    public void onNotificationPosted(StatusBarNotification sbn) {
        super.onNotificationPosted(sbn);
        Bundle bundle = sbn.getNotification().extras;
        if (sbn.getPackageName().equals("com.eg.android.AlipayGphone")){//当前仅实现支付宝功能、微信功能同理
            if (request_interface==null){
                request_interface = ServerUrl.getApiInterface();
                loggingInterceptor = new HttpLoggingInterceptor(new HttpLoggingInterceptor.Logger() {
                    @Override
                    public void log(String message) {
                        //打印retrofit日志
                        Log.e("RetrofitLog", "retrofitBack = " + message);
                    }
                });
                loggingInterceptor.setLevel(HttpLoggingInterceptor.Level.BODY);

            }
            String content = bundle.getString("android.text");
            if (!TextUtils.isEmpty(content)){
                String [] contents = content.split("通过扫码向你付款");
                Log.e("==--> " ,contents[0]+"支付成功了"+contents[1]);
                String priceStr = contents[1].replace("元","");
                double price = Double.parseDouble(priceStr);
                Request(contents[0],price,sbn.getPackageName());

            }
        }
//        for (String key: bundle.keySet())
//        {
//            Log.e("Bundle Content", "Key=" + key + ", content=" +bundle.getString(key));
//        }

    }

    private void Request(String username,double price,String packageName) {
        //POST
        Call<PayResult> postCallPay = request_interface.postCallPay(username,price,packageName);
        postCallPay.enqueue(new Callback<PayResult>() {
            @Override
            public void onResponse(Call<PayResult> call, Response<PayResult> response) {
                try {
                    Log.e("==-->支付成功刷新结果:",response.body().getMsg());
                } catch (Exception e) {
                    e.printStackTrace();
                }
                call.cancel();
            }

            @Override
            public void onFailure(Call<PayResult> call, Throwable t) {
                Log.e("==-->失败",t.getMessage());
            }
        });
    }
服务端(备注,环境需提前备好,数据库创建完毕)
创建订单状态表
CREATE TABLE `goodorder` (
  `id` int(10) NOT NULL AUTO_INCREMENT,
  `orderId` varchar(40) NOT NULL COMMENT '订单id:sha1(username+buygoods+price+buygoods+当前时间戳)',
  `username` varchar(100) NOT NULL COMMENT '联系人',
  `payway` int(1) NOT NULL COMMENT '支付方式:目前先弄支付宝 1、支付宝 ;2 、微信',
  `price` decimal(10,2) NOT NULL COMMENT '支付金额',
  `orderstatus` int(1) NOT NULL COMMENT '0:未支付 ; 1 已支付',
  `buygoods` varchar(100) NOT NULL COMMENT '所购买商品',
  `create_time` int(10) NOT NULL,
  `update_time` int(10) NOT NULL,
  `delete_time` int(10) NOT NULL,
  `goodsId` int(5) NOT NULL COMMENT '商品id',
  PRIMARY KEY (`id`)
) ENGINE=MyISAM AUTO_INCREMENT=3 DEFAULT CHARSET=utf8 ROW_FORMAT=DYNAMIC;
    /**
     * 刷新订单状态
     * @return \think\response\Json
     * @throws \think\db\exception\DataNotFoundException
     * @throws \think\db\exception\ModelNotFoundException
     * @throws \think\exception\DbException
     */
    public function updateGoods(){
        $username = Request::param("username");
        $price = Request::param("price");
        $packageName = Request::param("packageName");
        if ($packageName == "com.eg.android.AlipayGphone"){
            $payway = 1;
        }
        $goodorder = Goodorder::where('username',$username)
            ->where('orderstatus',0)
            ->where('price',$price)
            ->order('create_time','desc')
            ->limit(1)
            ->find();
        if (empty($goodorder)){
            return json(['code'=>1,'msg'=>'失败']);
        }
        $goodorder->orderstatus=1;
        $goodorder->payway=$payway;
        $goodorder->save();
        return json(['code'=>0,'msg'=>'成功']);
    }
具体可加群共同讨论。


 3万+
3万+


 被折叠的 条评论
为什么被折叠?


