本文主要介绍在使用SpringBoot的开发过程中如何整合CAS Client实现单点登录的功能。
准备工作
(1)搭建好CAS服务端(参考:https://blog.csdn.net/u014553029/article/details/88102311)
(2)准备好一个普通的SpringBoot Web项目
集成
一、引入CAS client依赖
在pom.xml中引入CAS Client的依赖包。代码如下:
<dependency>
    <groupId>net.unicon.cas</groupId>
    <artifactId>cas-client-autoconfig-support</artifactId>
    <version>2.1.0-GA</version>
</dependency>
二、配置
在application.properties或者application.yml中添加相关配置,主要配置内容包括服务器的相关地址,客户端的相关地址等。我这里是application.yml,配置内容如下:
cas:
  #后端服务地址
  client-host-url: http://127.0.0.1:8888
  #cas认证中心地址
  server-url-prefix: http://146.56.192.87:8080/cas
  #cas认证中心登录地址
  server-login-url: http://146.56.192.87:8080/cas/login
  validation-type: cas3
三、在启动类中添加启用注解
//启用CAS
@EnableCasClient
@SpringBootApplication
public class SpringBootSsoApplication {
    //省略部分内容
}
四、编写测试方法
@Controller
public class TestController {

    @Value(value = "${cas.server-url-prefix}")
    private String serverUrlPrefix = "";

    @Value(value = "${cas.client-host-url}")
    private String clientHostUrl = "";

    @GetMapping("user")
    @ResponseBody
    public String user(HttpServletRequest request) {
        Assertion assertion = (Assertion) request.getSession().getAttribute(AbstractCasFilter.CONST_CAS_ASSERTION);
        String loginName = null;
        if (assertion != null) {
            AttributePrincipal principal = assertion.getPrincipal();
            loginName = principal.getName();
            System.out.println("访问者:" + loginName);
        }
        return "访问者:" + loginName;
    }

    @RequestMapping("/logout")
    public String logout(HttpSession session) {
        session.invalidate();
        return "redirect:" + serverUrlPrefix + "/logout?service=" + clientHostUrl + "/sso-client/user";
    }
}
五、测试登录与退出
5.1 登录:
(1)打开浏览器访问:http://127.0.0.1:8888/sso-client/user
(2)由于没有登录,重定向到:http://146.56.192.87:8080/cas/login?service=http://127.0.0.1:8888/sso-client/user
(3)输入用户名密码,点击登录,成功之后跳转到http://127.0.0.1:8888/sso-client/user中

5.2 退出:
(4)访问:http://127.0.0.1:8888/sso-client/logout
(5)cas完成退出,并跳转到http://127.0.0.1:8888/sso-client/user,由于该地址需要登录,仍会重定向到登录界面

5.3 验证单点:
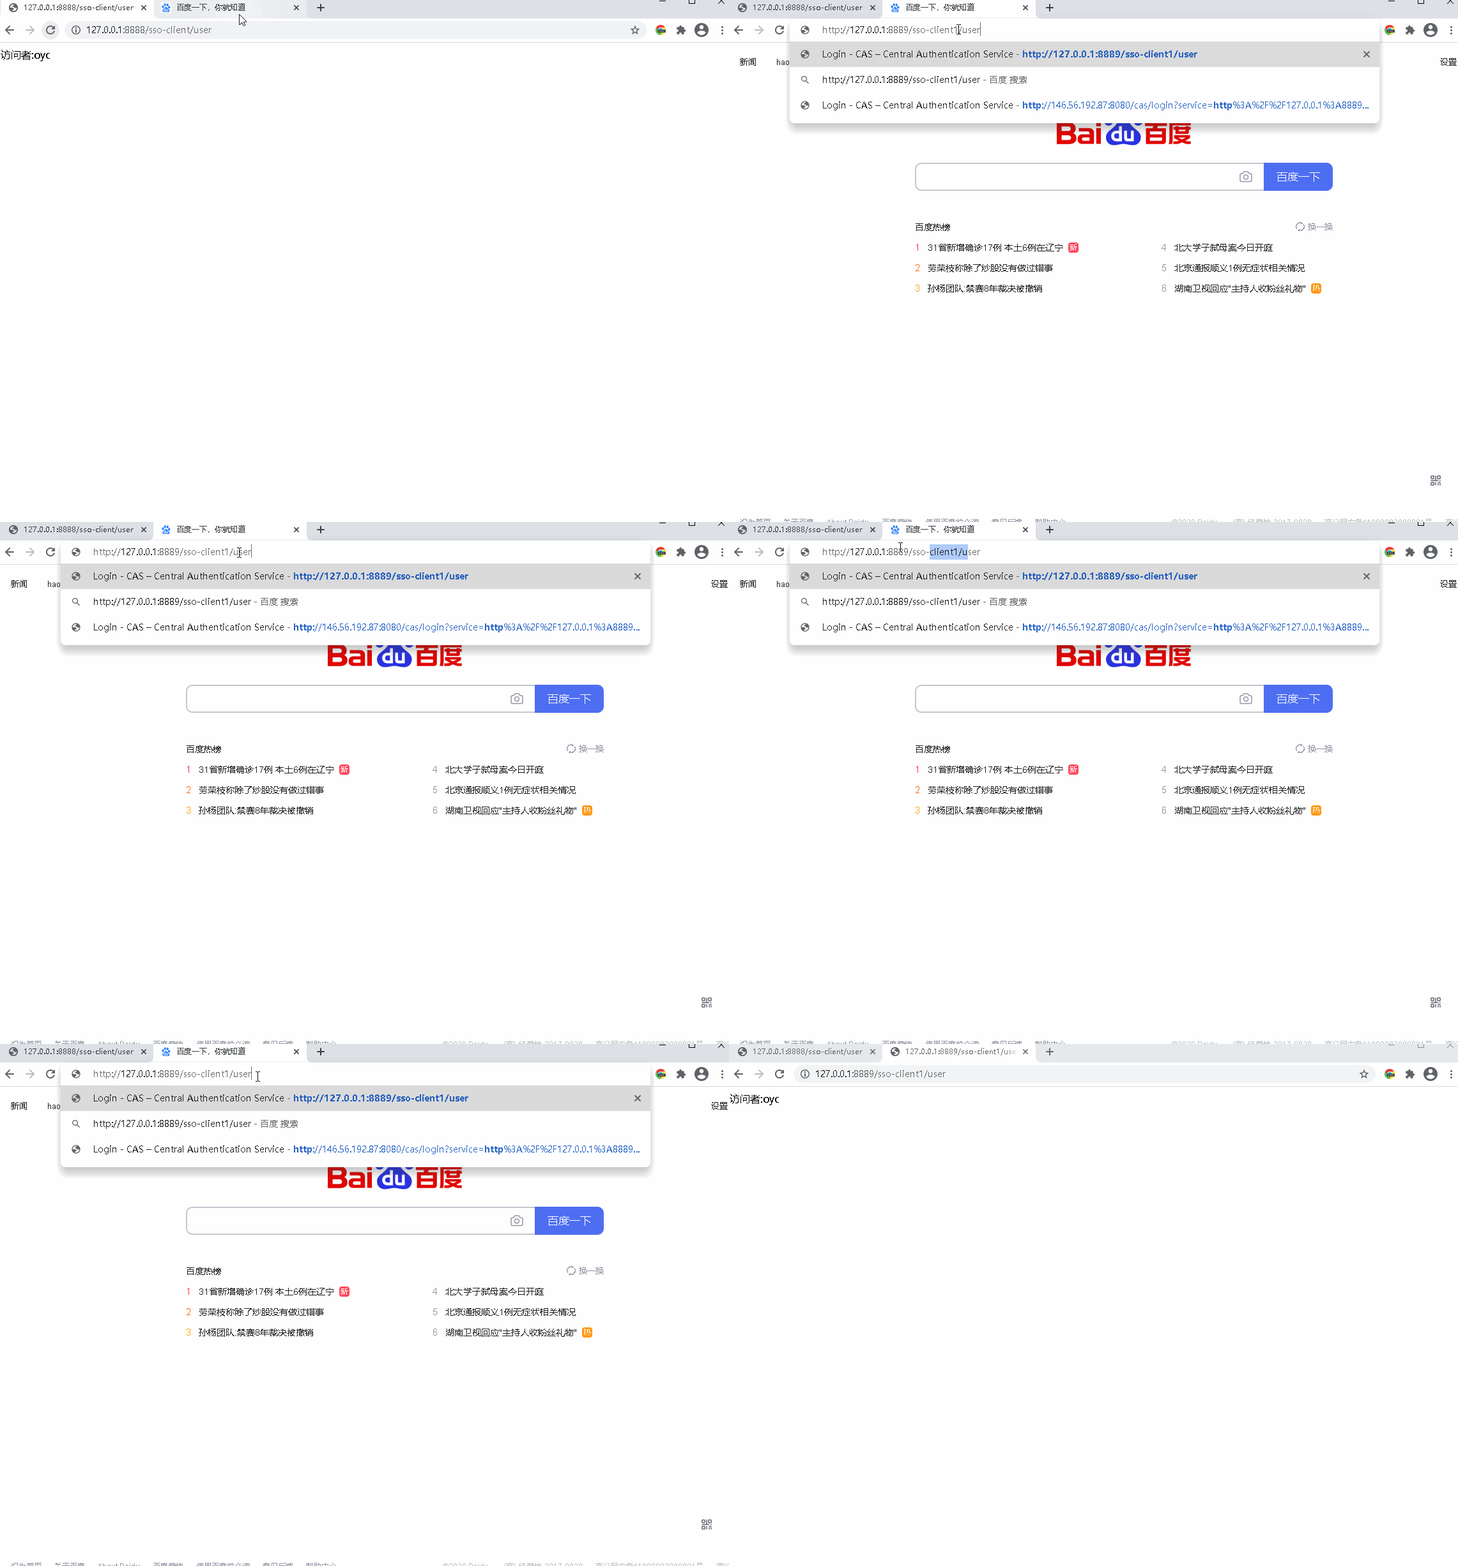
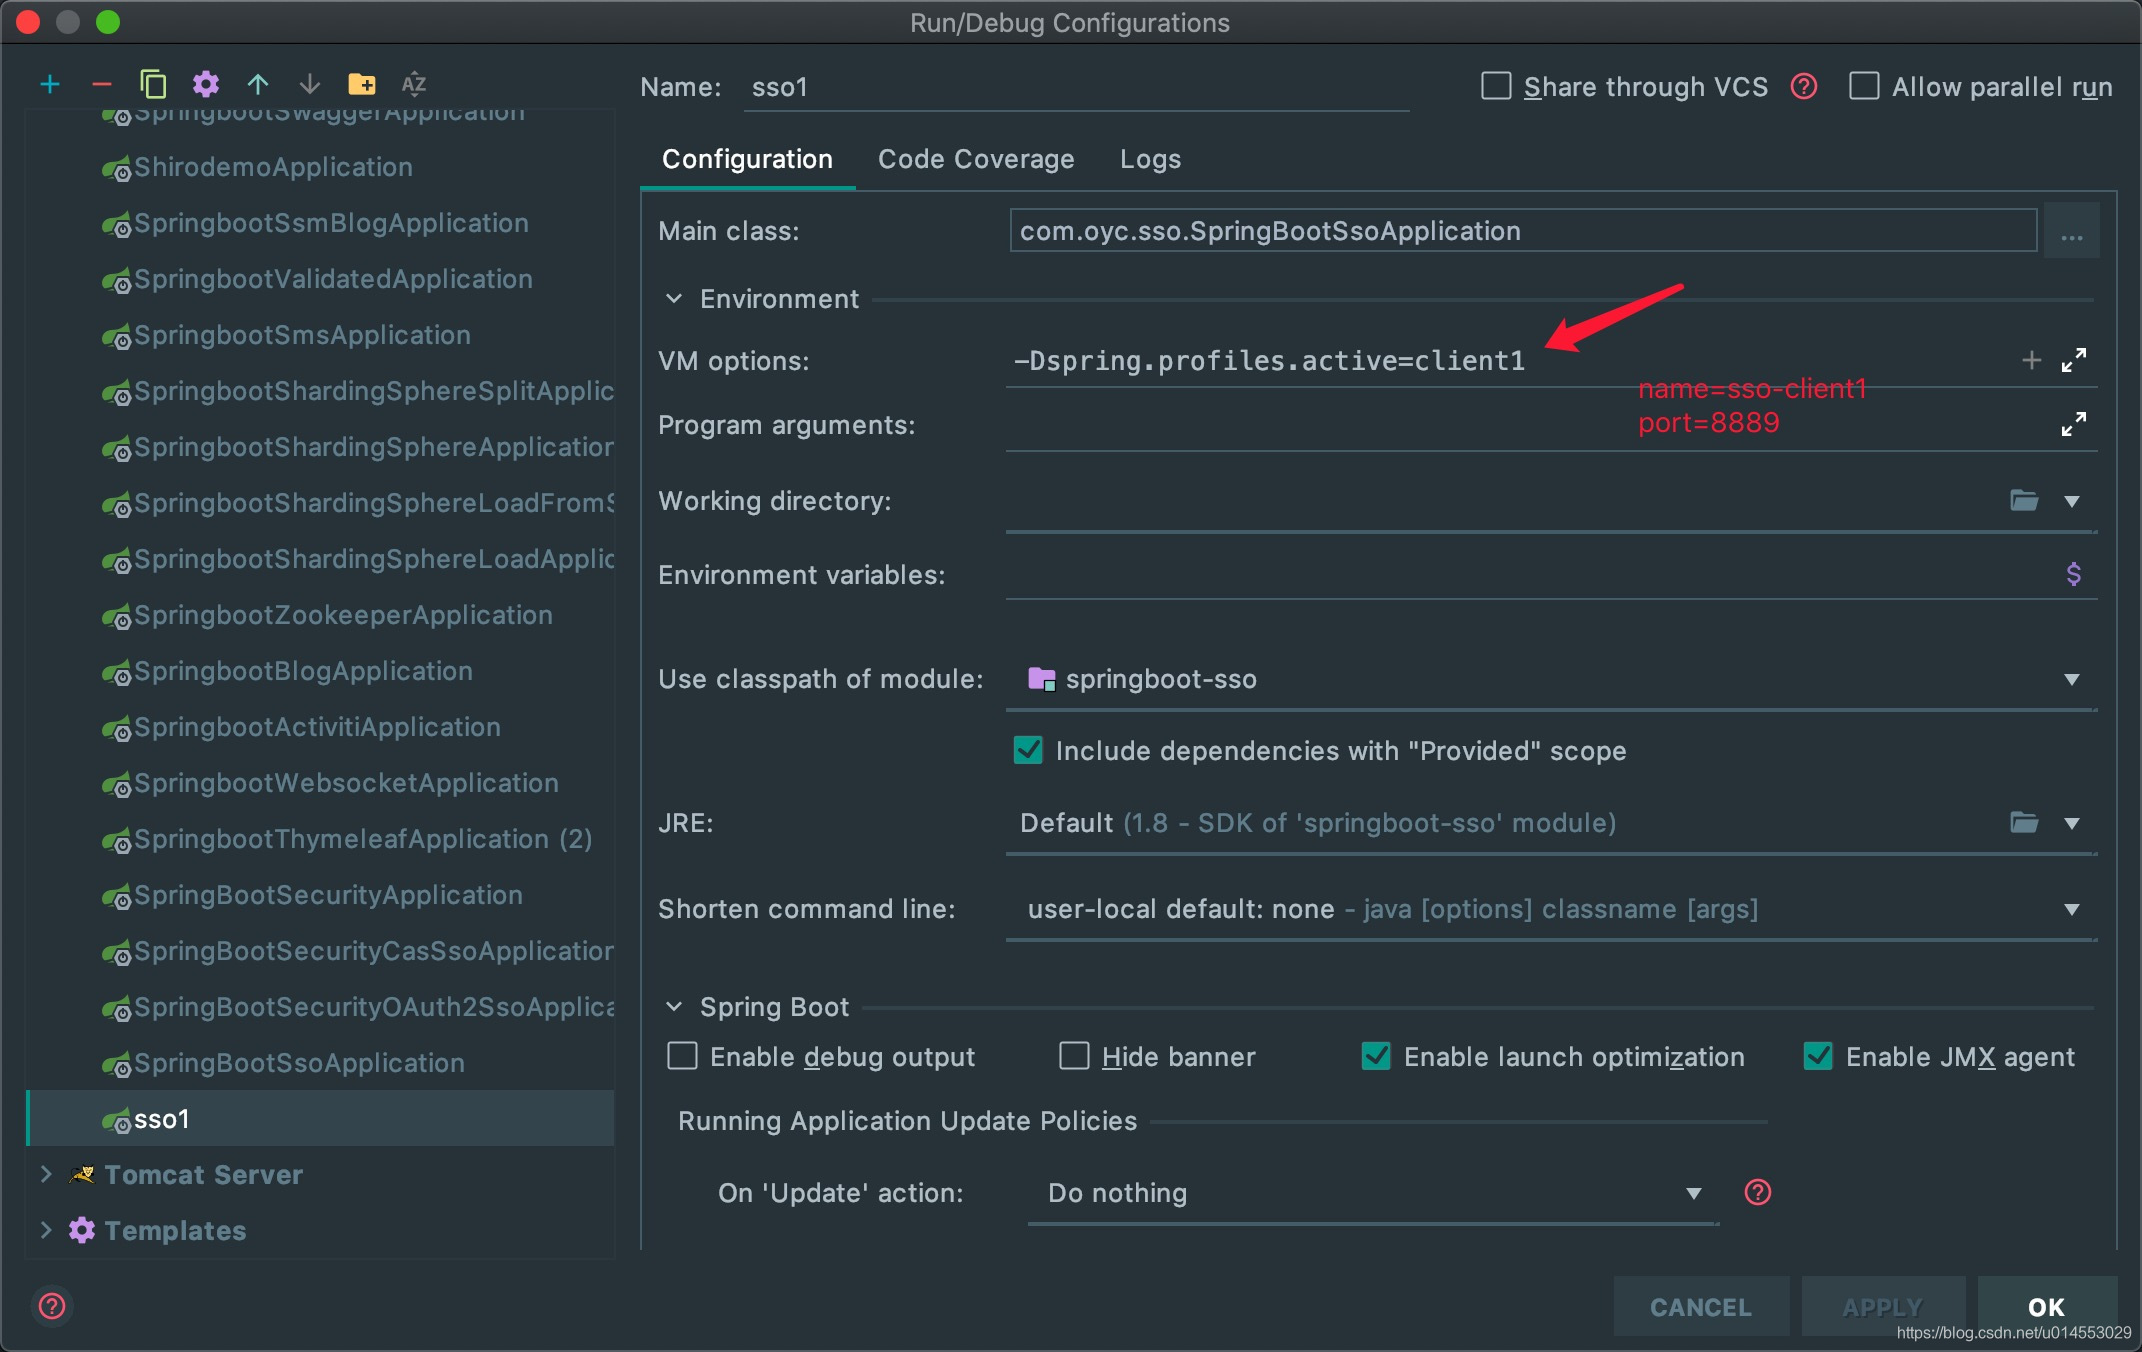
(6)在启动一个客户端,端口为8889,项目名称为sso-client1


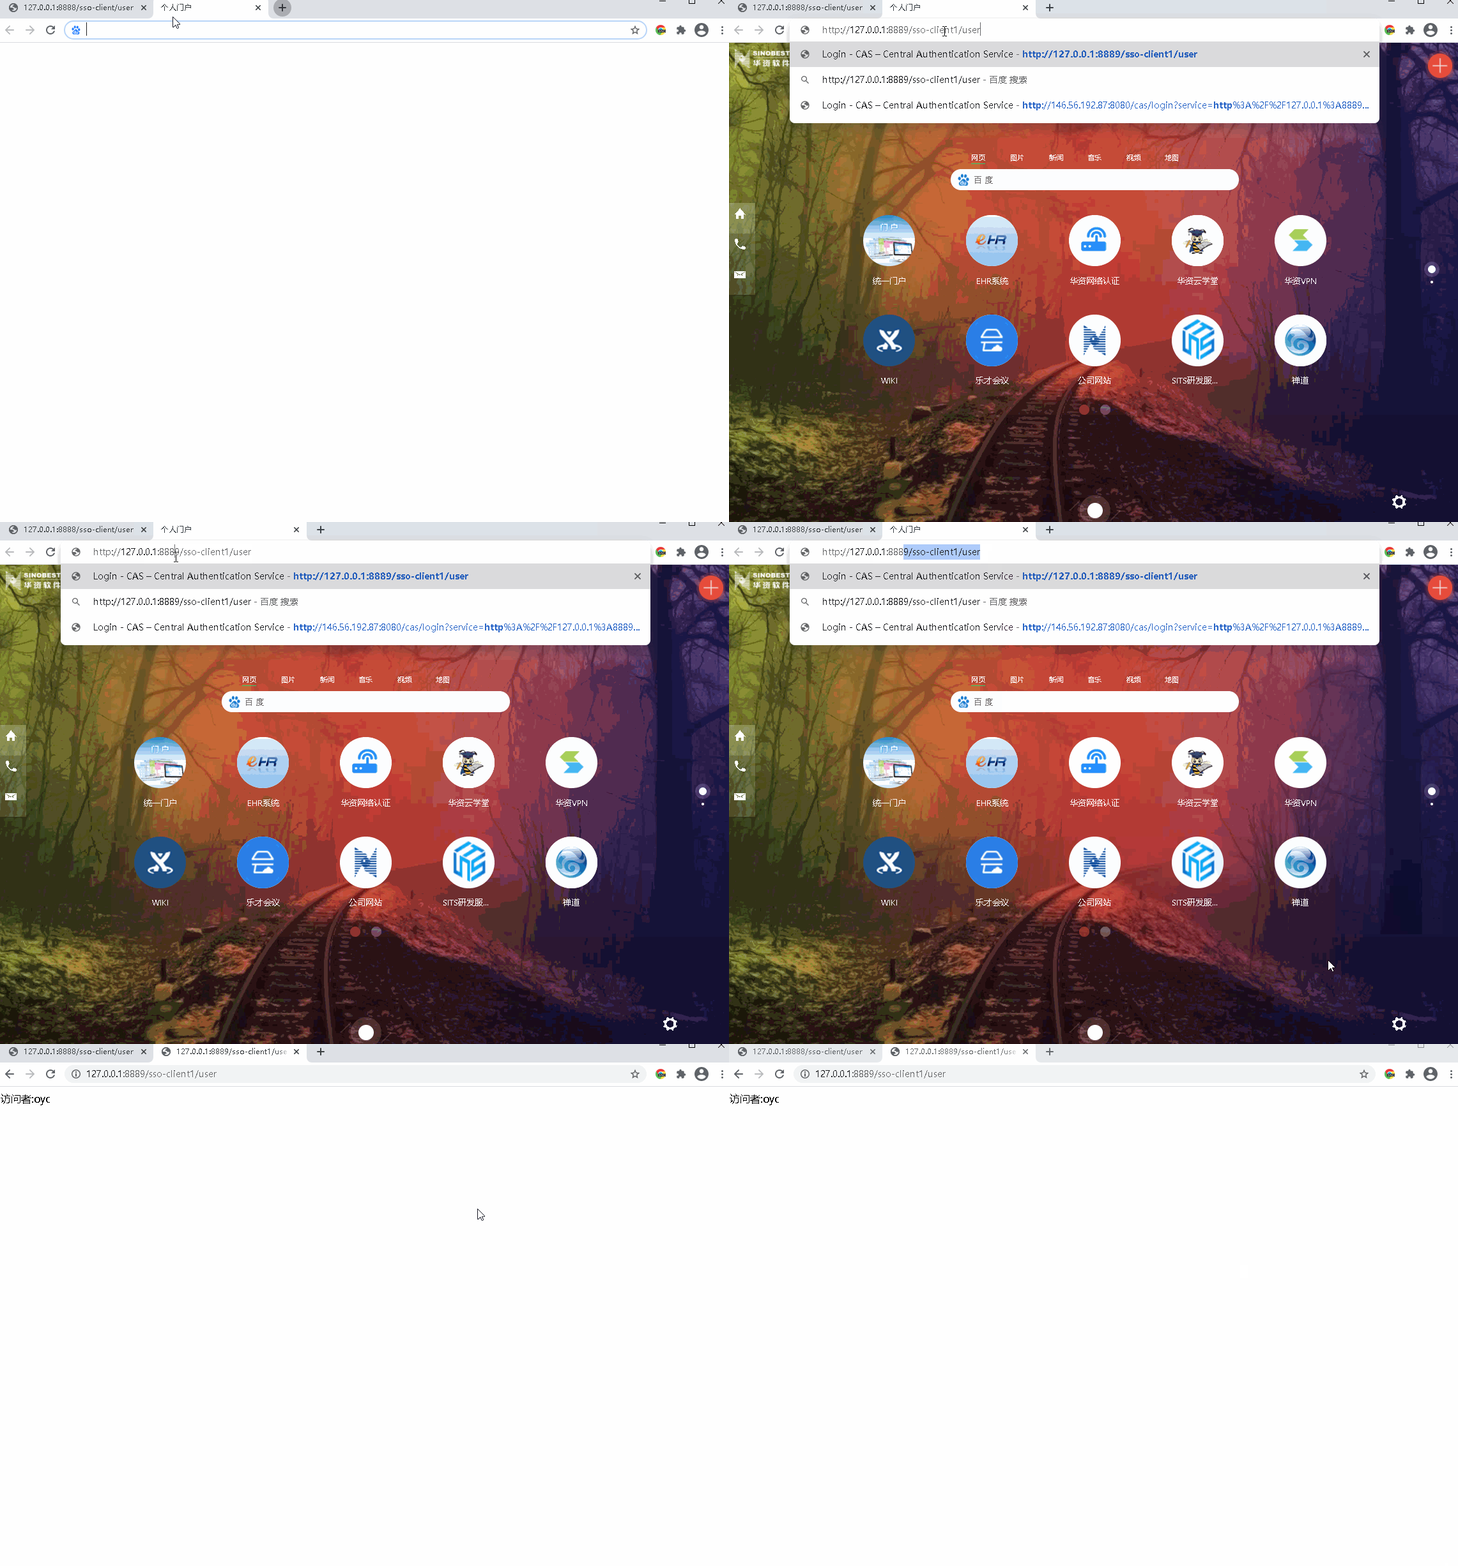
(7)访问:http://127.0.0.1:8889/sso-client1/user,直接获取到用户信息,不需要登录。单点认证验证完成。

注意:
(1)未认证授权的服务,不允许使用CAS来认证您访问的目标应用。
修改WEB-INF\classes\services\HTTPSandIMAPS-10000001.json
"serviceId" : "^(https|imaps)://.*"
改为
"serviceId" : "^(https|imaps|http)://.*"
(2)WEB-INF\classes\application.properties
# Service Registry(服务注册)
# 开启识别Json文件,默认false
cas.serviceRegistry.initFromJson=true
# 保存tgc
cas.tgc.secure=false
# 默认情况下退出登录时,页面将会跳转到CAS服务器内部的注销页面 casLogoutView.jsp ,
# 如果我们需要在退出登录后,跳转到指定页面,需要将下列参数设为true,在退出登录的url里需要添加service参数,
# 该参数指定在注销后需要跳转的页面,配置允许登出后跳转到指定页面
cas.logout.followServiceRedirects=true
#跳转到指定页面需要的参数名为 service(default)
cas.logout.redirectParameter=service
#在退出时是否需要 确认一下  true确认 false直接退出
cas.logout.confirmLogout=false
#是否移除子系统的票据
cas.logout.removeDescendantTickets=true
源码传送门:https://github.com/oycyqr/springboot-learning-demo/tree/master/springboot-sso


 2326
2326


 被折叠的 条评论
为什么被折叠?


