


场景:解除上端对细节的依赖,把细节包一层,在另一层中处理
抽象类
using System;
using System.Collections.Generic;
using System.Linq;
using System.Text;
using System.Threading.Tasks;

namespace DesignMode.Interface
{
    public abstract class BasePhone
    {
        public abstract void Call();
        public abstract void Text();
    }
}
苹果手机
using DesignMode.Interface;
using System;
using System.Collections.Generic;
using System.Linq;
using System.Text;
using System.Threading.Tasks;

namespace SimpleFactory
{
    public class iPhone : BasePhone
    {
        public override void Call()
        {
            Console.WriteLine("use {0} call", this.GetType().Name);
        }

        public override void Text()
        {
            Console.WriteLine("use {0} text", this.GetType().Name);
        }
    }
}
华为手机
using DesignMode.Interface;
using System;
using System.Collections.Generic;
using System.Linq;
using System.Text;
using System.Threading.Tasks;

namespace SimpleFactory
{
    public class Honor : BasePhone
    {
        public override void Call()
        {
            Console.WriteLine("use {0} call", this.GetType().Name);
        }

        public override void Text()
        {
            Console.WriteLine("use {0} text", this.GetType().Name);
        }
    }
}
三星手机
using DesignMode.Interface;
using System;
using System.Collections.Generic;
using System.Linq;
using System.Text;
using System.Threading.Tasks;

namespace SimpleFactory
{
    public class Galaxy : BasePhone
    {
        public override void Call()
        {
            Console.WriteLine("use {0} call", this.GetType().Name);
        }

        public override void Text()
        {
            Console.WriteLine("use {0} text", this.GetType().Name);
        }
    }
}
工厂类
using Interface;
using System;
using System.Collections.Generic;
using System.Linq;
using System.Text;
using System.Threading.Tasks;

namespace Model
{
    /// <summary>
    /// 解除上端对细节的依赖,把细节放到工厂中去
    /// </summary>
    public class ObjectFactory
    {
        /// <summary>
        /// 创建对象
        /// </summary>
        /// <param name="type"></param>
        /// <returns></returns>
        public static BasePhone CreateBasePhone(PhoneType type)
        {
            switch (type)
            {
                case PhoneType.Galaxy:
                    return new Galaxy();
                case PhoneType.iPhone:
                    return new iPhone();
                case PhoneType.Honor:
                    return new Honor();
                default:
                    throw new Exception("wrong PhoneType");
            }
        }

        /// <summary>
        /// 枚举
        /// </summary>
        public enum PhoneType
        {
            Galaxy,
            iPhone,
            Honor
        }
    }
}
上端调用
using Interface;
using Model;
using System;
using System.Collections.Generic;
using System.Linq;
using System.Text;
using System.Threading.Tasks;

namespace ConsoleApplication1
{
    class Program
    {
        static void Main(string[] args)
        {
            BasePhone galaxy = ObjectFactory.CreateBasePhone(ObjectFactory.PhoneType.Galaxy);
            BasePhone iphone = ObjectFactory.CreateBasePhone(ObjectFactory.PhoneType.iPhone);
            Console.ReadKey();
        }
    }
}

到这 实现简单工厂基础版
上面的上端调用 可能看起来还是有点不爽,因为貌似还有点细节
BasePhone galaxy = ObjectFactory.CreateBasePhone(ObjectFactory.PhoneType.Galaxy);
ObjectFactory.PhoneType.Galaxy
我就是不想让上端写明传什么枚举类型
接着改造 我的工厂类 这回我用了配置文件
using Interface;
using System;
using System.Collections.Generic;
using System.Configuration;
using System.Linq;
using System.Text;
using System.Threading.Tasks;

namespace Model
{
    /// <summary>
    /// 解除上端对象细节的依赖,把细节放到工厂中去
    /// </summary>
    public class ObjectFactory2
    {
        /// <summary>
        /// 枚举
        /// </summary>
        public enum PhoneType
        {
            Galaxy,
            iPhone,
            Honor
        }

        /// <summary>
        ///
        /// </summary>
        /// <returns></returns>
        public static BasePhone CreateBasePhoneConfig()
        {
            //把字符串转换成枚举类型
            PhoneType type = (PhoneType)Enum.Parse(typeof(PhoneType), ConfigurationManager.AppSettings["PhoneType"]);
            switch (type)
            {
                case PhoneType.Galaxy:
                    return new Galaxy();
                case PhoneType.iPhone:
                    return new iPhone();
                default:
                    throw new Exception("wrong PhoneType");
            }
        }
    }
}
配置文件
<?xml version="1.0" encoding="utf-8" ?>
<configuration>
<startup>
<supportedRuntime version="v4.0" sku=".NETFramework,Version=v4.5" />
</startup>
<appSettings>
<!--<add key="PhoneType" value="iPhone"/>-->
<add key="PhoneType" value="Galaxy"/>
</appSettings>
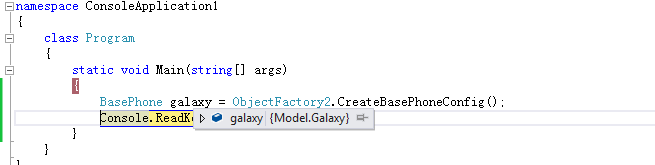
</configuration>上端调用
using Interface;
using Model;
using System;
using System.Collections.Generic;
using System.Linq;
using System.Text;
using System.Threading.Tasks;

namespace ConsoleApplication1
{
    class Program
    {
        static void Main(string[] args)
        {
            BasePhone galaxy = ObjectFactory2.CreateBasePhoneConfig();
            Console.ReadKey();
        }
    }
}
既然可以读取配置文件来搞,那么干脆用反射玩
改造下简单工厂类
using Interface;
using System;
using System.Collections.Generic;
using System.Configuration;
using System.Linq;
using System.Text;
using System.Threading.Tasks;

namespace Model
{
    /// <summary>
    /// 解除上端对象细节的依赖,把细节放到工厂中去
    /// </summary>
    public class ObjectFactory3
    {
        public static BasePhone CreateBasePhoneConfigReflection()
        {
            //通过配置文件获取程 序集名称 [命名空间]
            string dllName = ConfigurationManager.AppSettings["dllName"];
            //通过配置文件获取类 型全名称 [命名空间+类名]
            string className = ConfigurationManager.AppSettings["className"];
            //反射创建对象
            return (BasePhone)Activator.CreateInstance(dllName,className).Unwrap();
        }
    }
}
配置文件
<?xml version="1.0" encoding="utf-8" ?>
<configuration>
<startup>
<supportedRuntime version="v4.0" sku=".NETFramework,Version=v4.5" />
</startup>
<appSettings>
<!--程序集名称 [命名空间]-->
<add key="dllName" value="Model"/>
<!--类型全名称 [命名空间+类名]-->
<add key="className" value="Model.Galaxy"/>
</appSettings>
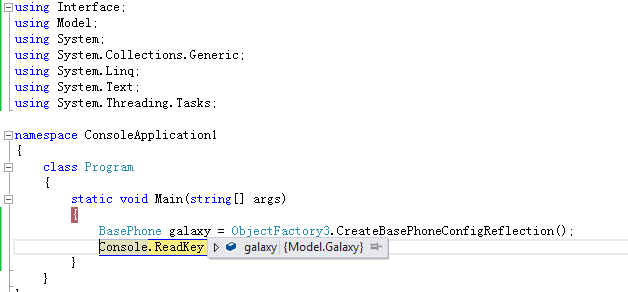
</configuration>上端调用
using Interface;
using Model;
using System;
using System.Collections.Generic;
using System.Linq;
using System.Text;
using System.Threading.Tasks;

namespace ConsoleApplication1
{
    class Program
    {
        static void Main(string[] args)
        {
            BasePhone galaxy = ObjectFactory3.CreateBasePhoneConfigReflection();
            Console.ReadKey();
        }
    }
}
最后交代一下,用反射的方式玩工厂是最灵活的,从代码上来说 枚举都可以去掉了 !
比方说要加个“小米”手机,那么我们搞个“小米”类,继承一下”手机父类”, 编译一下,就可以跑起来,当然配置文件要改动
从程序设计原则上讲,简单工厂是违背了 “单一职责”
程序设计没有银弹


 442
442

 被折叠的 条评论
为什么被折叠?
被折叠的 条评论
为什么被折叠?
 到【灌水乐园】发言


