


 本文介绍如何使用HTML5 Canvas结合JavaScript创建一棵可以根据手势摆动的树。通过绘制树干和树枝,利用递归绘制多层,并通过手势控制树枝的摆动角度,实现交互式的树动画效果。
用Canvas制作可以根据手势摆动的树
根据工作的需要,制作一个摆动的树做为页面的背景。为了增加页面的交互性,我又为背景中的树增加了鼠标(触控)事件,使他能够根据鼠标(触控)做出相应的动作,当手指做上下或者左右滑动的时候树会跟着摆动。先看看最终效果。
Step1.完成HTML页面,新建一个Tree类
完成HTML页面后新建一个Tree类用来记录树的各个属性。其中x,y为树根部的坐标值,branchLen,branchWidth分别是树枝的长度与宽度,depth为树枝的层数,canvas用来接页面中的canvas元素(默认是ID为canvas的元素)。
function Tree(x,y,branchLen,branchWidth,depth,canvas){
    this.canvas = canvas || document.getElementById('canvas');
    this.ctx = this.canvas.getContext('2d');
    this.x = x||0;
    this.y = y||0;
    this.branchLen = branchLen||0;
    this.branchWidth = branchWidth||0;
    var depth = depth || 5;
}
Step2.添加drawRoot方法,用来绘制树干
首先在drawRoot中画第一个枝干。drawRoot的参数意义同上。并且在Tree类的构造函数中运行drawRoot并把Tree接受到的参数传入。最后new一个Tree类,使树根位于屏幕的底部正中心,树枝长100px,树枝宽度为8px,树枝层数为8层(暂时用不上)。var atree = new Tree(canvas.width/2-4,canvas.height,100,8,8,canvas);
在drawRoot中我们需要用lineTo()画出树枝。树枝的起始的坐标值(x,y)已经给出,结束的坐标值(toX,toY)需要进行计算。第一个画的是树干,由于树干垂直于地面所以结束坐标toX等于初始坐标x,而结束坐标toY等于初始y减去树干长度branchLen(注意坐标的0,0点在canvas的左上角)。var toX = x;var toY = y-branchLen;
function Tree(x,y,branchLen,branchWidth,depth,canvas){
    this.canvas = canvas || document.getElementById('canvas');
    this.ctx = this.canvas.getContext('2d');
    this.x = x||0;
    this.y = y||0;
    this.branchLen = branchLen||0;
    this.branchWidth = branchWidth||0;
    var depth = depth || 5;
    this.drawRoot(this.x,this.y,this.branchLen,this.branchWidth);
}
Tree.prototype.drawRoot = function(x,y,branchLen,branchWidth){
    var toX = x;
    var toY = y-branchLen;
    this.ctx.save();
    this.ctx.strokeStyle="rgba(37, 141, 194, 0.93)";
    this.ctx.beginPath();
    this.ctx.lineCap = "butt";
    this.ctx.lineJoin="round";
    this.ctx.lineWidth = branchWidth;
    this.ctx.moveTo(x,y);
    this.ctx.lineTo(toX,toY);
    this.ctx.closePath();
    this.ctx.stroke();
    this.ctx.restore();
}
var atree = new Tree(canvas.width/2-4,canvas.height,100,8,8,canvas);
运行代码:
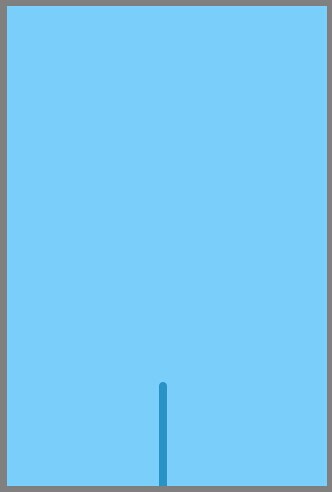
Step3.添加drawBranch方法,用来绘制树枝
drawBranch同样是根据初始与结束坐标画出一条直线代表树枝。与树干不同的是树枝不再是垂直与地面而是与树干保持一定的角度,而且树枝的初始值是树干的结束点(toX,toY)。所以在drawBranch中我们加入新参数angle用来表示树枝与树干的垂直夹角α,这样就可以根据α算出toX与toY。请看图。
 最低0.47元/天 解锁文章


 1413
1413

 被折叠的 条评论
为什么被折叠?
被折叠的 条评论
为什么被折叠?
 到【灌水乐园】发言


