


 本文是《Spring4实战 第4版》的学习笔记,涵盖了IOC装配Bean的多种方式,包括自动装配、组件扫描、自定义限定符,以及AOP切面编程和Spring MVC的详解。此外,还讨论了Spring与MyBatis的整合、Spring使用Redis以及Spring Security的基础配置和权限控制。
《Spring4实战 第4版》2016年4月新出版的,之前的第三版看起来还是不错的,所以看到新版就直接买下来。
英文版源码地址:Spring in Action, Fourth Edition Covers Spring 4
1.IOC装配Bean
参考【Spring实战4 2.2】,作者提倡无XML配置化。
1.1接口只有一个现实类
可以自动装配
public interface CompactDisc {

    void play();
}
import org.springframework.stereotype.Component;

@Component
public class SgtPeppers implements CompactDisc {

    private String title = "Sgt. Pepper's Lonely Hearts Club Band";
    private String artist = "http://blog.csdn.net/unix21";

    public void play() {
        System.out.println("【非常醒目SgtPeppers 】>>>>>>>>>>>>>>>>>Playing " + title + " by " + artist);
    }

}
import org.springframework.context.annotation.ComponentScan;
import org.springframework.context.annotation.Configuration;
@Configuration
@ComponentScan
public class CDPlayerConfig {
}
单元测试
import static org.junit.Assert.*;
import org.junit.Rule;
import org.junit.Test;
import org.junit.runner.RunWith;
import org.springframework.beans.factory.annotation.Autowired;
import org.springframework.beans.factory.annotation.Qualifier;

import org.springframework.test.context.ContextConfiguration;
import org.springframework.test.context.junit4.SpringJUnit4ClassRunner;

@RunWith(SpringJUnit4ClassRunner.class)
@ContextConfiguration(classes = CDPlayerConfig.class)
public class CDPlayerTest {
    @Autowired
    private CompactDisc cd;

    @Test
    public void play() {
        cd.play();
    }
}
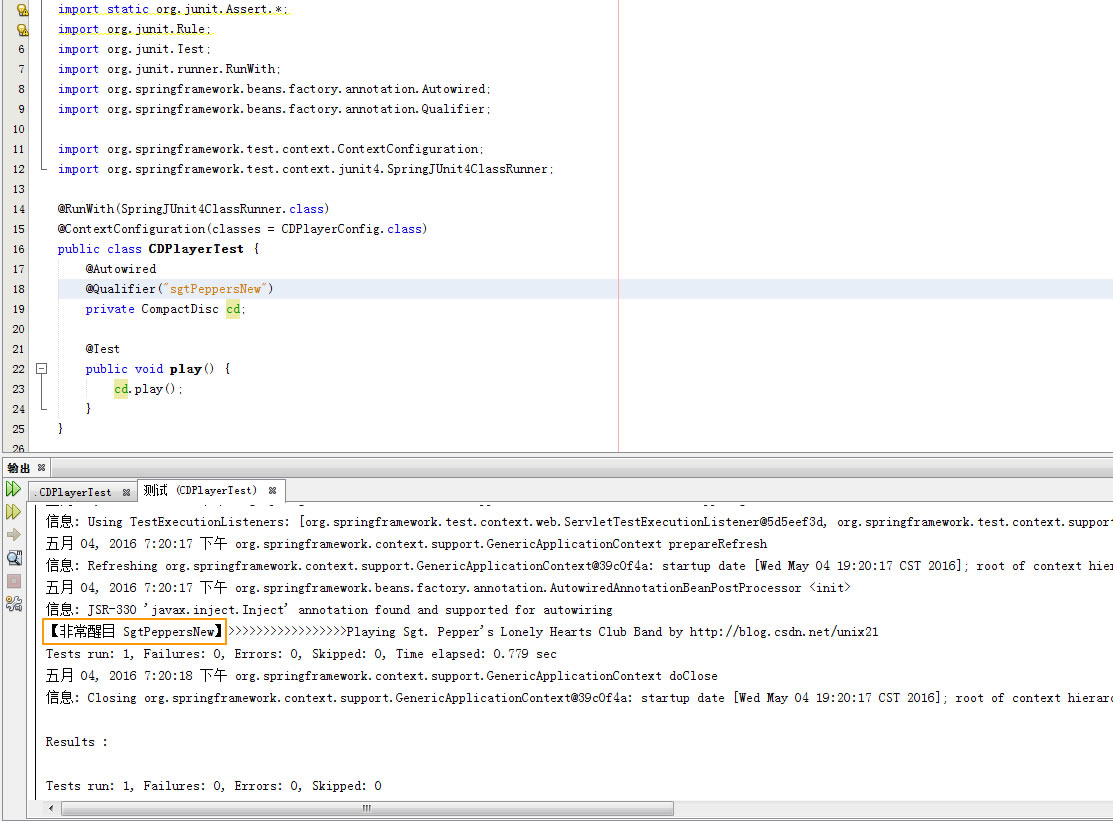
1.2 接口有多个实现类
【参考 Spring实战4 3.3】
故意再写一个实现类
import org.springframework.stereotype.Component;

@Component
public class SgtPeppersNew implements CompactDisc {

    private String title = "Sgt. Pepper's Lonely Hearts Club Band";
    private String artist = "http://blog.csdn.net/unix21";

    public void play() {
        System.out.println("【非常醒目 SgtPeppersNew】>>>>>>>>>>>>>>>>>Playing " + title + " by " + artist);
    }

}如果这个时候运行肯定会报错NoUniqueBeanDefinitionException: No qualifying bean of type
解决方法有两种
第一种 在实现类上 标识首选的bean,使用@Primary
import org.springframework.context.annotation.Primary;
import org.springframework.stereotype.Component;

@Component
@Primary
public class SgtPeppers implements CompactDisc {

    private String title = "Sgt. Pepper's Lonely Hearts Club Band";
    private String artist = "http://blog.csdn.net/unix21";

    public void play() {
        System.out.println("【非常醒目SgtPeppers 】>>>>>>>>>>>>>>>>>Playing " + title + " by " + artist);
    }

}
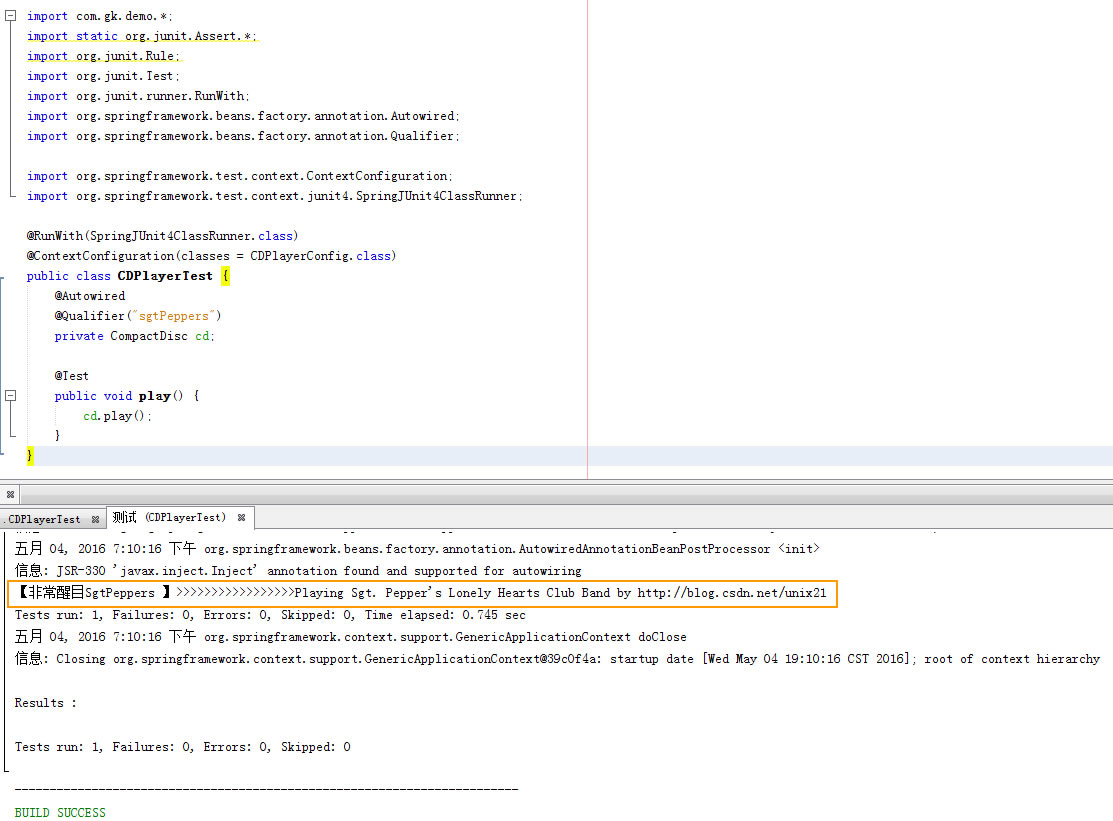
第二种 使用@Qualifier注解
import static org.junit.Assert.*;
import org.junit.Rule;
import org.junit.Test;
import org.junit.runner.RunWith;
import org.springframework.beans.factory.annotation.Autowired;
import org.springframework.beans.factory.annotation.Qualifier;

import org.springframework.test.context.ContextConfiguration;
import org.springframework.test.context.junit4.SpringJUnit4ClassRunner;

@RunWith(SpringJUnit4ClassRunner.class)
@ContextConfiguration(classes = CDPlayerConfig.class)
public class CDPlayerTest {
    @Autowired
    @Qualifier("sgtPeppersNew")
    private CompactDisc cd;

    @Test
    public void play() {
        cd.play();
    }
}
需要注意的是bean id的首字母是类名小写。
1.3 为组件扫描的bean命名
【参考 Spring实战4 2.2.2】
import org.springframework.stereotype.Component;

@Component("spn")
public class SgtPeppersNew implements CompactDisc {
@Autowired
    @Qualifier("spn")
    private CompactDisc cd;
也可以使用 @Named效果是一样的,这是java依赖注入规范
import javax.inject.Named;

@Named("spn")
public class SgtPeppersNew implements CompactDisc {
1.4 设定组件扫描的指定包
【参考 Spring实战4 2.2.3】
如果@ComponentScan默认不设置只扫描配置类所在的包作为基础包。
@Configuration
@ComponentScan("blog.csdn.net.unix21")
public class CDPlayerConfigTest {
如果想更清晰的表明设置的是基础包
@ComponentScan(basePackages="指定包")
指定多个
@ComponentScan(basePackages={"指定包1","指定包2"})
也可以将其指定为包中所包含的类或者接口
@ComponentScan(basePackages={"XXX.class","XX.class"})
1.5 自动装配
【参考 Spring实战4 2.2.4】
声明自动装配需要@Autowired注解
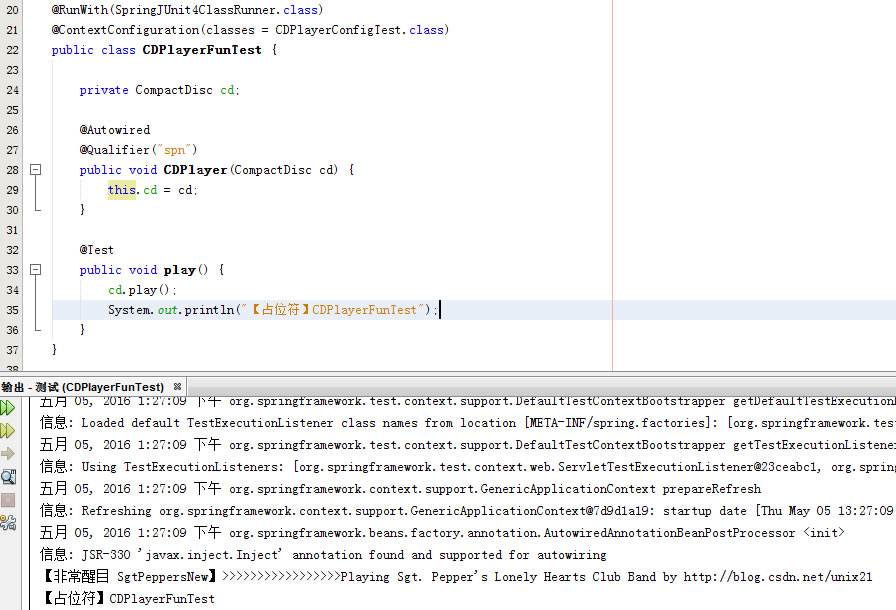
1.5.1 在构造方法上使用自动装配
@RunWith(SpringJUnit4ClassRunner.class)
@ContextConfiguration(classes = CDPlayerConfigTest.class)
public class CDPlayerFunTest {

    private CompactDisc cd;

    @Autowired
    @Qualifier("spn")
    public void CDPlayer(CompactDisc cd) {
        this.cd = cd;
    }

    @Test
    public void play() {
        cd.play();
        System.out.println("【占位符】CDPlayerFunTest");
    }
}
另一种写法
@Component
public class CDPlayer implements MediaPlayer {
  private CompactDisc cd;

  @Autowired
  public CDPlayer(@Qualifier("spn")CompactDisc cd) {
    this.cd = cd;
  }

  public void play() {
    cd.play();
  }

}
1.5.2 在属性Setter方法上使用自动装配
@Component
public class CDPlayer implements MediaPlayer {
  private CompactDisc cd;

  @Autowired
  @Qualifier("spn")
  public void setCompactDisc(CompactDisc cd) {
    this.cd = cd;
  }

  public void play() {
    cd.play();
  }
}
避免异常声明 @Autowired(required = false),如果没有匹配的bean,Spring会让这个bean处于未装配转态,但是需要谨慎对待这个设置,代码需要做null检查。
@Autowired是Spring特有的注解,可以替换为@Inject,@Inject来源自Jave依赖注入规范。
1.6 创建自定义的限定符
【参考 Spring实战4 3.3.2】
@Component
@Qualifier("cold")
public class IceCream implements CompactDisc {

    private String title = "Sgt. Pepper's Lonely Hearts Club Band";
    private String artist = "The Beatles";

    public void play() {
        System.out.println("【非常醒目 IceCream】>>>>>>>>>>>>>>>>>>>>>>>>>>>>>>>>Playing " + title + " by " + artist);
    }
}
@RunWith(SpringJUnit4ClassRunner.class)
@ContextConfiguration(classes=CDPlayerConfigTest.class)
public class CDPlayerLogTest {

  @Autowired
  private MediaPlayer player;

  @Autowired
  @Qualifier("sp")
  private CompactDisc cd;

  @Autowired
  @Qualifier("cold")
  private CompactDisc cd2;

  @Test
  public void cdShouldNotBeNull() {
    assertNotNull(cd);
  }

  @Test
  public void play() {
    player.play();
    cd.play();
    cd2.play();
  }
}
好处:这样做的好处限定符不耦合类名,所以可以随意重构类名。
问题:重复的限定符出现在多个类上这是不允许的,因为Java不允许同一个条目上重复出现相同类型的多个注解。
1.7 使用自定义限定符注解
针对上述问题可以创建自定义的限定符注解。
@Retention(RetentionPolicy.RUNTIME) // 注解会在class字节码文 最低0.47元/天 解锁文章


 3109
3109

 被折叠的 条评论
为什么被折叠?
被折叠的 条评论
为什么被折叠?
 到【灌水乐园】发言


