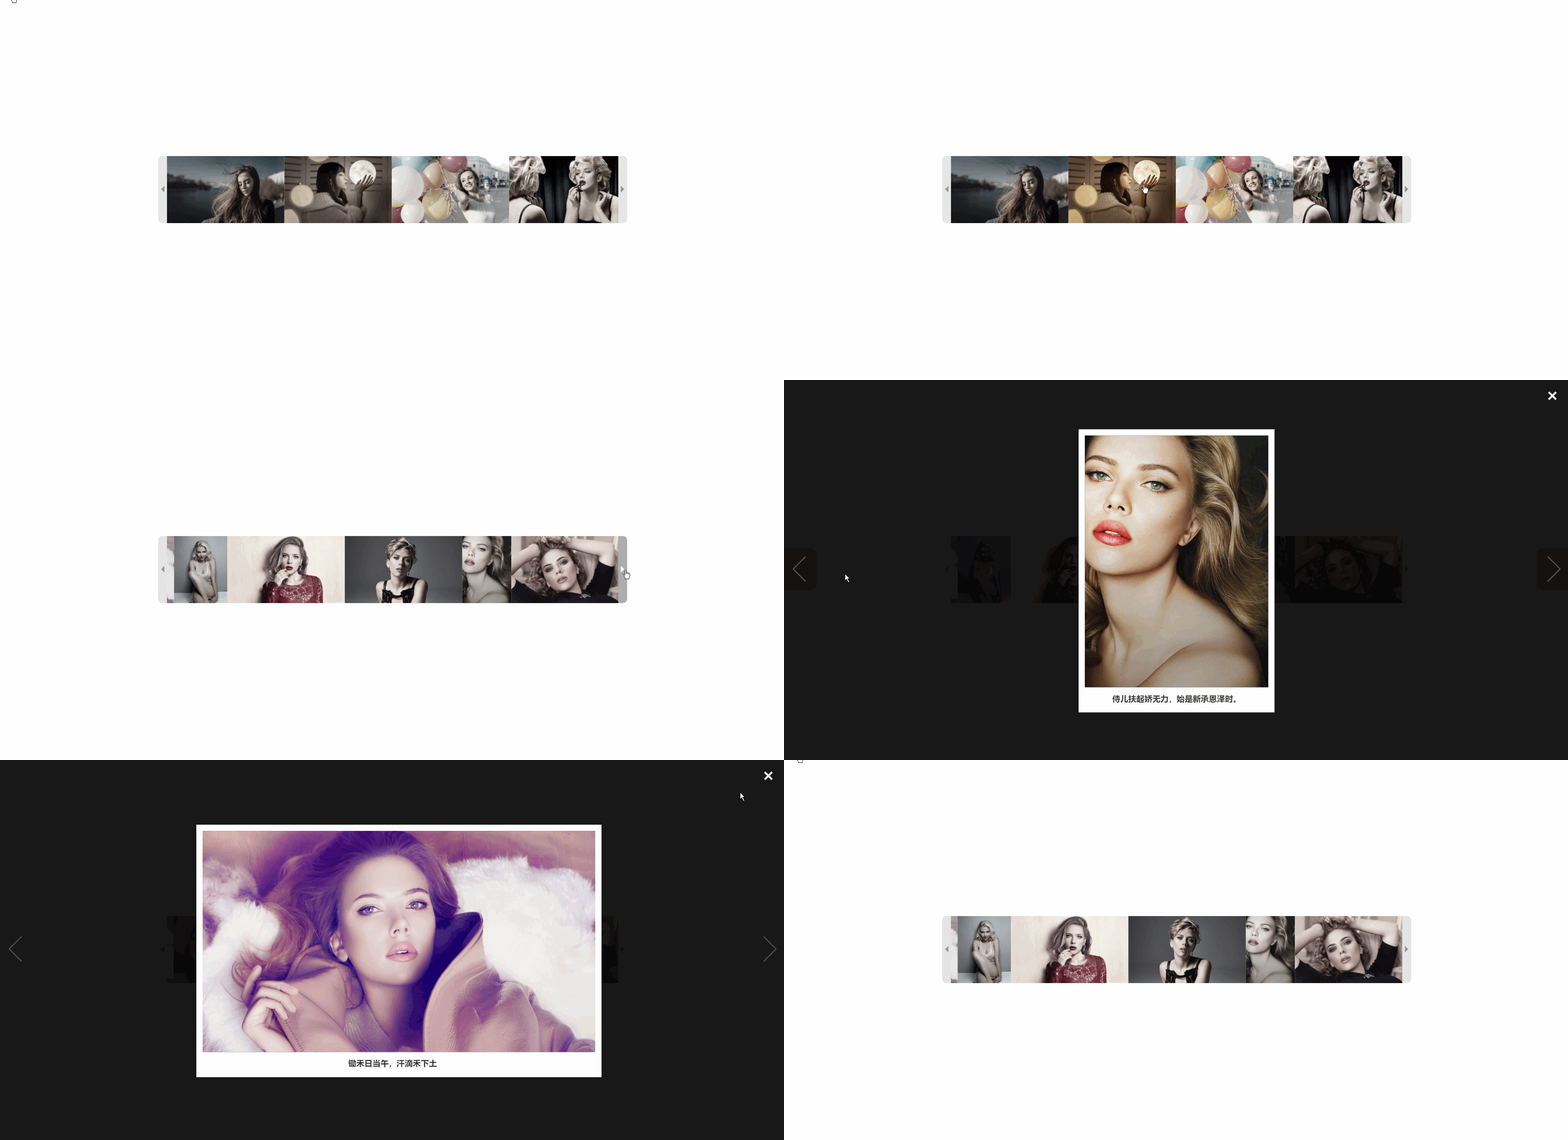
需求发端:
我自己动手做的一个网站,需要展示一组不明确数量和大小的图片。我想做个lightbox效果,又不想用什么库文件。网上的lightbox插件很多,功能很好很强大。但我不想要那么多代码。
于是,就自力更生自己搞一个。现在把代码分享出来,方便跟我同样需要的人。接下来是看图说话:

最终代码代码实现了一组数量未知的图片,横向排列(统一宽度和高度),容器固定宽度后,图片列表可左右滚动。图片点击,展开大图,可通过鼠标点击屏幕左右两侧箭头或按键盘方向键切换图片。点关闭返回图片列表。
这一篇是上篇,我们先实现lightbox部分的功能(代码极其简单)。【本例完整版源码下载】
废话不多说,先上一下页面布局代码:
<div id="myLightbox" class="lightbox"><!-- 遮罩层 -->
<span class="lightbox-close">×</span> <!-- 关闭按钮 -->
<span class="lightbox-before"></span>
<!-- 前一张 -->
<span class="lightbox-after"></span>
<!-- 后一张 -->
<div class="lightbox-content"><!-- 照片容器 -->
<img>
<div id="imgAlt" class="lightbox-alt"></div>
</div>
</div>
<div class="imgbox"> <!-- 图片列表 -->
<img src="images/0001.png" alt="纱帐香飘兰麝,娥眉轻把萧吹" onclick="openLightbox(this);">
<img src="images/0002.png" alt="清风不识字,何故乱翻书?" onclick="openLightbox(this);">
<img src="images/0003.png" alt="好雨知时节,当春乃发生。" onclick="openLightbox(this)">
<img src="images/0004.png" alt="花径不曾缘客扫,蓬门今始为君开。" onclick="openLightbox(this)">
<img src="images/0005.png" alt="锄禾日当午,汗滴禾下土" onclick="openLightbox(this)">
<img src="images/0006.jpeg" alt="晓看天色暮看云,行也思君,坐也思君" onclick="openLightbox(this)">
<img src="images/0007.jpeg" alt="鸳鸯被里成双夜,一树梨花压海棠。" onclick="openLightbox(this)">
<img src="images/0008.jpeg" alt="衣带渐宽终不悔,为伊消得人憔悴。" onclick="openLightbox(this)">
<img src="images/0009.jpeg" alt="侍儿扶起娇无力,始是新承恩泽时。" onclick="openLightbox(this)">
<img src="images/0010.jpeg" alt="我与你生同一个衾,死同一个椁" onclick="openLightbox(this)">
<!-- Add more images here -->
</div> 然后,给他们赋予样式表:
  .lightbox {
    display: none;
    position: fixed;
    z-index: 999;
    padding-top: 100px;
    left: 0;
    top: 0;
    width: 100%;
    height: 100%;
    background-color: rgb(0,0,0);
    background-color: rgba(0,0,0,0.9);
  }
  .lightbox-content{
    position: fixed;
    z-index: 9999;
    padding-top: 10px;
    left: 50%;
    top: 50%;
    transform: translate(-50%, -50%);
  }

  .lightbox-content img{
    max-height: 600px;
    max-width: 100%;
    margin:auto;
    background-color: #fff;
    border:15px solid #fff;
    border-bottom:60px solid #fff;
  }

  .lightbox-alt{
    position: absolute;
    width: 100%;
    bottom:25px;
    text-align: center;
    font-size: 1.2rem;
    font-weight: 700;
    color: #333;
  }

  .lightbox-before,.lightbox-after{
    position: absolute;
    width: 78px;
    height: 100px;
    display: block;
    top:40%;
    filter: grayscale(70%) blur(0.5px); /* 调整数值来改变模糊程度 */
    opacity: 0.3;
    cursor: pointer;
  }
  .lightbox-before{
    left:0px;
    background: url("images/left-arrow.png") left bottom no-repeat;
    border-radius: 0px 15px 15px 0px;
  }
  .lightbox-after{
    right:0px;
    background: url("images/right-arrow.png") left bottom no-repeat;
    border-radius:  15px 0px 0px 15px ;
  }
  .lightbox-before:hover,
  .lightbox-after:hover{
    opacity: 0.9;
    -webkit-filter: grayscale(0%); /* Chrome, Safari, Opera */
    filter: grayscale(0%);
    filter: blur(0px); /* 调整数值来改变模糊程度 */
    }

  .lightbox-close {
    position: absolute;
    top: 10px;
    right: 25px;
    color: #f1f1f1;
    font-size: 40px;
    font-weight: bold;
    transition: 0.3s;
  }


  .lightbox-close:hover,
  .lightbox-close:focus {
    color: #bbb;
    text-decoration: none;
    cursor: pointer;
  }
  .imgbox{
    position: fixed;
    width: 1200px;
    height: 65px;
    overflow: hidden;
    left: 50%;
    top: 50%;
    transform: translate(-50%, -50%);

  }
  .imgbox img{
    width: 120px;
    height: auto;
    float:left;
    cursor: pointer;
    opacity: 0.7;
    filter: grayscale(90%); /* 灰色滤镜 */
    transition: all .5s;
  }
  .imgbox img:hover{
    opacity: 1;
    filter: grayscale(0%); /* 鼠标移动到图片上,清除灰色滤镜,图片原色输出 */
    transition: all .5s;
  }
图片组准备好了,容器也都准备完成,接下来是超简洁的js时间:
  let currentImageIndex = 0;
  let allImages = document.querySelectorAll('img[onclick]');

  function openLightbox(imgElement) {
    // Show the lightbox
    document.getElementById('myLightbox').style.display = "block";

    // Get the lightbox content and set the image
    const lightboxContent = document.querySelector('.lightbox-content img');
    lightboxContent.src = imgElement.src;
    lightboxContent.alt = imgElement.alt;
    document.getElementById('imgAlt').innerHTML = lightboxContent.alt;

    // Get the index of the image that was clicked
    currentImageIndex = Array.prototype.indexOf.call(allImages, imgElement);
  }

  // Close the lightbox
  function closeLightbox() {
    document.getElementById('myLightbox').style.display = "none";
  }

  // Show the next image
  function showNext() {
    if (currentImageIndex < allImages.length - 1) {
      openLightbox(allImages[currentImageIndex + 1]);
    }
  }

  // Show the previous image
  function showPrevious() {
    if (currentImageIndex > 0) {
      openLightbox(allImages[currentImageIndex - 1]);
    }
  }

  // Listen for clicks on the close button 监听鼠标事件
  document.querySelector('.lightbox-close').addEventListener('click', function() {
    closeLightbox();
  });

  document.querySelector('.lightbox-before').addEventListener('click', function() {
    showPrevious();
  });

  document.querySelector('.lightbox-after').addEventListener('click', function() {
    showNext();
  });


  // Listen for keyboard events when lightbox is open 监听键盘事件
  document.addEventListener('keydown', function(event) {
    if (document.getElementById('myLightbox').style.display === 'block') {
      if (event.key === 'ArrowLeft') {
        showPrevious();
      } else if (event.key === 'ArrowRight') {
        showNext();
      } else if (event.key === 'Escape') {
        closeLightbox();
      }
    }
  });
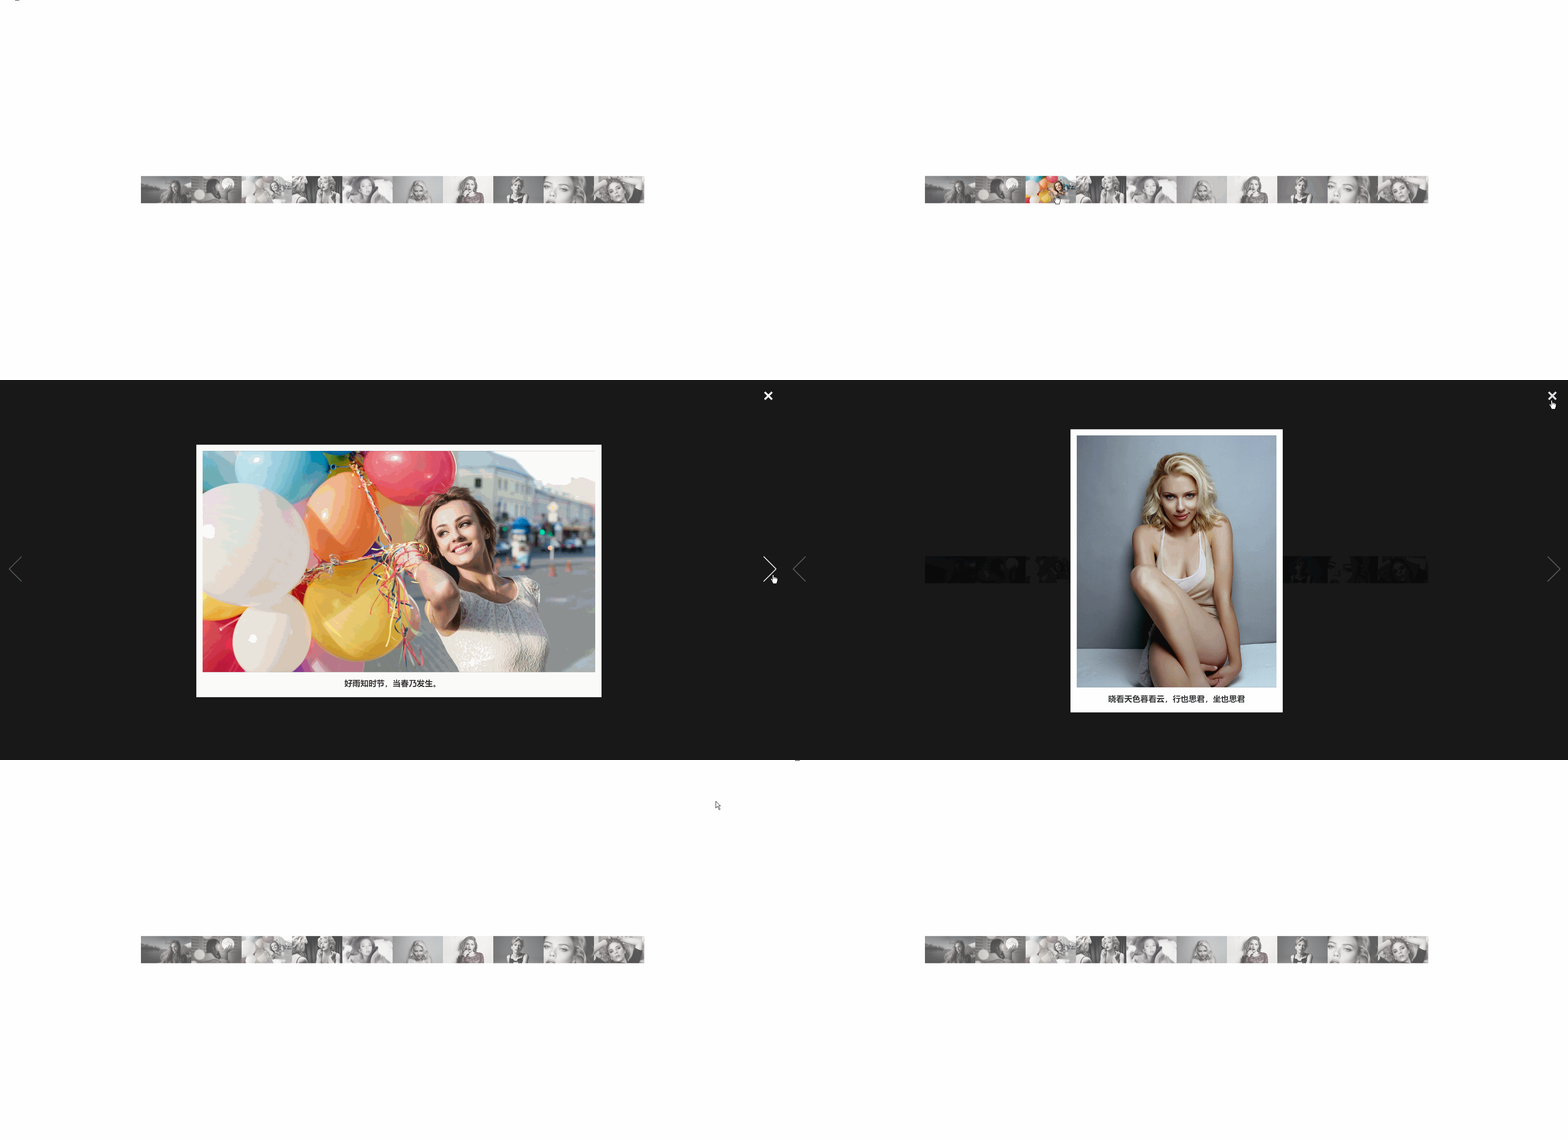
好了,至此,我们的lightbox部分的功能已经完全实现,效果图如下:
 这个阶段,我实现了lightbox应有的简单功能。展开大图,左右切换,关闭返回。下一篇,我们将完成图片组滚动部分。希望对您有所帮助!


 7181
7181

 被折叠的 条评论
为什么被折叠?


