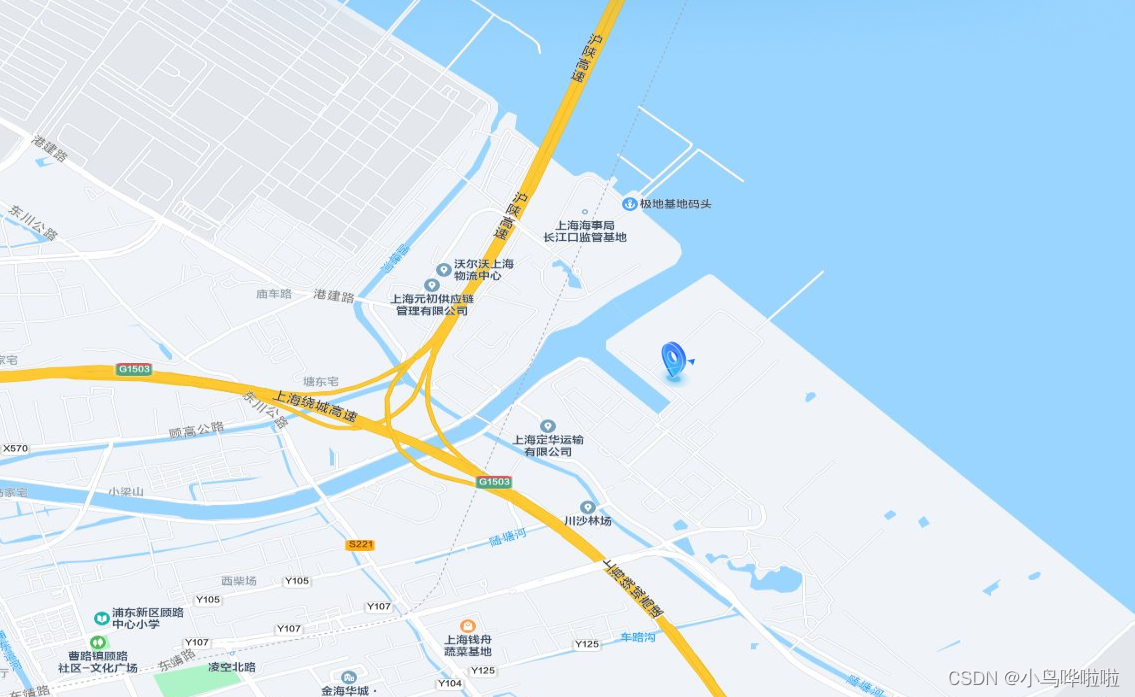
经过上一篇,已经成功引入了离线地图,代码片段以作说明:
initMap() {
      // 获取地图容器
      this.mapDom = document.getElementById("map");
      // 初始化地图配置
      this.mapObj = new Map({
        target: this.mapDom, // 地图容器
        view: new View({
          center: [121.70185, 31.298777], // 地图中心点
          zoom: 15,
          minZoom: 14,
          maxZoom: 18,
          // EPSG: 3857 --web地图,基于球体的、web墨卡托投影(伪墨卡托投影Pseudo-Mercator)的投影坐标系,范围为纬度85度以下,由于google地图最先使用而成为事实标准。至今,大多互联网地图都使用EPSG3857,主要是因为该投影是等角投影,适合地图定向及导航,但是纬度越高,面积变形越大。
          // EPSG: 4326 --全球通用,基于WGS84椭球的经纬度坐标系,大地坐标系
          projection: "EPSG:4326", // 投影
          extent: [121.5509, 31.0865, 121.8109, 31.382], // 设定地图的显示范围
        }),
      });
分析一下:
1.设置中心点,首先需要知道点的地理坐标,还需要知道如何在地图上画点
2.每次重新设置中心点的时候,还需要清除上一次设置的中心点
绘制地理坐标点:
      // 初始化的数据
      mapPointList: [],
      pointLayerSource: null,
      pointLayer: null, // 绘制地图中心点的图层

--------------------------------------------------------

     // 添加地理坐标
    addPoint(location) {
      // 地理坐标数组
      const pointData = [location];

      pointData.map((item) => {
        // 创建点
        const point = new Feature({
          geometry: new Point([item.longitude, item.latitude]),
          data: item,
        });
        // 点的样式
        const iconStyle = new Style({
          image: new Icon({
            color: "#ffffff",
            crossOrigin: "anonymous",
            src: this.markerCenterIcon,
          }),
        });
        // 设置样式
        point.setStyle(iconStyle);
        this.mapPointList.push(point);
      });

      // 创建geojson据源
      this.pointLayerSource = new VectorSource({ features: this.mapPointList });
      // 创建图层 并加载数据
      this.pointLayer = new VectorLayer({ source: this.pointLayerSource });
      // 将图层添加地图上
      this.mapObj.addLayer(this.pointLayer);
    },
设置地图中心点:
    // 加载地理坐标 -- 设置中心点
    handleSetMapCenter() {
      const location = { longitude: 121.70185, latitude: 31.298777 };
      this.addPoint(location);
    },
回到地图中心点:
    // 回到中心点
    handleBackMapCenter() {
      let view = this.mapObj.getView();
      view.setZoom(15); // 重新设置地图放大倍数
      view.setCenter([121.70185, 31.298777], "EPSG:4326", "EPSG:3857"); // 重新设置中心点的坐标
      this.mapObj.render(); // 重新绘制
    },
清除地图中心点:
// 这里选择 直接清除 专用的图层
this.mapObj.removeLayer(this.pointLayer);

// 或者清除 Feature
获取地图上点击的坐标信息:
mounted() {
    this.initMap();
    this.mapObj.on("click", (evt) => {
      const coordinate = evt.coordinate; //鼠标单击点的坐标
      console.log("object", coordinate);

      // 清除原有中心点
      this.mapObj.removeLayer(this.pointLayer);

      // 重新绘制中心点
      const location = { longitude: coordinate[0], latitude: coordinate[1] };
      this.addPoint(location);
    });
  },


 1474
1474


 被折叠的 条评论
为什么被折叠?


